Previous parts in this series:
The next natural step in this series is arguably some kind of graphics display. We looked around in our gadget inventory and found a display which were used on the old Nokia 5110 and Nokia 3310 cellphones. These kinds of displays have actually been inside old phones which have been recycled. This display will do nicely as an example for blog post purposes, but there are a LOT of different graphical displays out there.
This blog post will focus on this particular display and Adafruit’s accompanying Arduino library.
Our Display
The product description on Adafruit gives a good overview of the display in general:
These displays were used in old Nokia 5110/3310 cell phones (before the smart-phone fad turned every cell phone into a TV). It’s a 84×48 pixel monochrome LCD display. These displays are small, only about 1.5″ diagonal, but very readable and come with a white backlight. This display is made of 84×48 individual pixels, so you can use it for graphics, text or bitmaps. These displays are inexpensive, easy to use, require only a few digital I/O pins and are fairly low power as well.
One key aspect to take away from this is that it’s monochrome, so no colors here. The pixels are either 100% on or 100% off. The pixel amount is also worth noting (84×48) so you know what you have to work with.
Serial Communication
This particular display is operated via SPI. This requires 3-5 GPIO pins on your Arduino. The backlight LEDs can either be controlled digitally by PWM (or just on/off) or analog via a potentiometer.
You can use either software SPI or hardware SPI. HW SPI is faster while SW SPI is more flexible regarding pinout. We’ll use SW SPI in this blog post.
Voltage Level
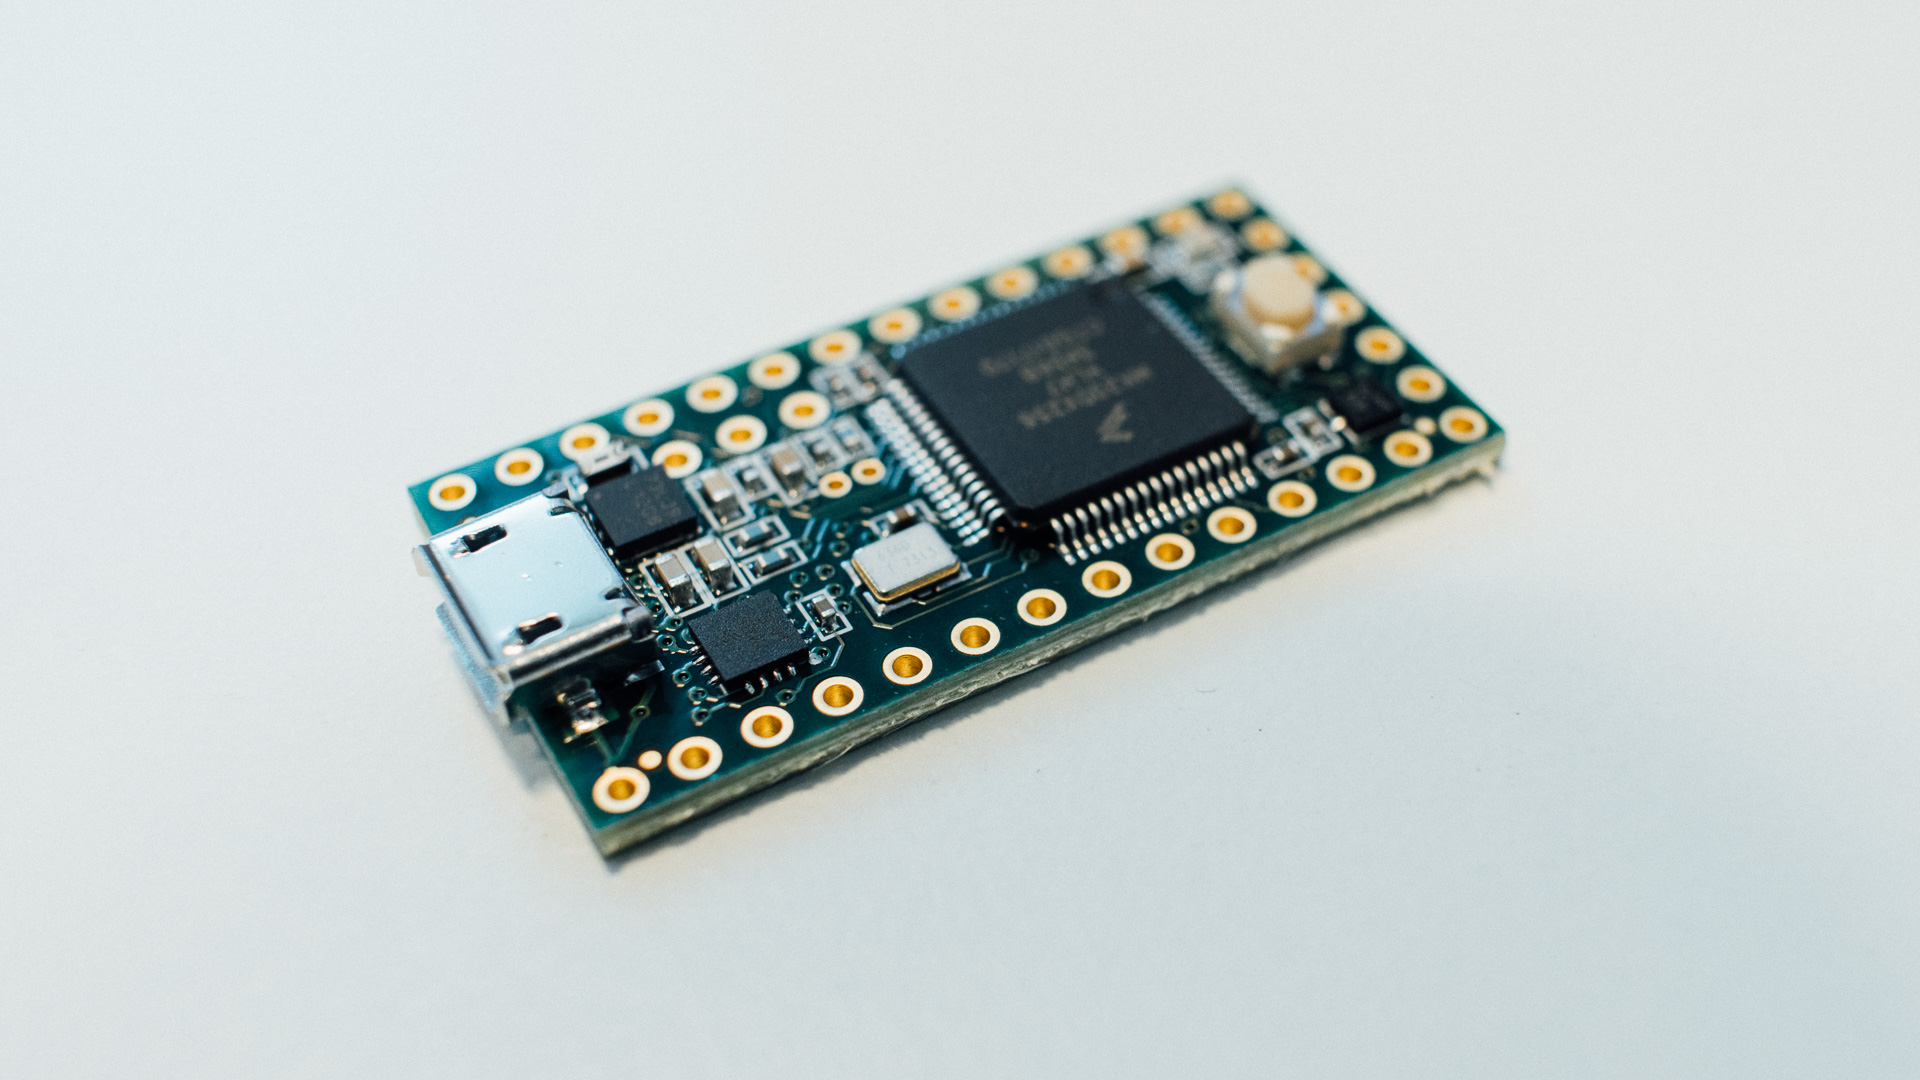
One thing that is very important to be aware of with this display is that everything runs on 3.3 V, both supply voltage and logic pins. So if you’re using a regular Arduino you will need a logic converter which lowers the voltage from 5 V to 3.3 V. When testing this display we used a Teensy 3.2, which runs on 3.3 V. This board is Arduino compatible so you can use a lot of Arduino libraries with it and code just like you would on a regular Arduino.
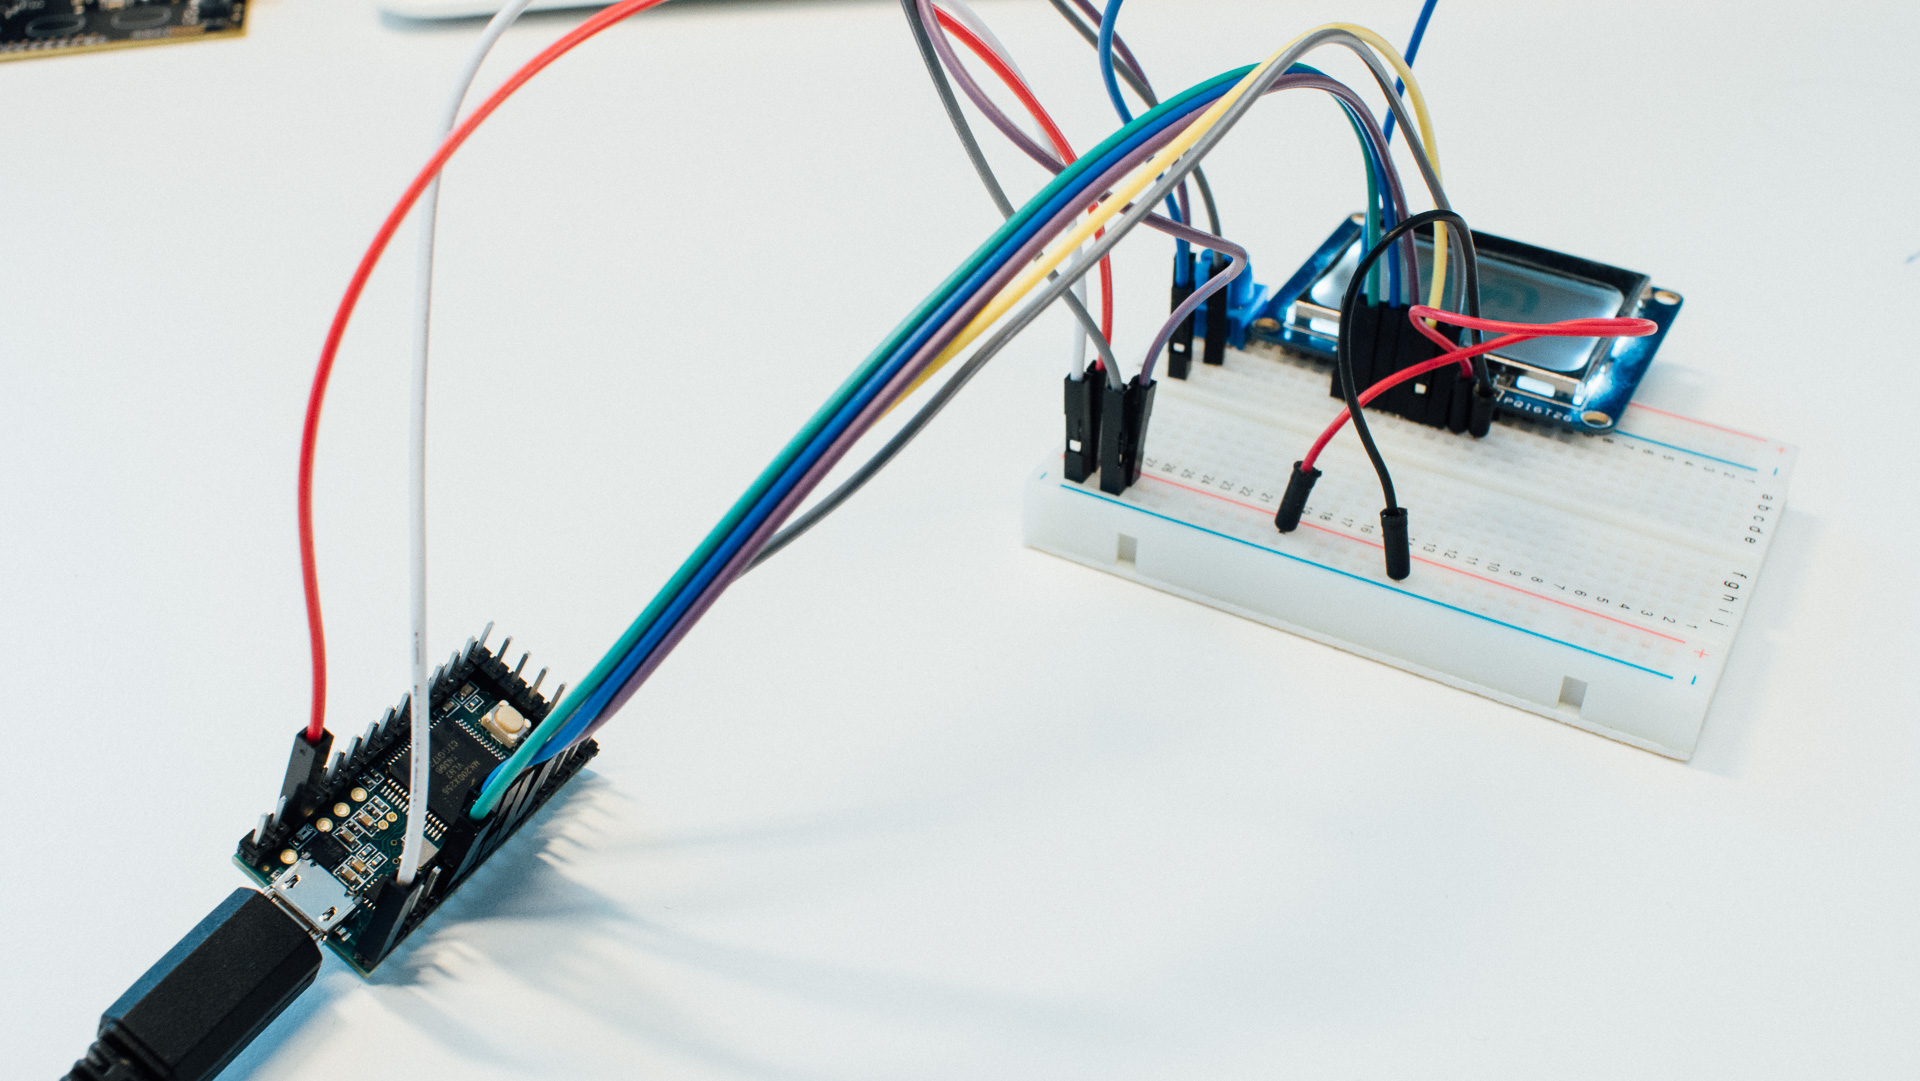
Wiring
As this display is operating by SPI we need at least three GPIO pins:
- Clock aka. CLK
- Data aka. DIN
- Data/Command select aka. D/C.
Optional pins are:
- Chip select aka. CS
- Reset aka. RST.
We’re going to use all five pins in our examples.
In addition to these GPIO pins you’ll need VCC and GND and as well as LED backlight supply (if that’s your cup of tea).
Code
As have become custom in these kind of blog posts we use an Arduino library to cut right to the chase, without getting bogged down in the details. Adafruit has written a couple of libraries we’re going to use with this particular display: The Adafruit-PCD8544-Nokia-5110-LCD-library and the Adafruit-GFX-Library. The former is the core library which takes care of the lower level communication and functionality while the latter contains fonts and graphics. You can also create your own fonts manually.
The general gist is the same as with the character display: you first specify what should be displayed where and then run a function which actually prints it on the screen.
Text Example
Let’s look at a simple example.
#include <SPI.h>
#include <Adafruit_GFX.h>
#include <Adafruit_PCD8544.h>


Adafruit_PCD8544 display = Adafruit_PCD8544(7,6,5,4,3);	//(SCLK,DIN,D/C,CS,RST) pins

void setup() {
	display.begin();					//initialize the display

	display.setContrast(55);			//set the screen contrast to your liking

	display.display();					//display Adafruit splash screen
	delay(500);
	display.clearDisplay();				//remove splash screen

	display.setTextSize(1);				//font size integer (2 is too large here)
	display.setTextColor(BLACK);		//font "color"
	display.setCursor(14,10);			//cursor position (X,Y)
	display.println("Norwegian");
	display.setCursor(14,20);
	display.setTextColor(WHITE, BLACK);	//white text on black background
	display.println("Creations");

	display.display();					//display text
}

void loop() {
}
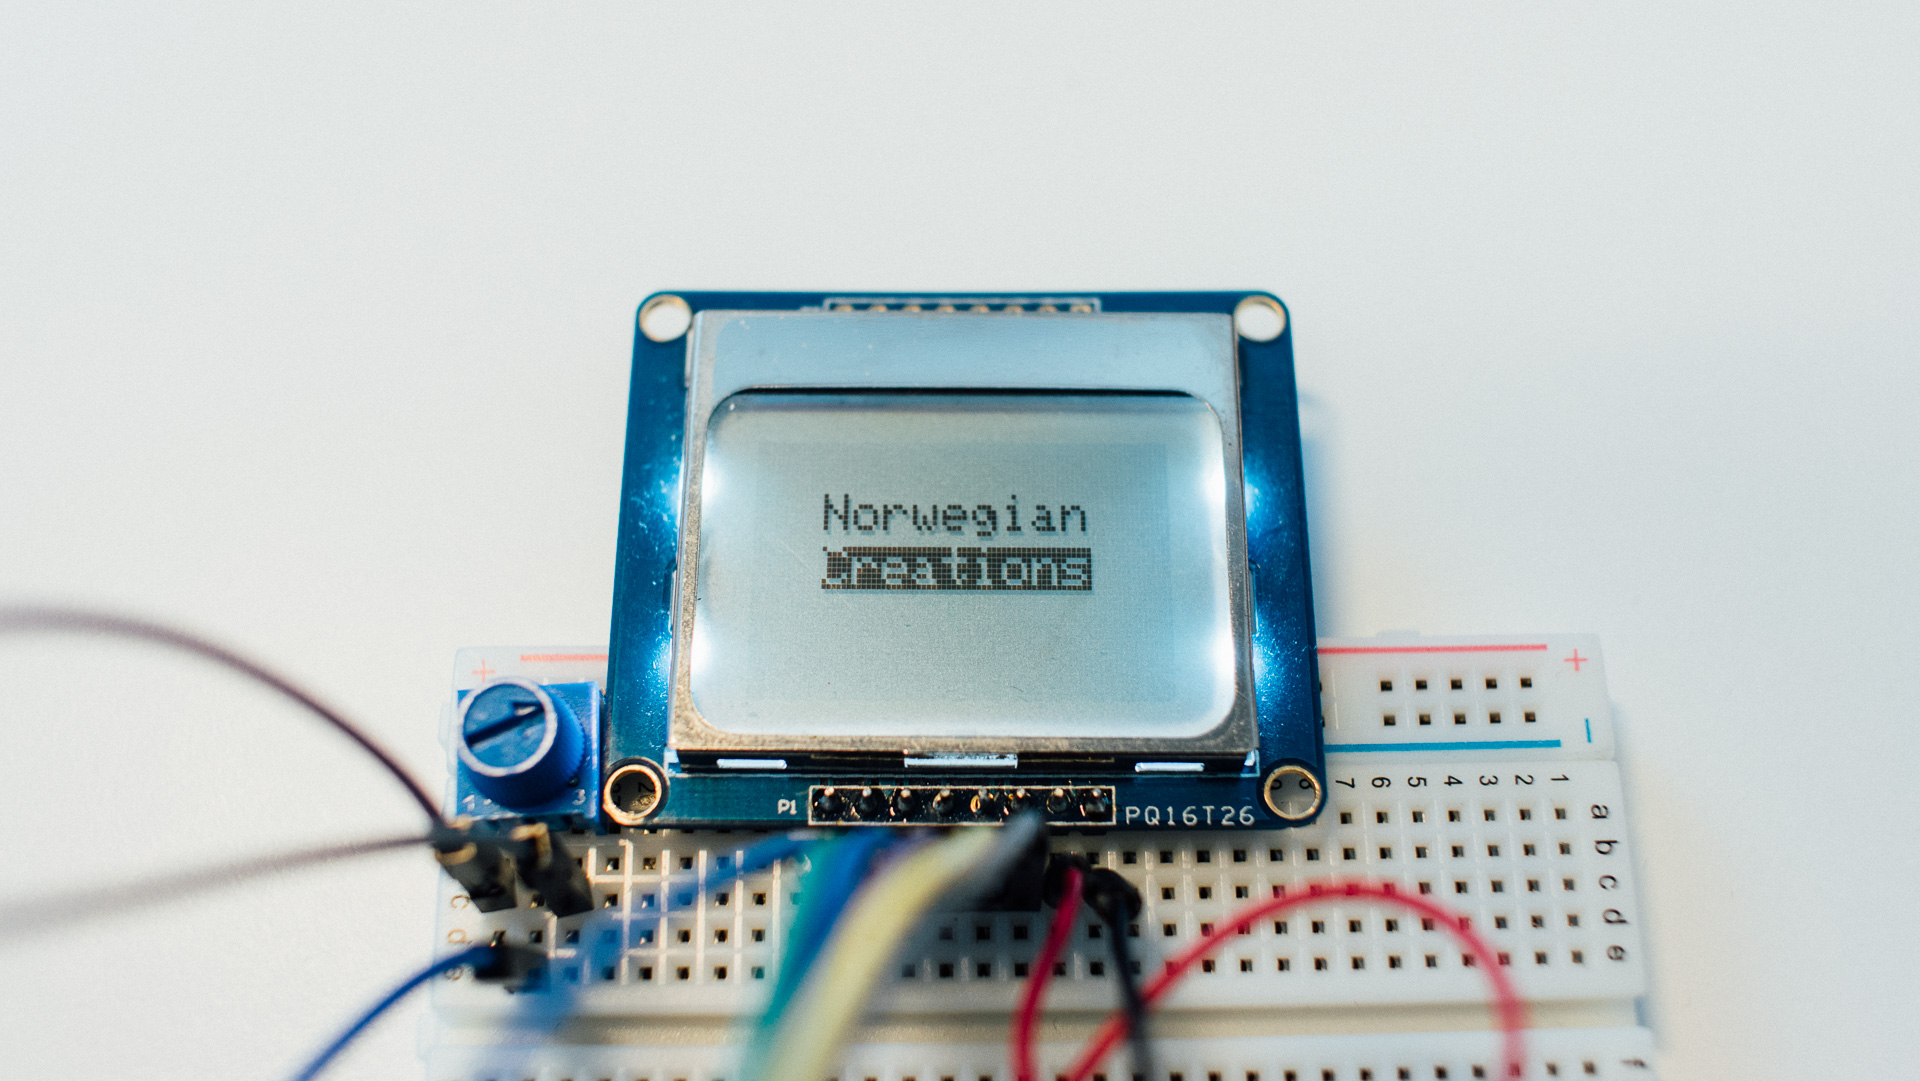
The above text writes Norwegian Creations with Adafruit’s font approximately in the center of the screen over two lines of text. The second line of text has an inverted color scheme with white text on black background.
In line 6 we create an instance display we’re using throughout the rest of the code. At the same time we specify the SPI pinout. The rest of the code is pretty self-explanatory.
Graphics Example
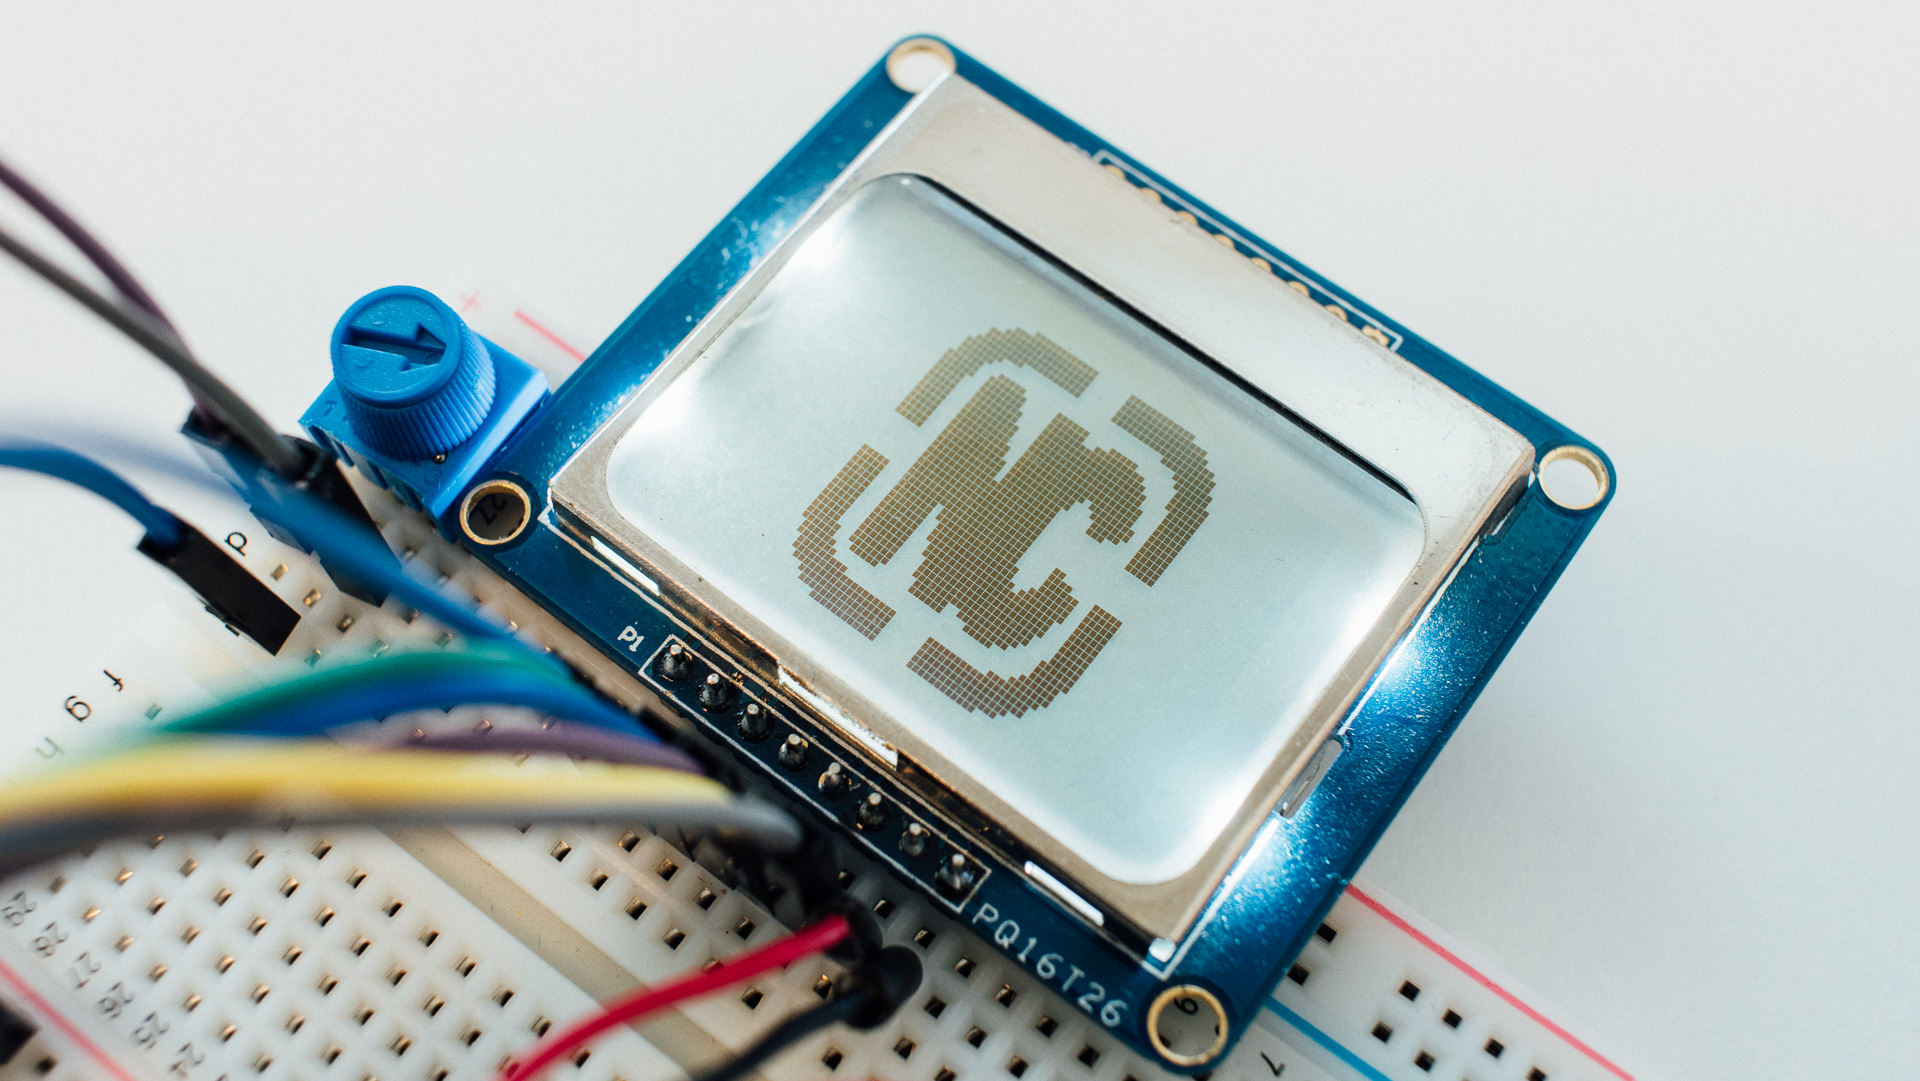
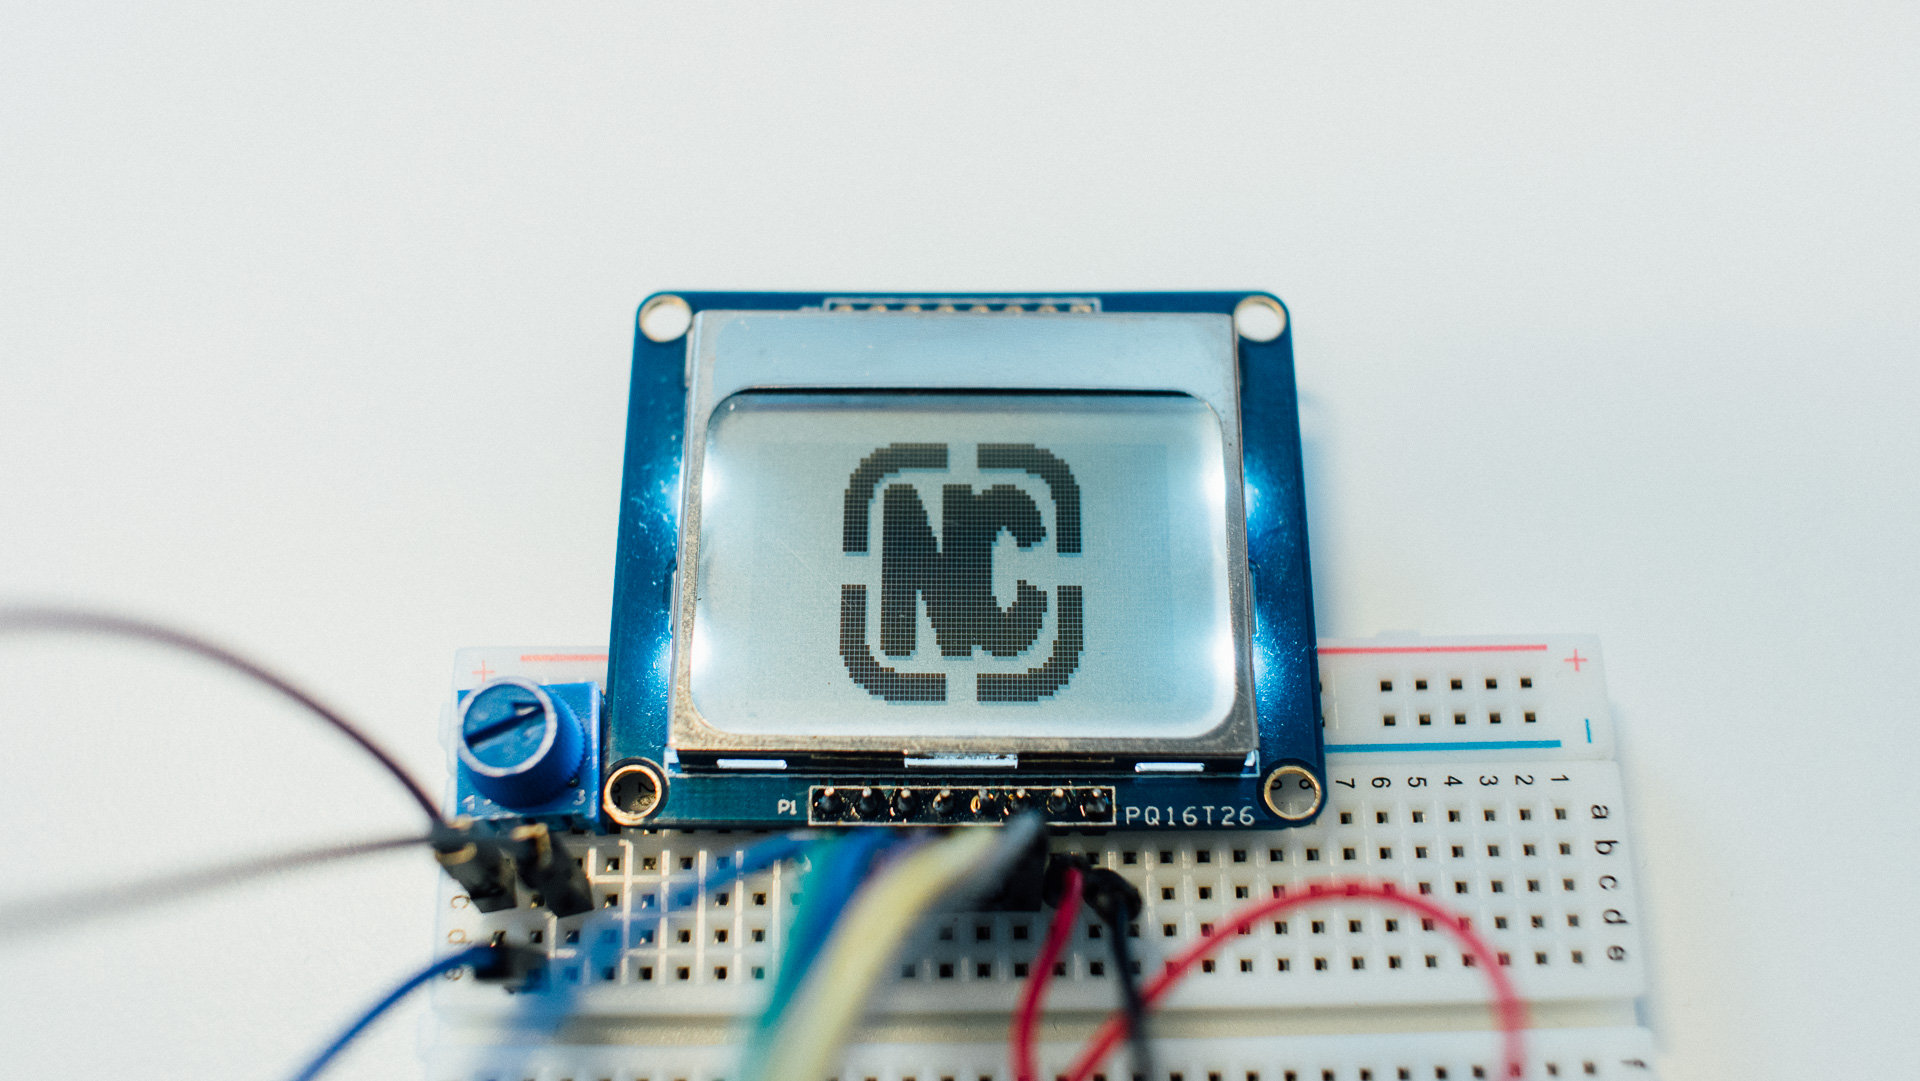
Let’s try to actually display some graphics. Our own NC logo is a nice test subject.
With graphics like this you need to manually set which pixel that should be white and which should be black. With a 48×48 pixel logo we have to write 2304 pixels!

So we found this handy site which can do this for us. The result is an array of hexadecimal numbers which is used in the code below.
#include <SPI.h>
#include <Adafruit_GFX.h>
#include <Adafruit_PCD8544.h>

Adafruit_PCD8544 display = Adafruit_PCD8544(7,6,5,4,3);	//(SCLK,DIN,D/C,CS,RST) pins

static const unsigned char PROGMEM logo48_bmp[] = {
	0x00,0x7f,0xf8,0x1f,0xfe,0x00
	,0x03,0xff,0xf8,0x1f,0xff,0xc0
	,0x07,0xff,0xf8,0x1f,0xff,0xe0
	,0x1f,0xff,0xf8,0x1f,0xff,0xf8
	,0x1f,0xff,0xf8,0x1f,0xff,0xfc
	,0x3f,0xe0,0x00,0x00,0x07,0xfc
	,0x7f,0x00,0x00,0x00,0x00,0xfe
	,0x7e,0x00,0x00,0x00,0x00,0x7e
	,0x7c,0x7c,0x0f,0xc3,0xe0,0x3f
	,0xfc,0xfe,0x0f,0xcf,0xf8,0x3f
	,0xfc,0xfe,0x0f,0xff,0xfc,0x3f
	,0xf8,0xff,0x0f,0xff,0xfe,0x1f
	,0xf8,0xff,0x0f,0xff,0xfe,0x1f
	,0xf8,0xff,0x8f,0xff,0xff,0x1f
	,0xf8,0xff,0x8f,0xff,0xff,0x1f
	,0xf8,0xff,0x8f,0xff,0xff,0x1f
	,0xf8,0xff,0xcf,0xff,0x7f,0x9f
	,0xf8,0xff,0xcf,0xfe,0x3f,0x9f
	,0xf8,0xff,0xef,0xfe,0x1f,0x1f
	,0xf8,0xff,0xef,0xfc,0x1c,0x1f
	,0xf8,0xff,0xef,0xfc,0x00,0x1f
	,0x00,0xff,0xff,0xfc,0x00,0x00
	,0x00,0xff,0xff,0xfc,0x00,0x00
	,0x00,0xff,0xff,0xfc,0x00,0x00
	,0x00,0xff,0xff,0xfc,0x00,0x00
	,0x00,0xff,0xff,0xfc,0x00,0x00
	,0x00,0xff,0xff,0xfc,0x18,0x00
	,0xf8,0xff,0xff,0xfc,0x1e,0x1f
	,0xf8,0xfe,0xff,0xfc,0x1f,0x9f
	,0xf8,0xfe,0xff,0xfe,0x1f,0x9f
	,0xf8,0xfe,0x7f,0xfe,0x3f,0x9f
	,0xf8,0xfe,0x7f,0xff,0x7f,0x9f
	,0xf8,0xfe,0x7f,0xff,0xff,0x1f
	,0xf8,0xfe,0x3f,0xff,0xff,0x1f
	,0xf8,0xfe,0x3f,0xff,0xff,0x1f
	,0xf8,0xfe,0x1f,0xff,0xfe,0x1f
	,0xf8,0xfe,0x1f,0xff,0xfe,0x1f
	,0xf8,0xfe,0x1f,0xff,0xfc,0x3f
	,0xfc,0xfe,0x0f,0xcf,0xf8,0x3f
	,0xfc,0x7c,0x0f,0xc3,0xe0,0x3e
	,0x7e,0x00,0x00,0x00,0x00,0x7e
	,0x7f,0x00,0x00,0x00,0x00,0xfe
	,0x3f,0xe0,0x00,0x00,0x07,0xfc
	,0x3f,0xff,0xf8,0x1f,0xff,0xf8
	,0x1f,0xff,0xf8,0x1f,0xff,0xf8
	,0x07,0xff,0xf8,0x1f,0xff,0xe0
	,0x03,0xff,0xf8,0x1f,0xff,0xc0
	,0x00,0x7f,0xf8,0x1f,0xfe,0x00
};

void setup() {
	display.begin();					//initialize the display

	display.setContrast(55);			//set the screen contrast to your liking

	display.display();					//display Adafruit splash screen
	delay(500);
	display.clearDisplay();				//remove splash screen

	display.drawBitmap(18, 0, logo48_bmp, 48, 48, 1);

	display.display();					//display logo
}

void loop() {
}
Line 67 is the interesting one here. The first two parameters are the coordinates for where you want to have your top left corner of your bitmap. Parameters 4 and 5 are the width and height, respectively, of the bitmap. The last parameter is the “color”.
For more coding examples, look at the demo code for the library.
Summary
Graphical displays are so much more versatile than character displays! And as soon as you have a font library it isn’t much more complicated to use either. The possibilities are endless and you can even do animations. Find your inner artist and get crackin’!