As shown in this blog post; we created a simple command line interface (aka. CLI) for the Arduino.
It was not optimal when it came to things such as memory usage or code size, but the main goal of the post was not to make code fulfilling those things, but rather show you the “main concepts” about a CLI.
Performance Challenges
As you know a CLI needs to read your commands, understand them, and maybe execute something.
One challenge is the way the program reads your commands. In the previous CLI-post did theread_line() block the MCU when waiting for input.
This challenge can be solved by a multi threaded system, but that takes more resources. Or it can be solved by a non-blocking interrupt-driven character reader. As you understand:
This is possible to solve in many different ways and we will probably show you one of thees methods in an upcoming blog post!
But can we do this on a simpler way?
Yes, you probably can!
Enter: The SerialMenu library.
The idea is to “downgrade” from a full CLI to a simpler menu system that launches commands after a single character is inserted.
By doing that it becomes simple to both remove the blocking challenge, make it resource friendly and fast.
And in 95% of typical “low level” cases it is often enough to only have a simple one-character debug menu.
The SerialMenu library does also have functions for reading numbers or characters inserted by the user. So for those rare cases, it’s possible without hassle, but this is blocking.
In the following section will we show you how we can make a simple menu system that obeys the same commands as presented here.
Implementation
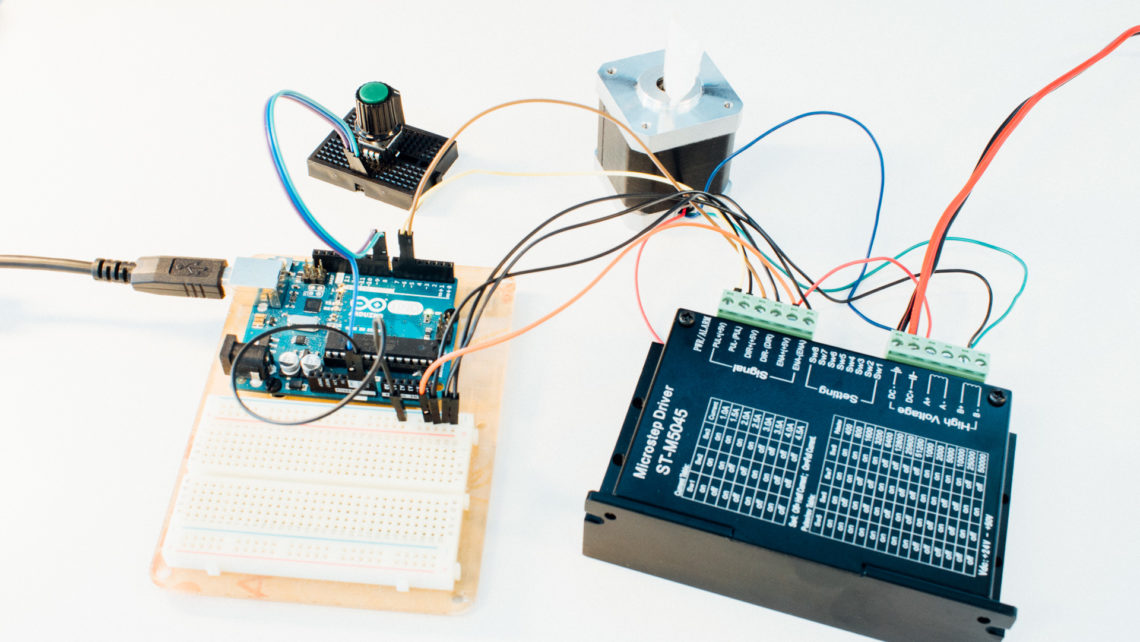
We are going to implement the following functions to control the LED on an Arduino UNO board:
- LED on
- LED off
- LED blink // start LED blinking
- Modify LED blinking time // modifies the LED blinking time [ms]
- Help // shows the menu
The full code is as following:
#define SERIALMENU_DISABLE_HEARTBEAT_ON_IDLE true
#define SERIALMENU_MINIMAL_FOOTPRINT true
#include <SerialMenu.hpp>
#define LEDpin 13
const SerialMenu& menu = SerialMenu::get();
uint16_t blink_duration = 1000;
typedef enum {off, on, blink} led_state_t;
led_state_t led_state = off;
uint16_t last_blink_time = 0;
bool is_led_on = false;
void led_on(void){
led_state = on;
Serial.println("The LED is turned on!");
}
void led_off(void){
led_state = off;
Serial.println("The LED is turned off!");
}
void led_blink(void){
led_state = blink;
Serial.println("LED blinking is started!");
}
void duration_print(void){
Serial.print("LED blinking duration in ms is: ");
Serial.println(blink_duration);
}
void duration_modify(void){
blink_duration = menu.getNumber<uint16_t>("Input duration [ms]: ");
Serial.print("LED blinking duration in ms is now: ");
Serial.println(blink_duration);
}
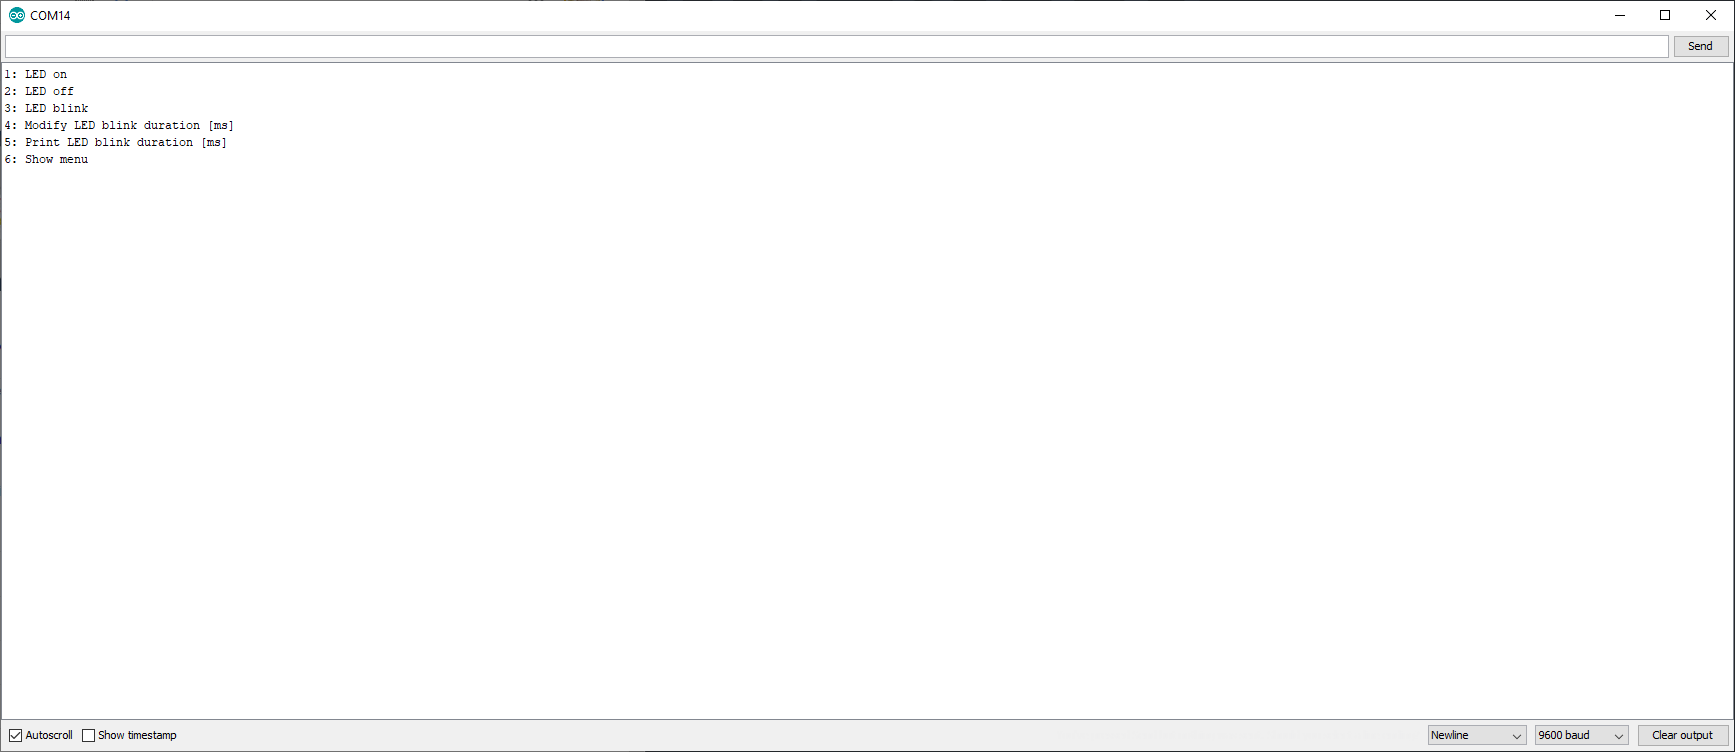
const SerialMenuEntry mainMenu[] = {
{"1: LED on", false, '1', led_on },
{"2: LED off", false, '2', led_off },
{"3: LED blink", false, '3', led_blink },
{"4: Modify LED blink duration [ms]", false, '4', duration_modify },
{"5: Print LED blink duration [ms]", false, '5', duration_print },
{"6: Show menu", false, '6', [](){ menu.show(); }}
};
constexpr uint8_t mainMenuSize = GET_MENU_SIZE(mainMenu);
void setup()
{
pinMode(LEDpin, OUTPUT);
Serial.begin(9600);
menu.load(mainMenu, mainMenuSize);
menu.show();
}
void loop() {
menu.run(10);
switch(led_state){
case off:
if (is_led_on) { digitalWrite(LEDpin, LOW); is_led_on = false;}
break;
case on:
if (!is_led_on) { digitalWrite(LEDpin, HIGH); is_led_on = true;}
break;
case blink:
const uint16_t now = millis();
if (now >= last_blink_time+ blink_duration){
last_blink_time = now;
digitalWrite(LEDpin, (is_led_on) ? LOW : HIGH);
is_led_on = ! is_led_on;
}
break;
}
delay(10);
}
If you are using the Arduino Serial Terminal you have to set it to end each input from you with “Newline“.
Code breakdown
First we start with:
#define SERIALMENU_DISABLE_HEARTBEAT_ON_IDLE true
#define SERIALMENU_MINIMAL_FOOTPRINT         true

#include <SerialMenu.hpp>
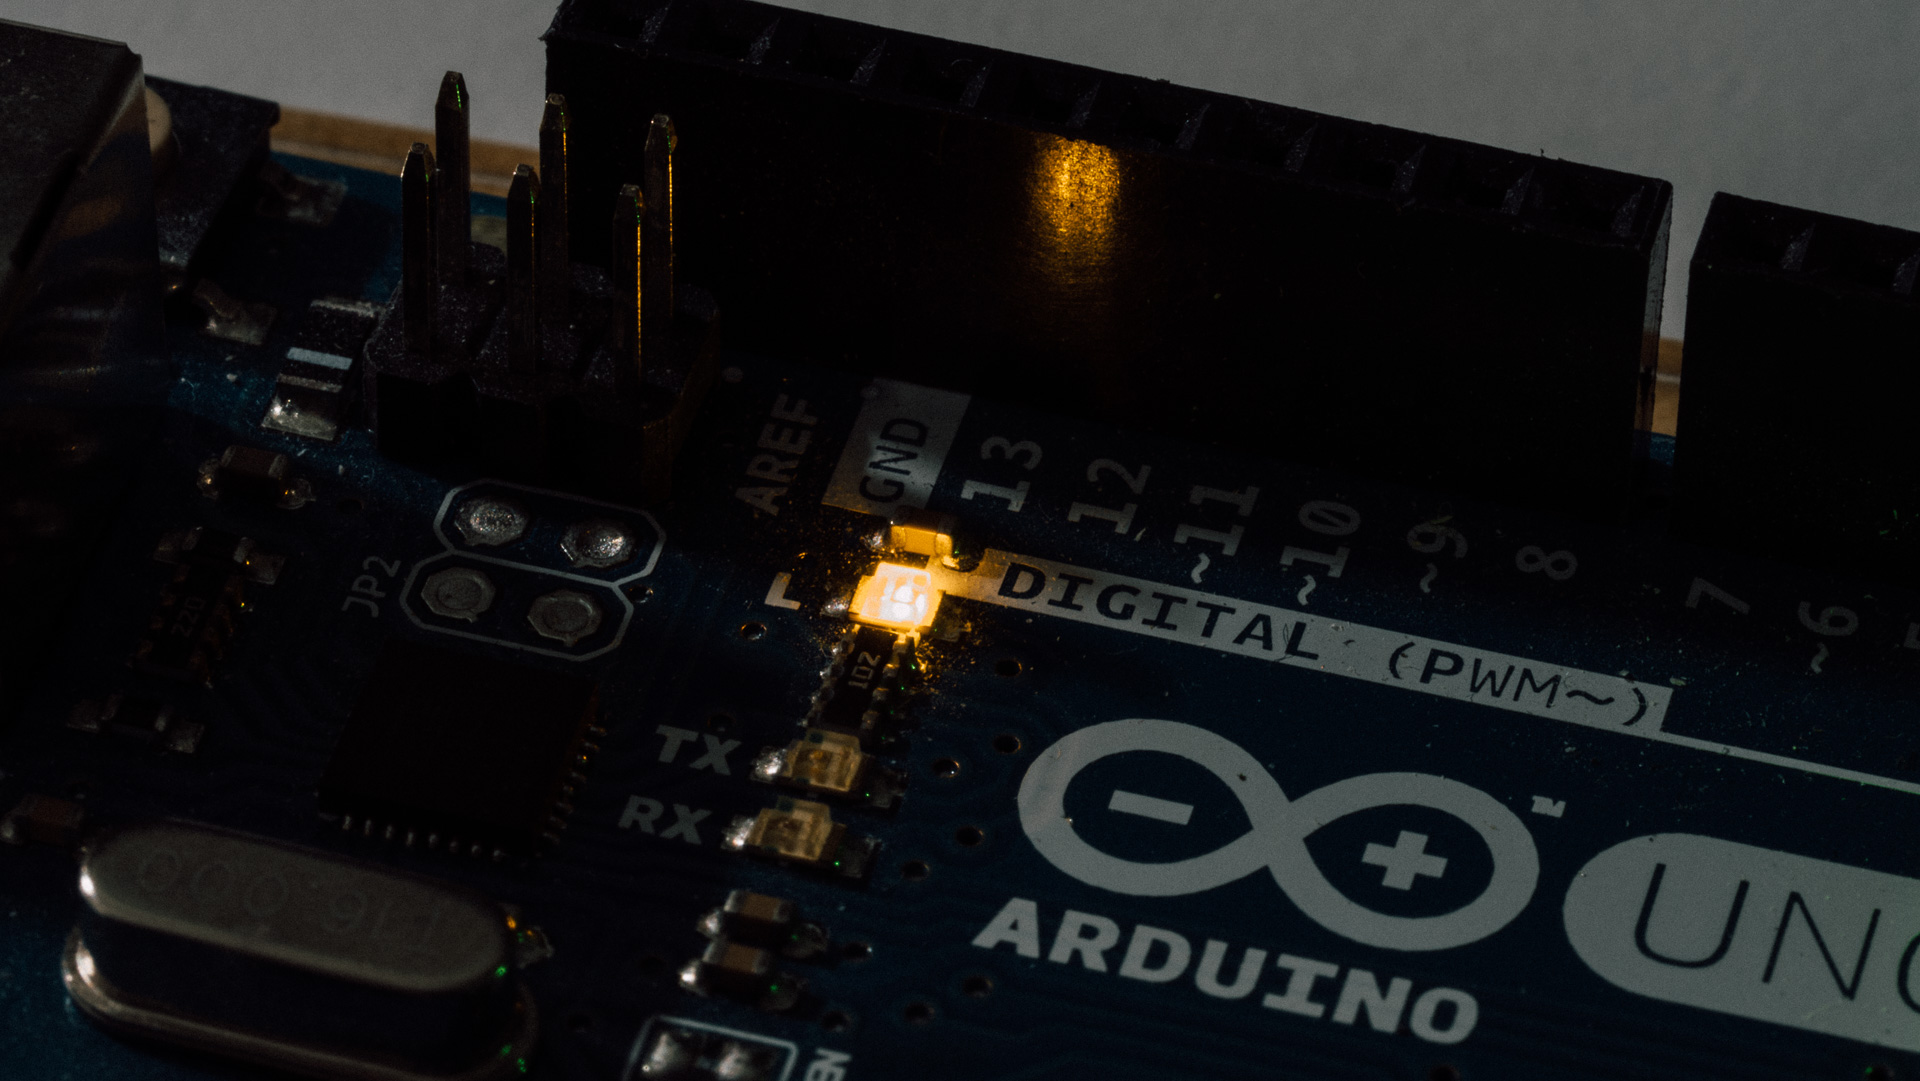
The first line is to disable that the menu prints dots every 10s, and blinks the status LED (that we are using here!) and the second line is to disable extra printing in the menu such as copyrights etc.
Thereafter we define some things regarding the system setup and some global variables:
#define LEDpin 13

const SerialMenu& menu = SerialMenu::get();

uint16_t blink_duration = 1000;

typedef enum {off, on, blink} led_state_t;

led_state_t led_state = off;
uint16_t last_blink_time = 0;
bool is_led_on = false;
After that is done we implemented all call back functions in this system like this:
void led_on(void){
  led_state = on;
  Serial.println("The LED is turned on!");
}

void led_off(void){
  led_state = off;
  Serial.println("The LED is turned off!");
}

void led_blink(void){
  led_state = blink;
  Serial.println("LED blinking is started!");
}

void duration_print(void){
  Serial.print("LED blinking duration in ms is: ");
  Serial.println(blink_duration);
}

void duration_modify(void){
  blink_duration = menu.getNumber<uint16_t>("Input duration [ms]: ");
  Serial.print("LED blinking duration in ms is now: ");
  Serial.println(blink_duration);
}
Now we come to the main “meat” if the serial menu. Namely the implementation of the menu structure:
const SerialMenuEntry mainMenu[] = {
  {"1: LED on", false, '1', led_on },
  {"2: LED off", false, '2', led_off },
  {"3: LED blink", false, '3', led_blink },
  {"4: Modify LED blink duration [ms]", false, '4', duration_modify },
  {"5: Print LED blink duration [ms]", false, '5', duration_print },
  {"6: Show menu", false, '6', [](){ menu.show(); }}
};
It is very good explained in the SeralMenu.hpp, but to repeat it here:
// Define a menu entry as:
// - a menu message to display
// - a boolean to specify if the message is in SRAM or PROGMEM Flash memory
// - a menu key to select
// - a callback function to perform the menu action
Thereafter we find and store the main menu size, and sets up this simple system.
in the loop() we firs run the menu and say to it how long time since last time it has been executed. Note that this does not need to be very precise! This is only used for things such as periodic LED and Serial heart beat timing, which we actually don’t use here either…
After that we switch over the global led_state variable that is changed in the menu function callbacks. Most of the actual execution happens here.
void loop() {
  menu.run(10);

  switch(led_state){

    case off:
      if (is_led_on) { digitalWrite(LEDpin, LOW); is_led_on = false;}
    break;

    case on:
      if (!is_led_on) { digitalWrite(LEDpin, HIGH); is_led_on = true;}
    break;

    case blink:
      const uint16_t now = millis();

      if (now >= last_blink_time+ blink_duration){
        last_blink_time = now;
        digitalWrite(LEDpin, (is_led_on) ? LOW : HIGH);
        is_led_on = ! is_led_on;
      }
    break;
  }

  delay(10);
}
Summary
As presented here, you can probably implement many, maybe all, of your simple embedded system needs through a simple menu system, not with a full flexed CLI, and SerialMenu is a simple and nice library to help you out with that.
And as stated earlier, stay tuned for an upcoming blog post where we will look at a different solution for making the previously presented CLI non-blocking 🙂