As we have written about earlier: Jogging a stepper motor with an encoder can easily be accomplished with an Arduino.
In this post will we show how a simple “stepper motor jogging-system” can be enhanced with acceleration and de-acceleration.
Introduction
As we have talked about: acceleration and the opposite: de-acceleration, is an important trait of every moving system.
It reduces things such as mechanical stresses, it can be a minimum requirement in the system, it looks and feels better, and many many more.
But how can we implement a simple thing such as ramped start and stop?
AccelStepper is a library for Arduino that does exactly this.
It can among other thing calculate how fast the pulse train going to the stepper motors should be.
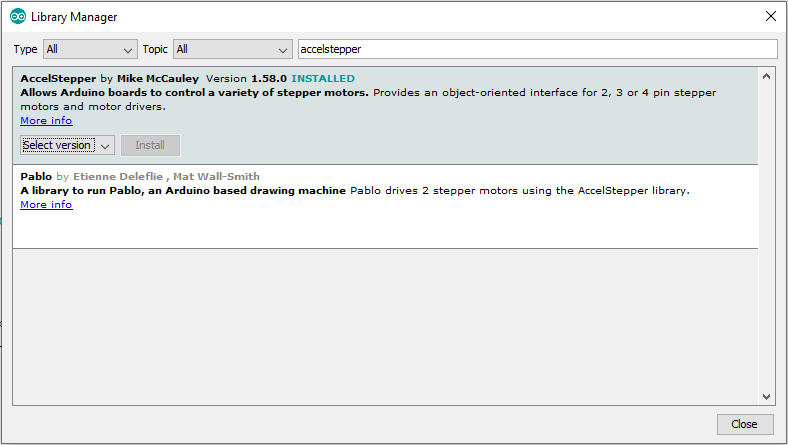
This can easily be added to you Arduino environment using the inbuilt “Library Manager” (Tools -> manage Libraries…).
After this is installed all you have to do is include the AccelStepper library in your project and you get all the features written about here. That is done on line 1 in the code below.
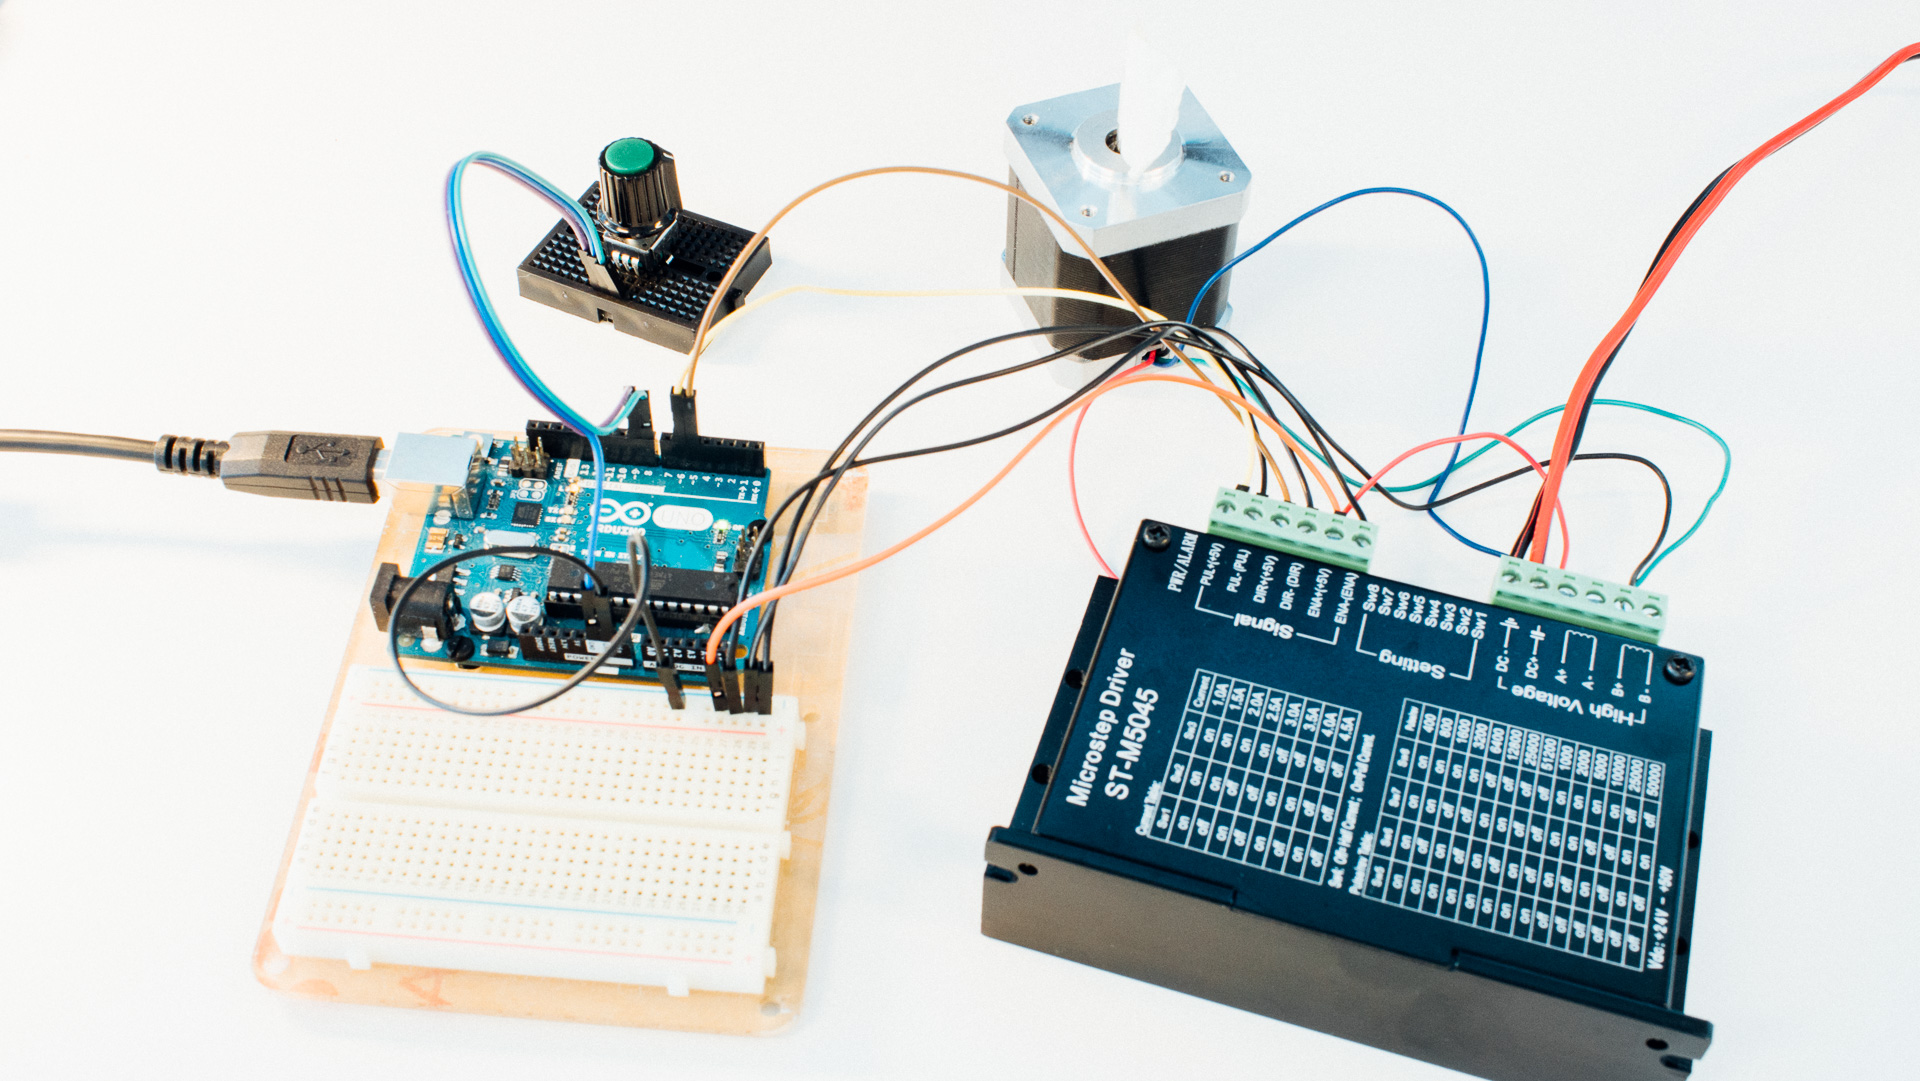
Circuit and the firmware
The circuit used in this example consists of among others:
- A ST-M5045 Microstep Driver. A rather cheap driver configured with x2 micros stepping.
- A regular 24 V DC 15 A power supply
- A 42BYGM810 “Wantai Stepper Motor”
- Arduino Uno
The stepper motor has (not so regular) 0.9 degrees step/pulse, and combined with a 2x micro stepping driver it takes us a total of 800 steps to go a complete revolution.
The encoder we use here give out 24 steps/revolution.
So to get to 1 encoder revolution / stepper revolution we have to multiply the encoder pulses by (800/24) ~33.3.
The code:
#include <AccelStepper.h>

#define encoder_pin_A 8
#define encoder_pin_B 9
int encoder_pin_A_last = LOW;
int encoder_pos = 0;
int n = LOW;

#define stepper_pin_step 6
#define stepper_pin_dir  5

// Enc have 24 steps per revolution
// The motor have 800 steps per revolution
// Want: 1 encoder rev = 1 stepper rev
// 800 / 24 = 33.3333333333...
float steps_per_pulse = 33.3333333333;

AccelStepper stepper(AccelStepper::DRIVER, stepper_pin_step, stepper_pin_dir);

void setup() {
stepper.setMaxSpeed(800.0);
stepper.setAcceleration(300.0);

pinMode(encoder_pin_A, INPUT_PULLUP);
pinMode(encoder_pin_B, INPUT_PULLUP);
}

void loop() {
// read encoder
n = digitalRead(encoder_pin_A);

if ((encoder_pin_A_last == LOW) && (n == HIGH)) {
if (digitalRead(encoder_pin_B) == LOW) {
encoder_pos--;
} else {
encoder_pos++;
}

// set stepper to the new calculated position
stepper.moveTo((long) round(encoder_pos*steps_per_pulse));
}

encoder_pin_A_last = n;

stepper.run();
}
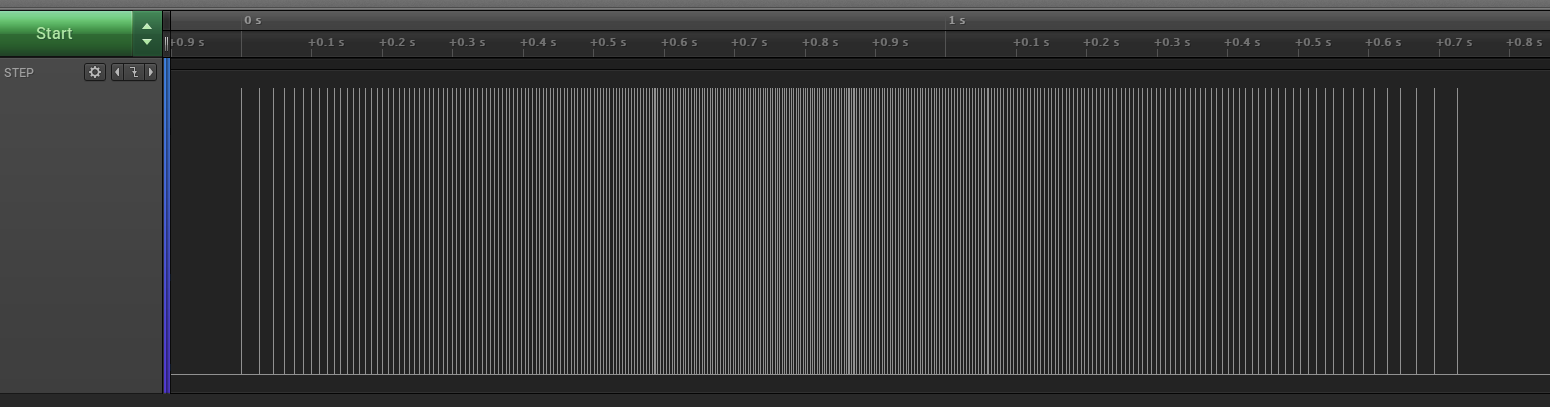
And the motor ramps / accelerates up with the acceleration set at line 22. It stops when it reaches the speed set at line 21.
Speed it given in steps / second and the desired acceleration is stated in steps per second per second.
As we can see in the following image, which is a screenshot from a look into the STEP pin behaviour, the system accelerates and de-accelerates.
Final words
As we have seen here: Jogging with an encoder AND with acceleration and de-acceleration can be implemented in a rather simple way!
We have written several more posts about both stepper motors and how to control them here on our blog. You can check them out by starting here and/or here 🙂
There exists of course several challenges in a motorized embedded system like this. Where you can have several interesting challenges as e.g.:
- The power supply isn’t “strong” enough?
- The Arduino/computer used isn’t powerful enough?
- The Stepper driver is not obeying the STEP or DIR commands as you wish?
- etc.
As you can see there exists several of those pesky “embedded system challenges” here.
Do you have other stepper motor related challenges you want us to explore? Please let us know and we might tackle them in an upcoming blog post!