Foam is a great and cheap material for various creations. This time we needed to cut some EVA foam into shapes for a prototype we are creating. We were not 100% sure that a hot-wire foam cutter would be the best for our use, so we decided to throw together a very quick build to test it out.
We based our design on the many instructables and video tutorials available online. Our design is based on concepts found in these guides, but is simplified for a quick build. The parts used were:
- 48mm x 35mm wood board (scrap from a previous build)
- A 300 mm x 300 mm wood plate (from an old shelf)
- 24 gauge Kanthal wire
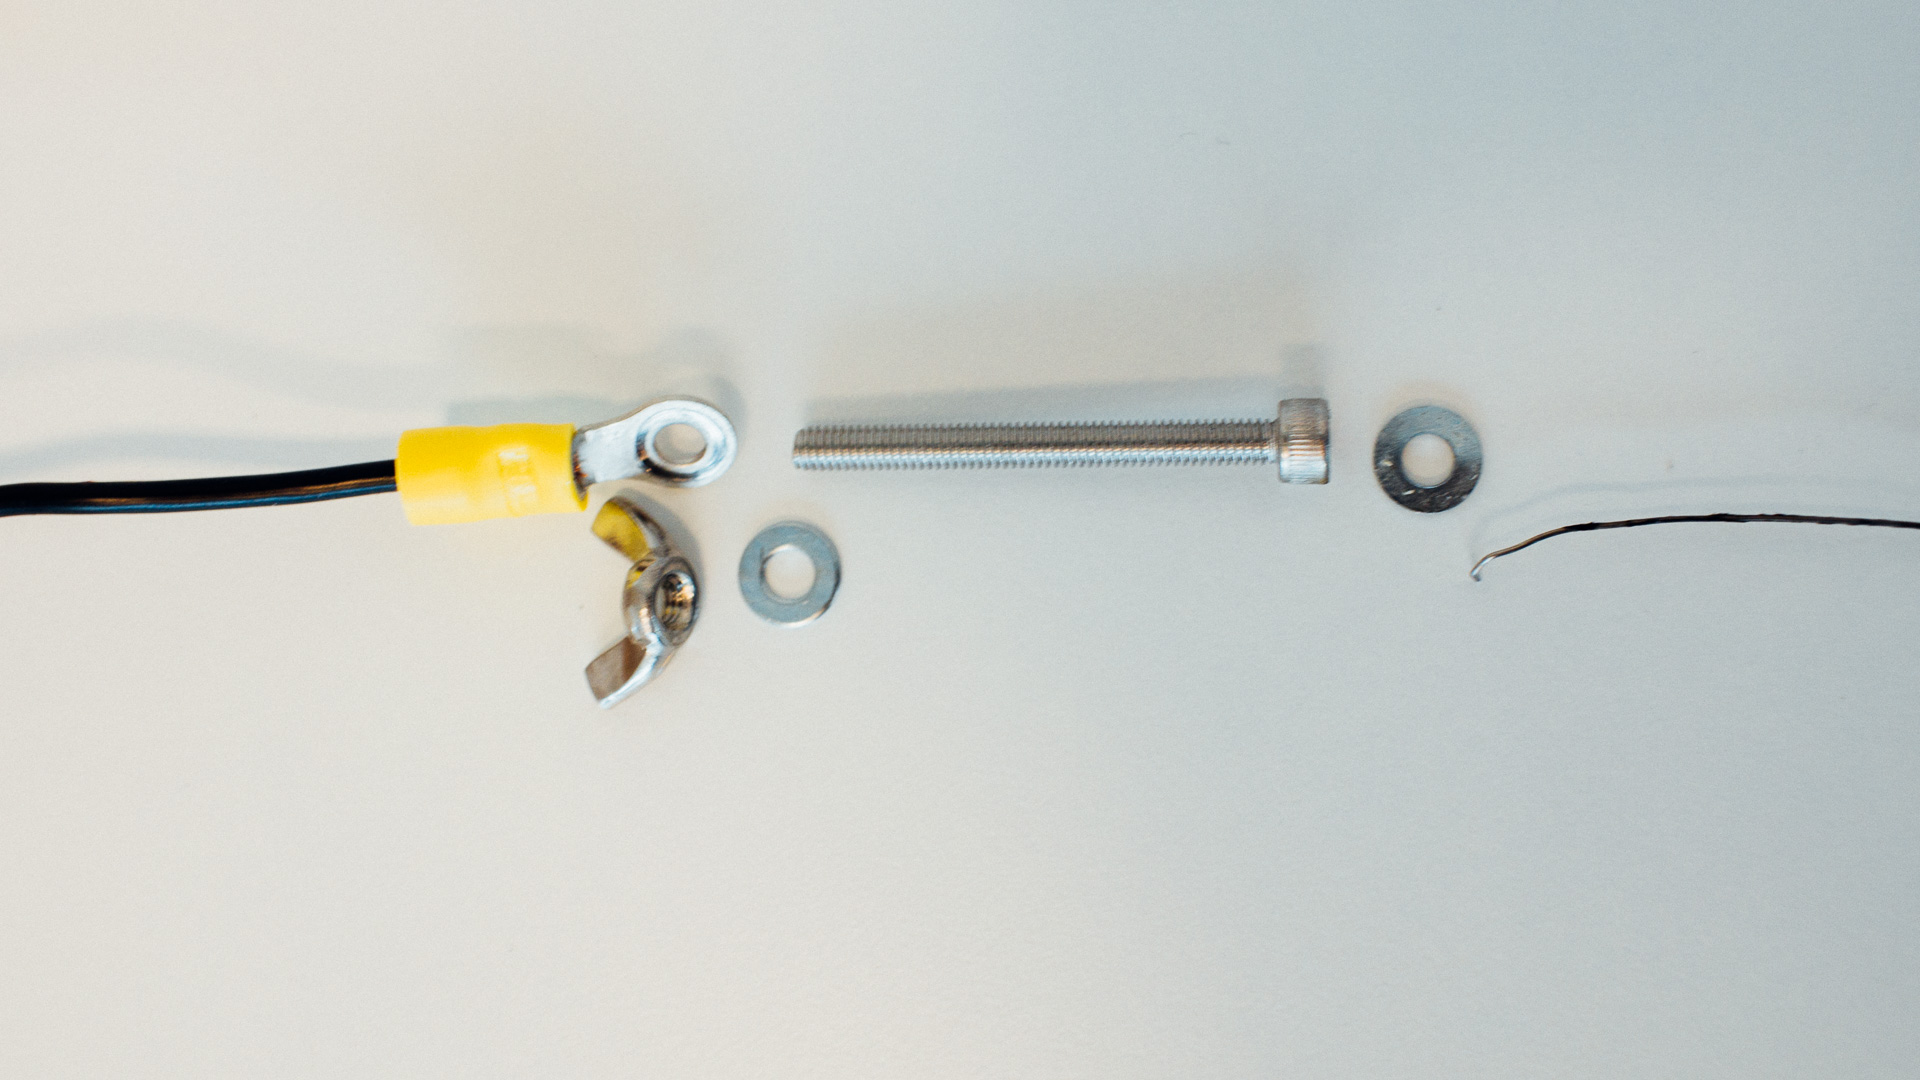
- M5 bolts
- Washers
- M5 wingnuts
- Cable lugs
- Wood screws
- Cable ties
- Steel spring
- Power cables
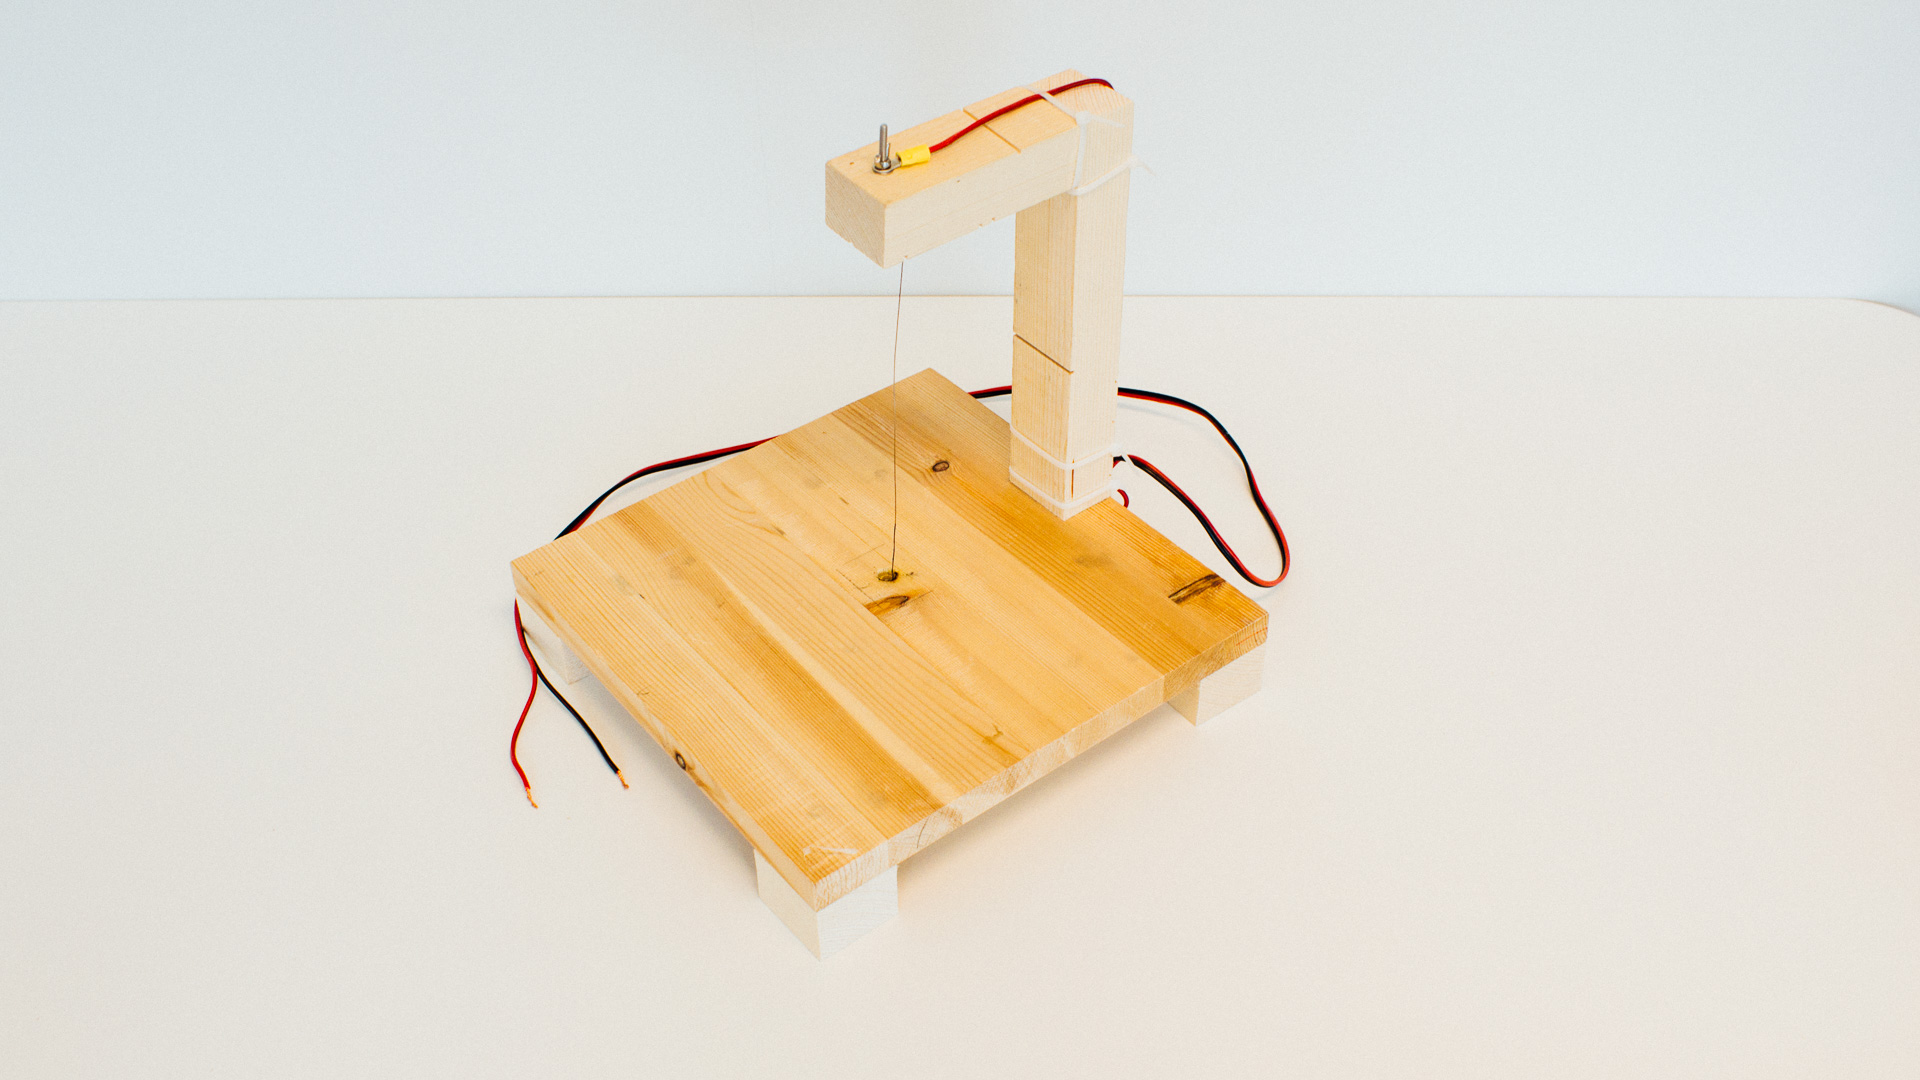
We started by cutting all the wood pieces to length. It was four leg pieces, and two pieces for the “arm”
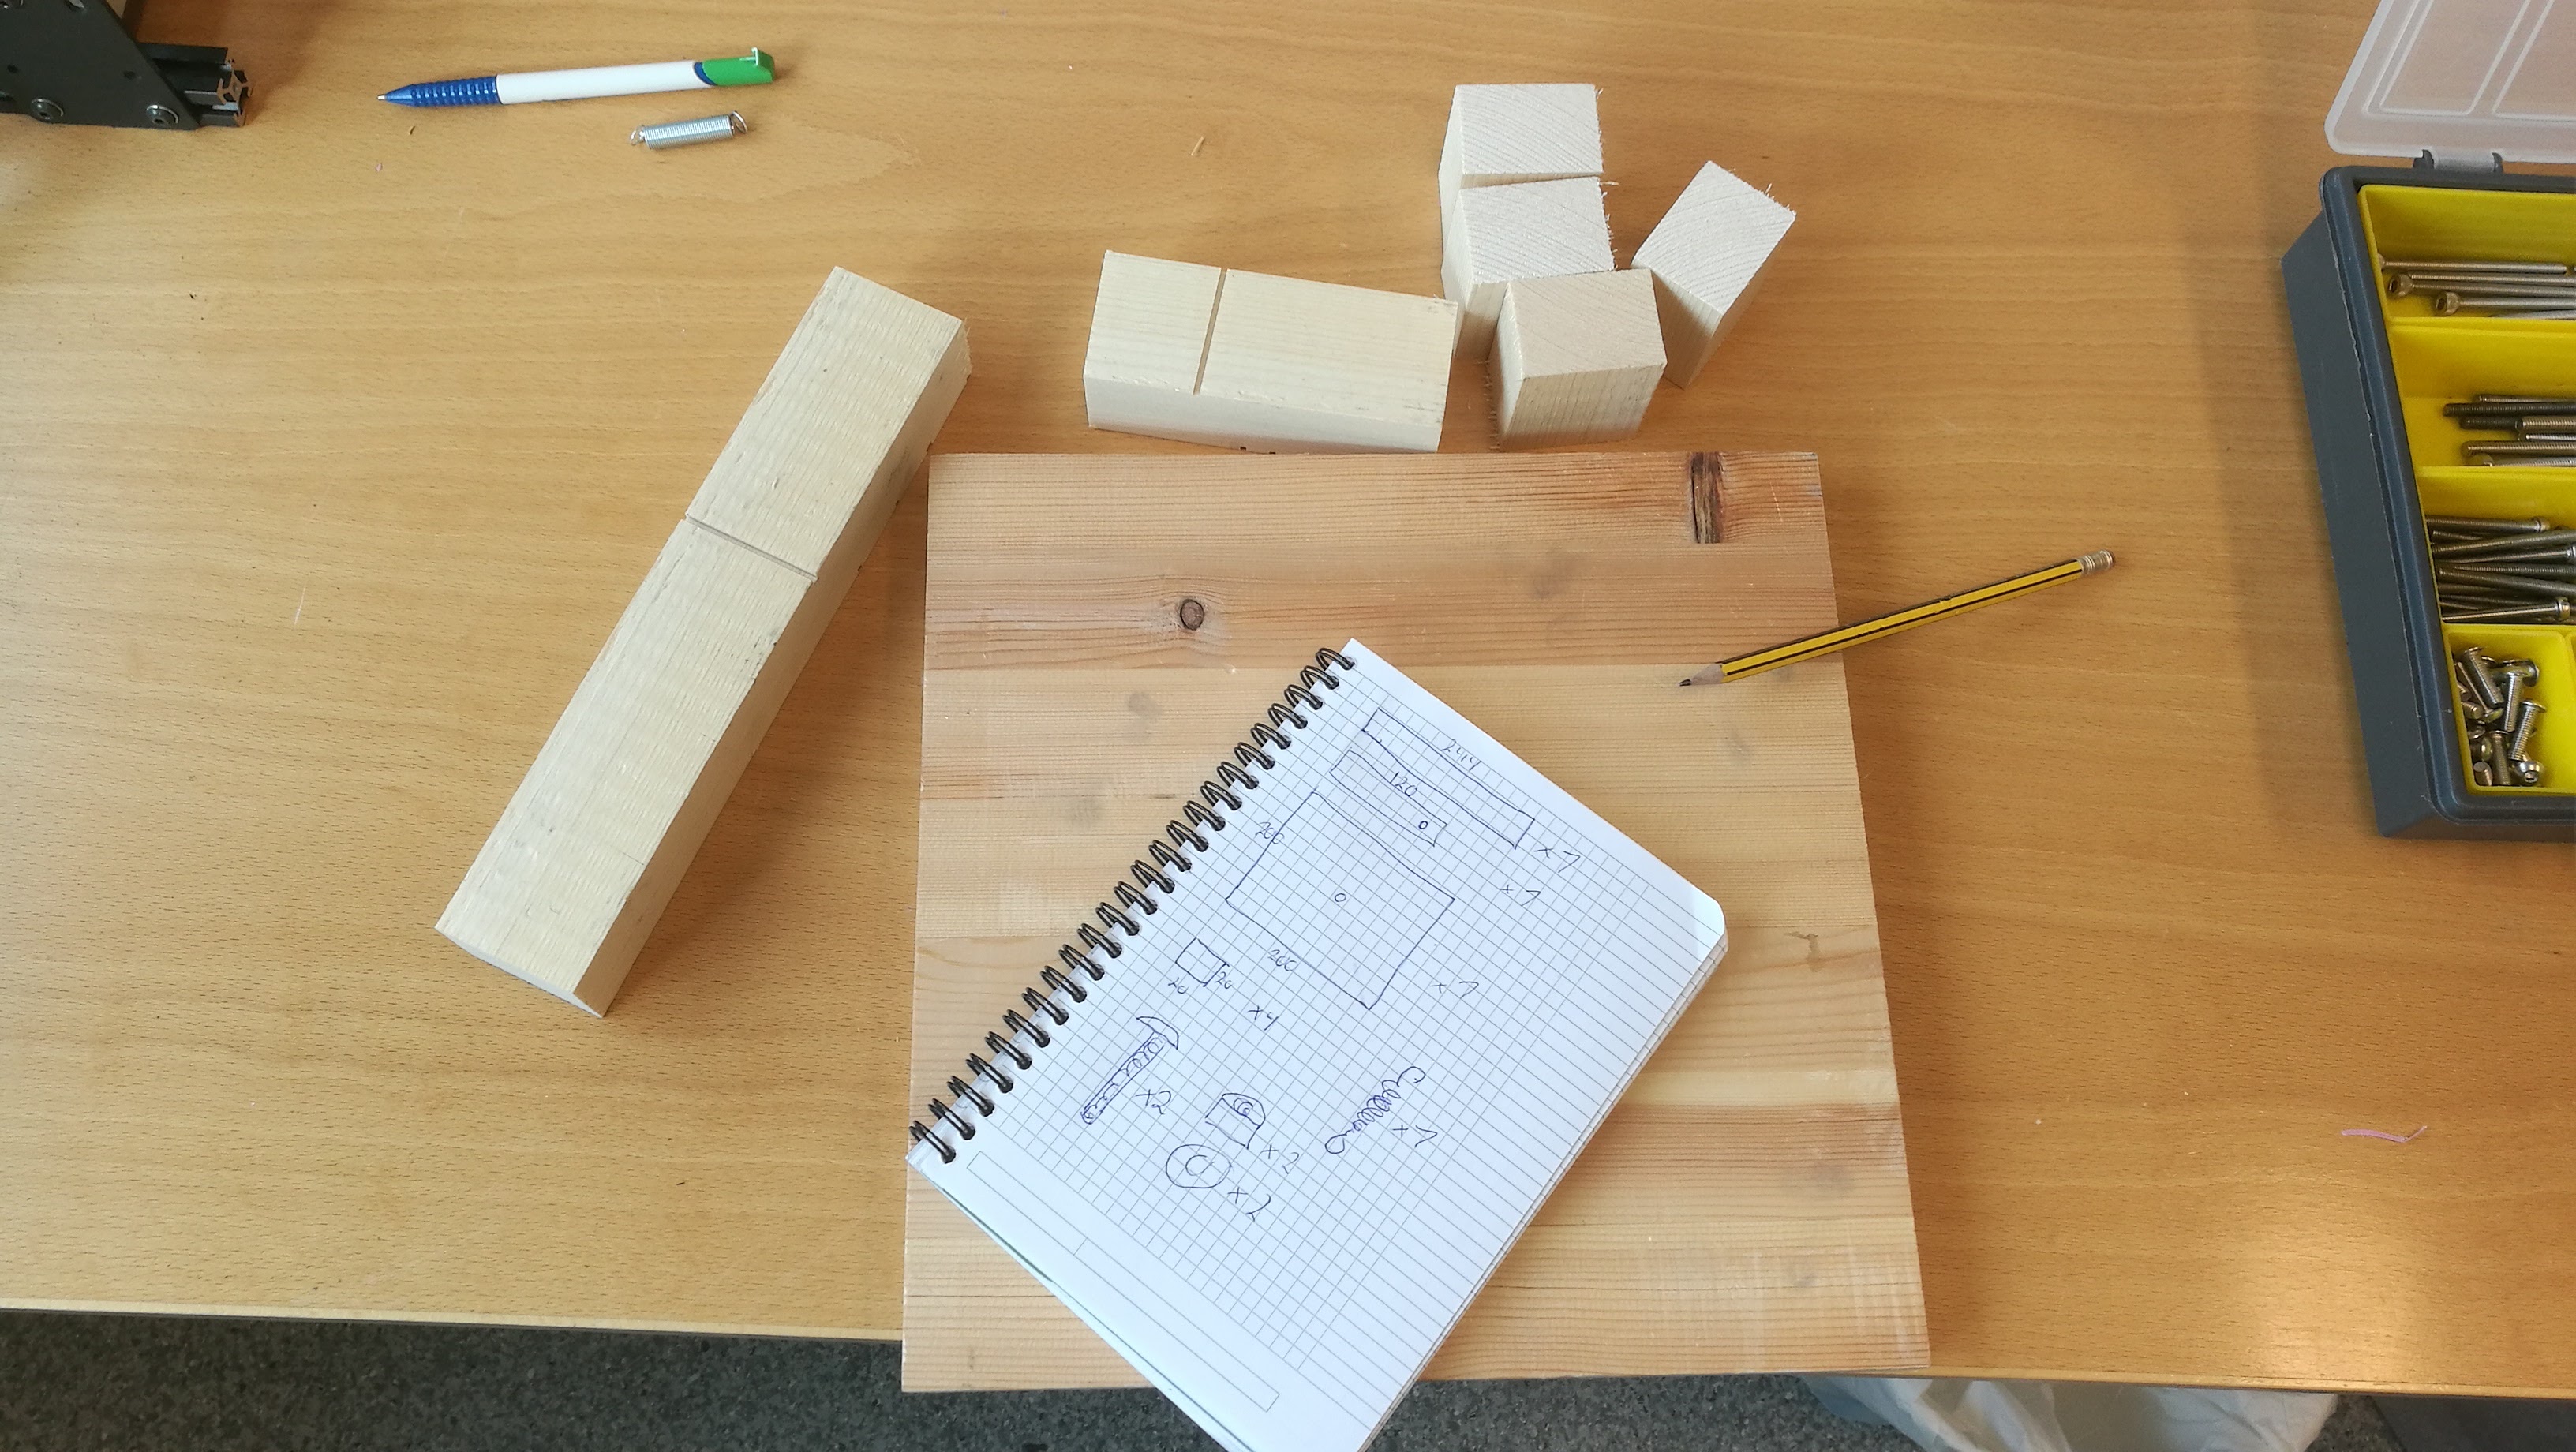
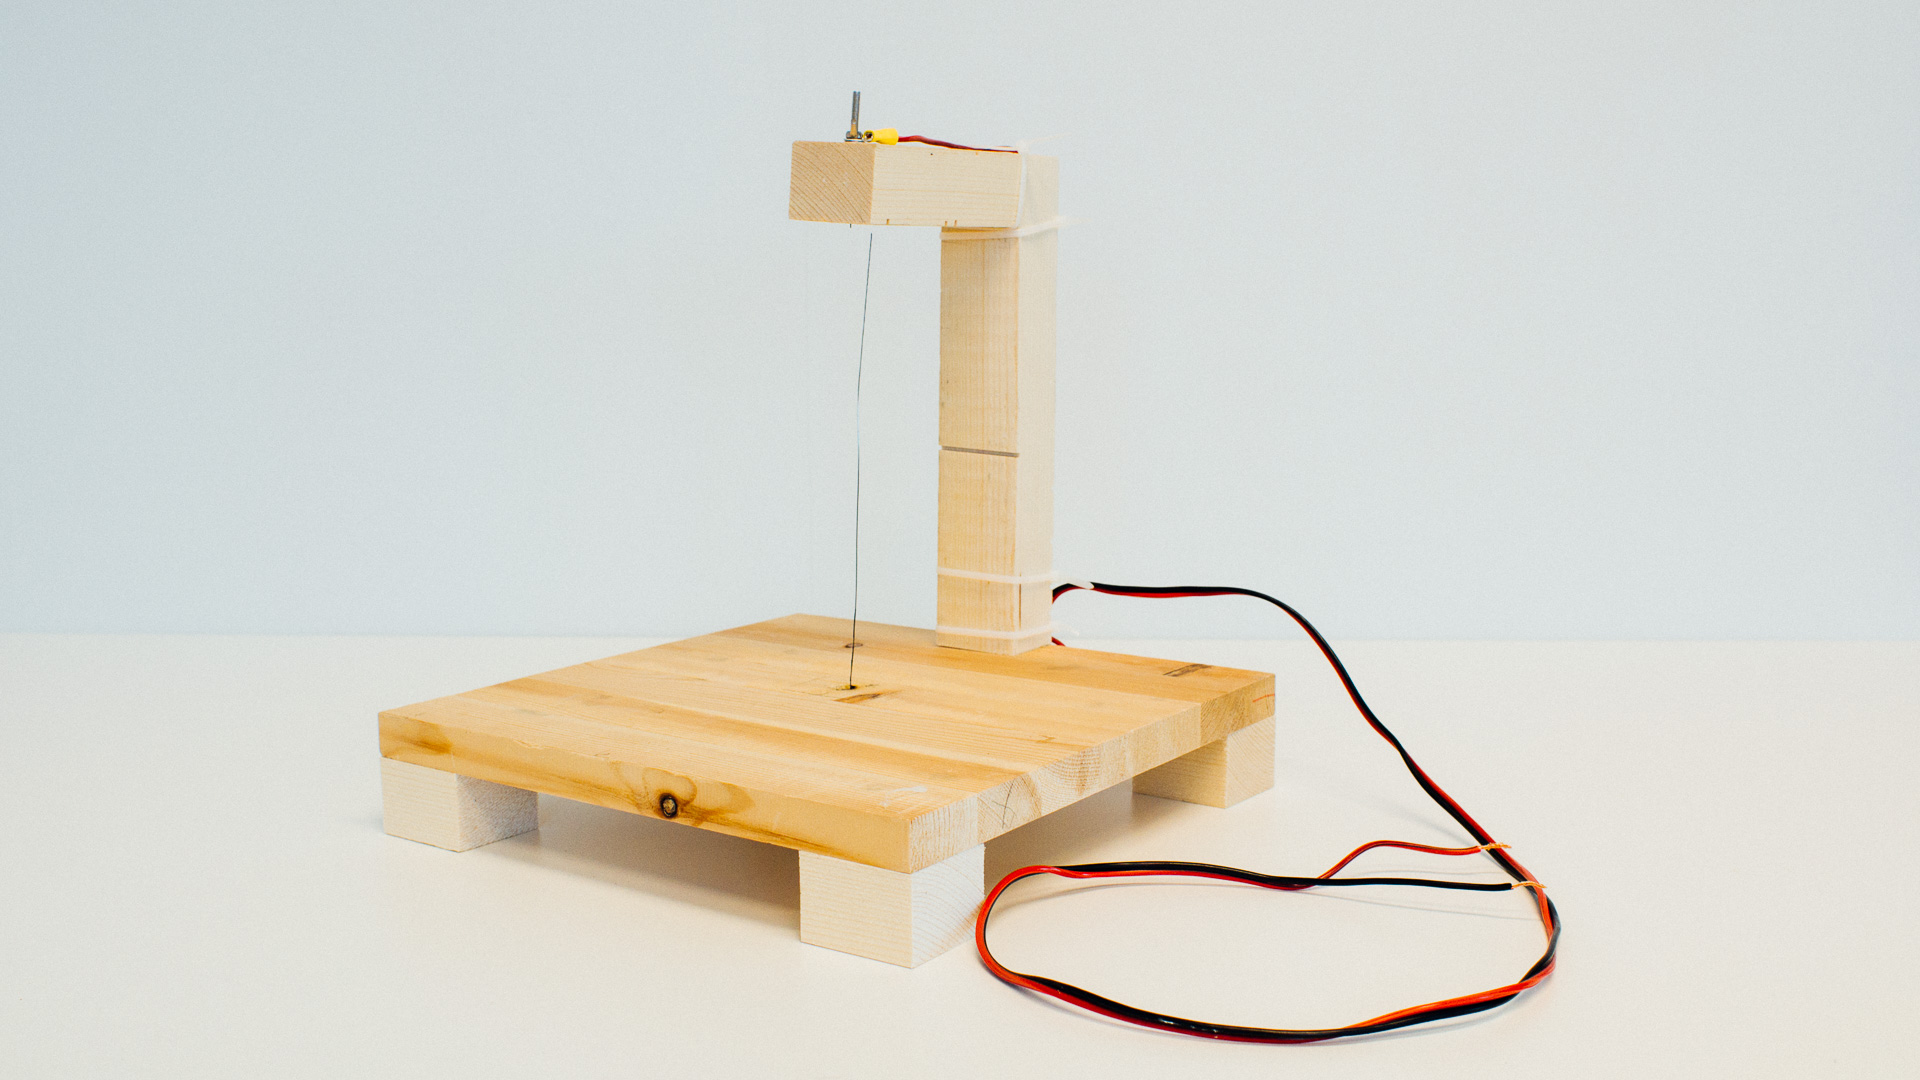
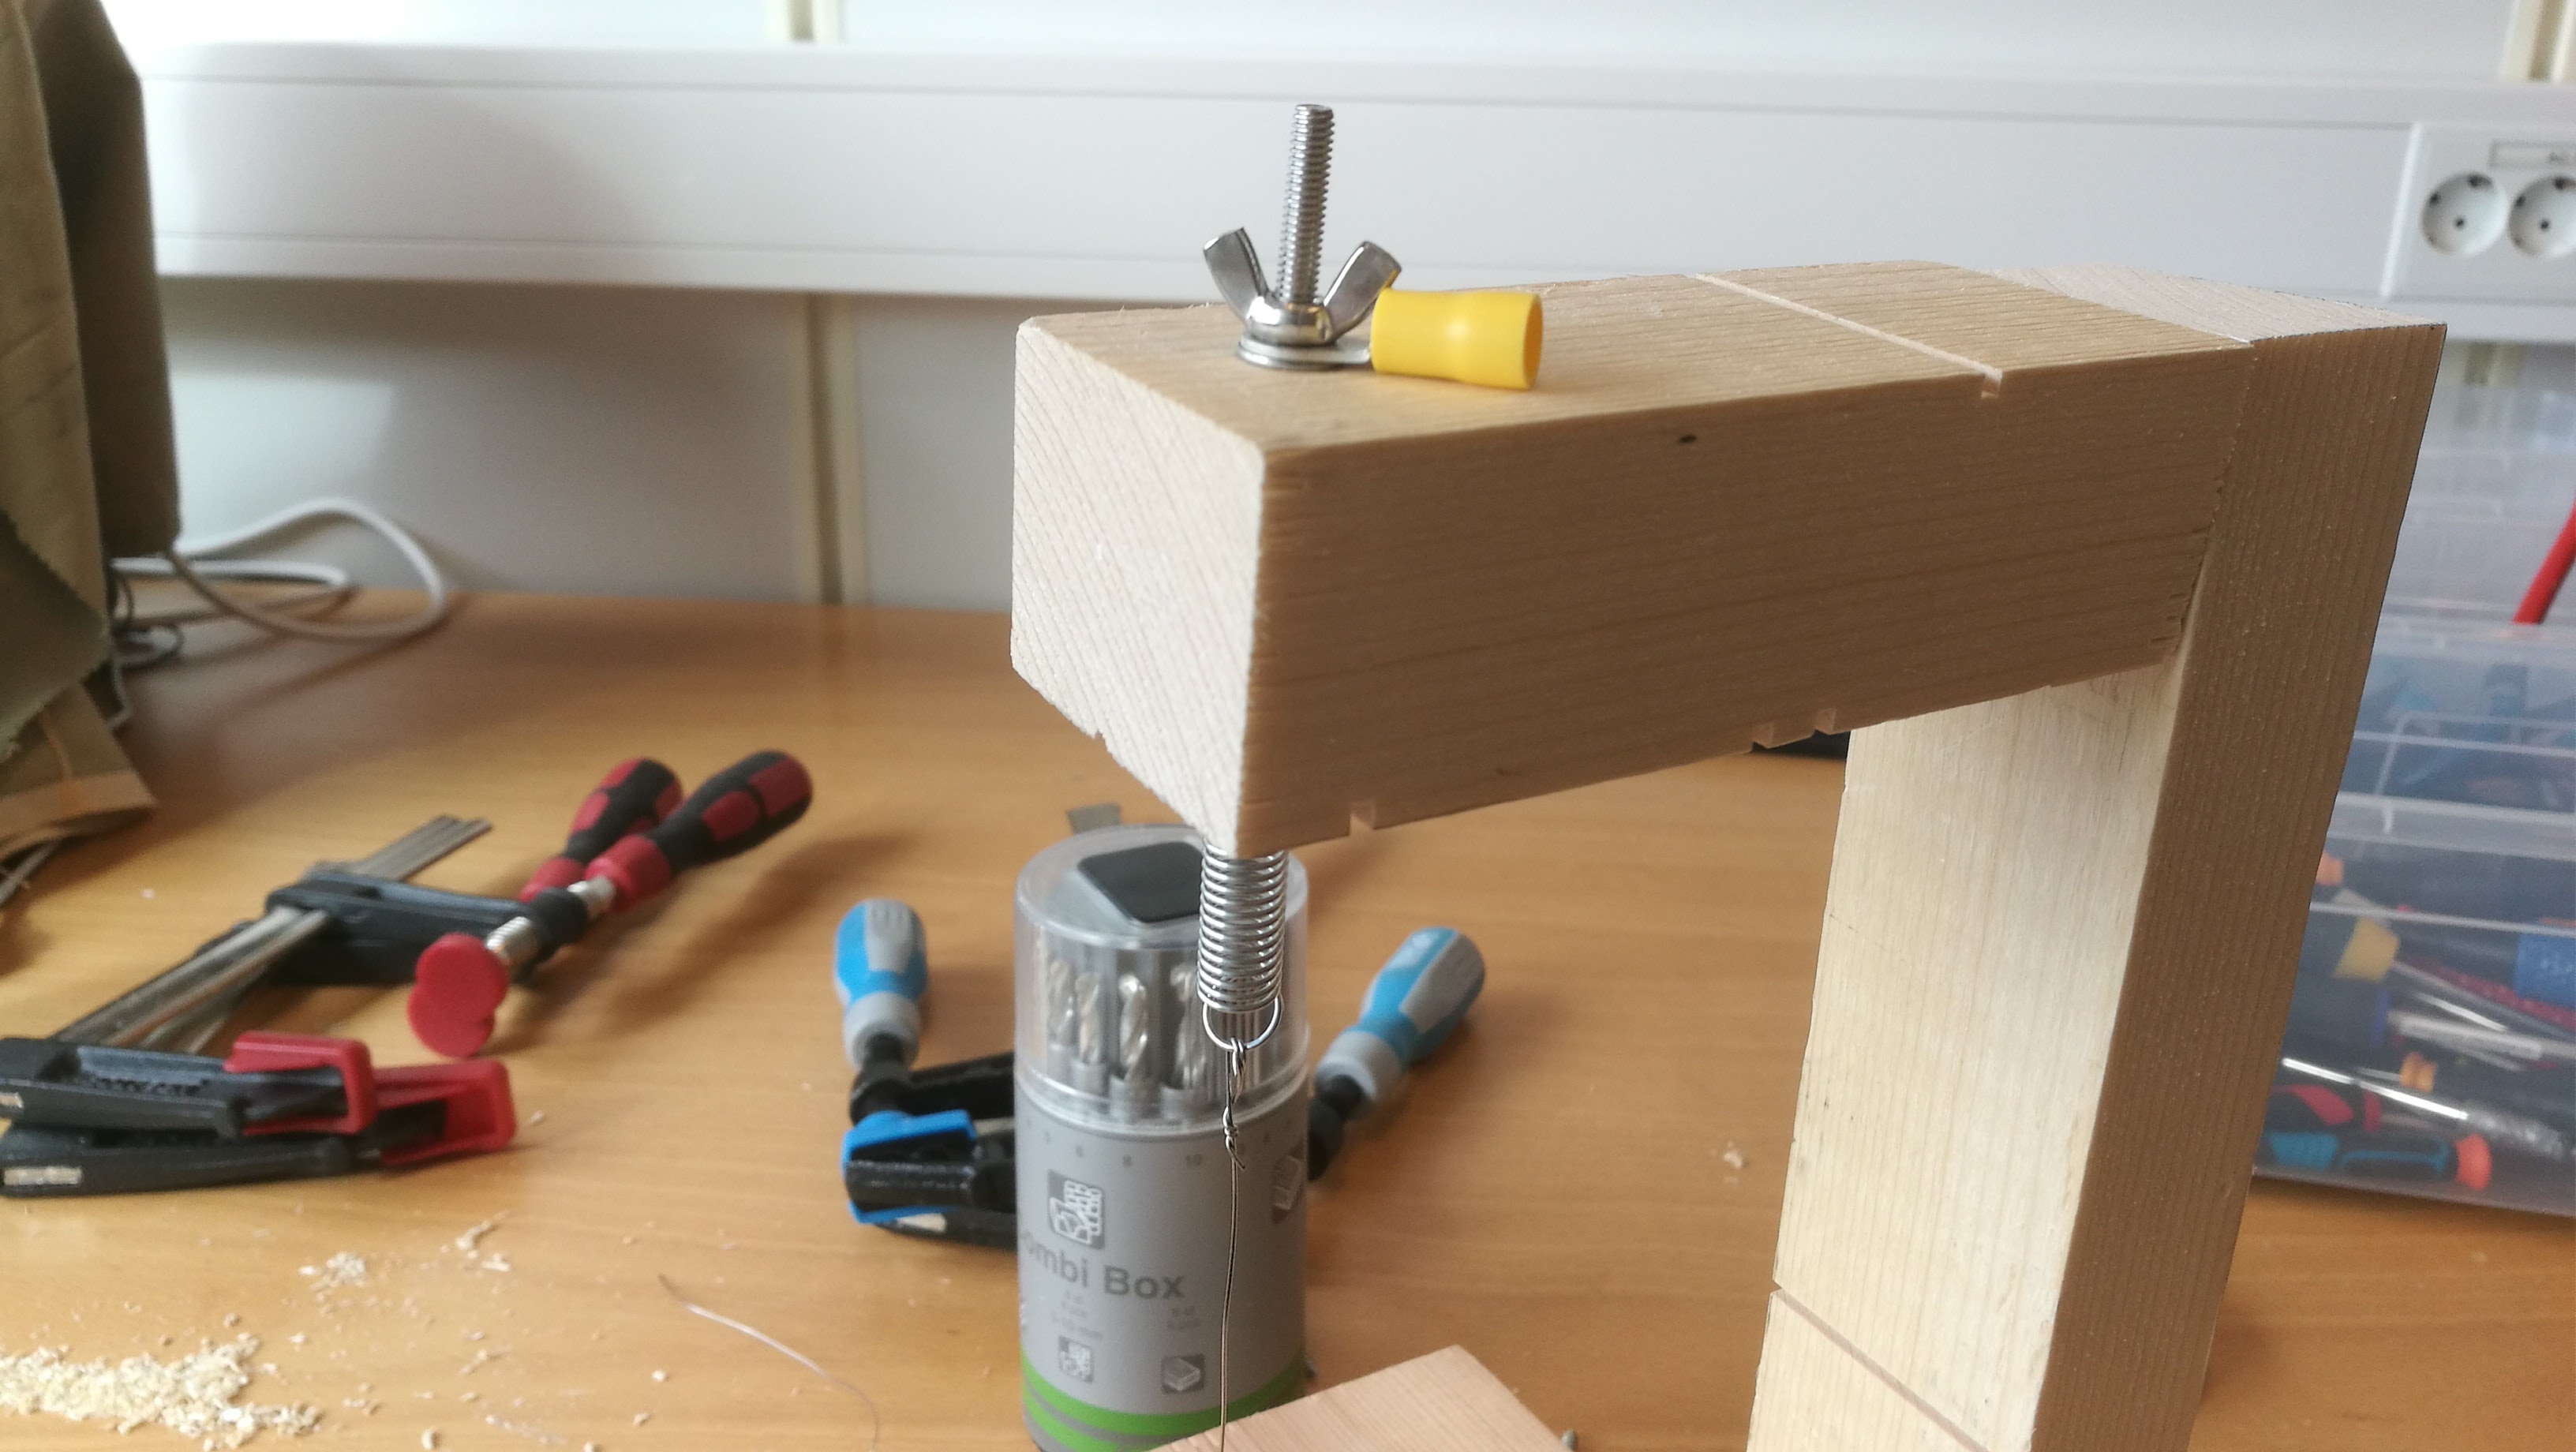
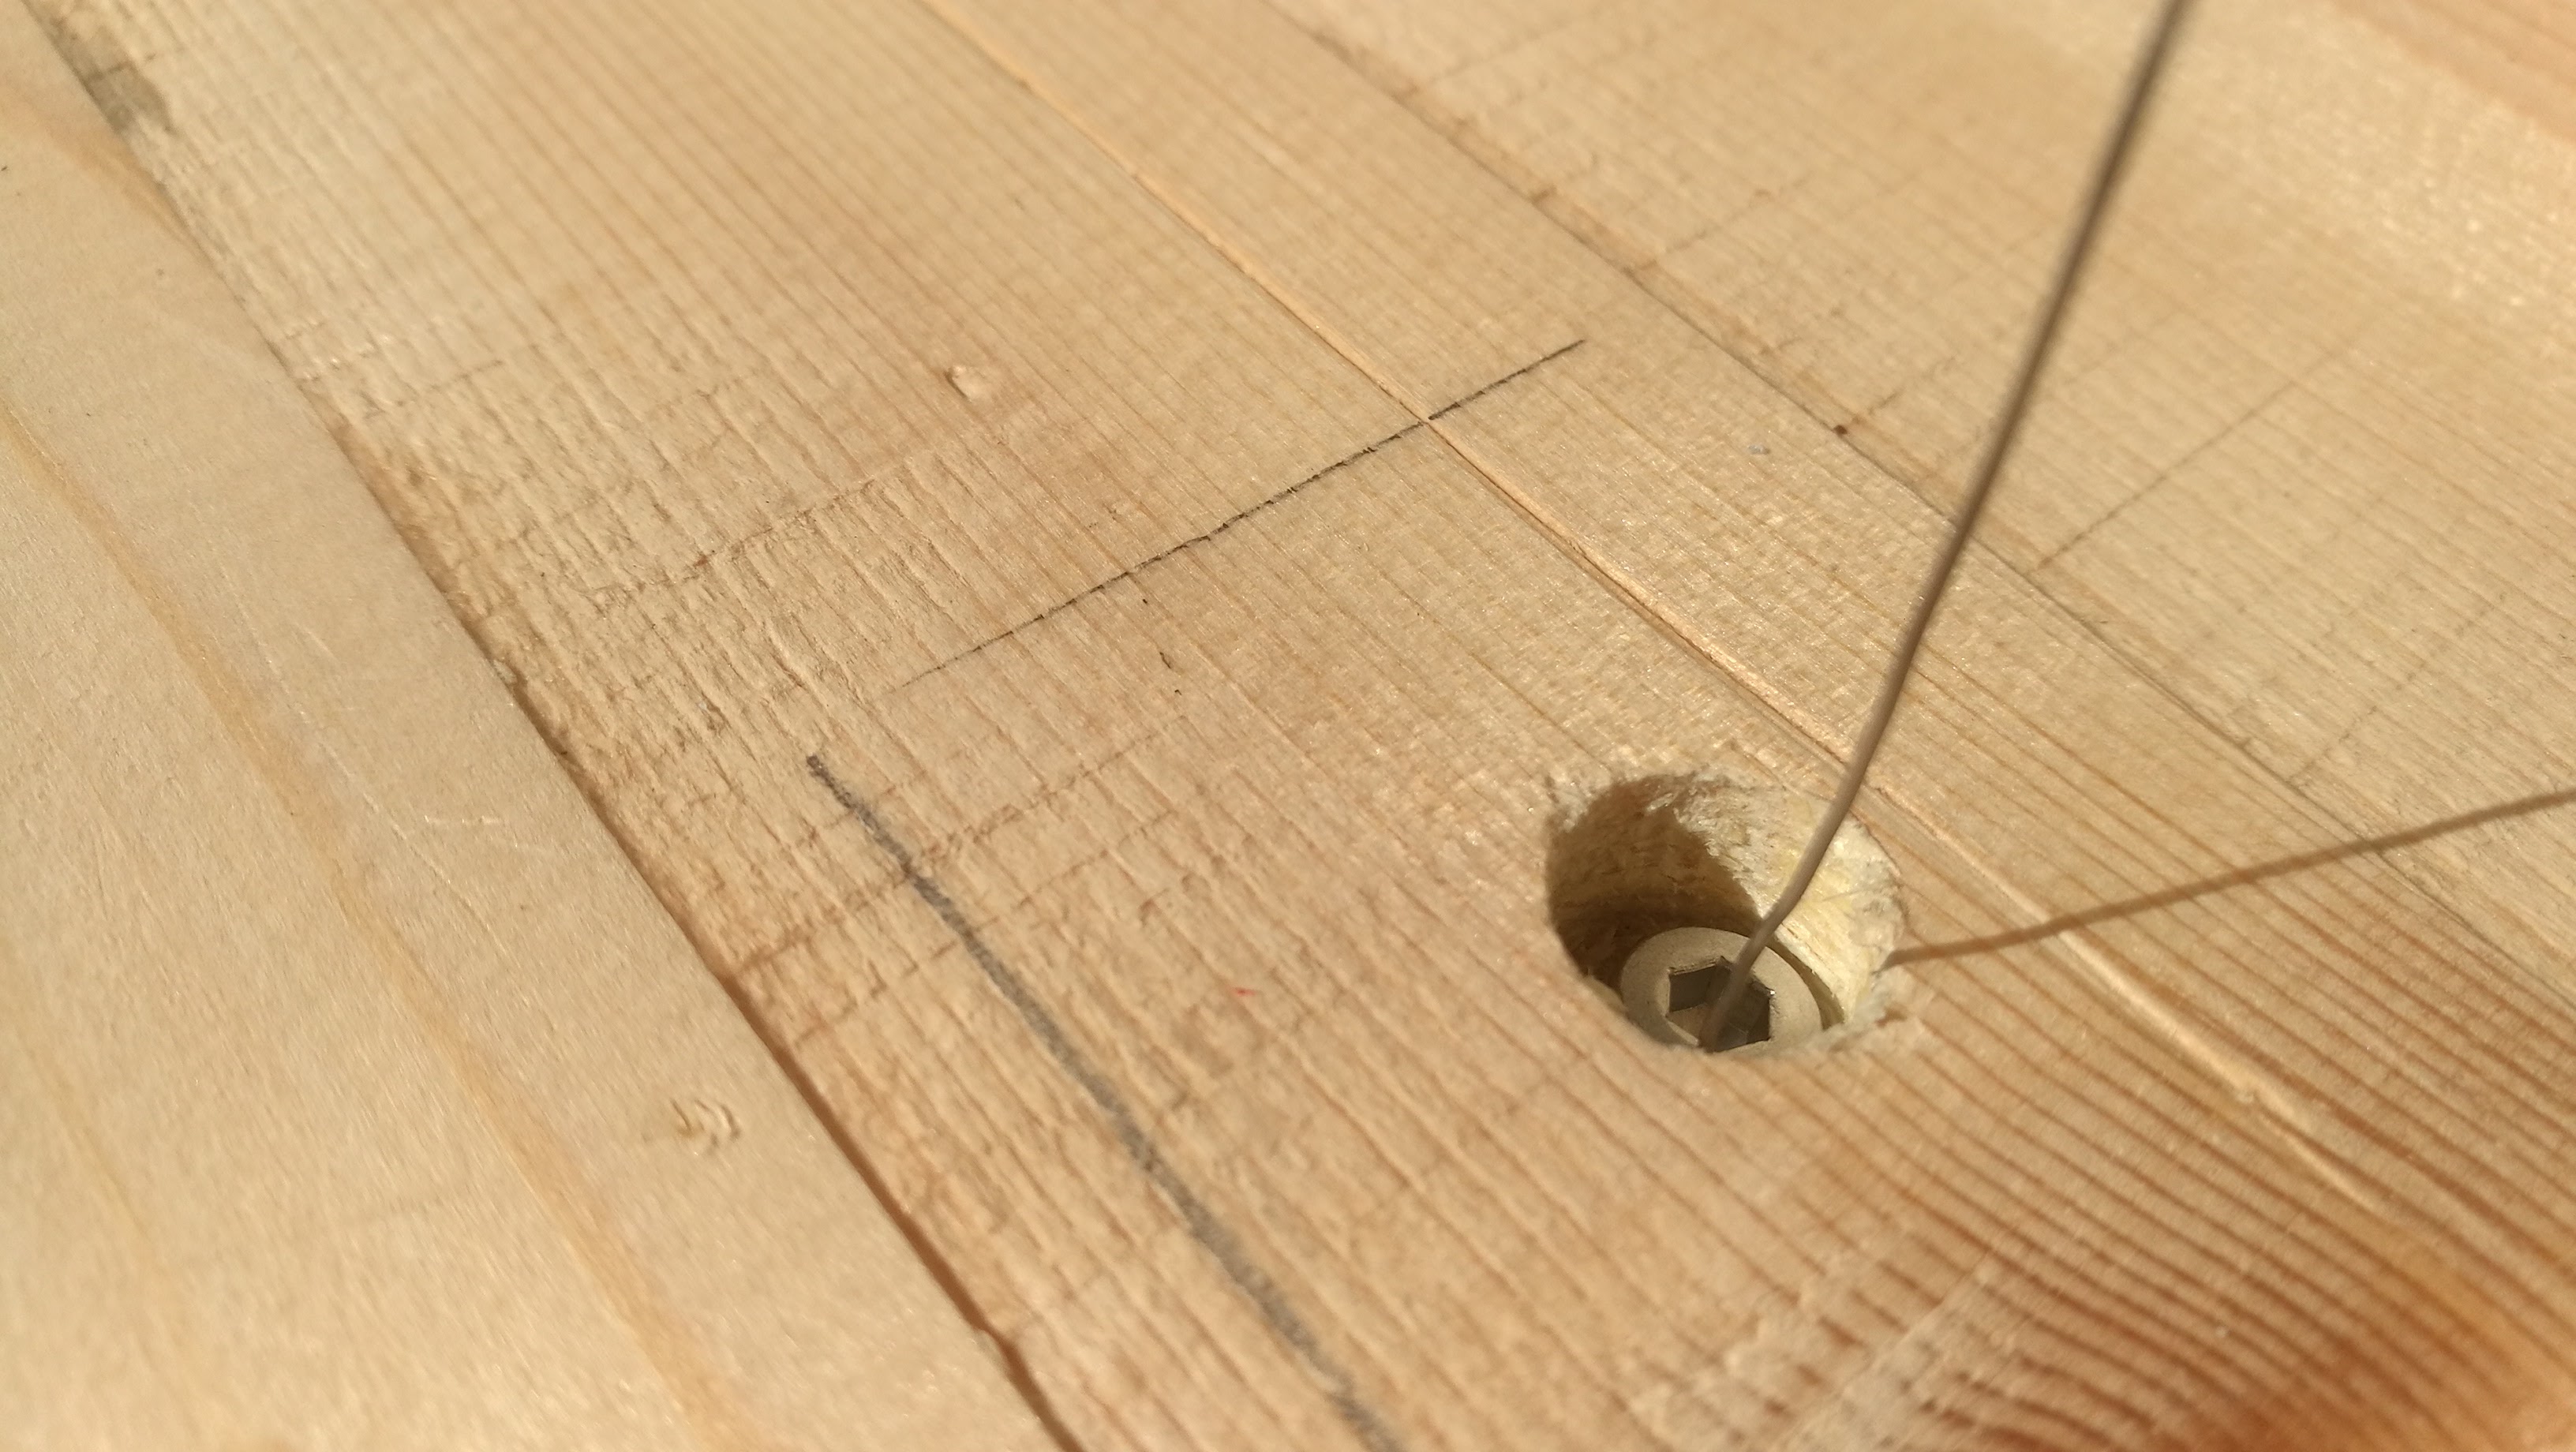
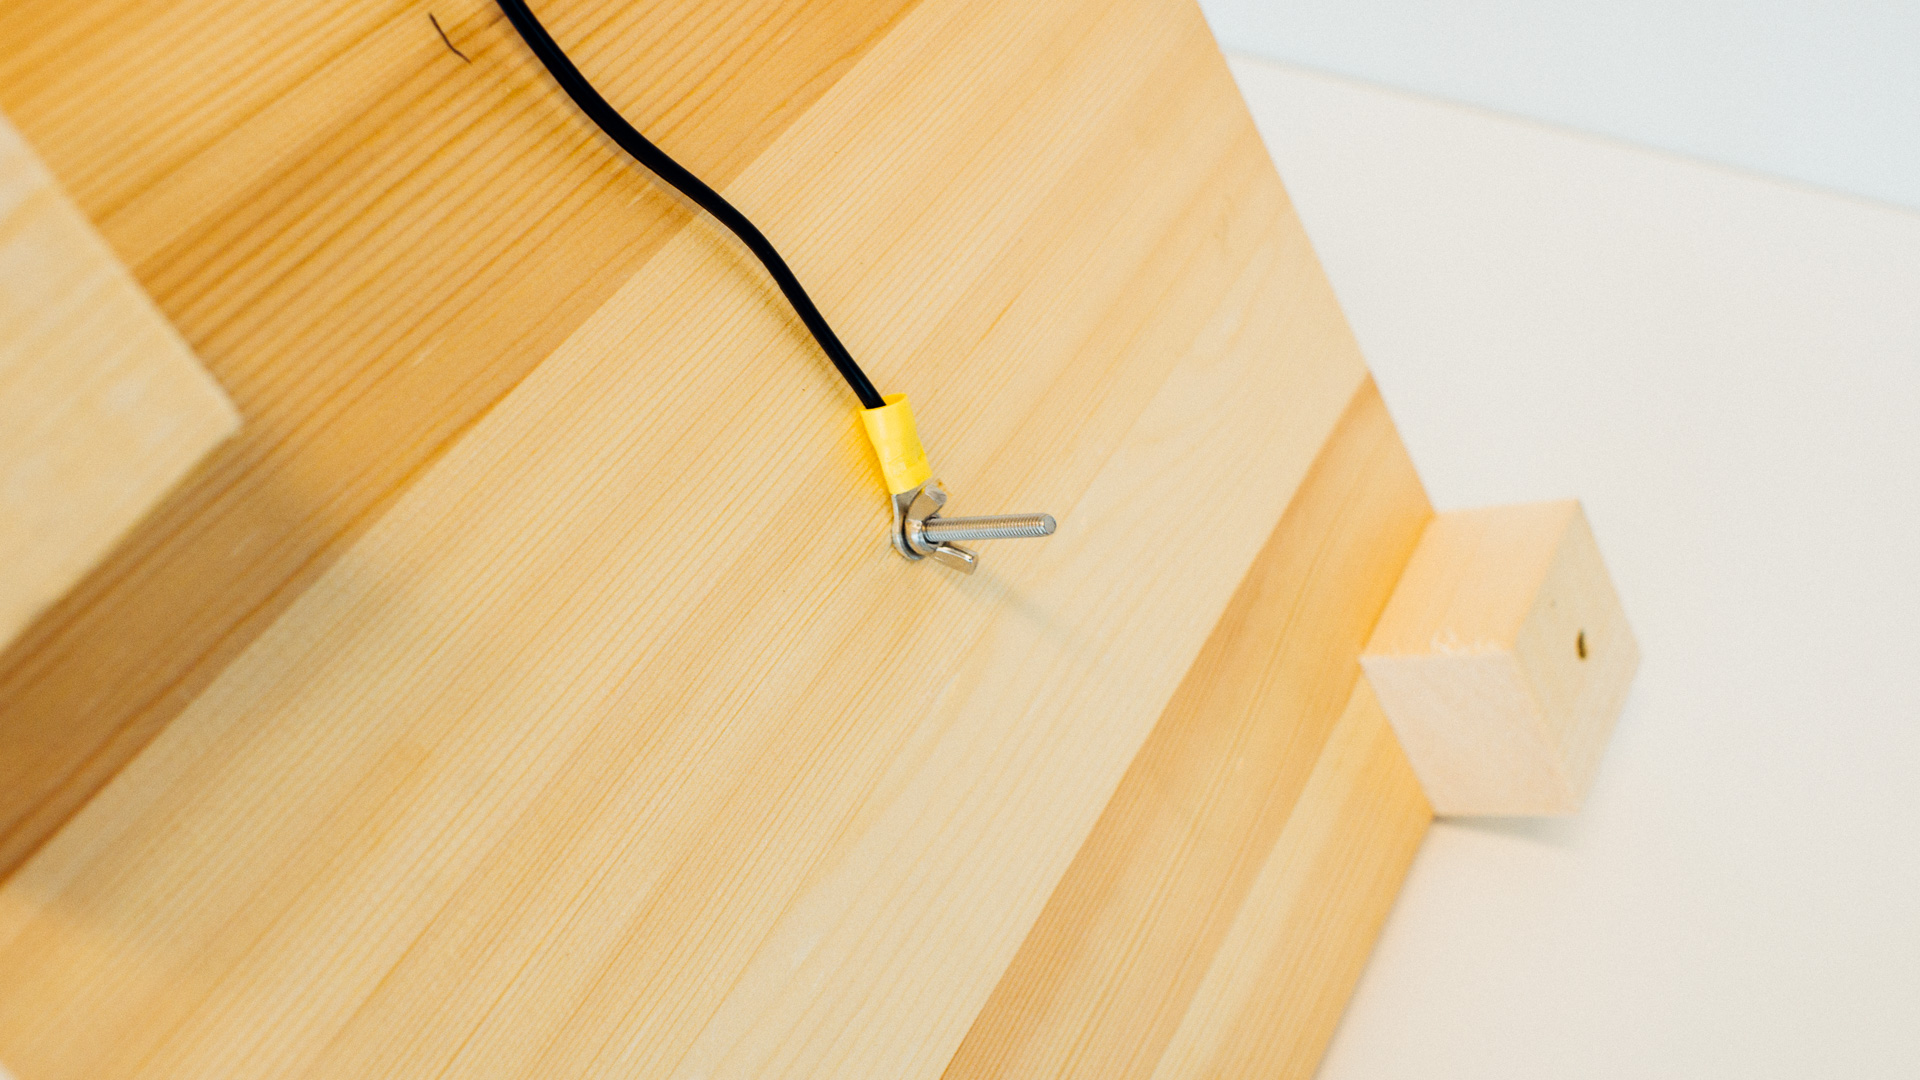
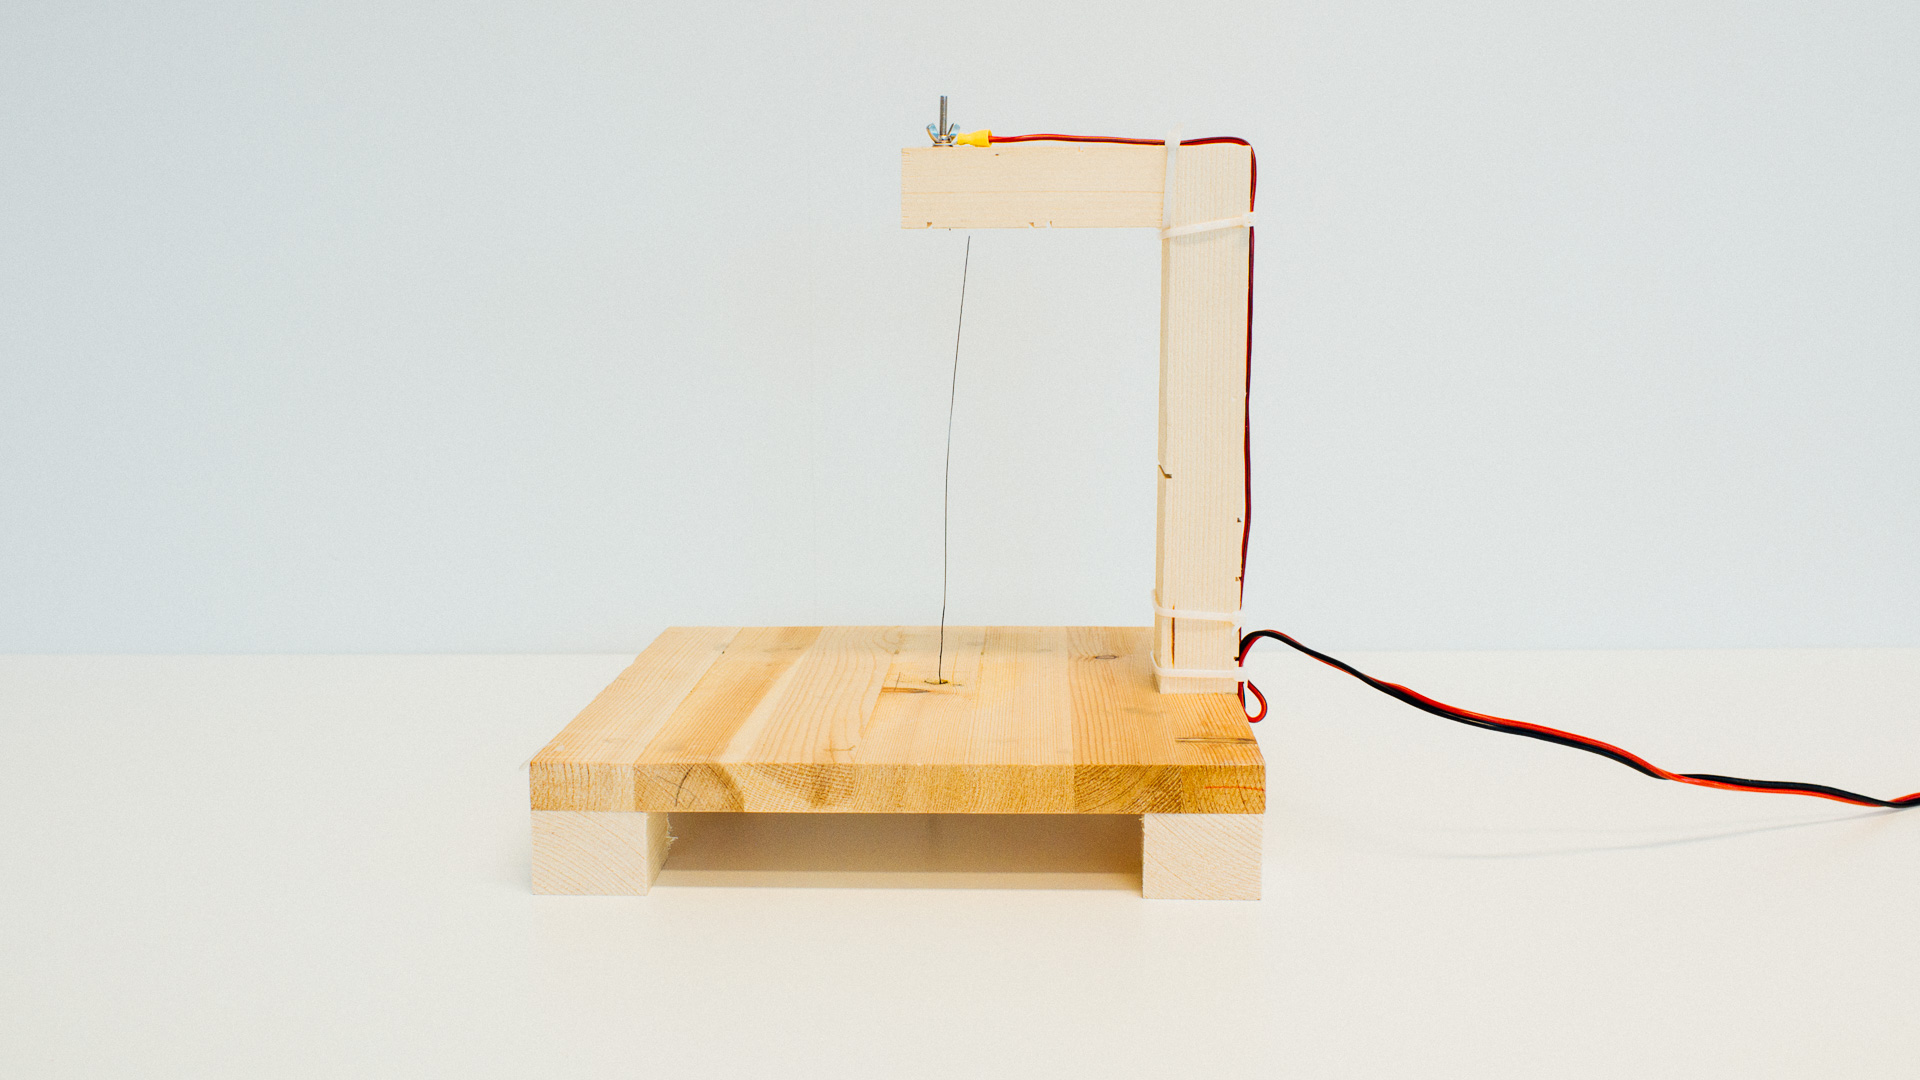
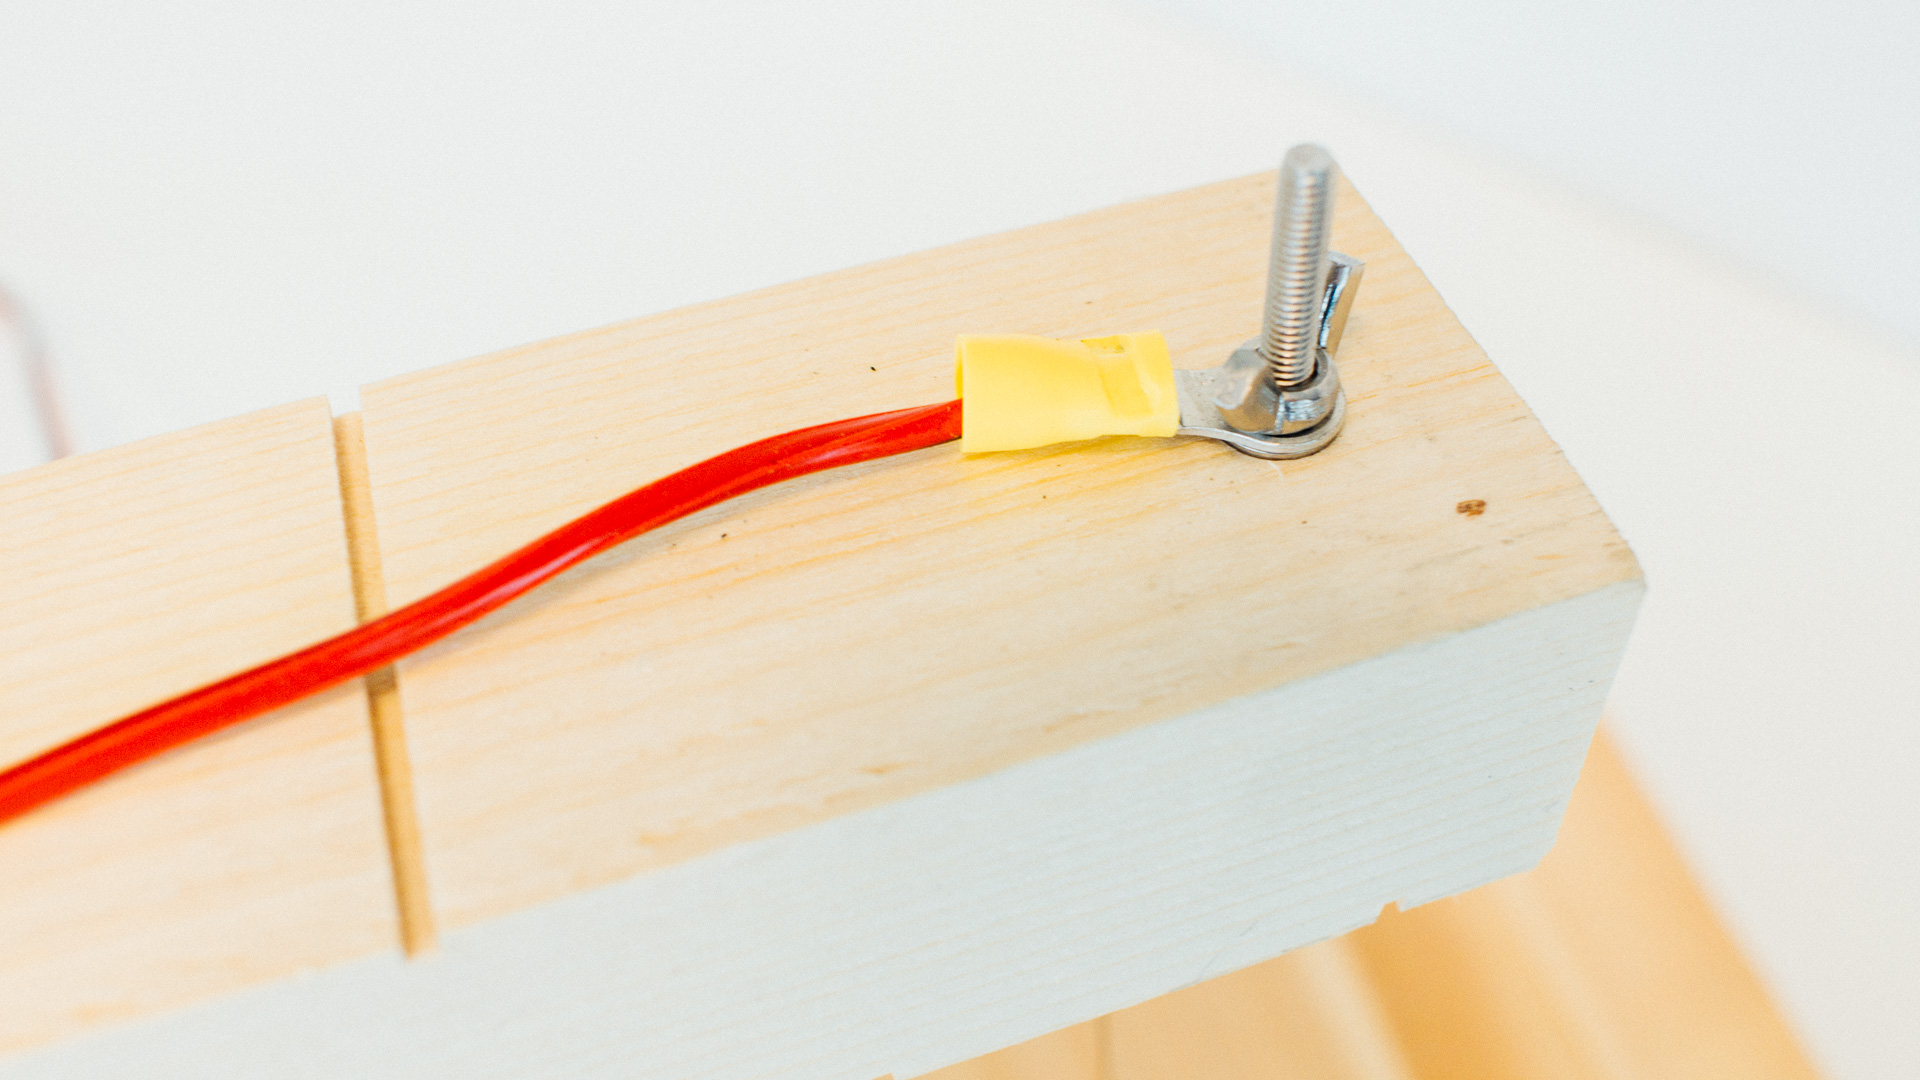
The wood was screwed together with the wooden screws as shown in the pictures below. After assembly, we cut holes in the “arm” as well as in the bottom plate. These holes would hold the bolts, which in turn holds the kanthal wire. The holes were made wide and deep on one side, allowing the bolt head to be inside the wood. The wire was fastened directly onto the bolt on the low end, and the top end was tensioned by a spring. The power cables were connected to the bolts using cable lugs. The wingnuts were used to tighten the wire to the correct tension. The cables were secured to the frame with cable ties.


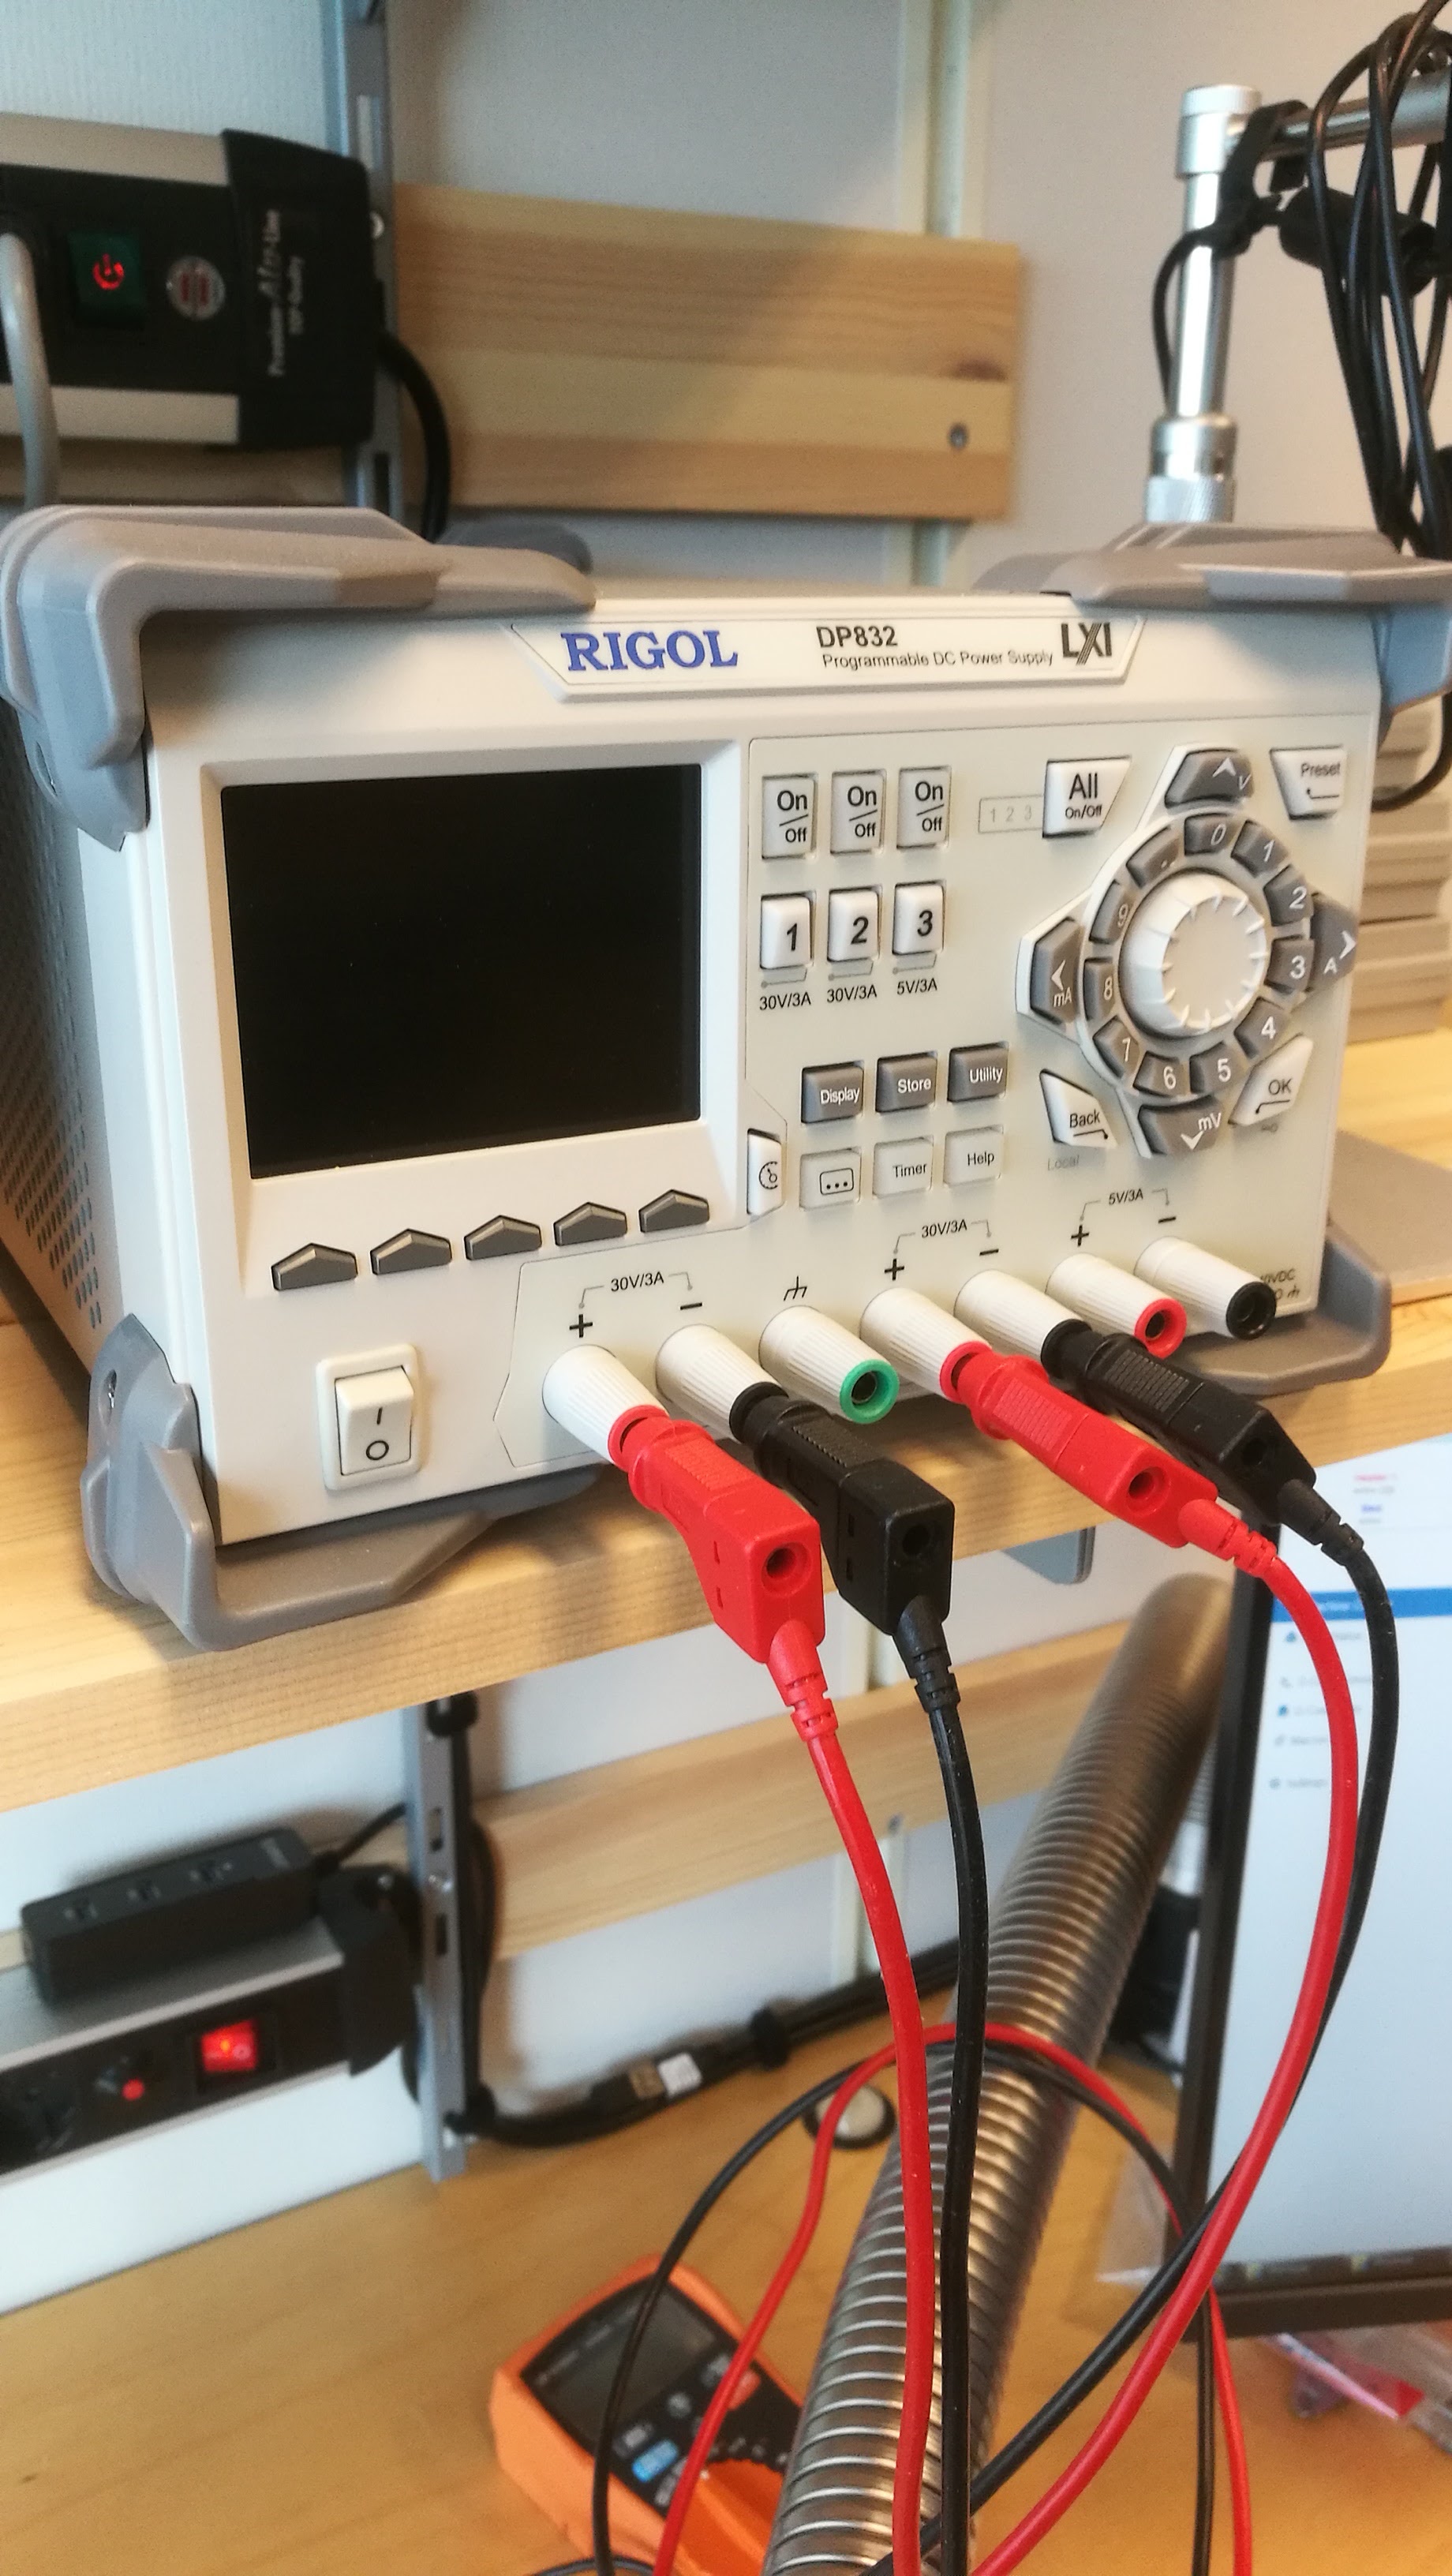
The power cables were connected to a power supply. Since the resistance in our wire was quite low (about 1 ohm), it required a whopping 5 A to become warm enough to cut EVA foam. To achieve this, we had to configure our power supply in parallell mode, using two outputs with a maximum current rating of 3 A each.
Closing Thoughts
As one can see in the pictures, the wire has snapped in two. When heated up, it becomes quite soft, which requires the tension on it to be large. In addition to the tension in the up/down direction, it is also pushed sideways by the piece which is cut. All this caused the wire to snap very easily when cutting. The spring we first used did not provide enough tension. It was replaced by a smaller one, which is hidden within the “arm” in the pictures.
These kinds of cutters are more suited for less dense materials like polystyrene foam. When cutting dense EVA foam, the wire would bend too much making it hard to make precise cuts. The cutter worked great for other less dense materials. After testing the foam cutter, we went on to use our CNC mill to cut the foam. Although the milling bits get dull pretty fast, it cuts our our parts precisely and with a nice finish. A 100W laser cutter will probably also do the trick, but that machine is still on our wish list unfortunately.
Our wire had a very low electrical resistance of about 1 ohm. We have seen others using NiChrome wire or a guitar string instead of Kanthal wire. These options might have better strength and electrical resistance, making them more suited.