Building a CNC Machine

This is the first post in a series of four where we’ll be talking about CNC related stuff, mainly because CNC milling is awesome!

For a long time we at NC have been dreaming of having easy access to a proper CNC machine. Now our dream has come true thanks to FIX, which is the name of the makerspace in our basement we have helped getting on its feet.

For those of you who don’t know what a CNC is, it’s a machine which can drill and cut (remove material in general) very accurately using tools reminiscent of regular power drills. CNC machines come in many shapes, sizes and forms (everything from this to this or even this).

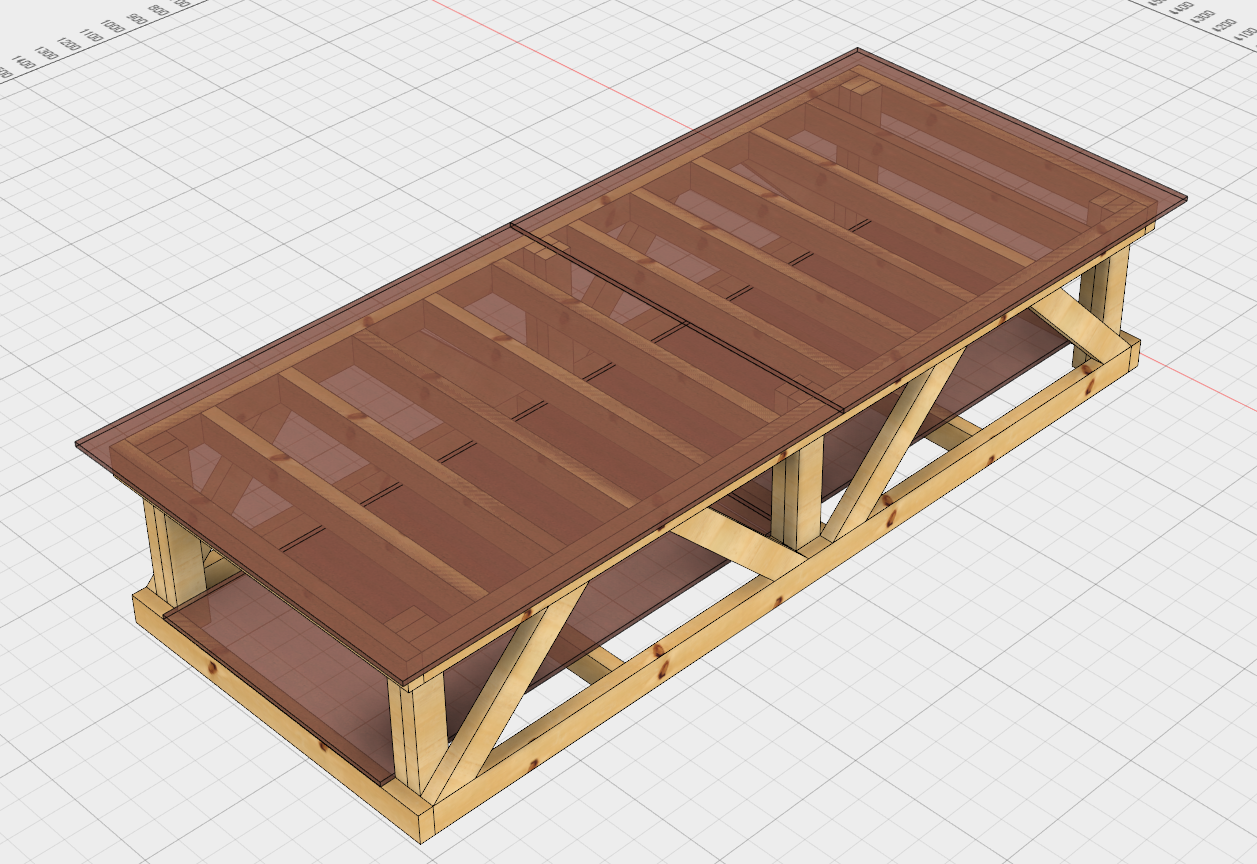
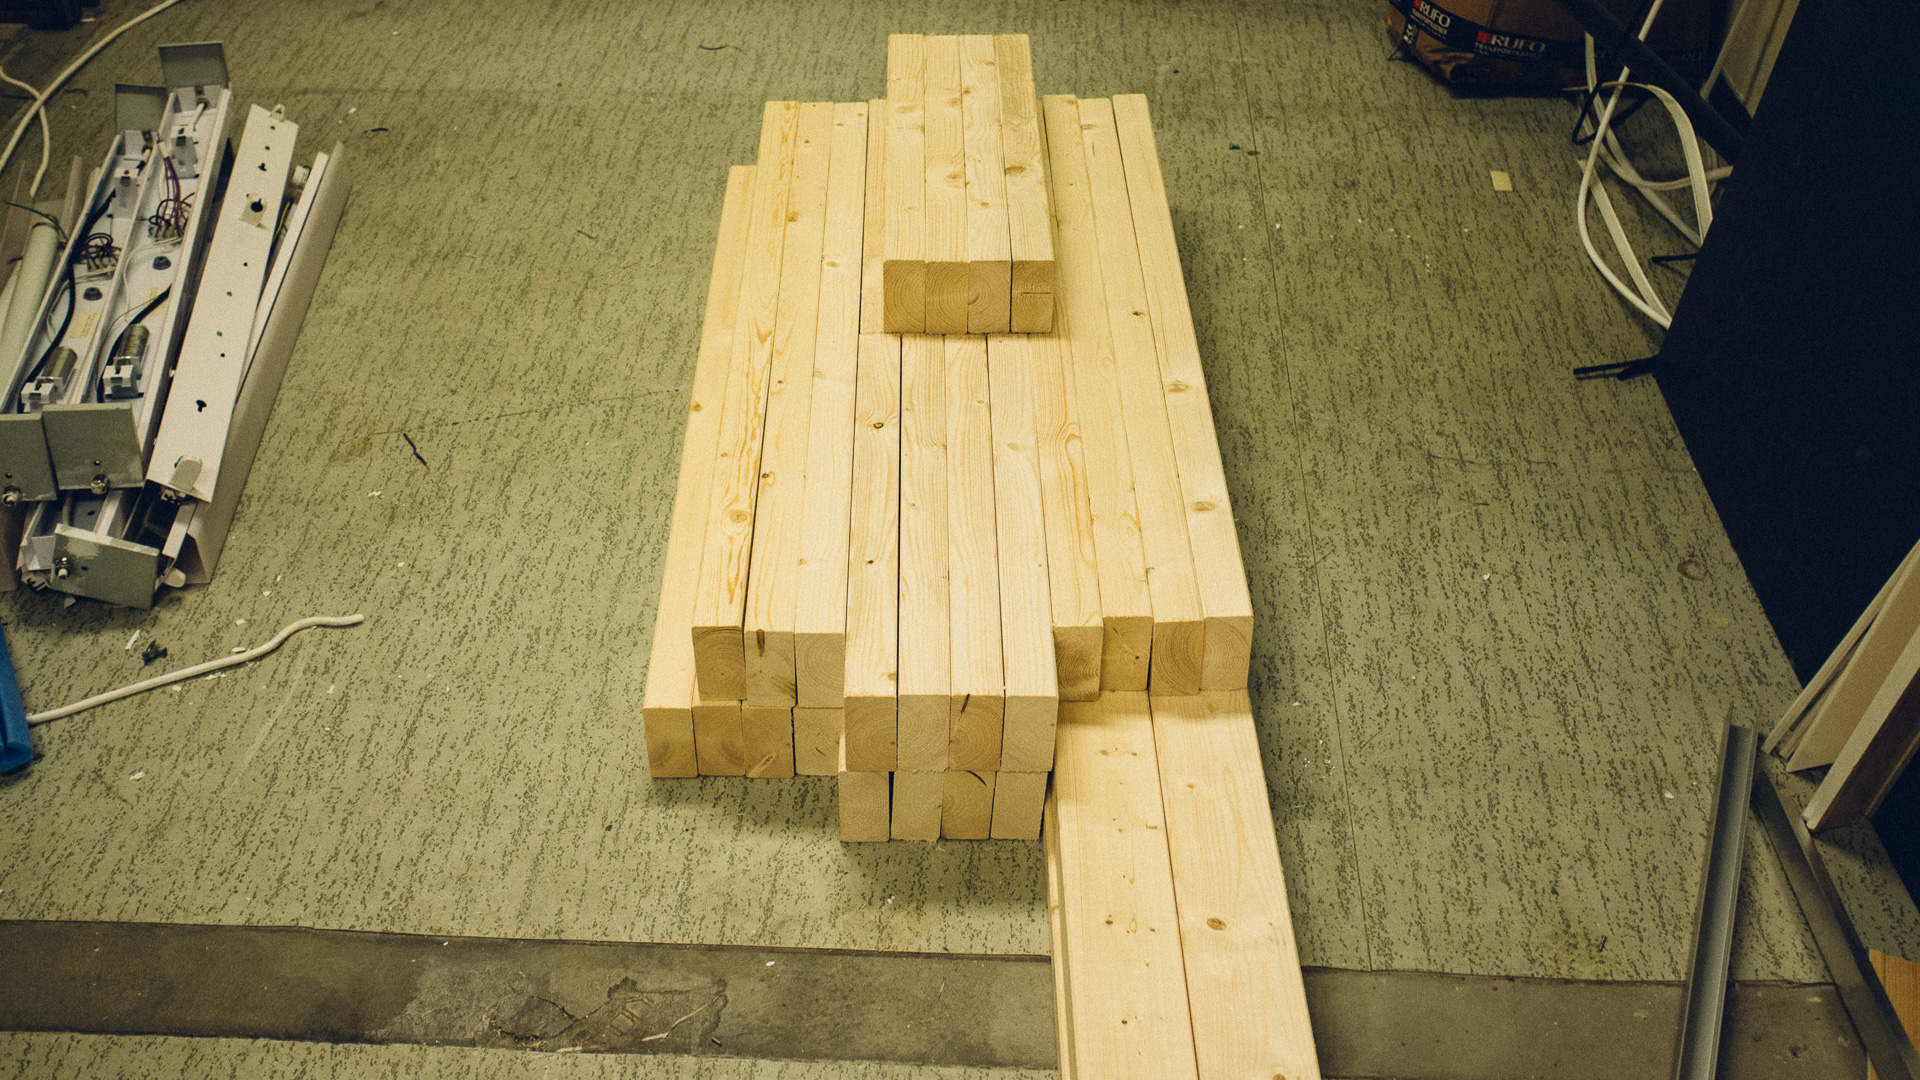
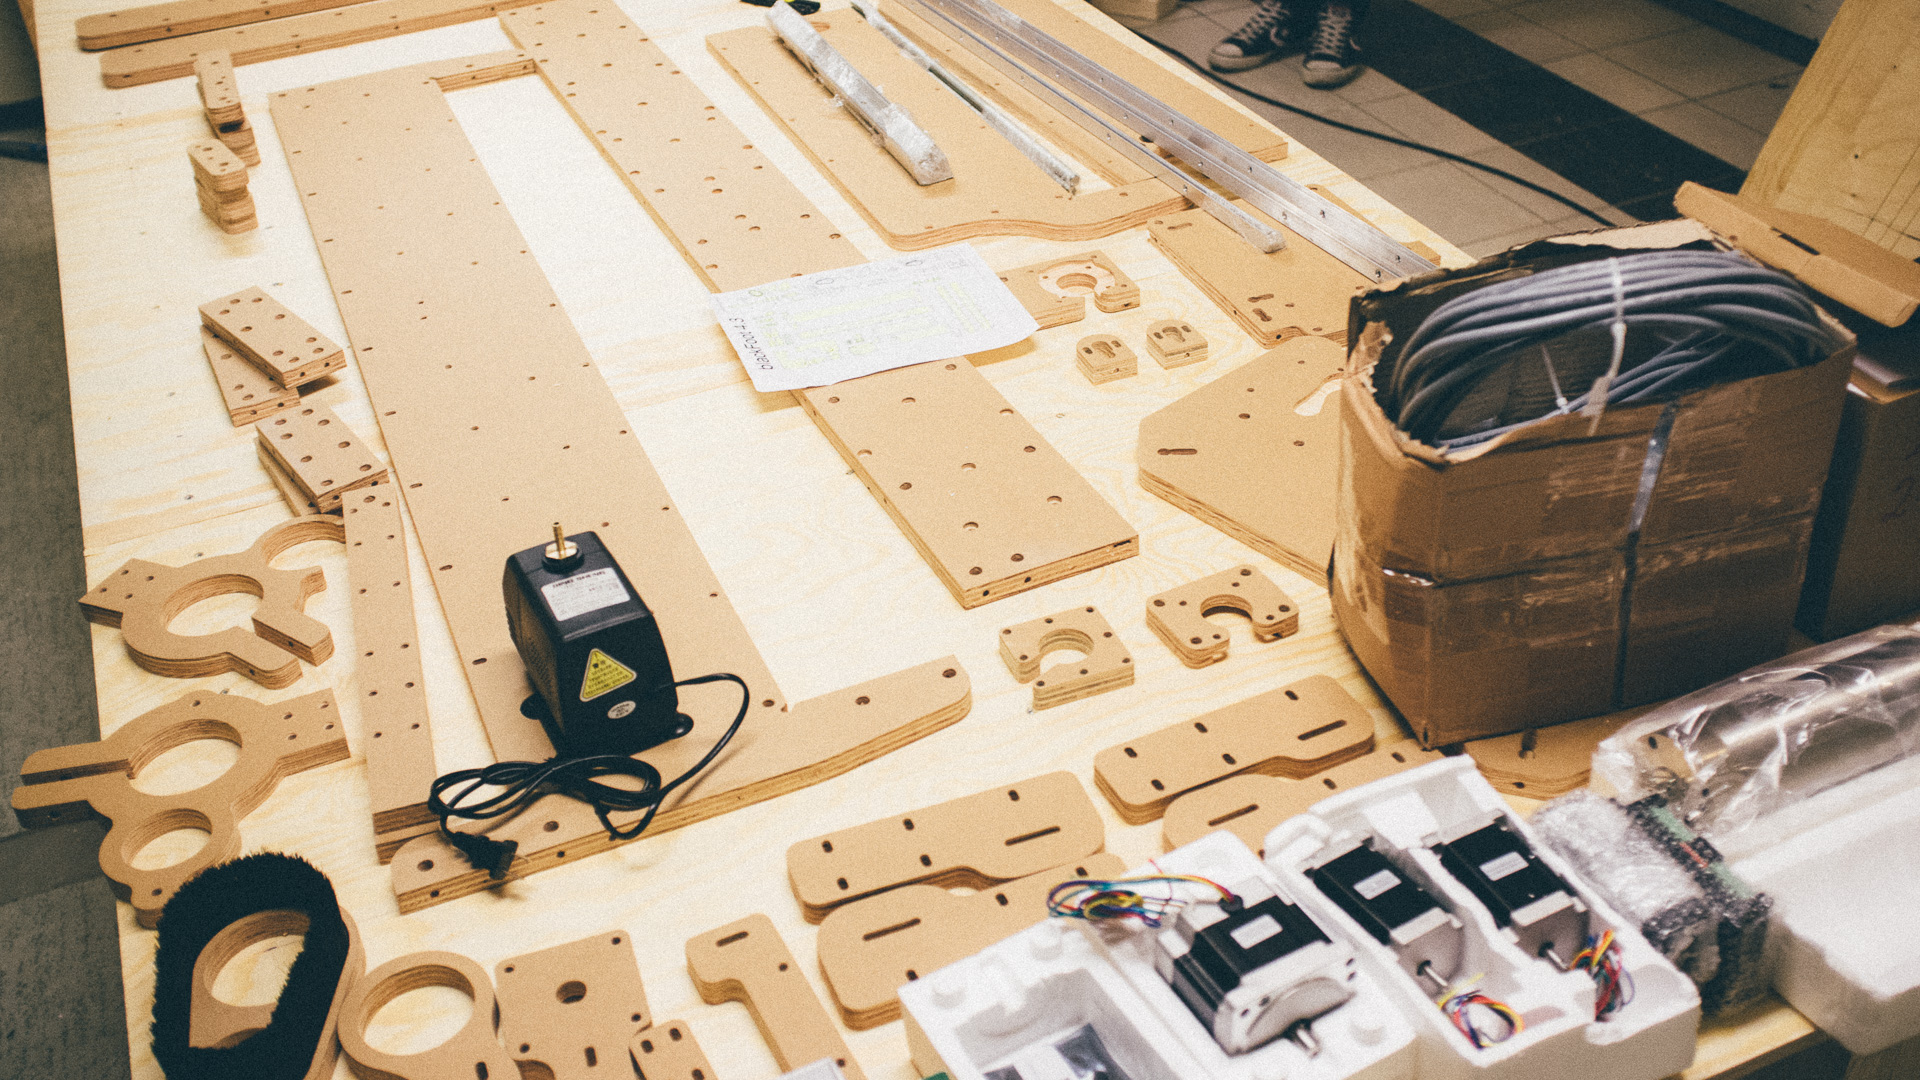
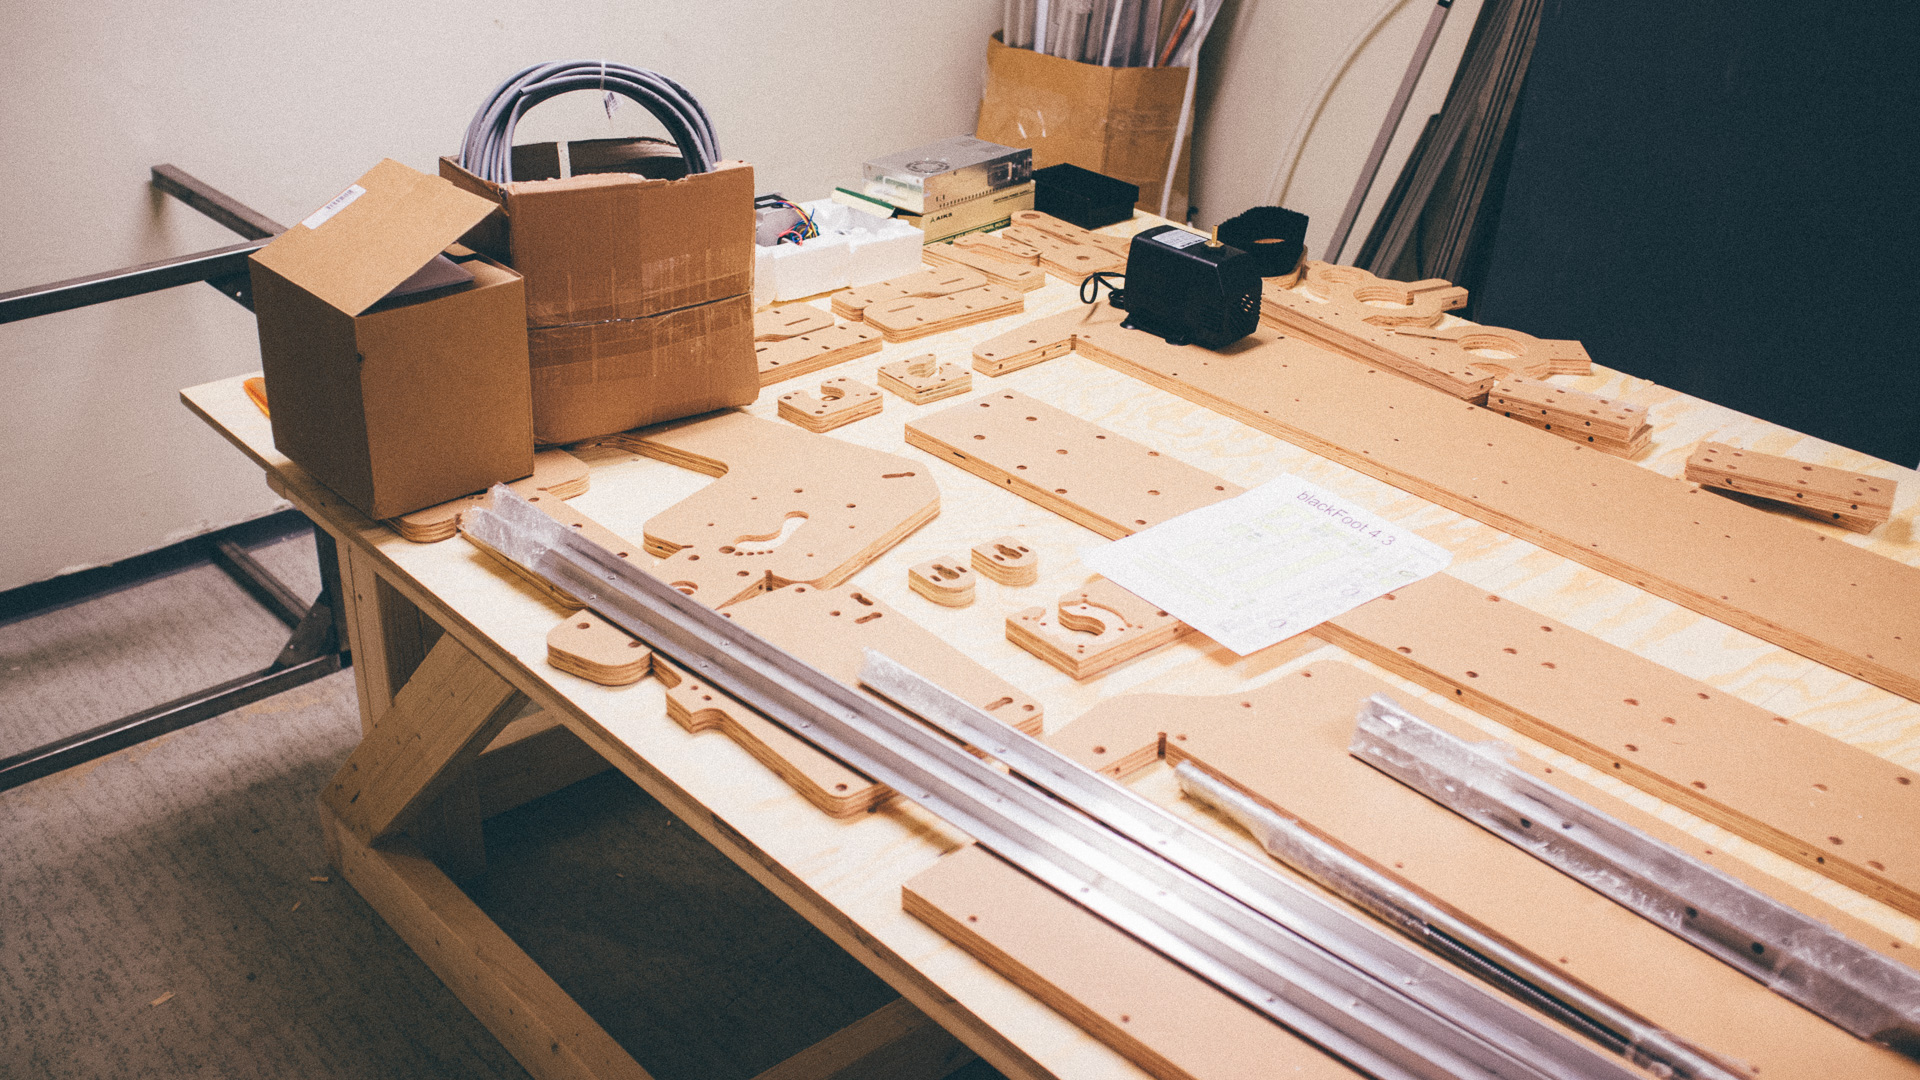
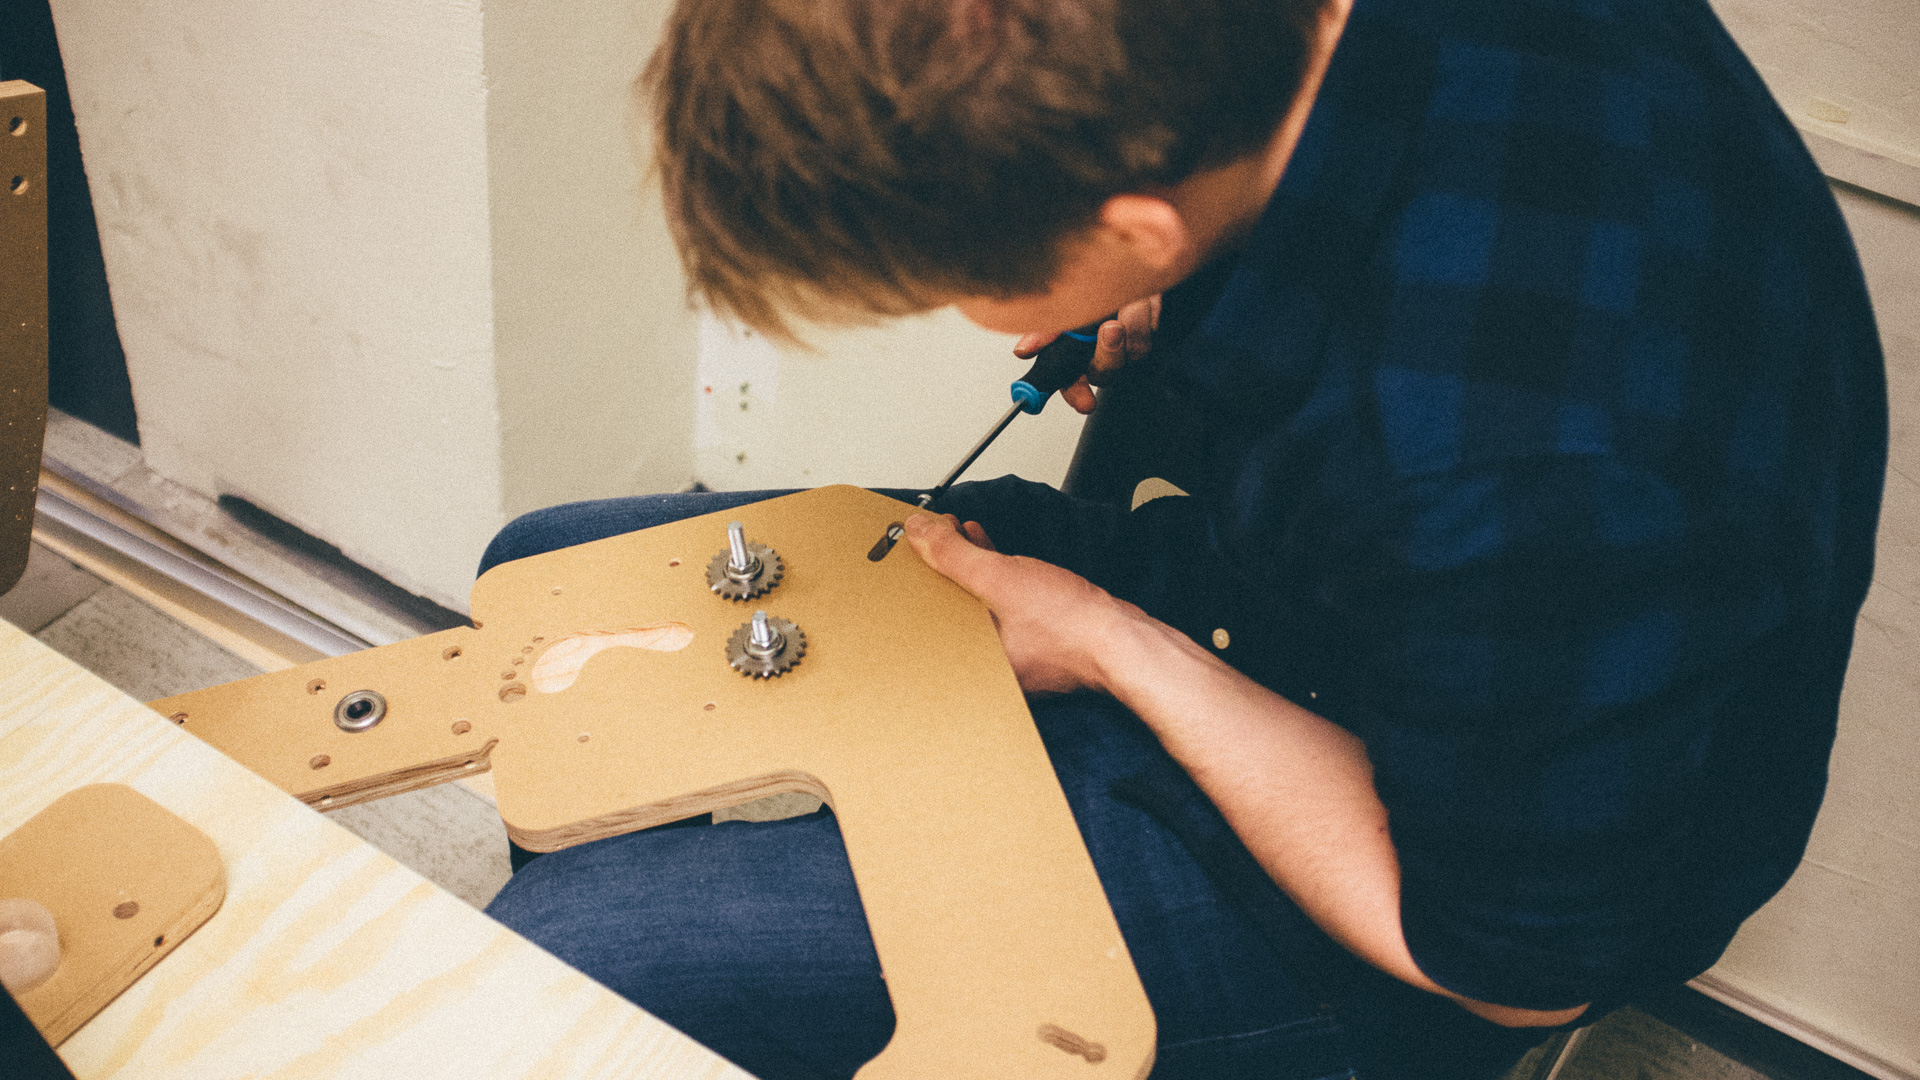
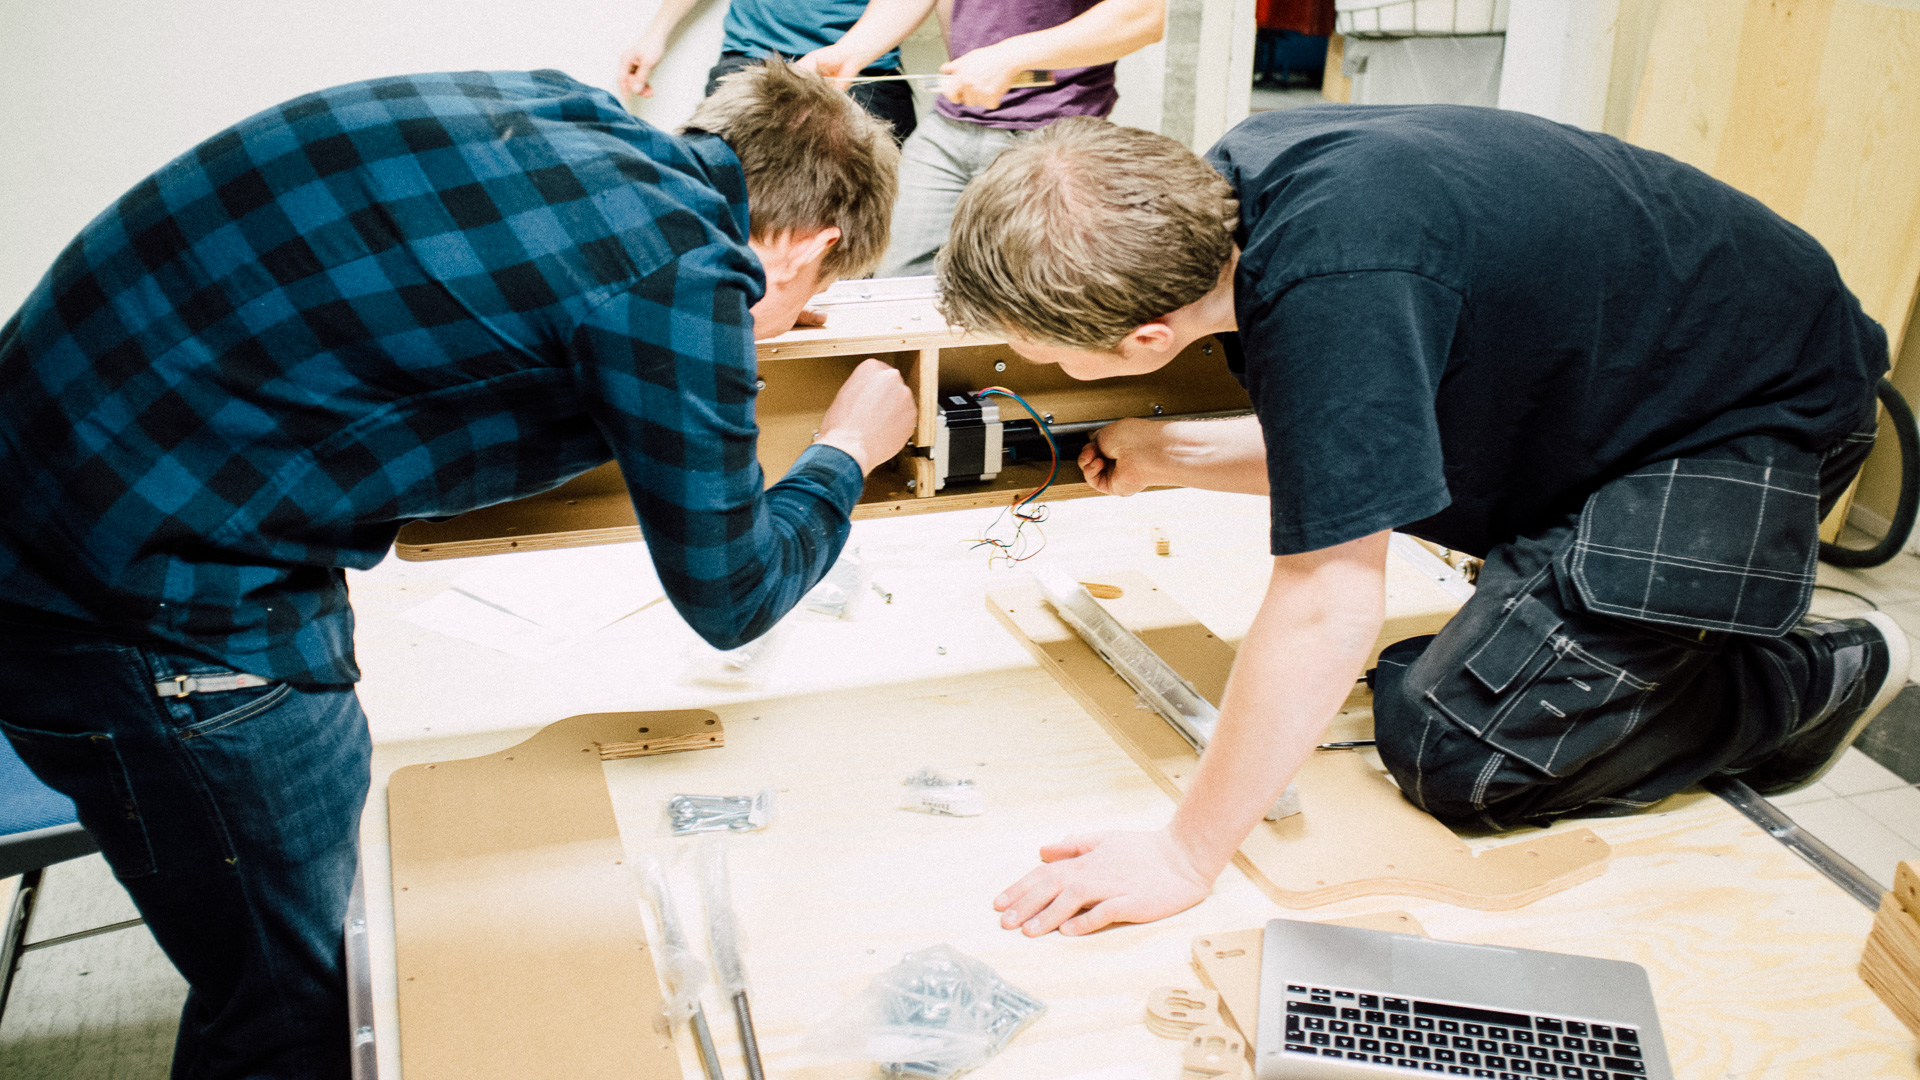
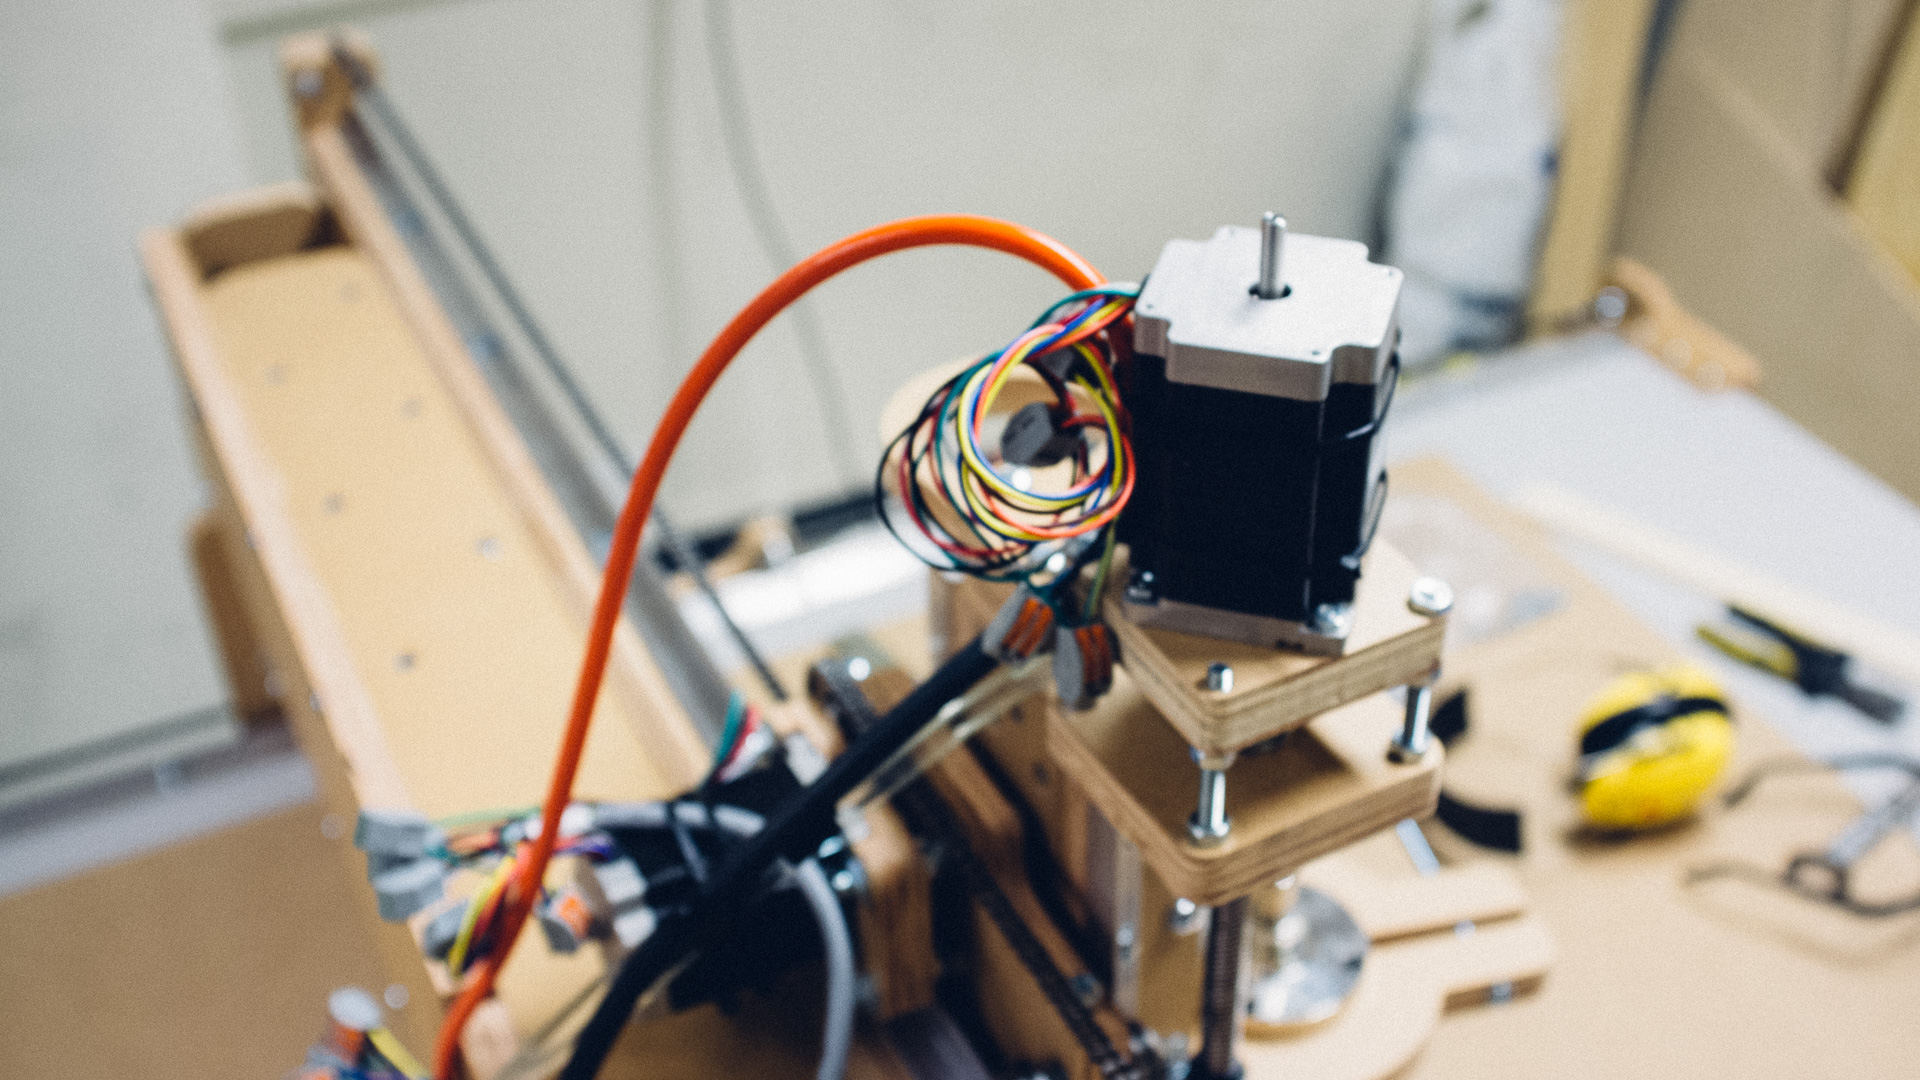
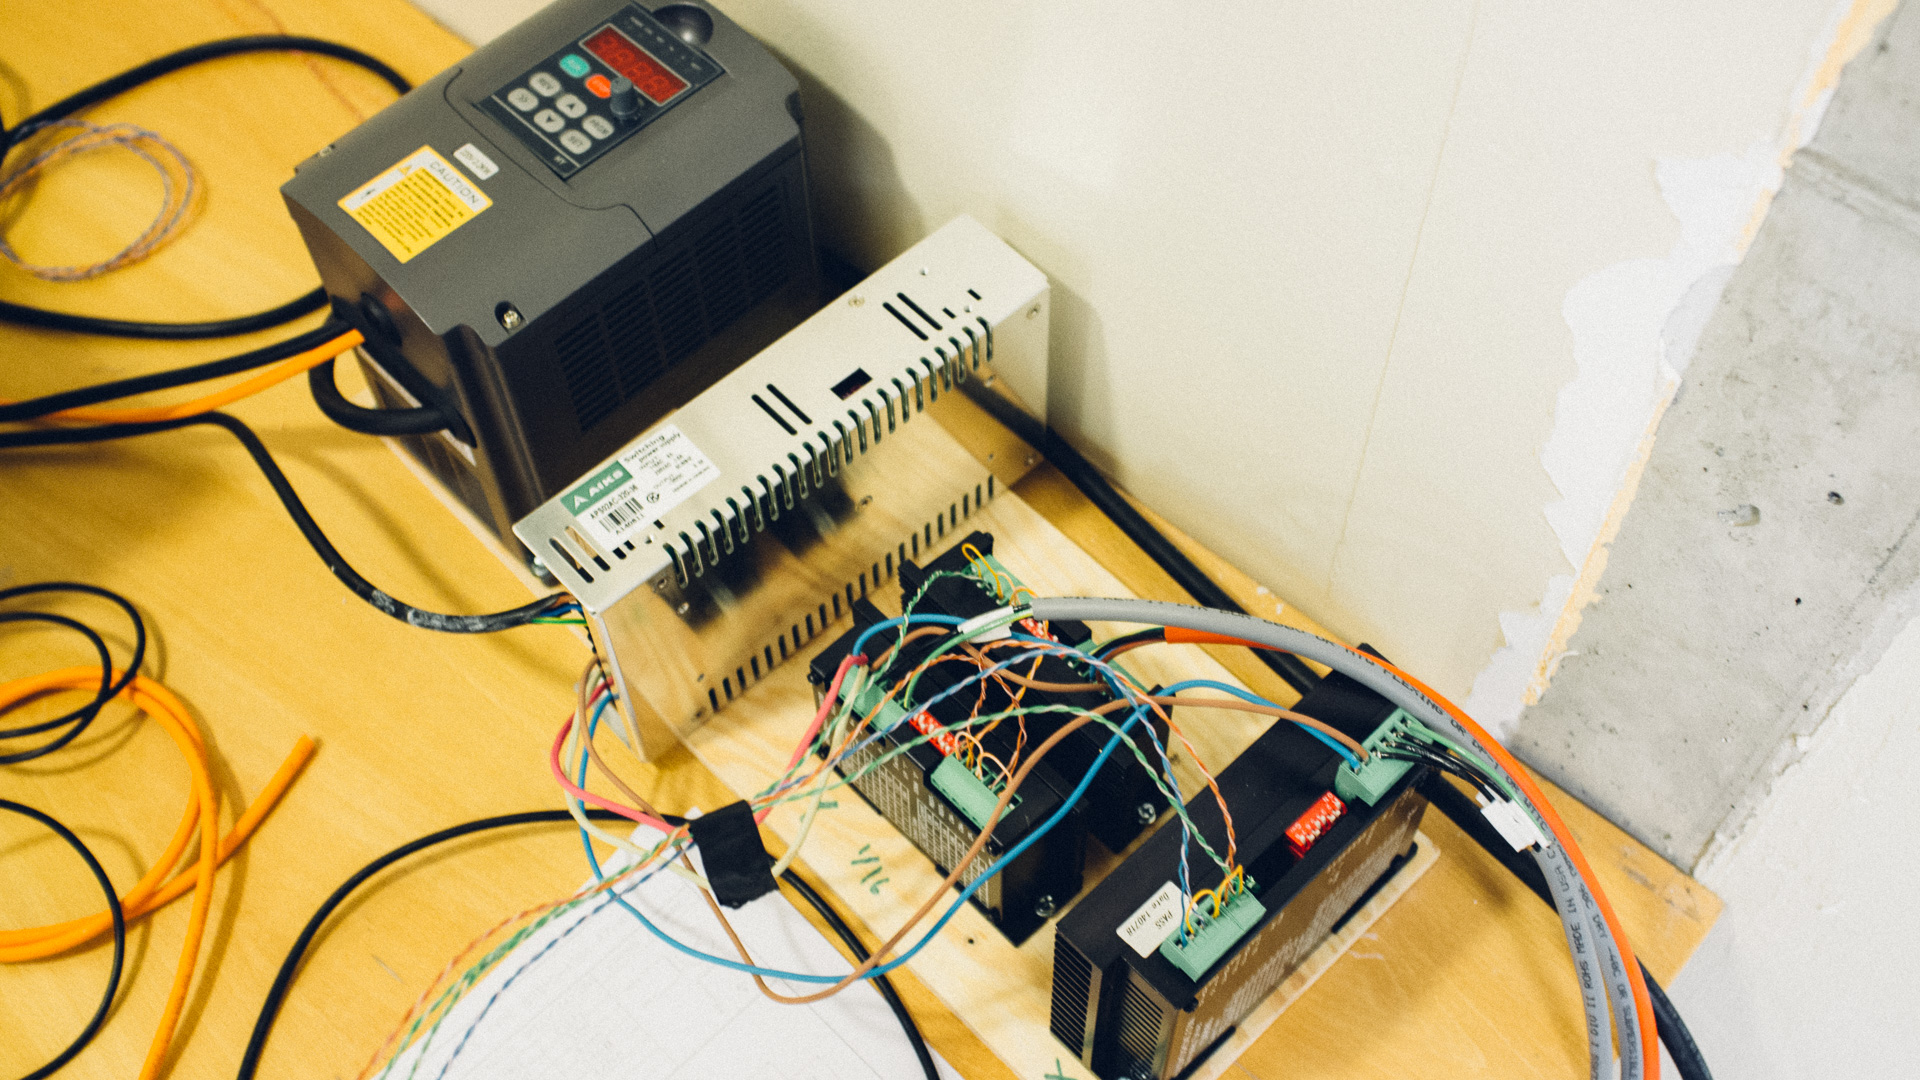
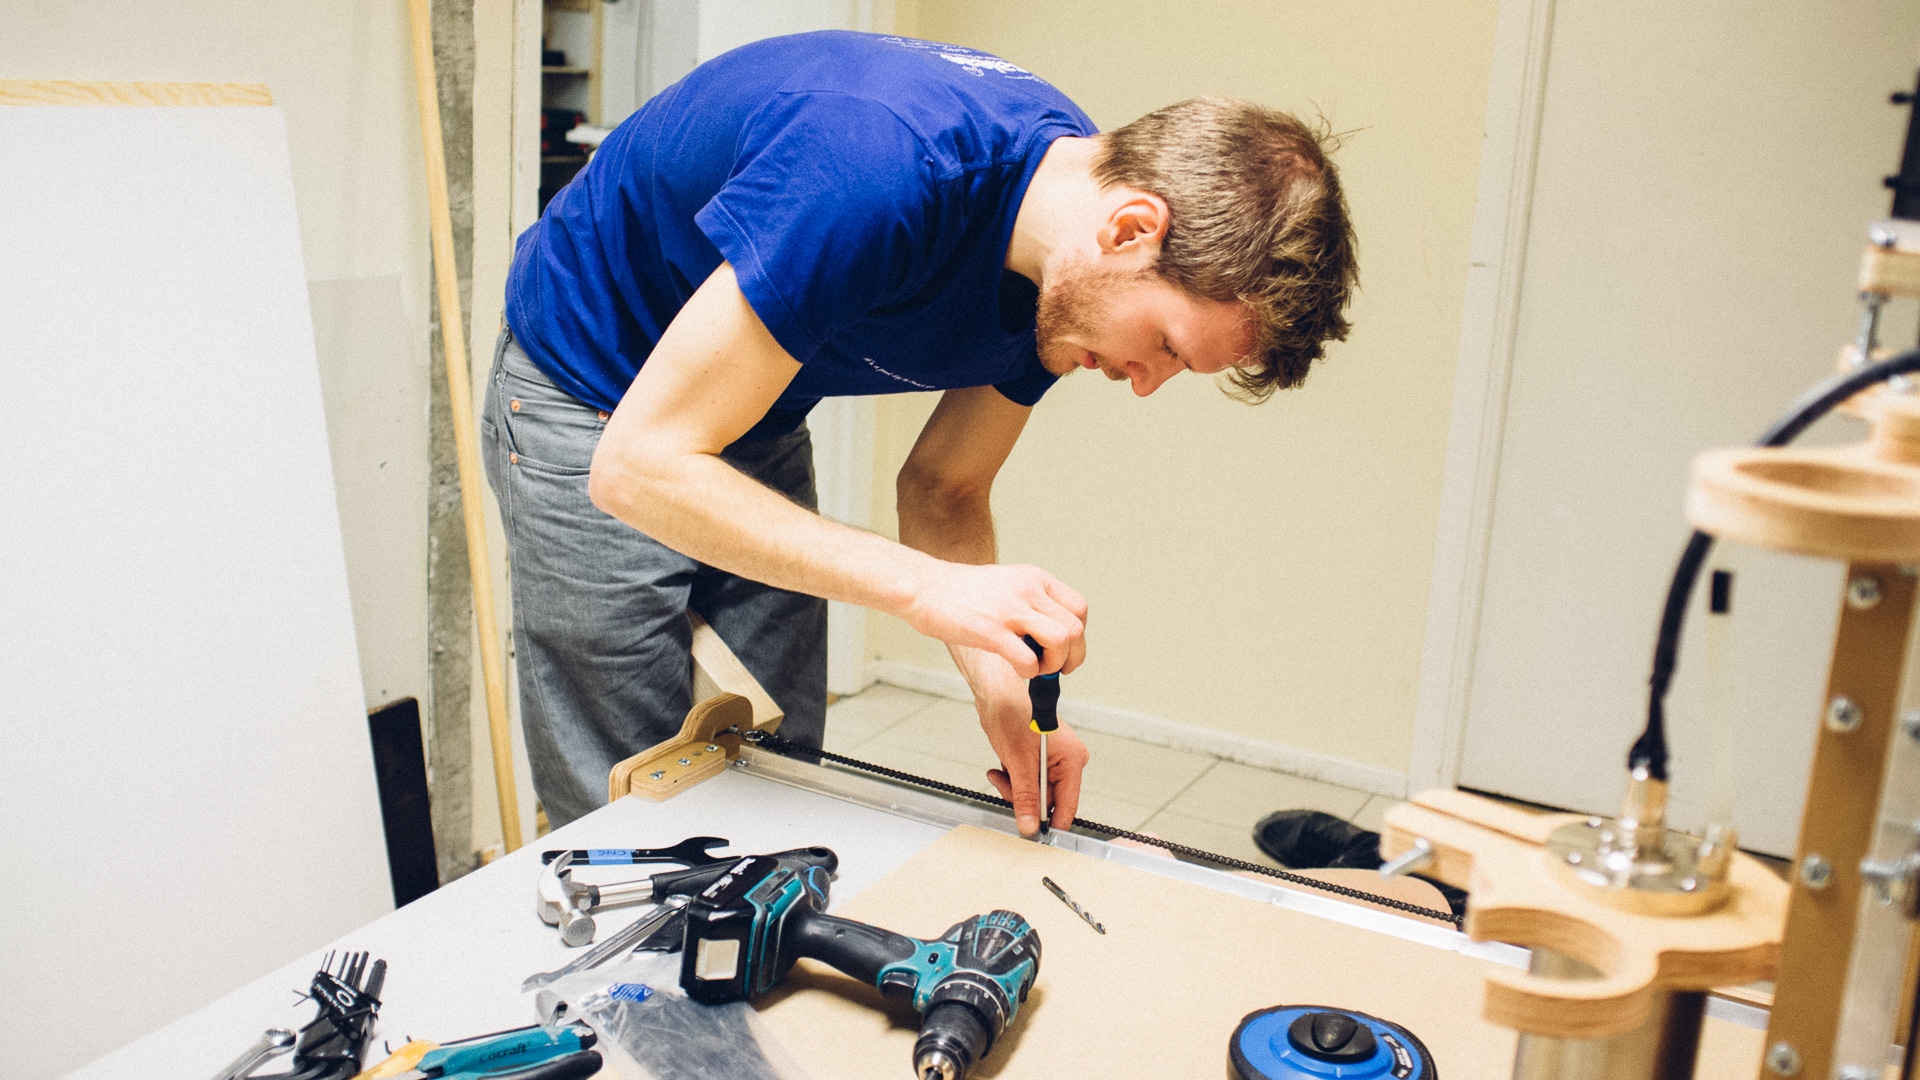
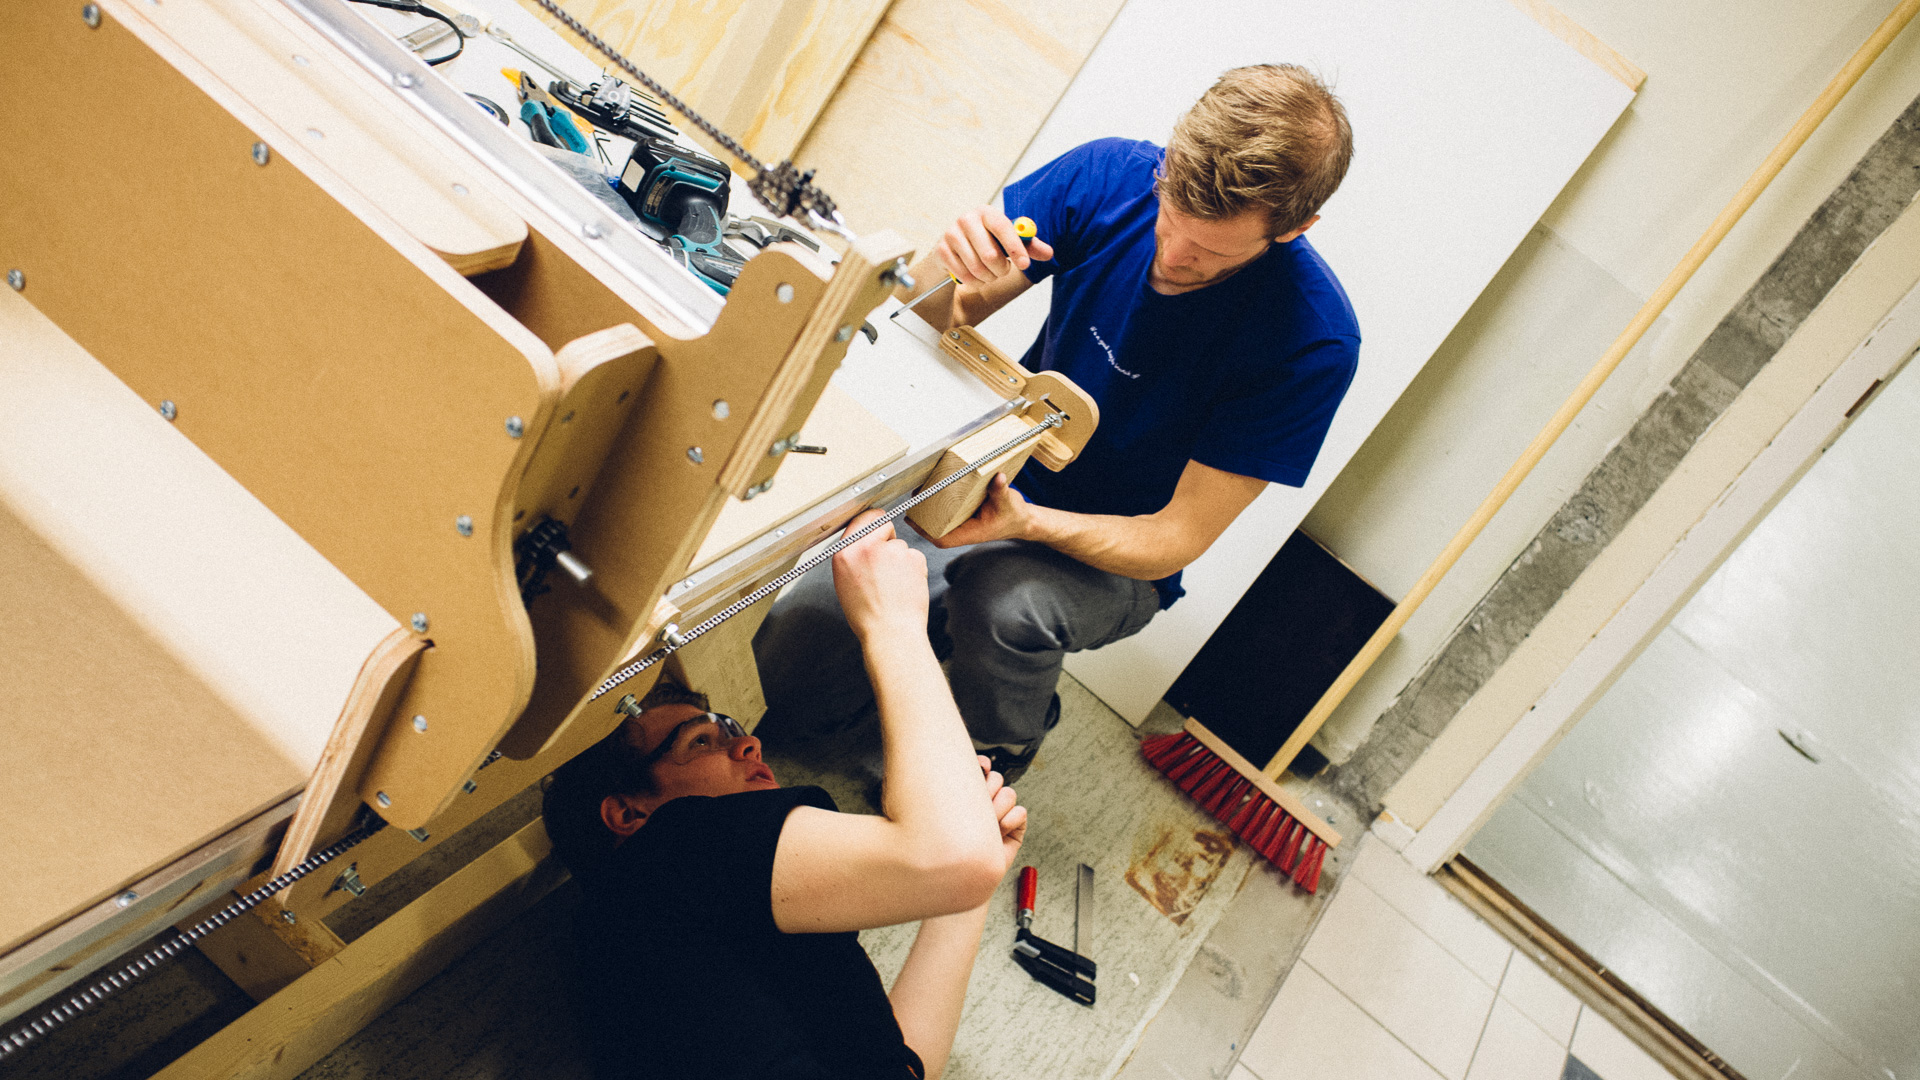
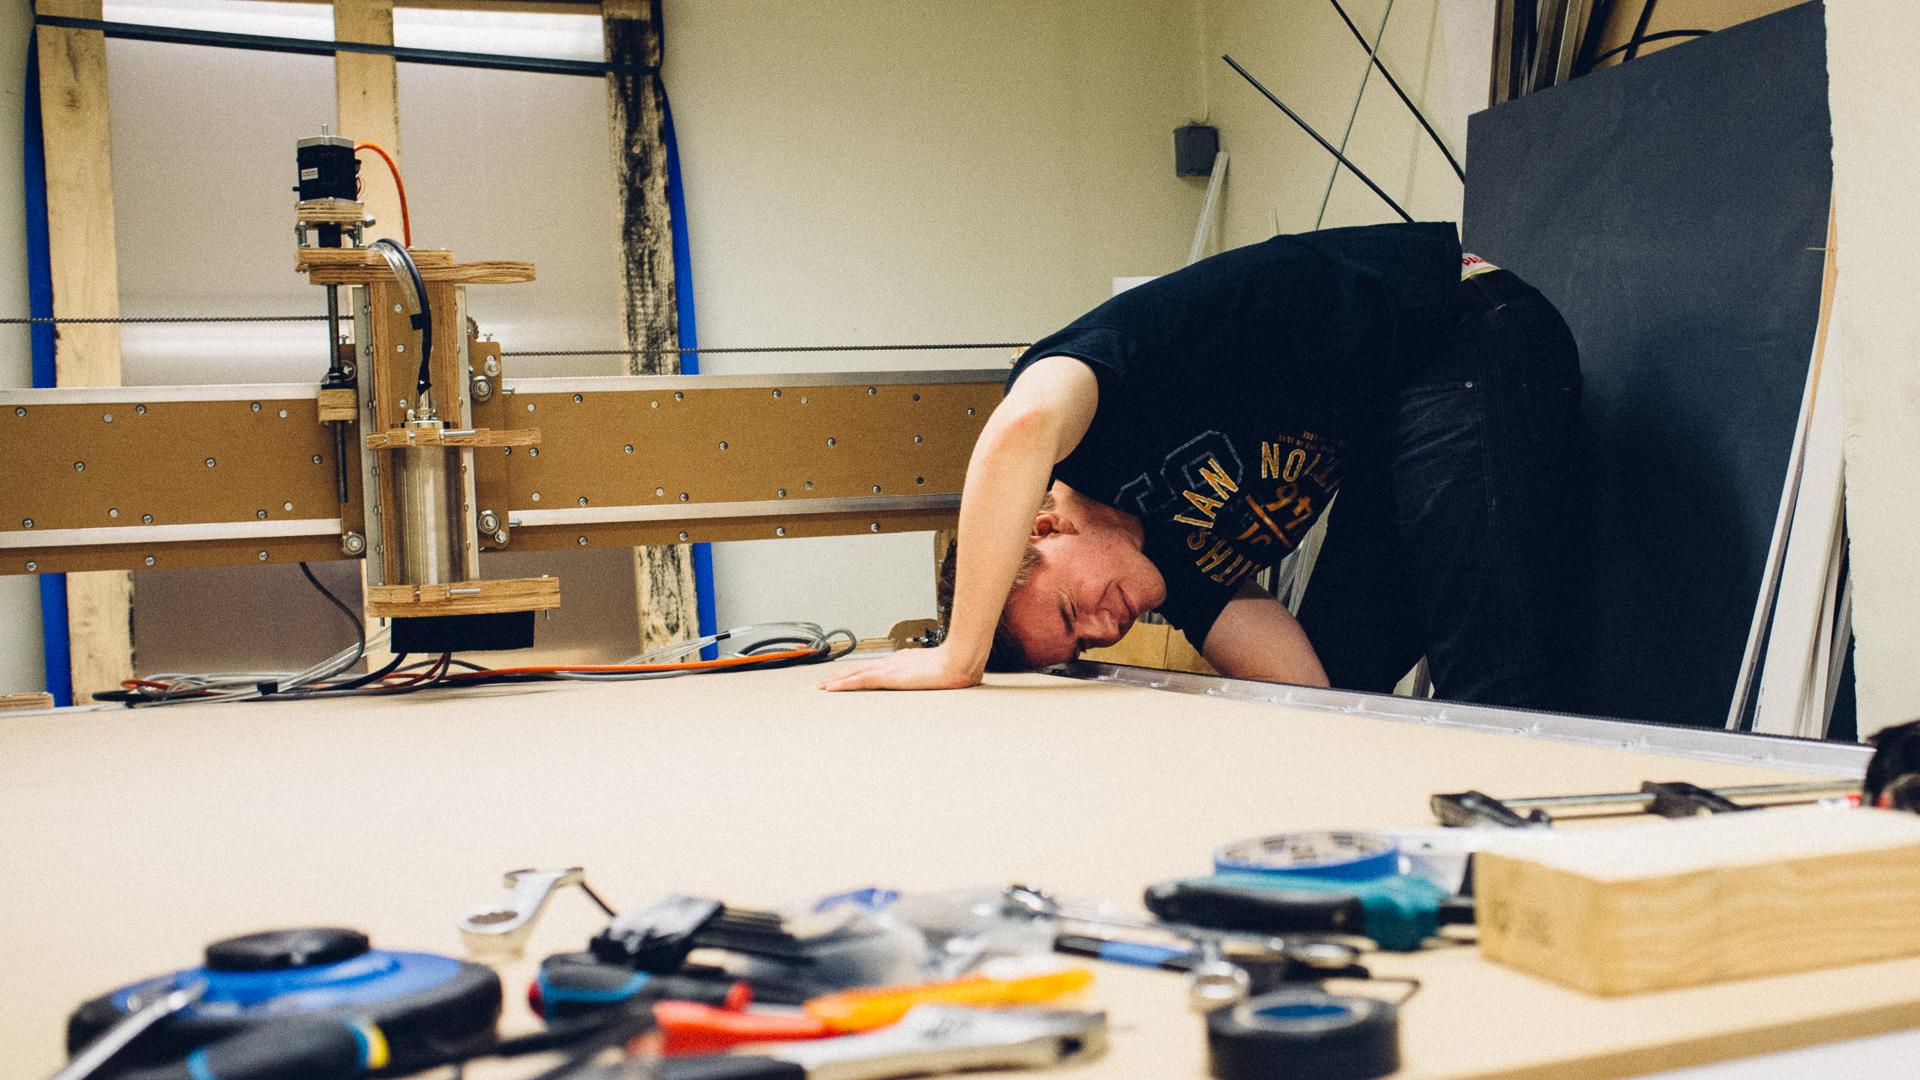
FIX, as any makerspace, would not be complete without a CNC machine. A large sheet CNC machine would be both affordable and very useful. We landed on getting one of these, a 4’x8′ sheet CNC delivered as a kit where you have to assemble it yourself. A daunting task, but we rolled up our sleeves and got to work!

We had to design and build a table which would serve as the base for the CNC.
Lumber for the table!
Table built and CNC kit received. Many parts!
A whole lotta parts!
Starting with the side of the gantry.
Fastening the x-axis stepper motor within the gantry.
Painting the table. Not for the looks, but for water rejection.
The top of the gantry showing the z- and y-axes stepper motors as well as numerous wires and the water coolant tube to the spindle.
From top left to bottom right: Spindle controller, PSU and drivers to the stepper motors.
A very temporary hackish setup of the CNC electronics. From top left to bottom right: Spindle controller, PSU and one driver for each stepper motor.
Fastening additional rails to the table for maximum travel distance.
Mounting the rails properly was acutally the most challenging and time consuming part of the job.
Making sure those rails are aligned!

Later we will write about our first CNC job and share our experiences with milling different materials.


Related Posts