For an upcoming boat trip, one of our makers was challenged to bring a home made instrument. After some doodling and googling of what to make, we discovered this great travel ukulele design by Daniel Hulbert at circuitsandstrings.wordpress.com. It was clear that we had to make one!
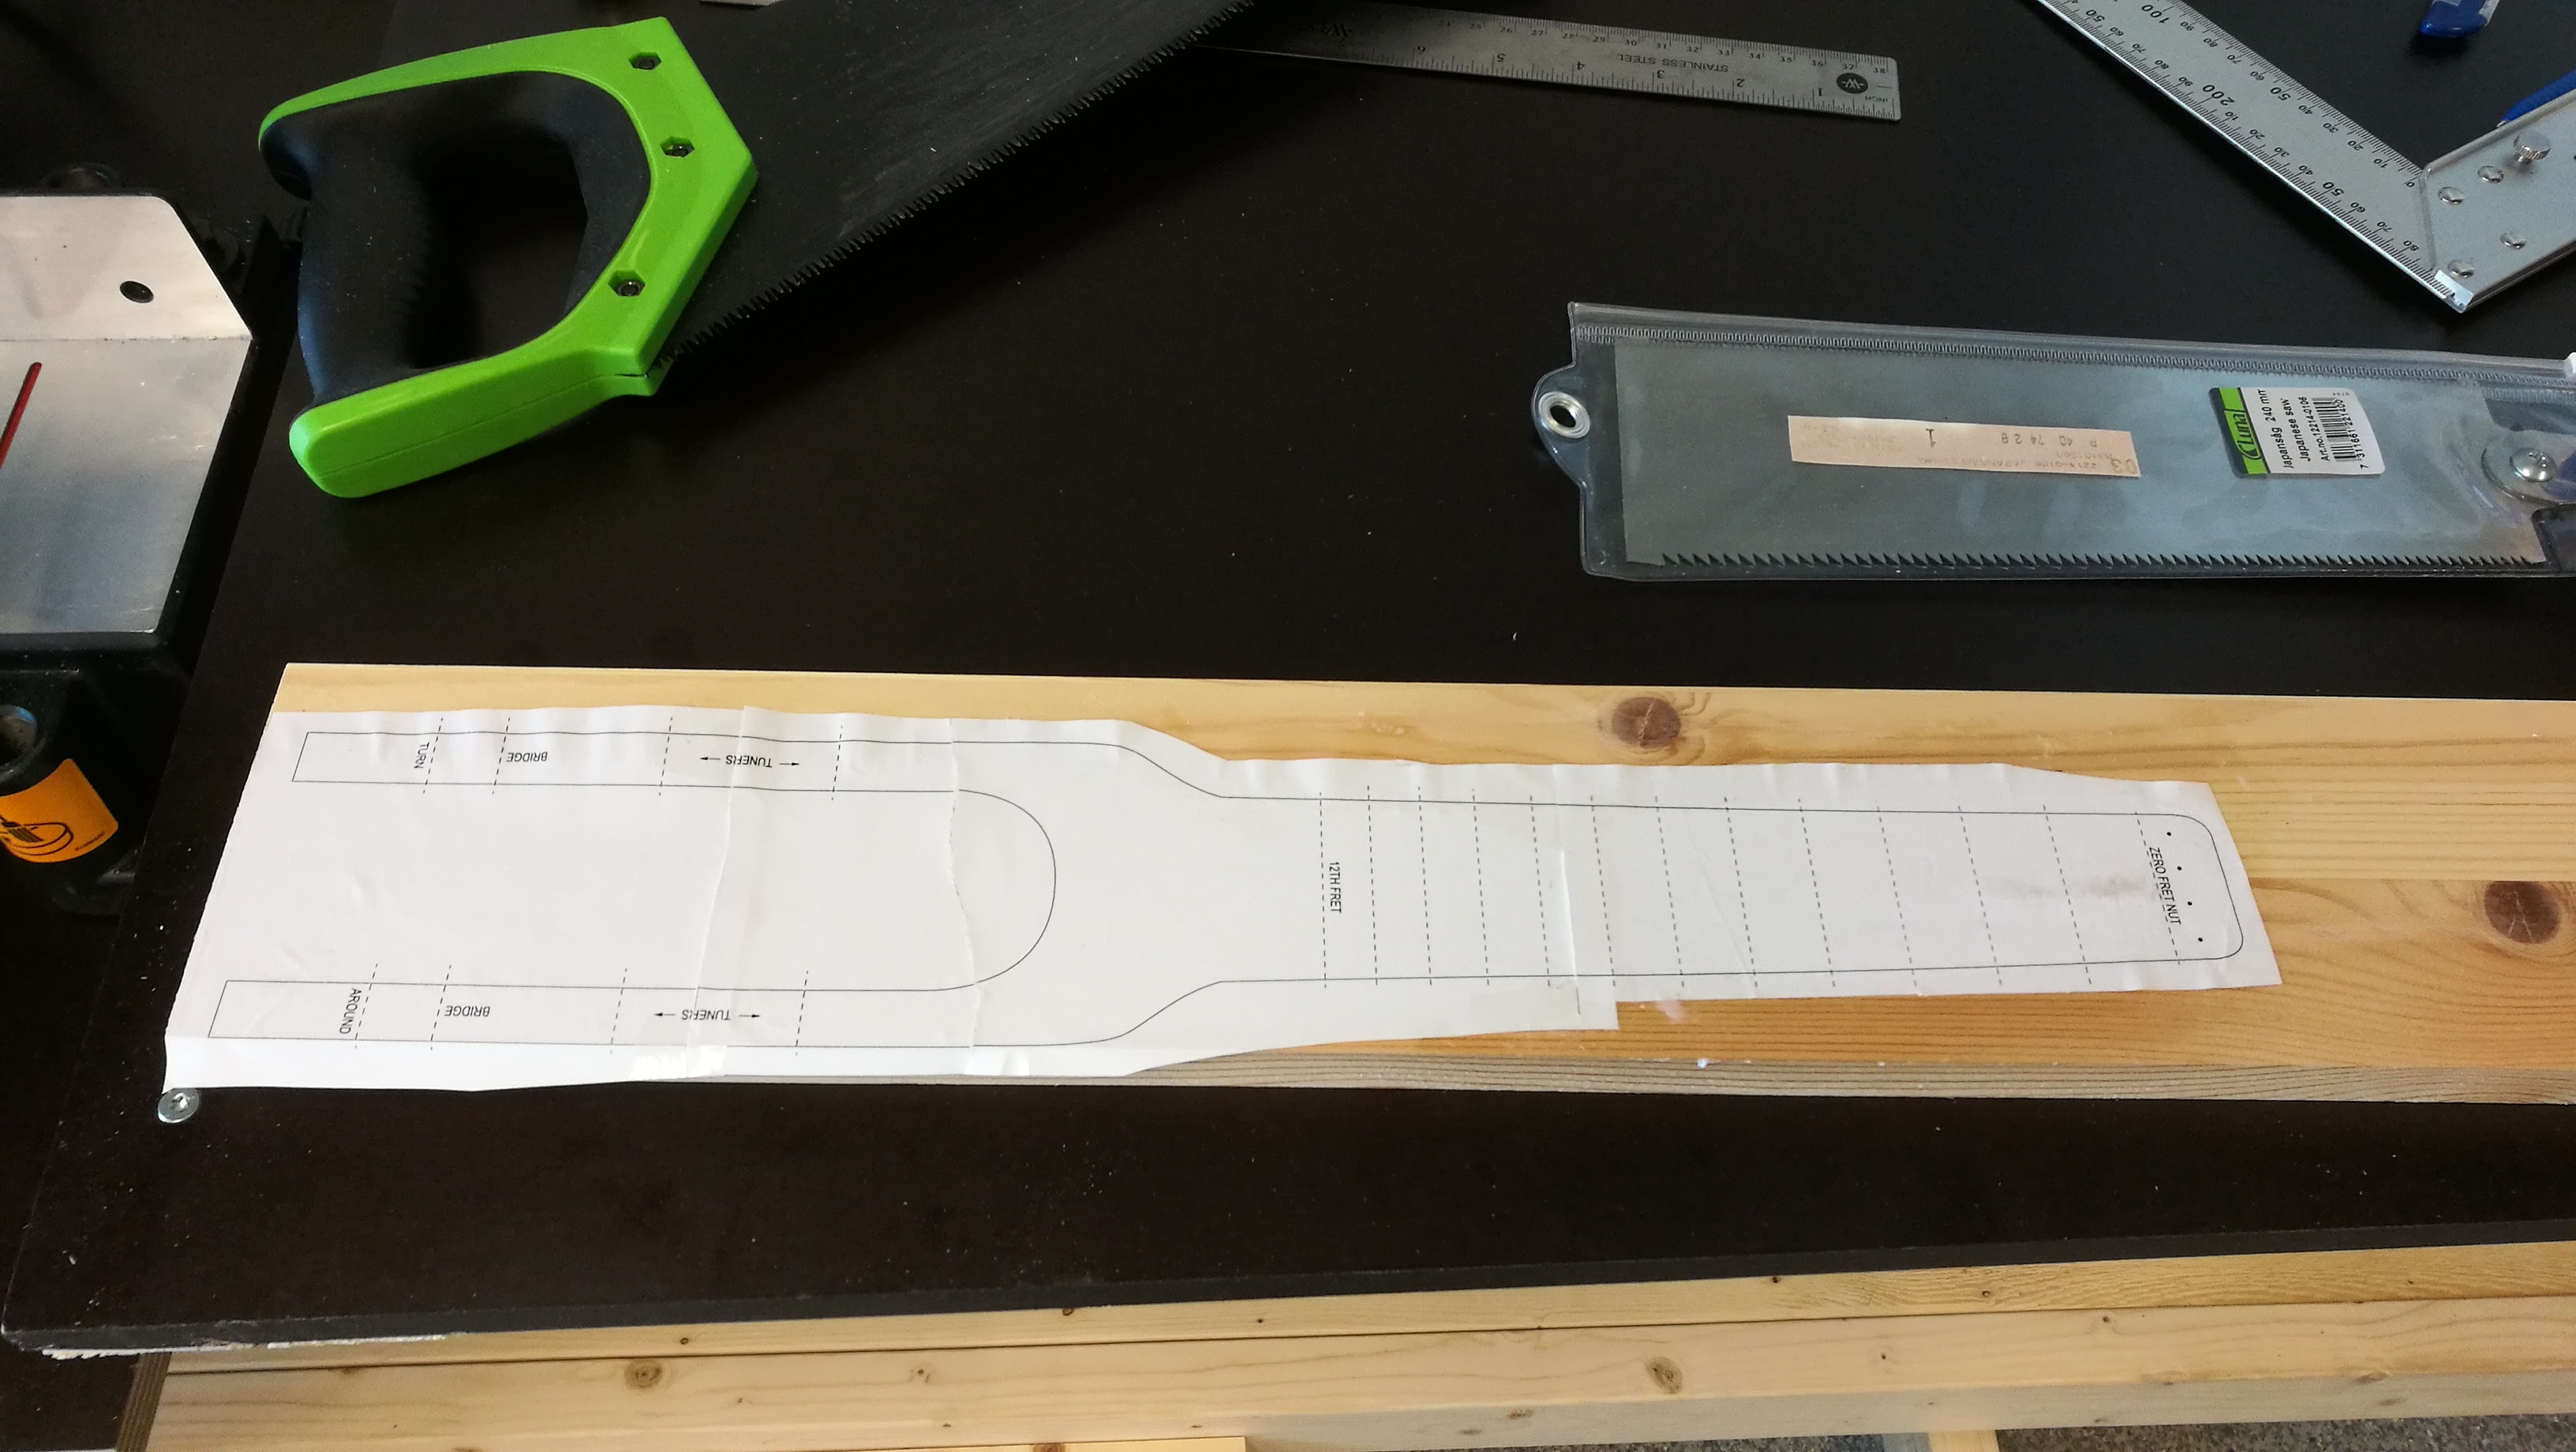
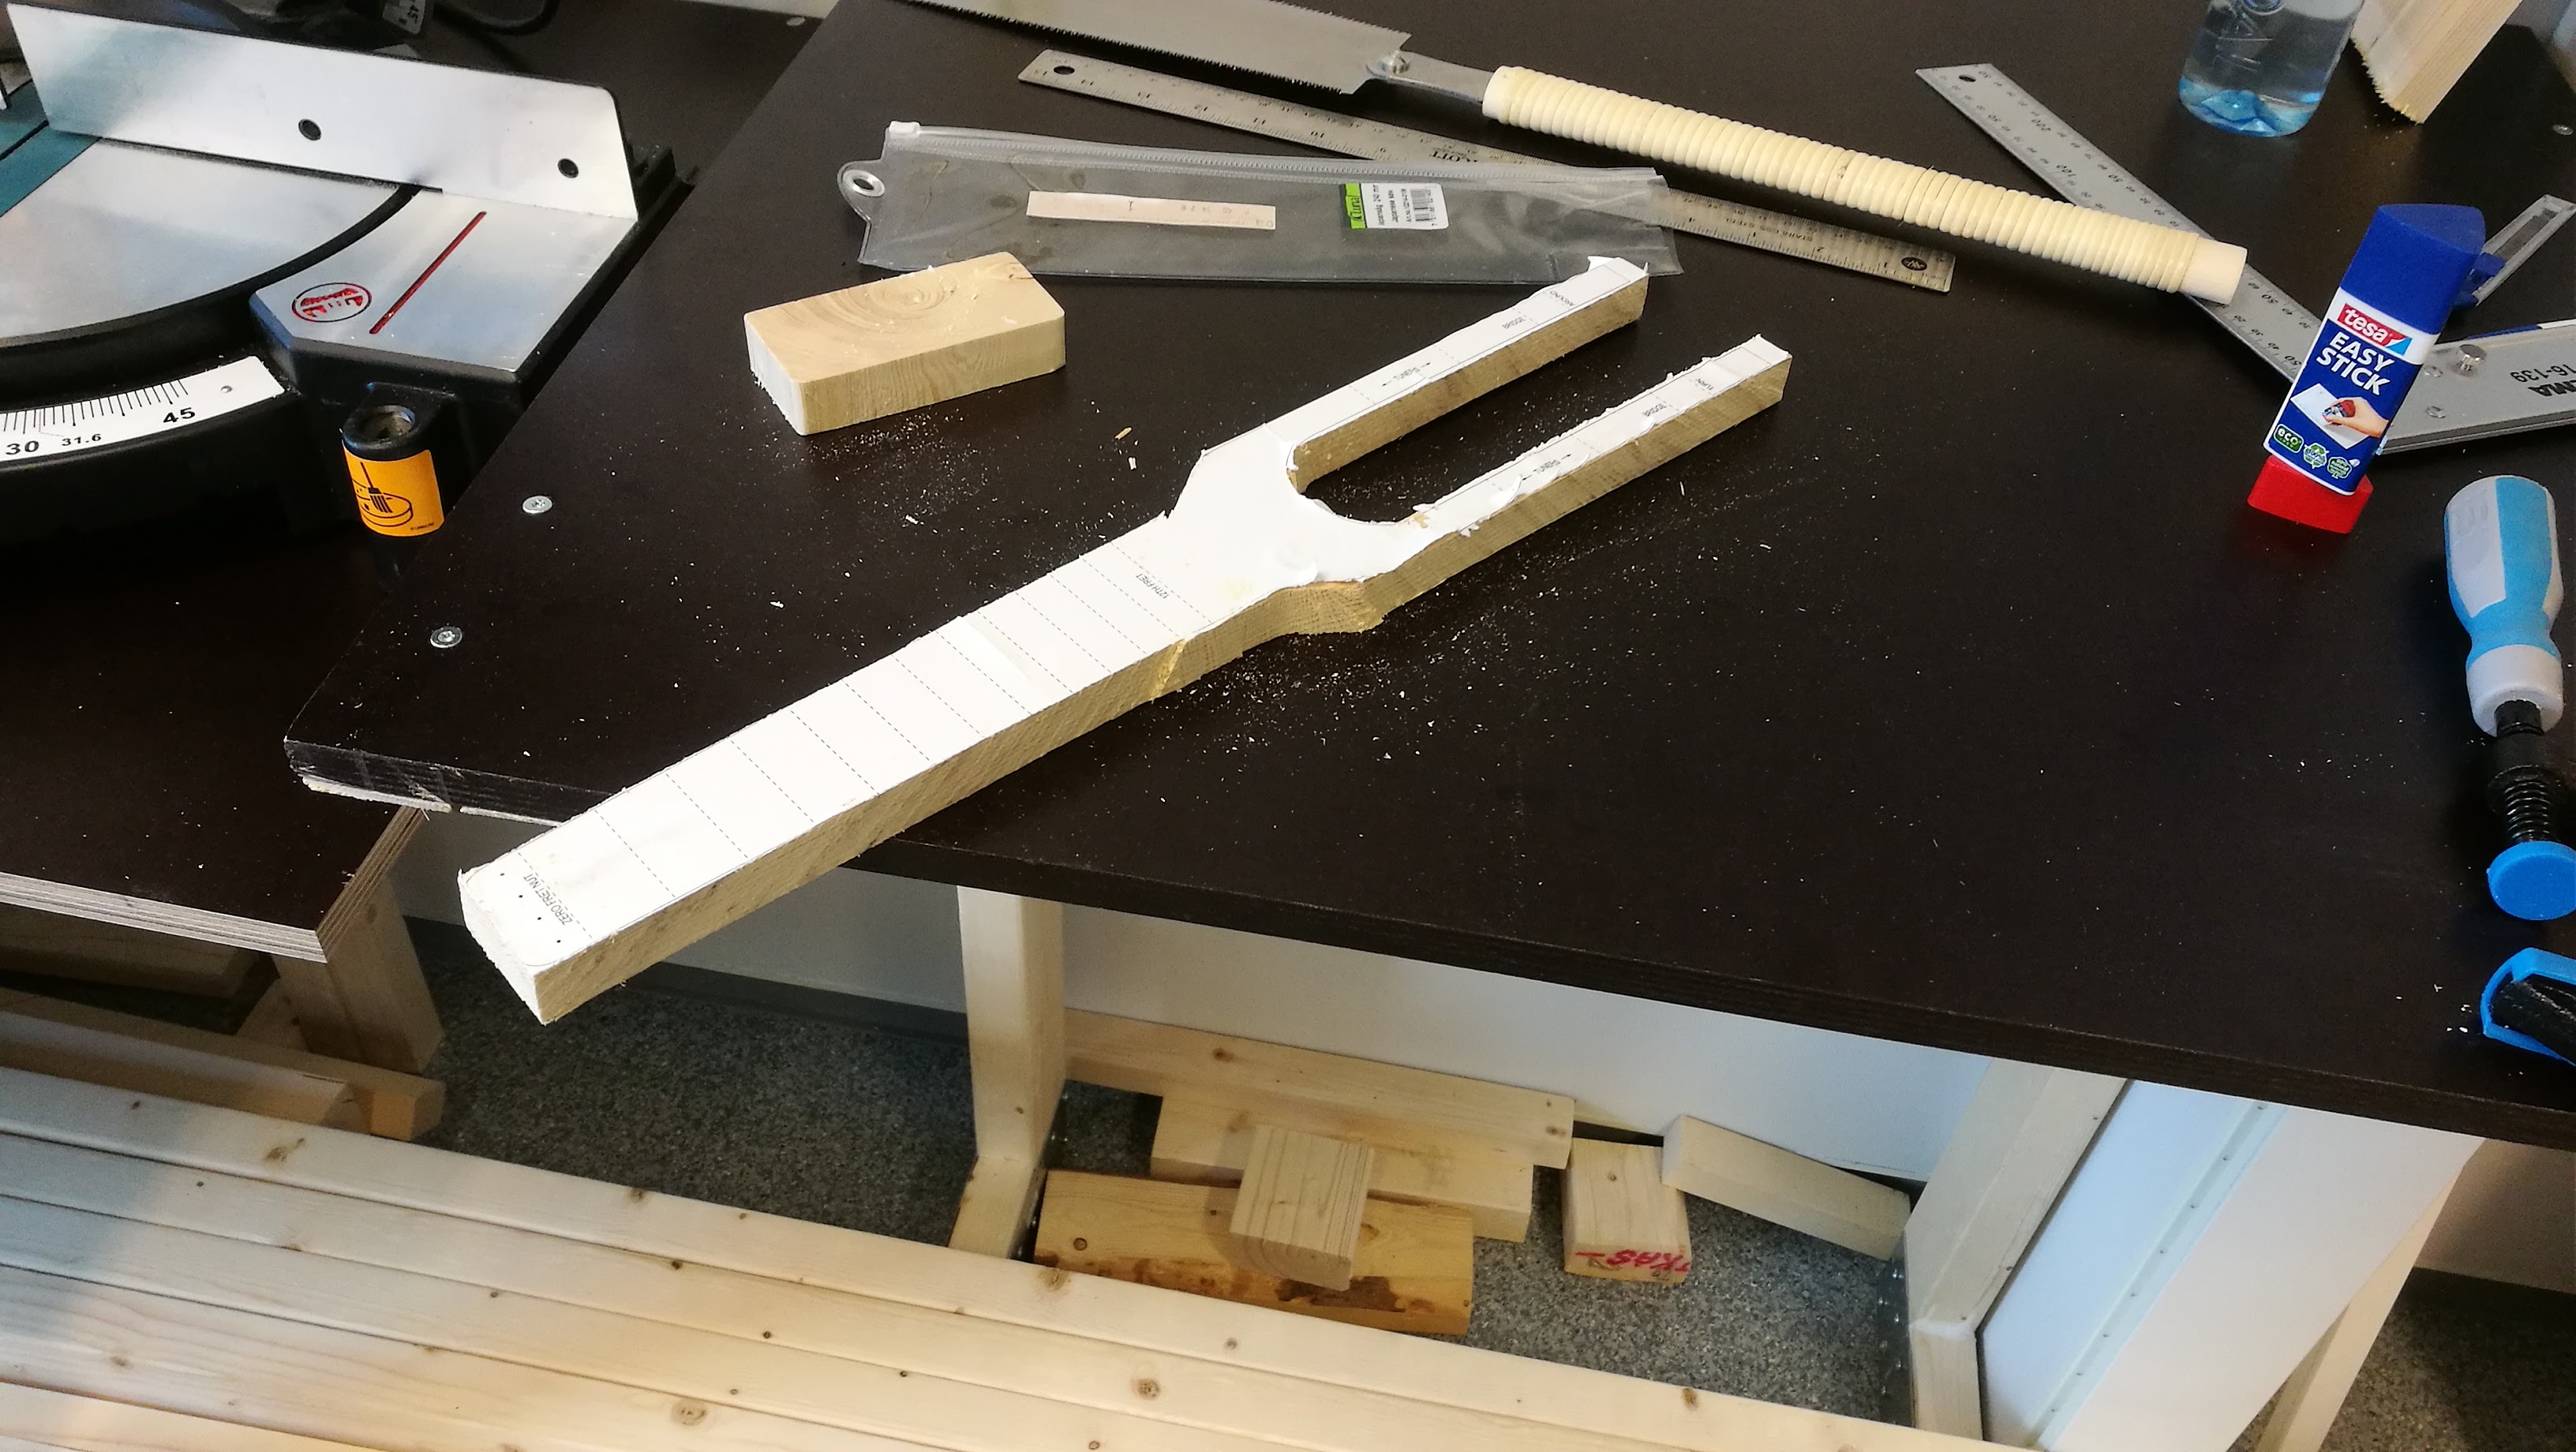
We started out by printing the template provided by Daniel, and gluing to to a piece of board with some stick glue.
The rough cuts were done with a standard hand saw.
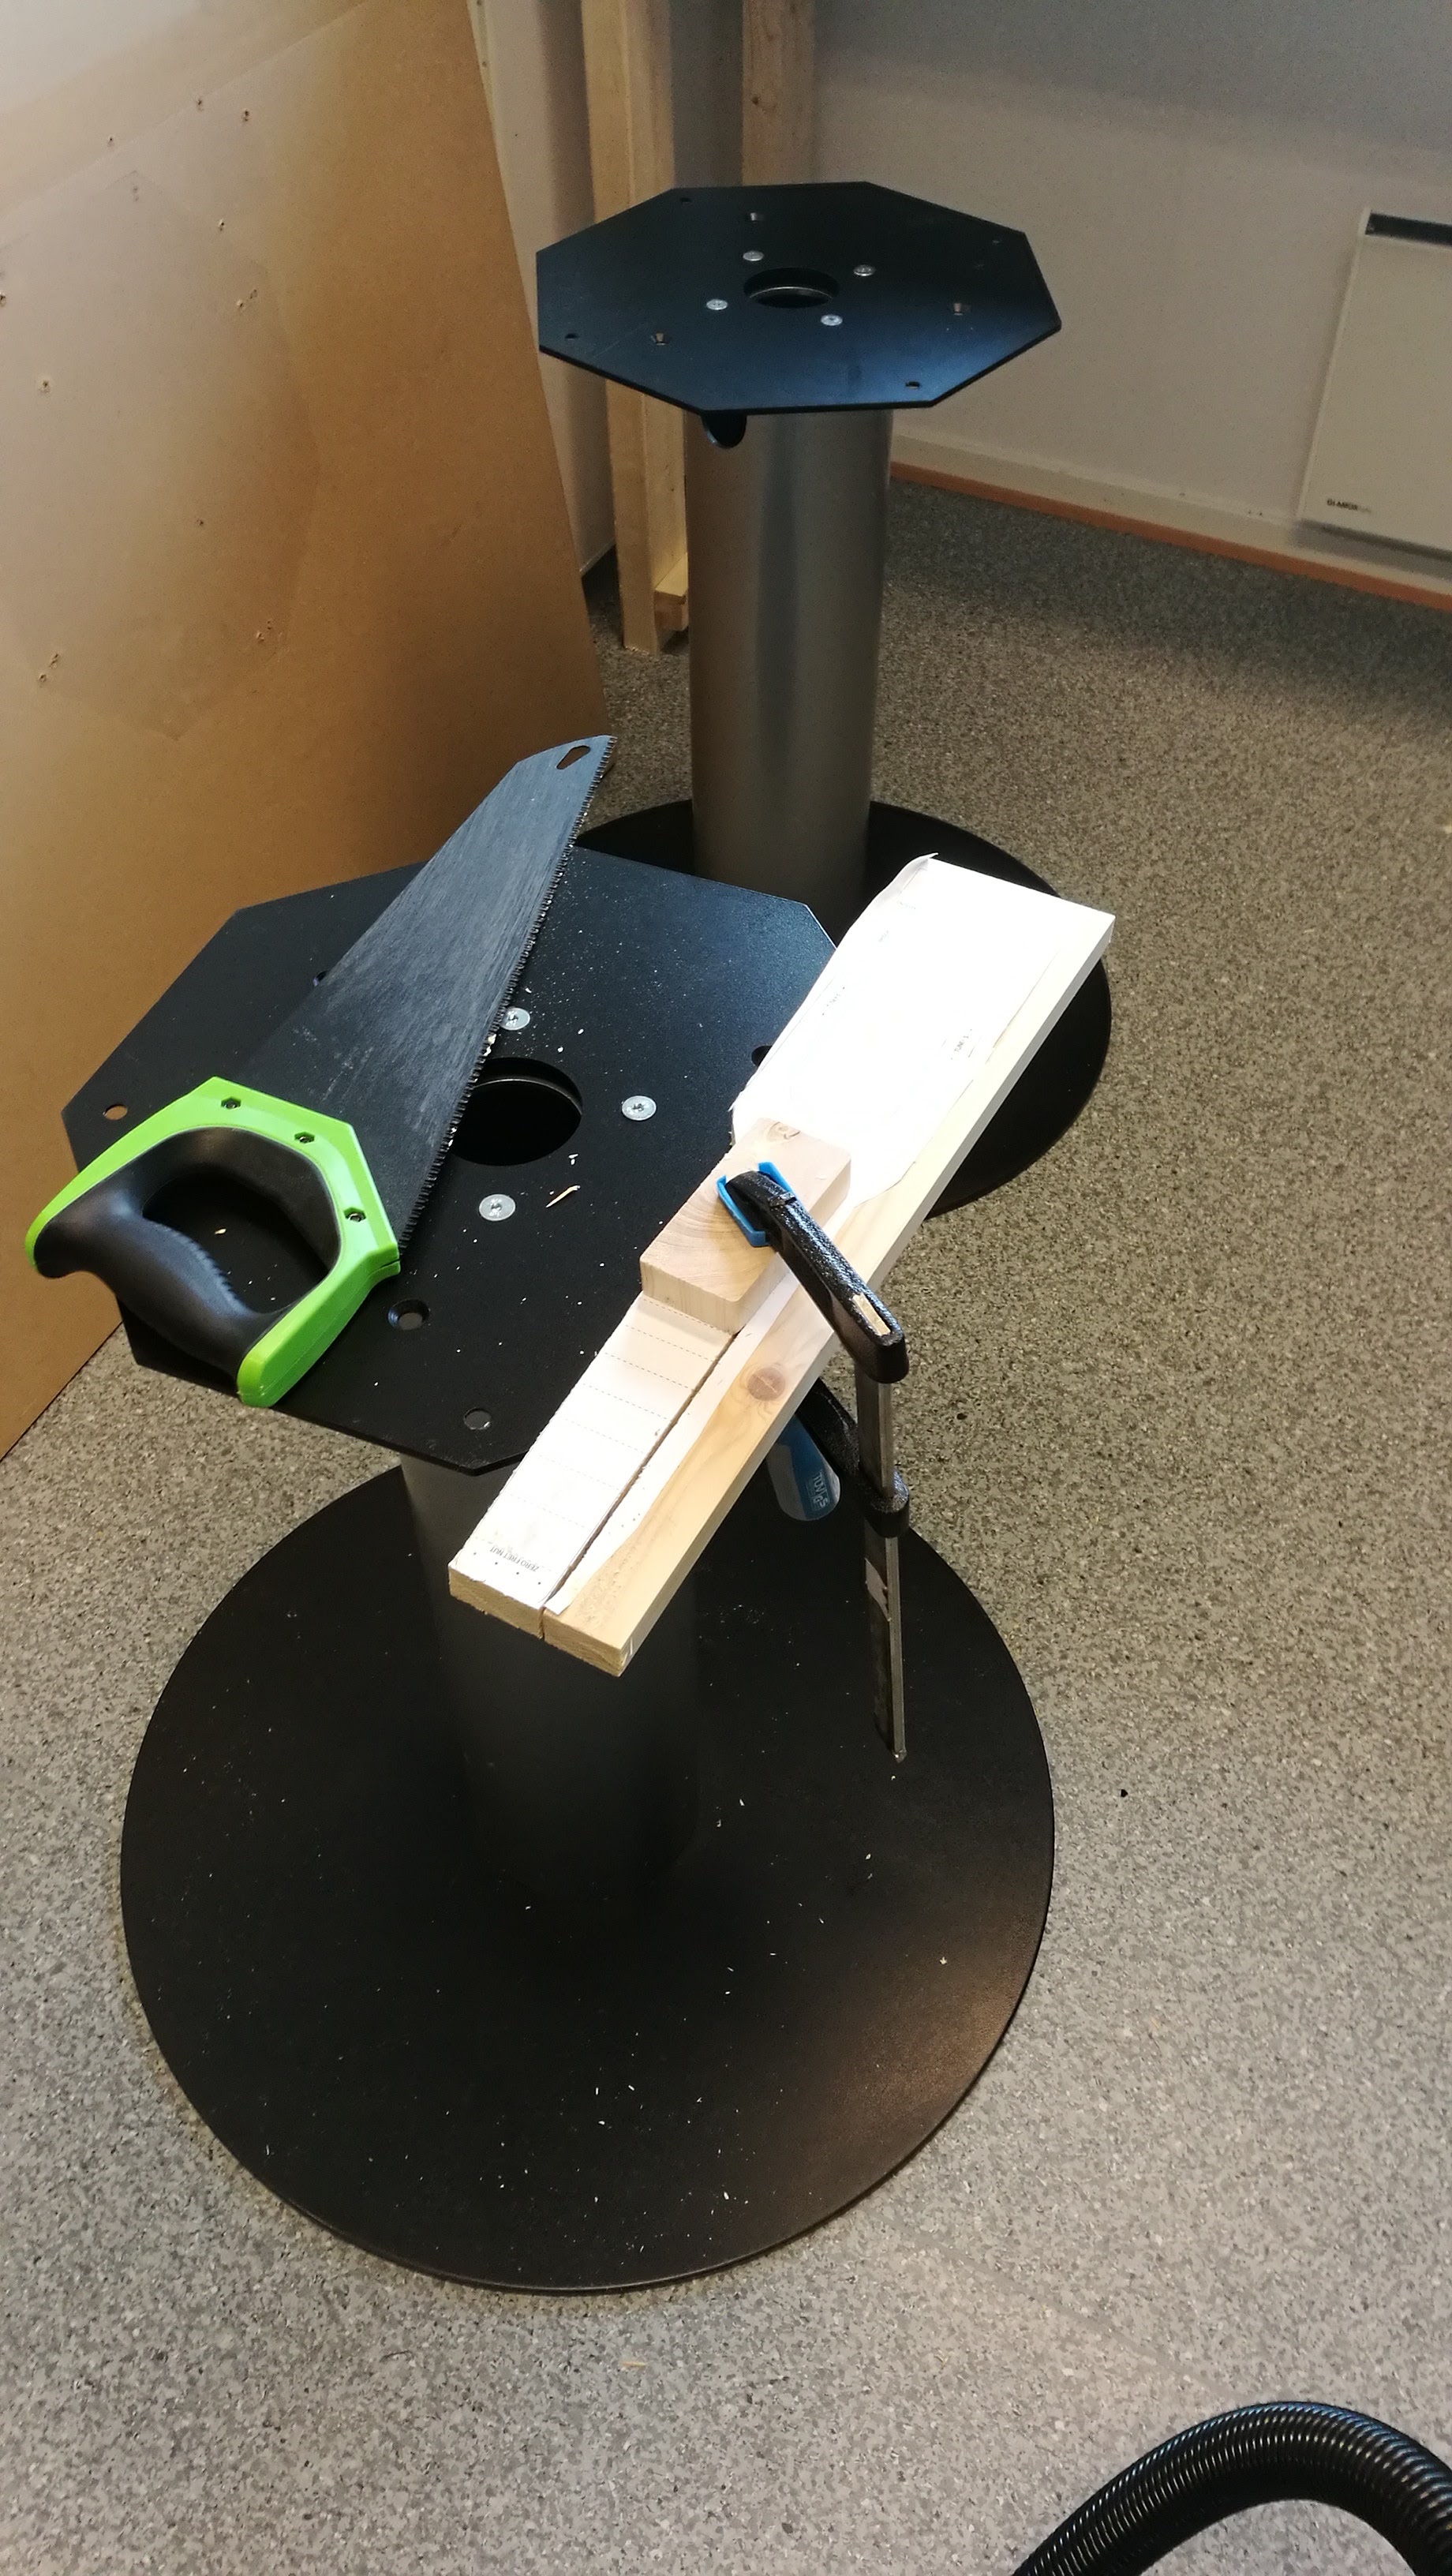
The corners were cut by a manual jigsaw.
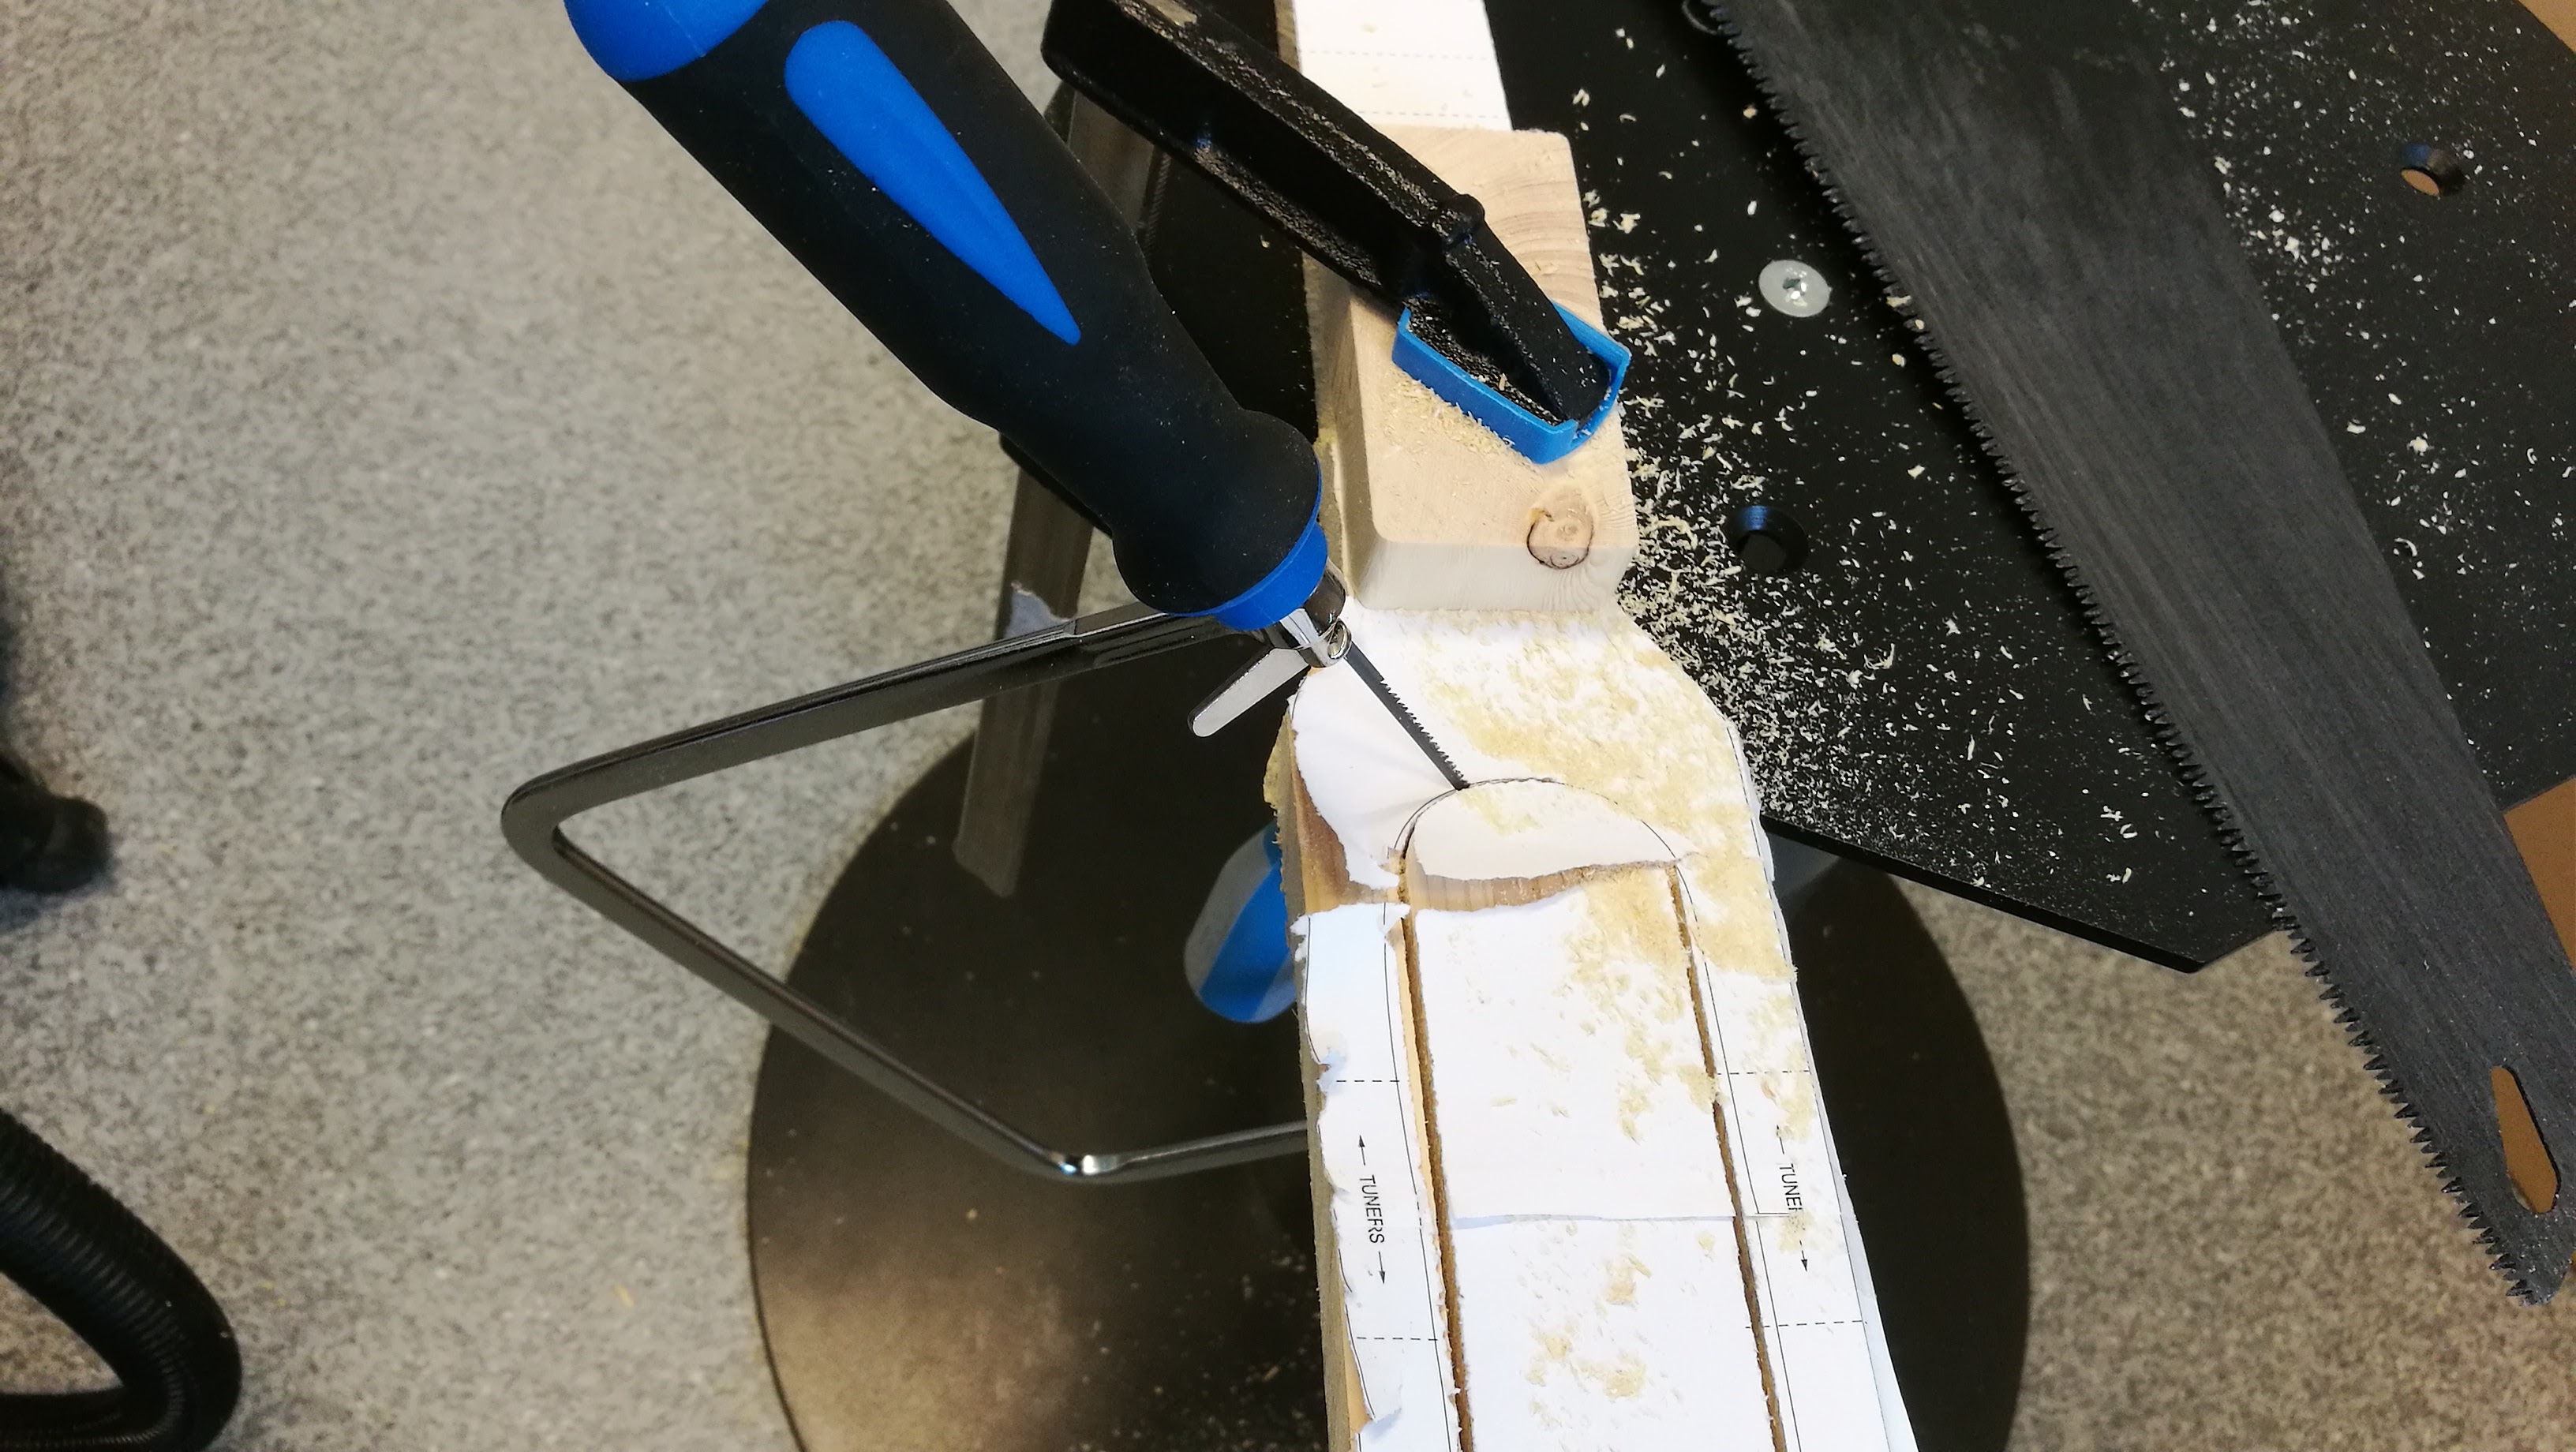
The rough shape is done! So far is looks like a giant fork or something…
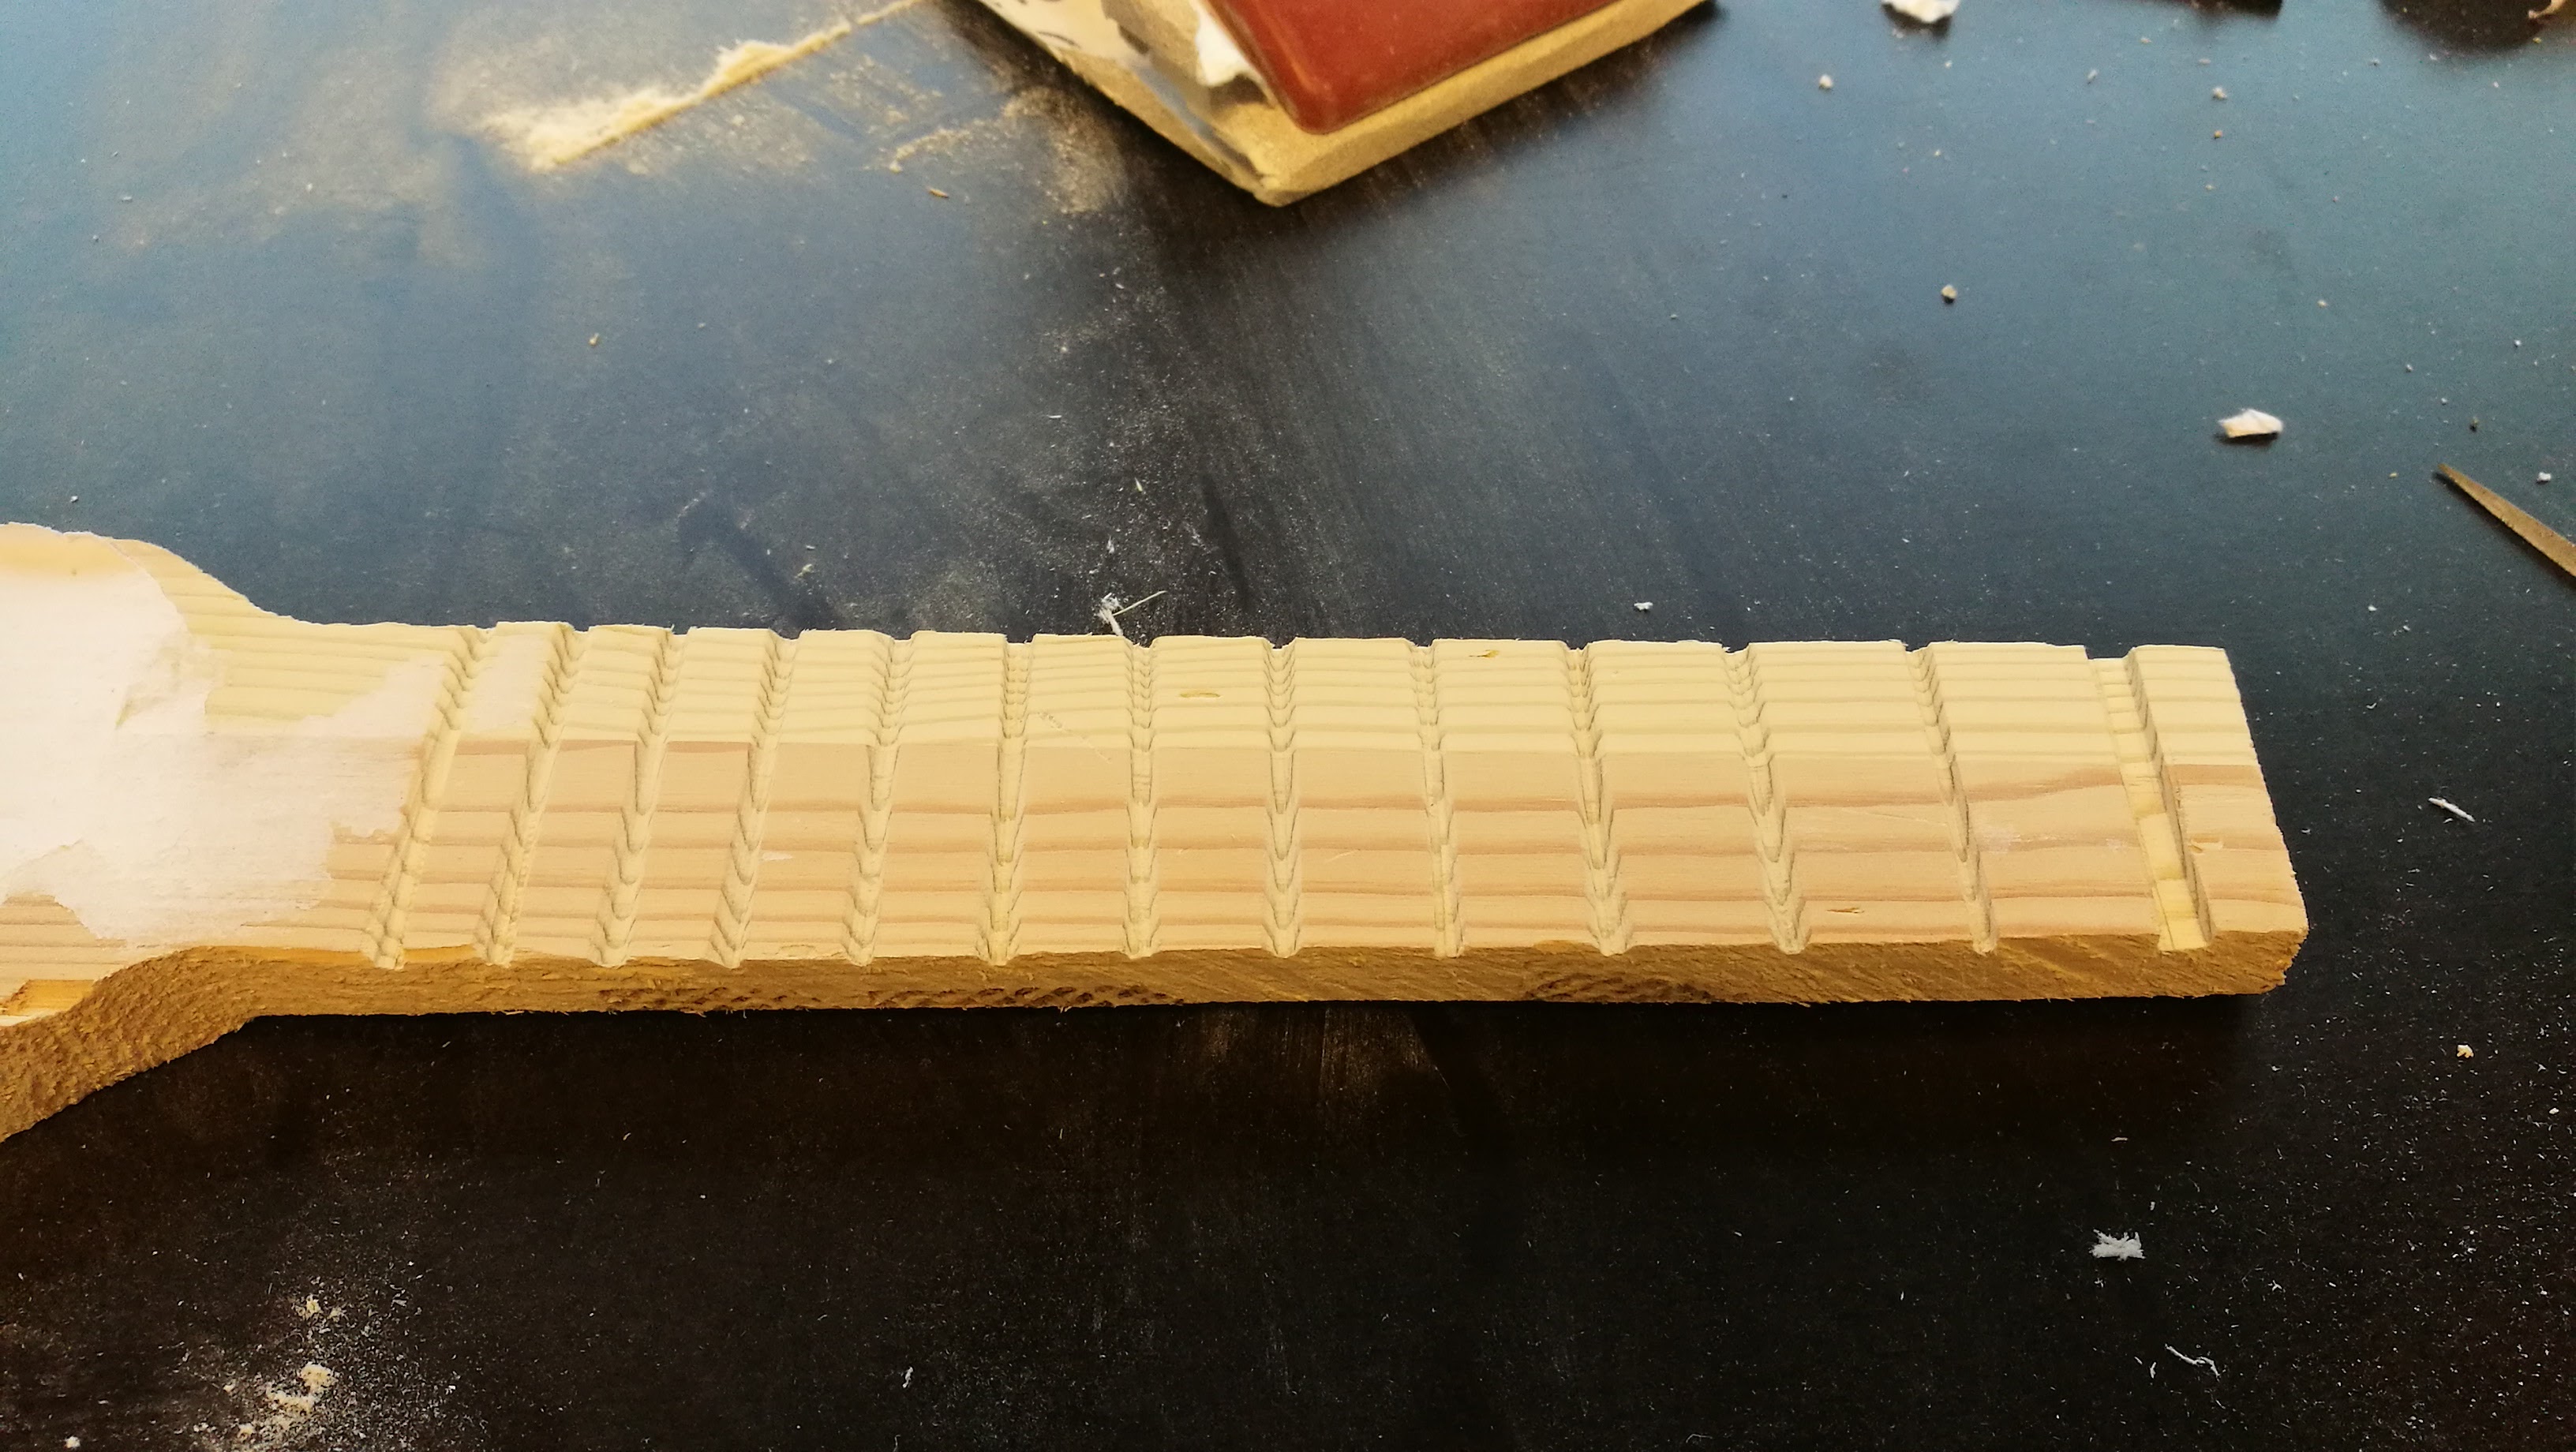
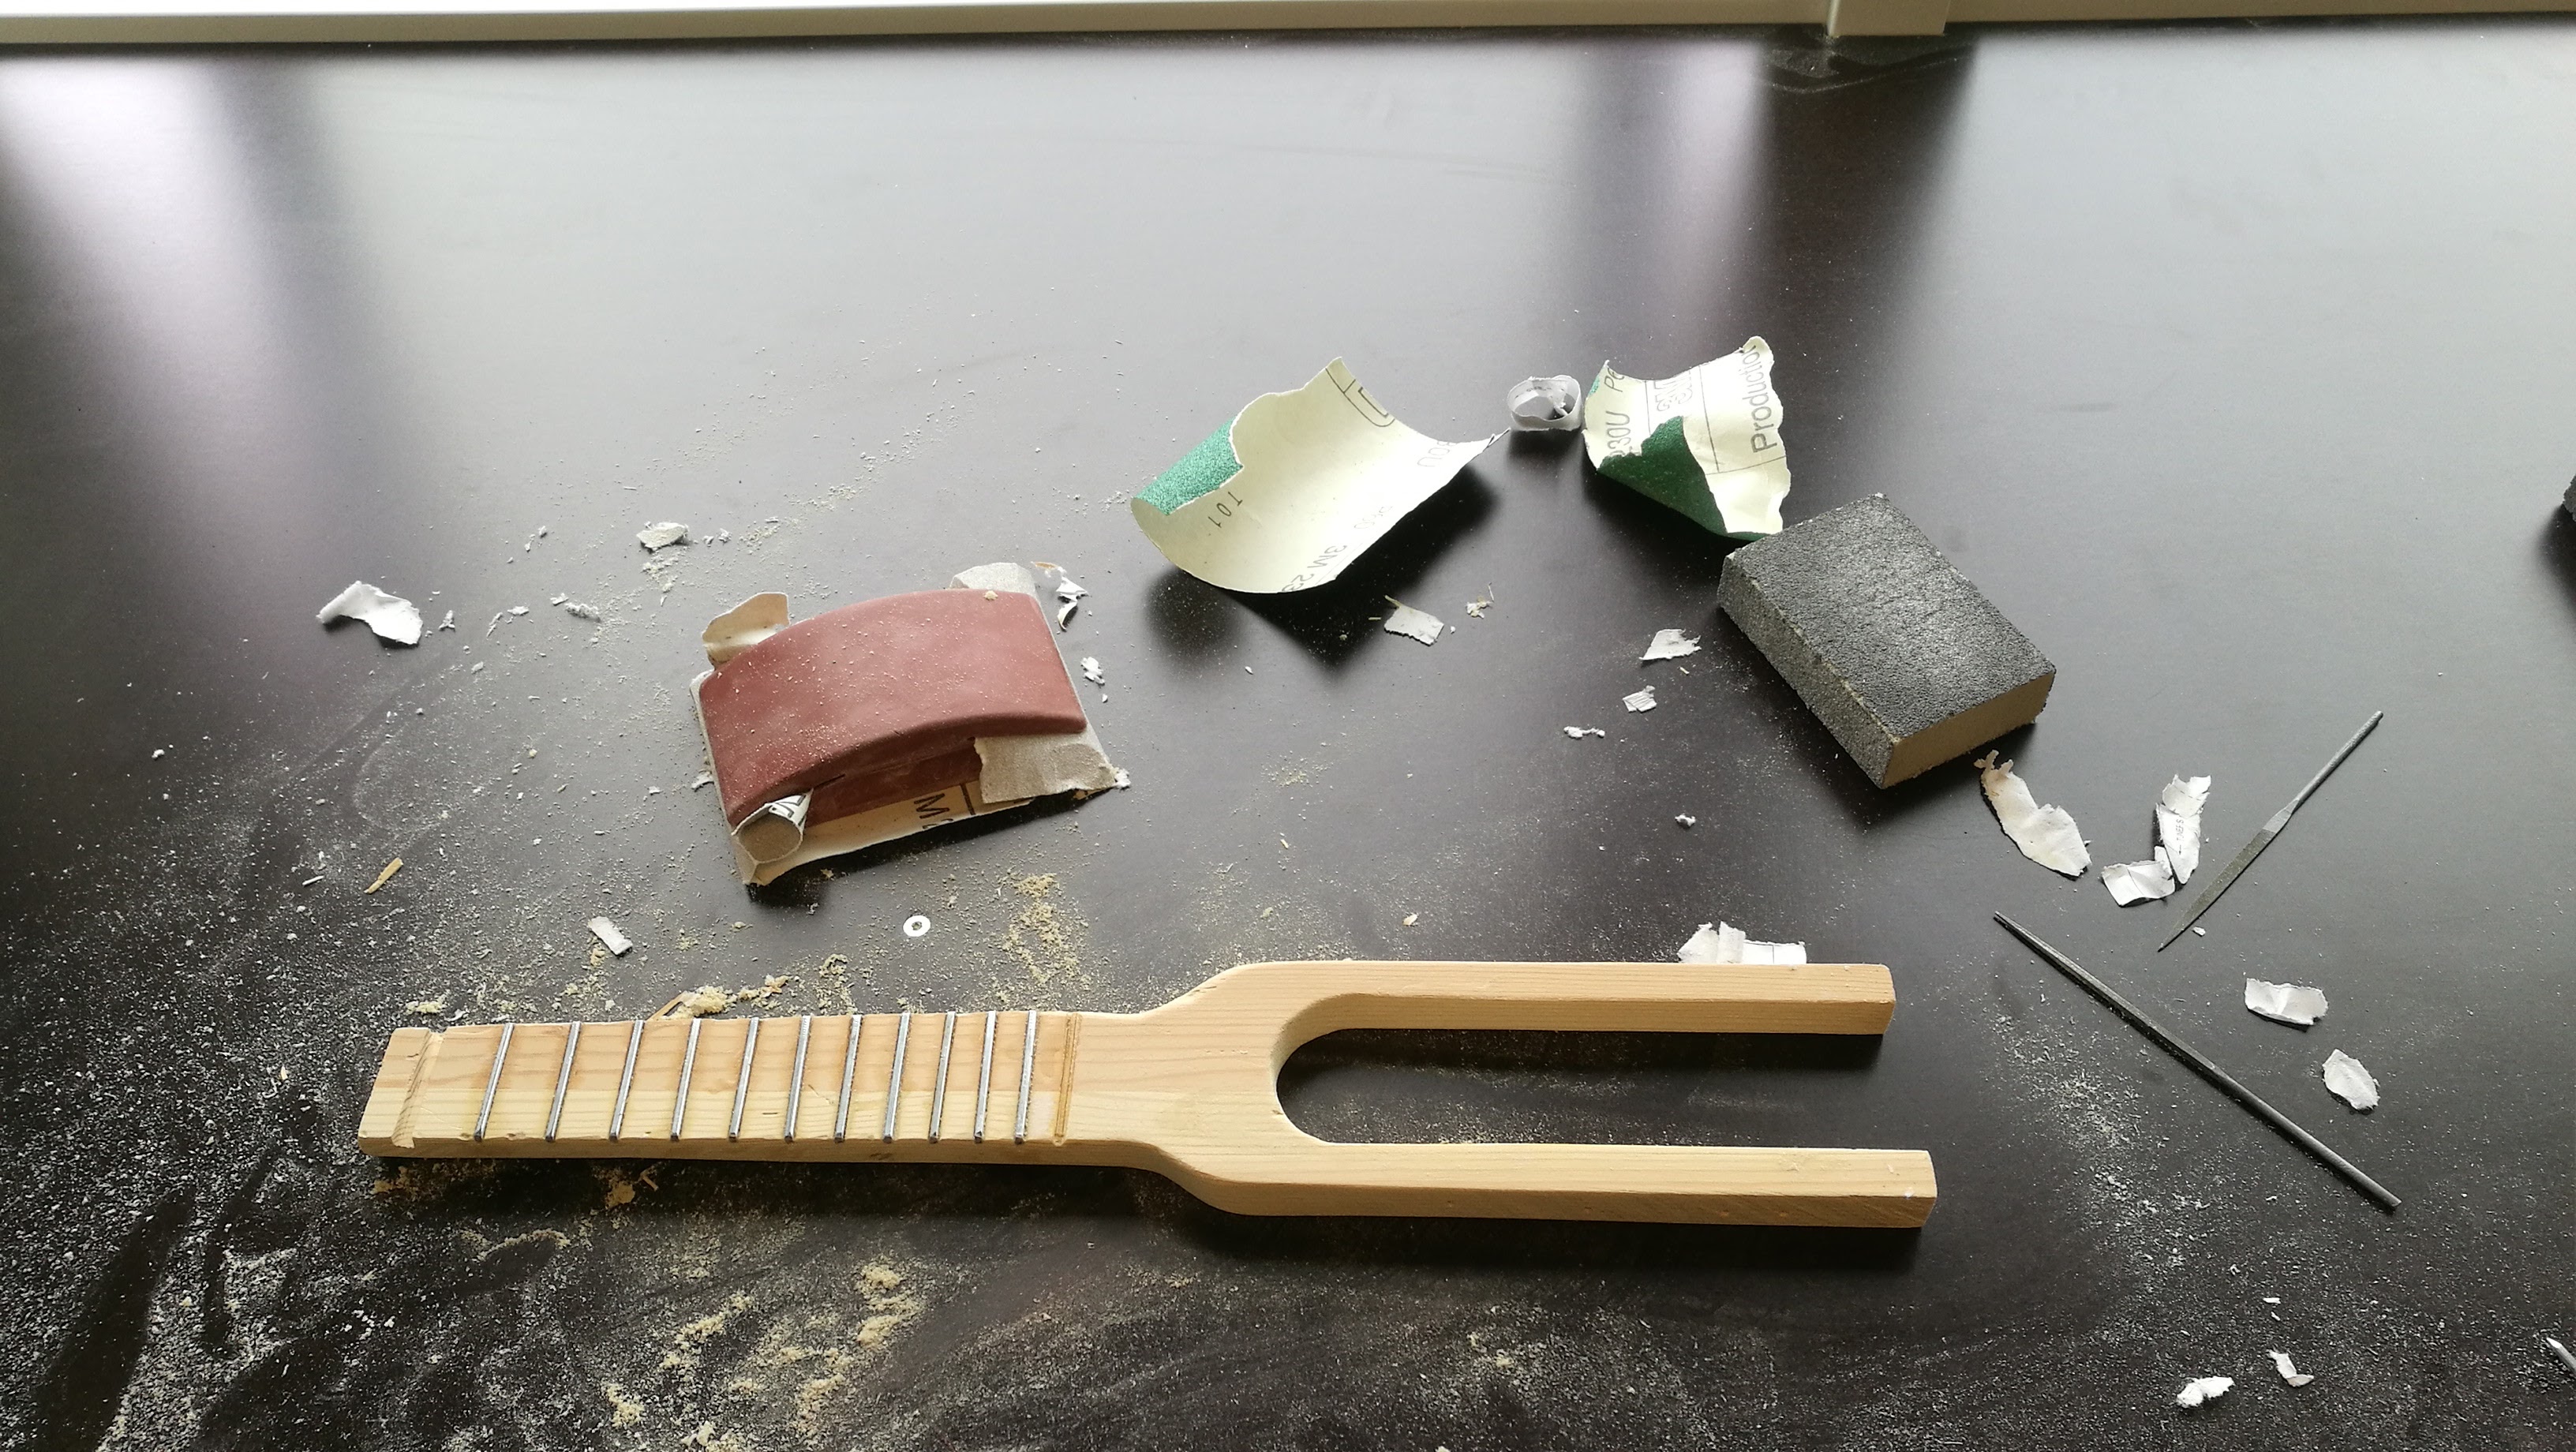
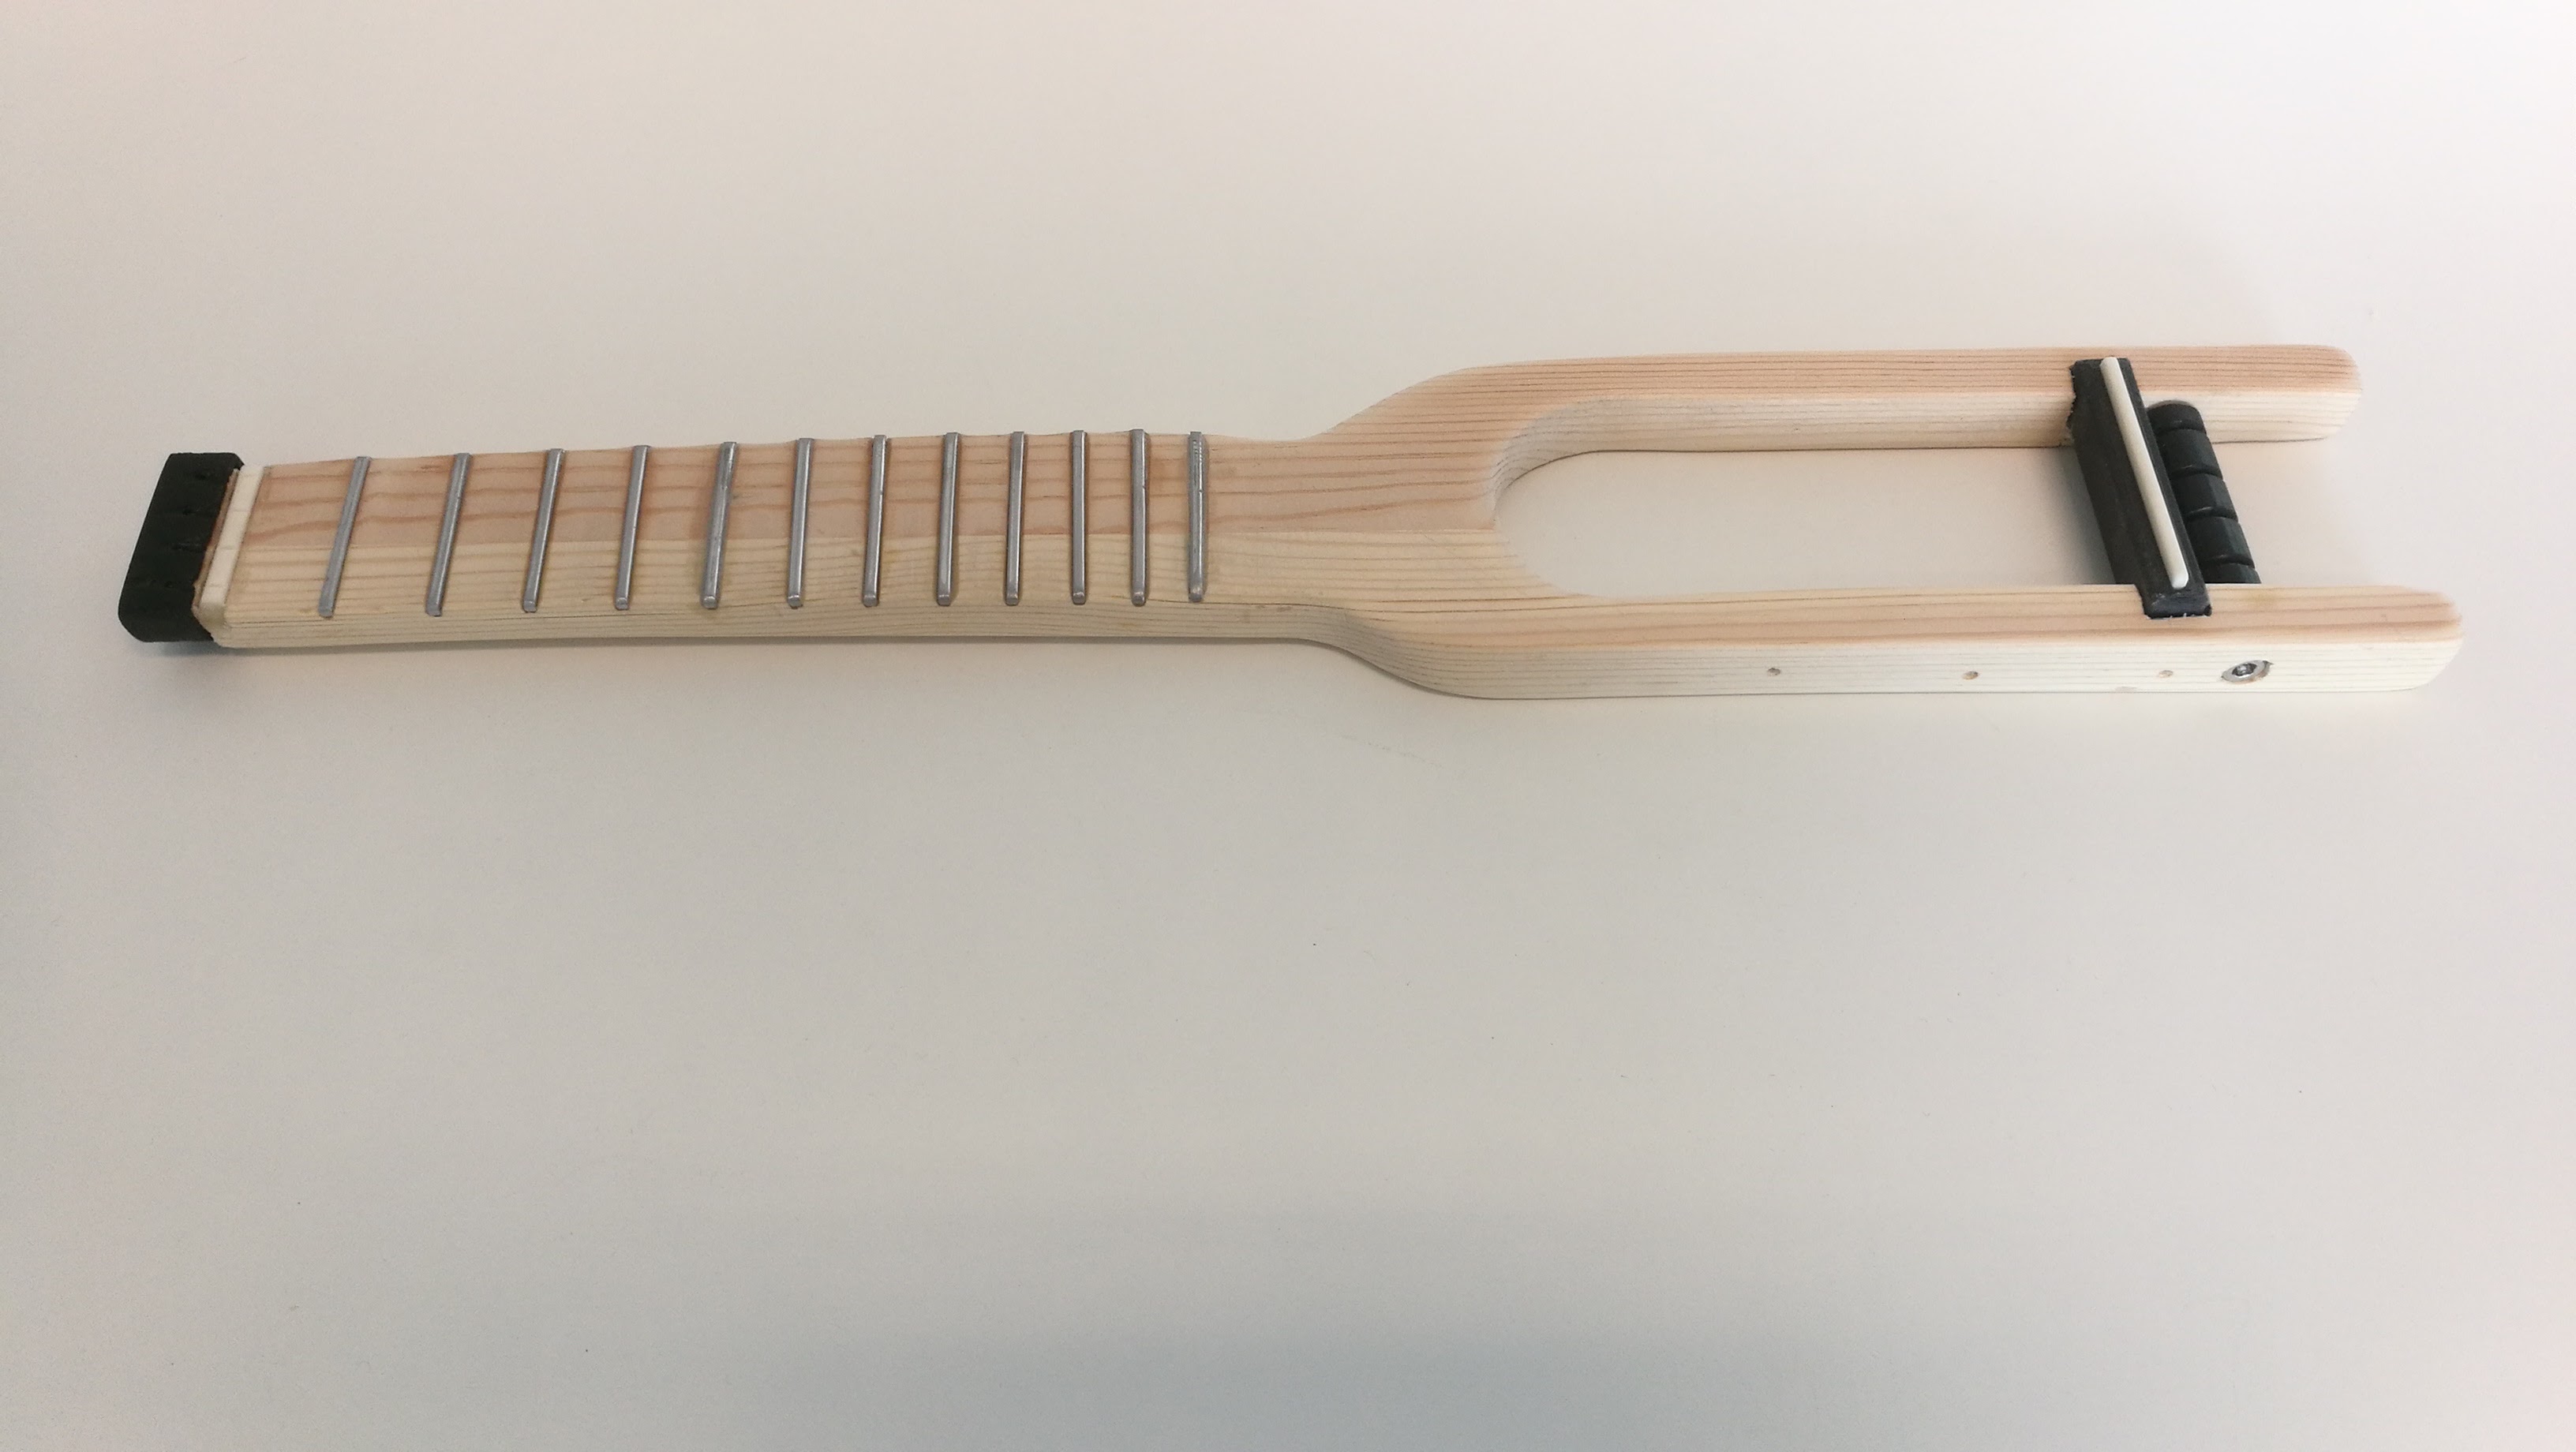
The slots for the frets were cut out using a hacksaw and some files. These were hard to get to the correct depth, as well as keeping them parallel. One should probably create some kind of jig or find a method to make all these slots identical.
The frets were made from nails, which were glued in place with two-component epoxy.
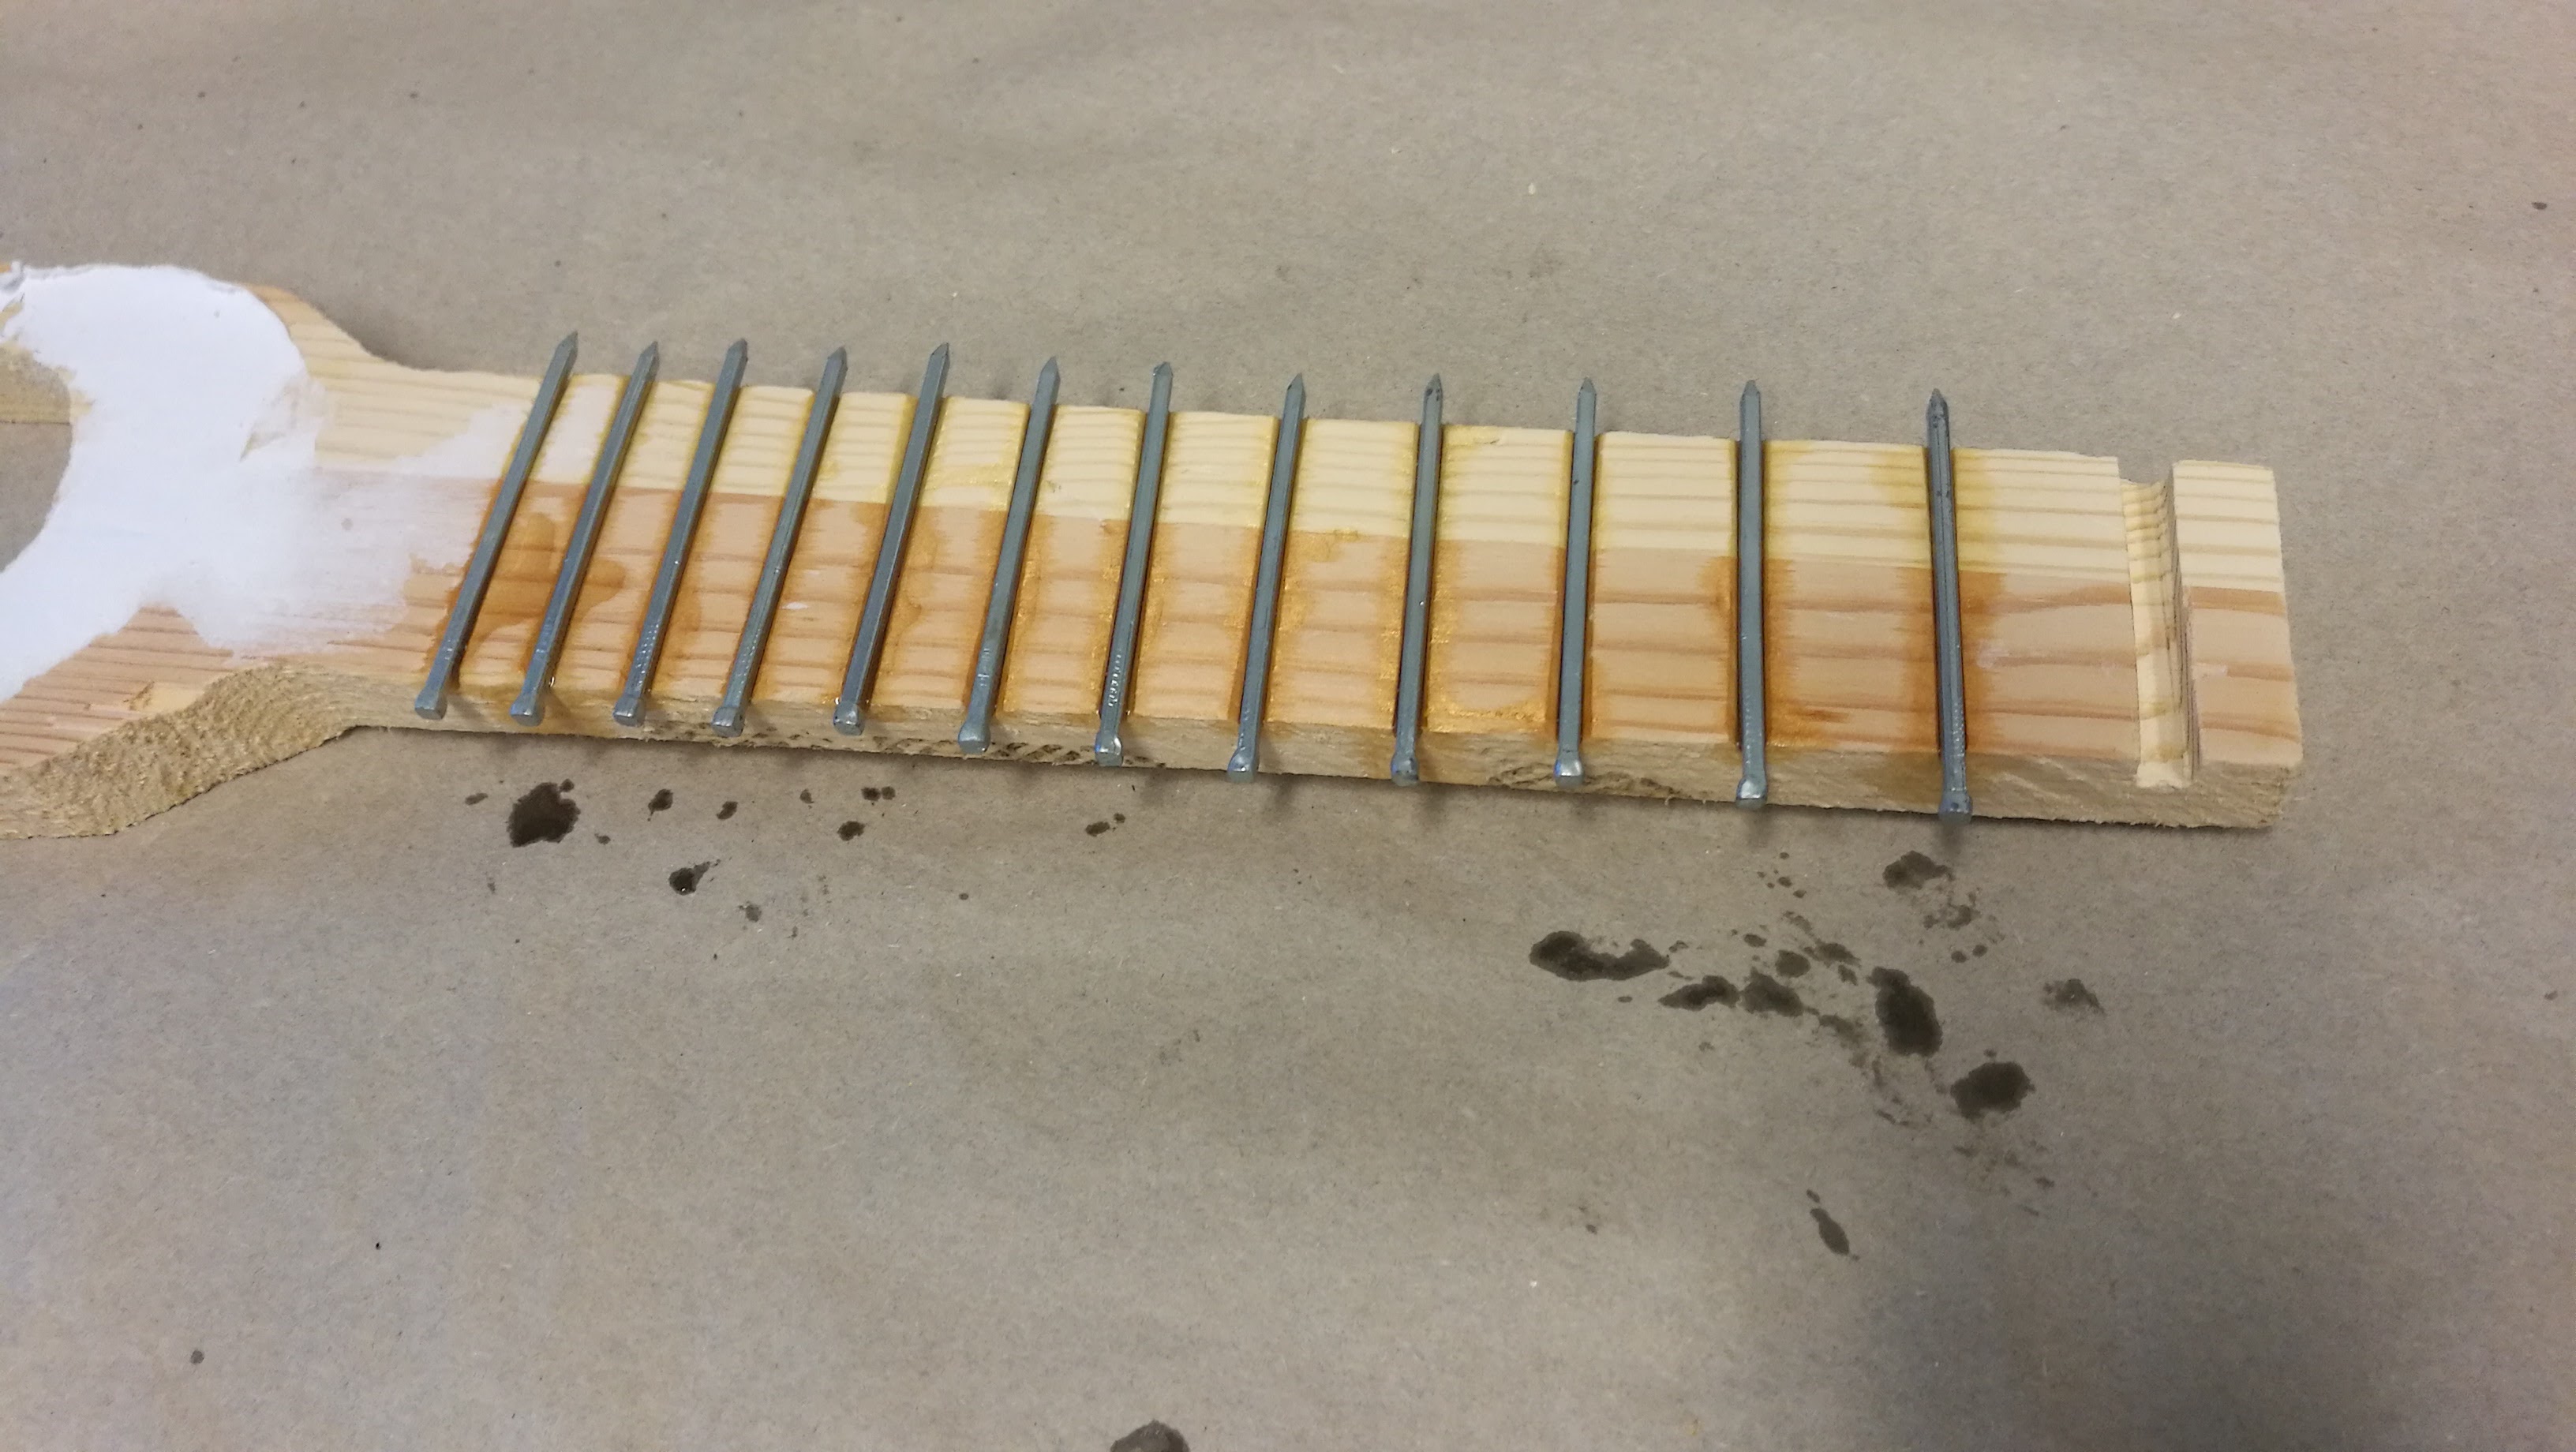
The excess part of the nails were cut off with a hacksaw, and rounded off with a file.
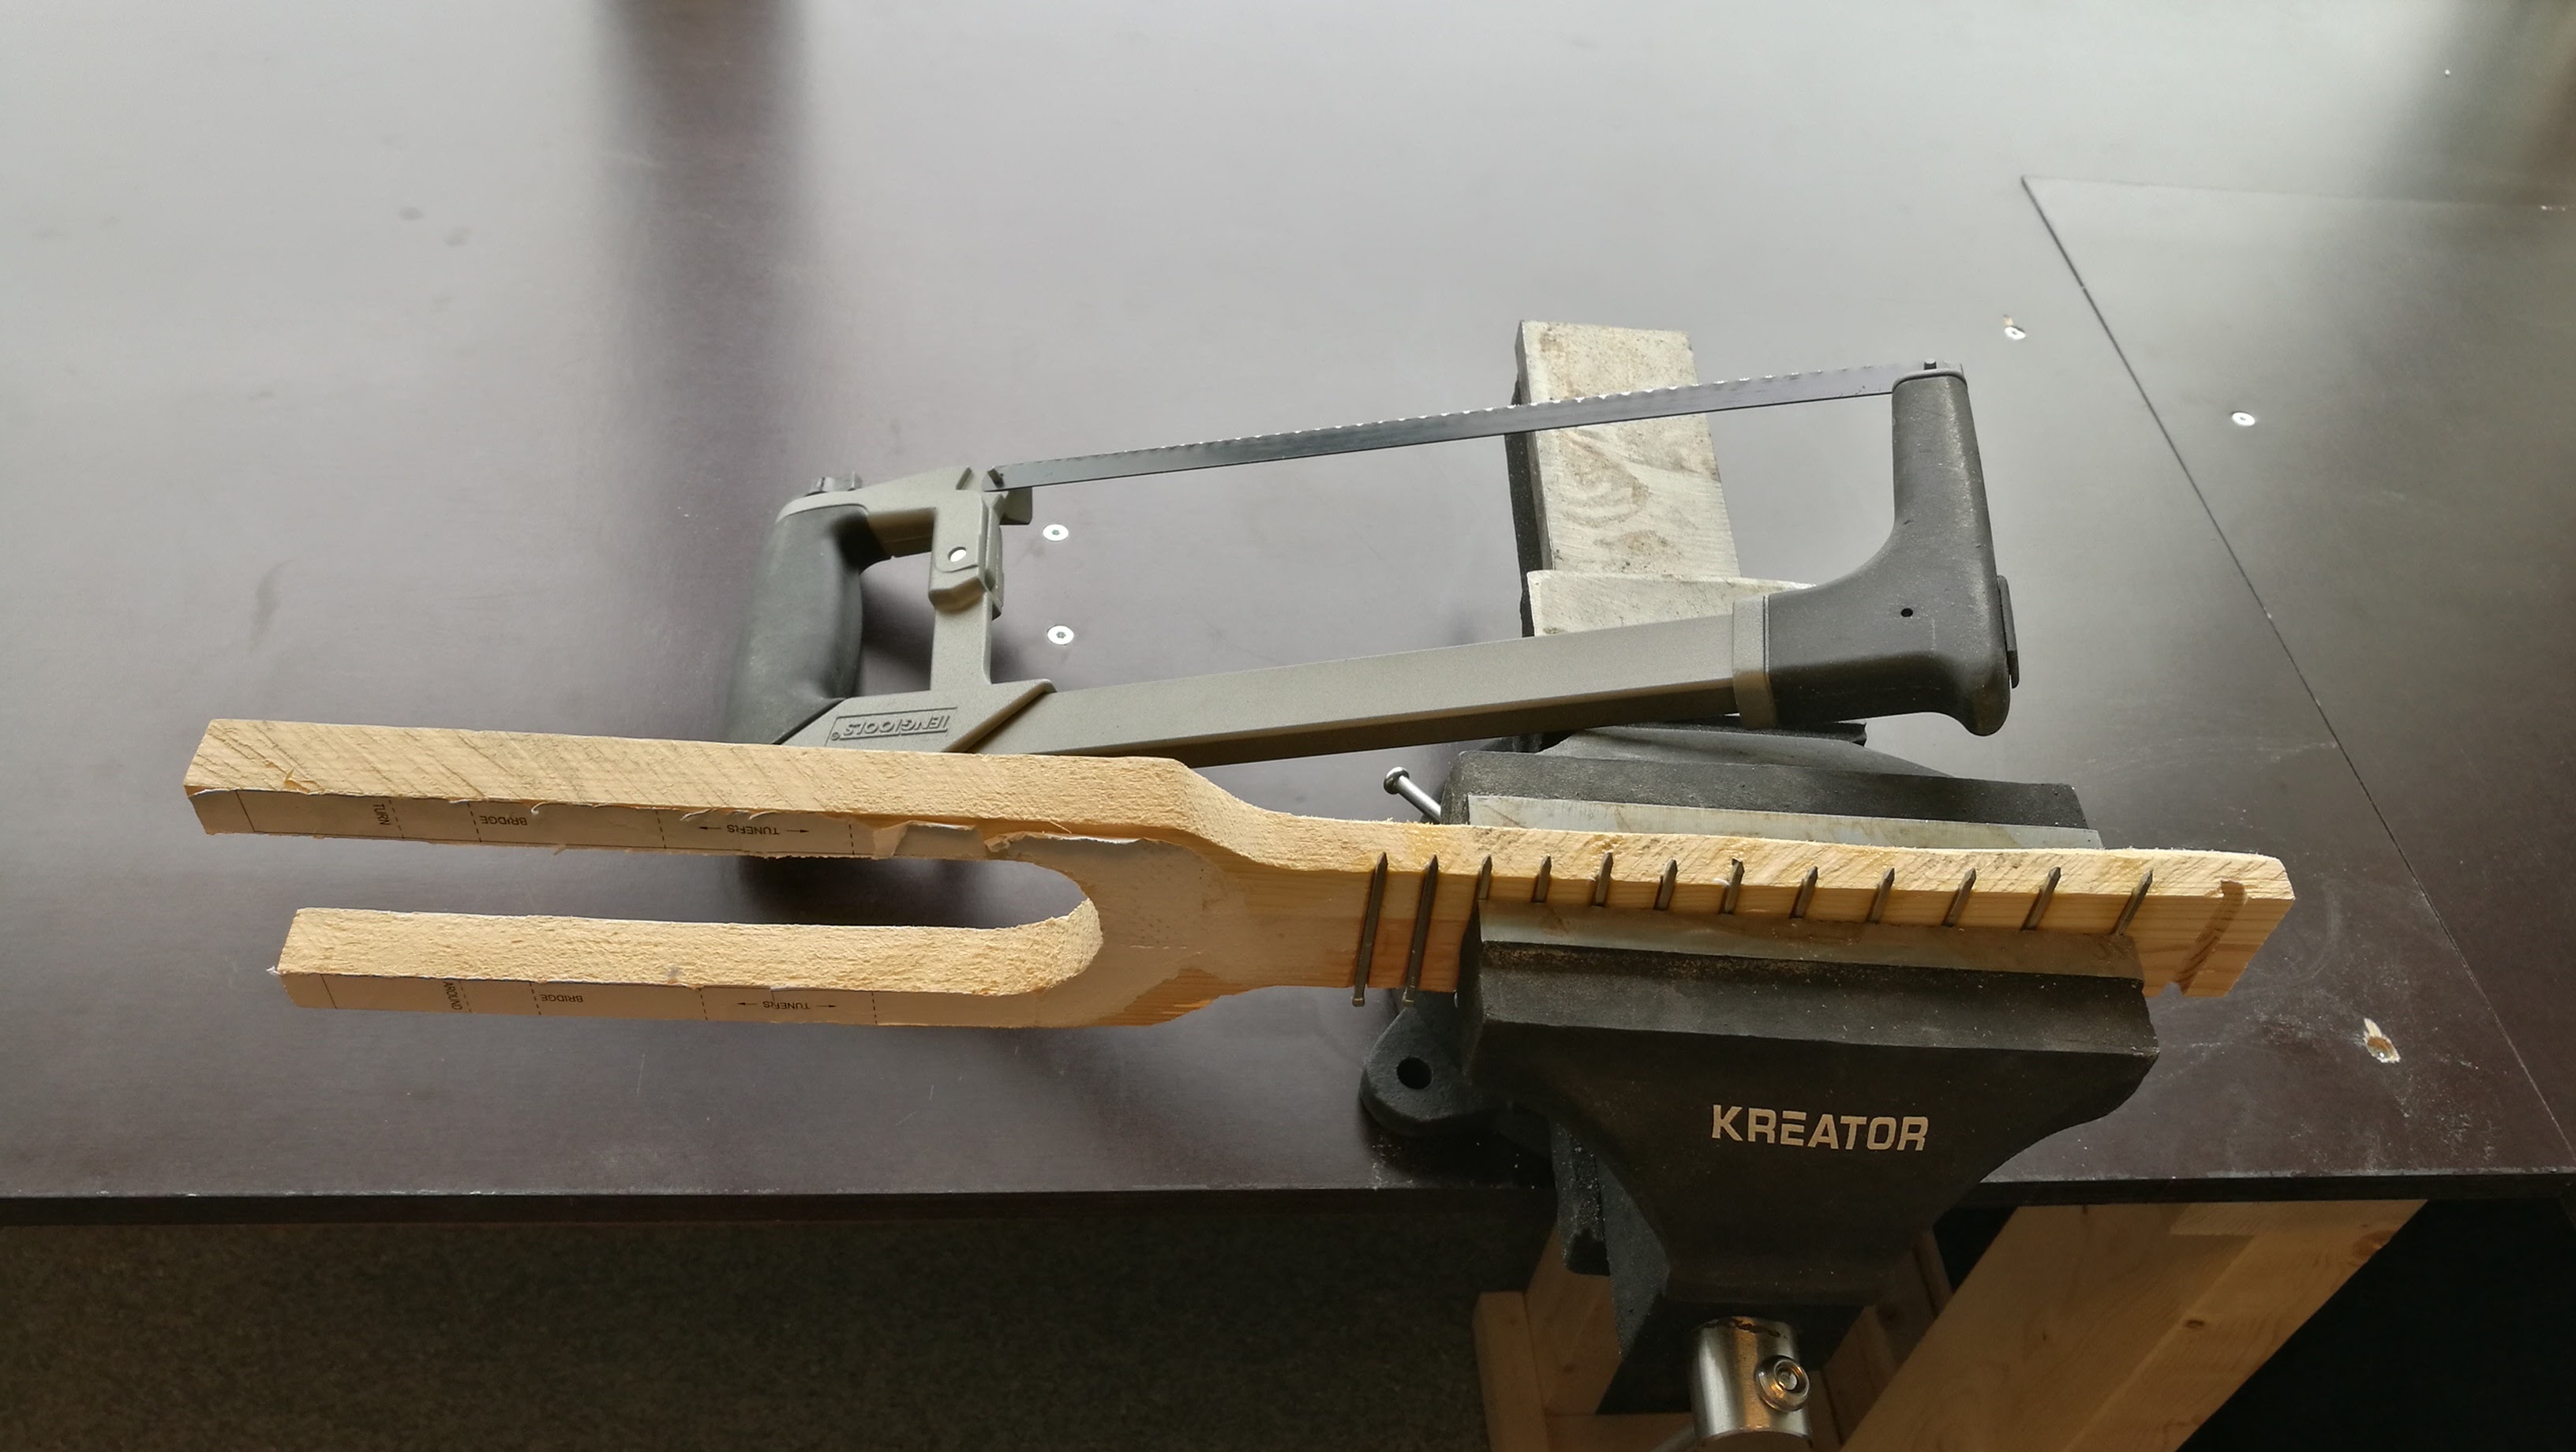
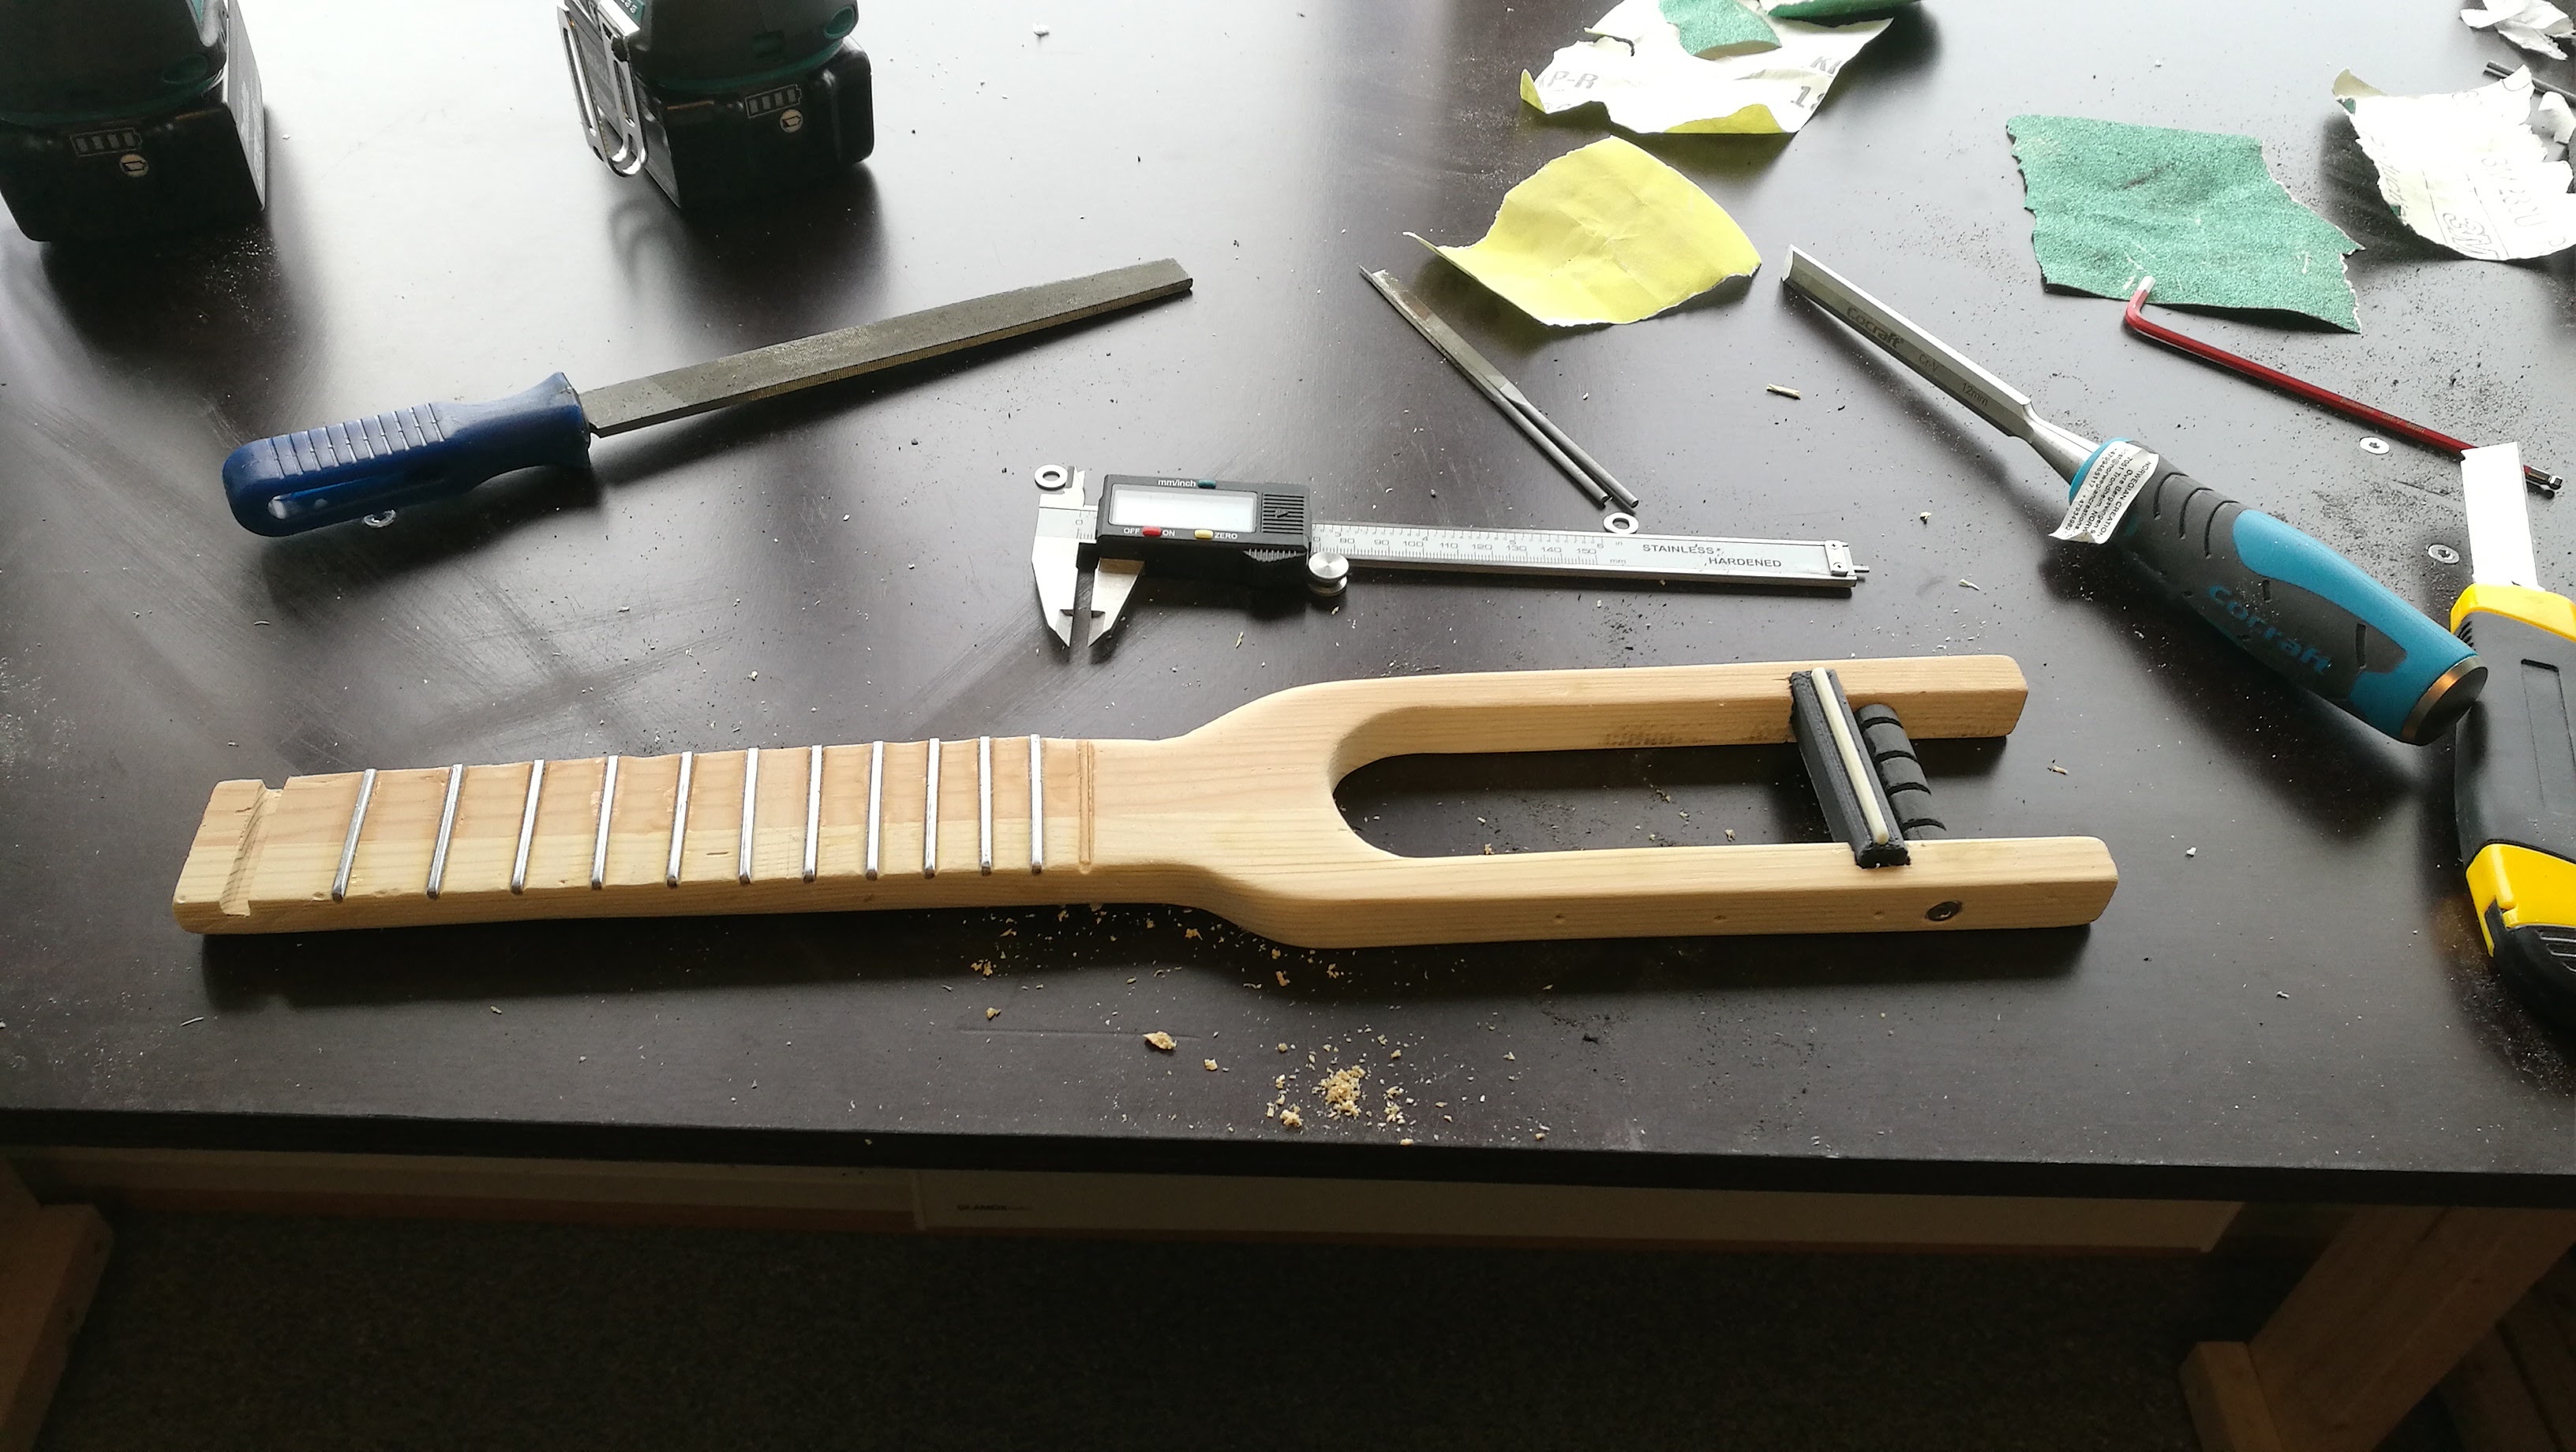
Both the frets and the body were sanded quite a bit. It is very important to sand or grind down the frets to the same height. If some frets are higher than the others, the strings will “buzz” as they touch them while vibrating.
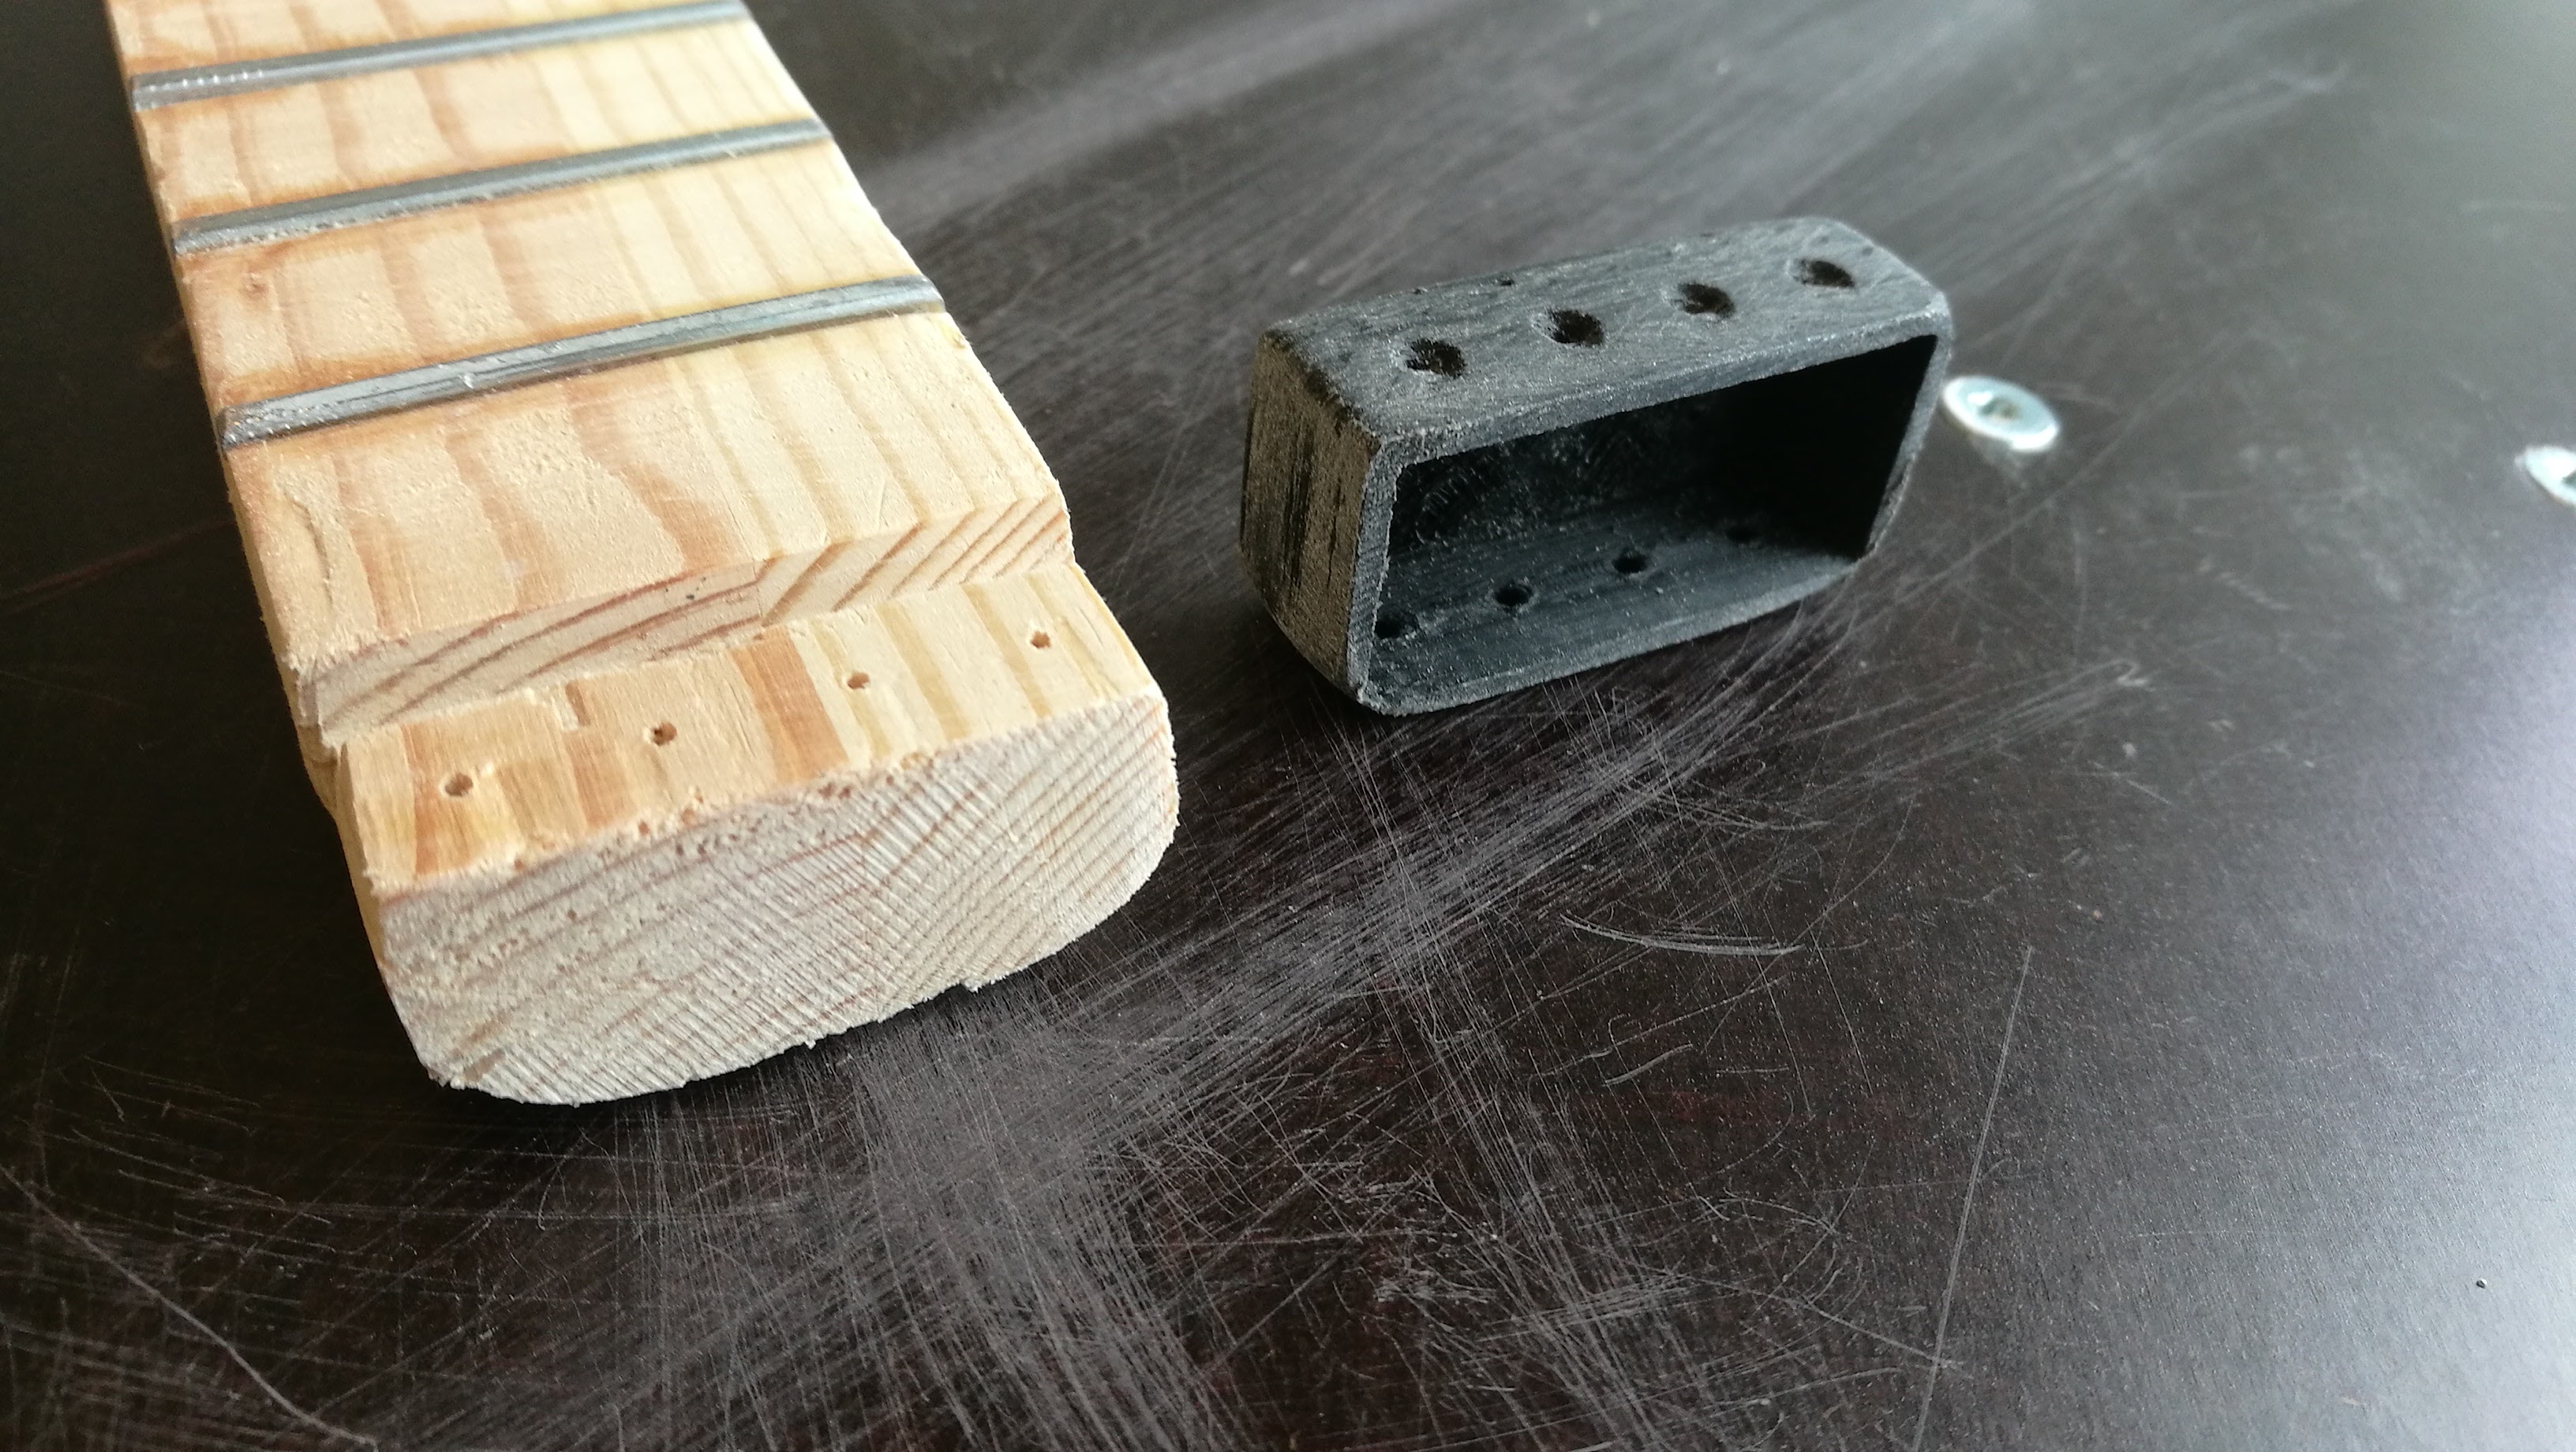
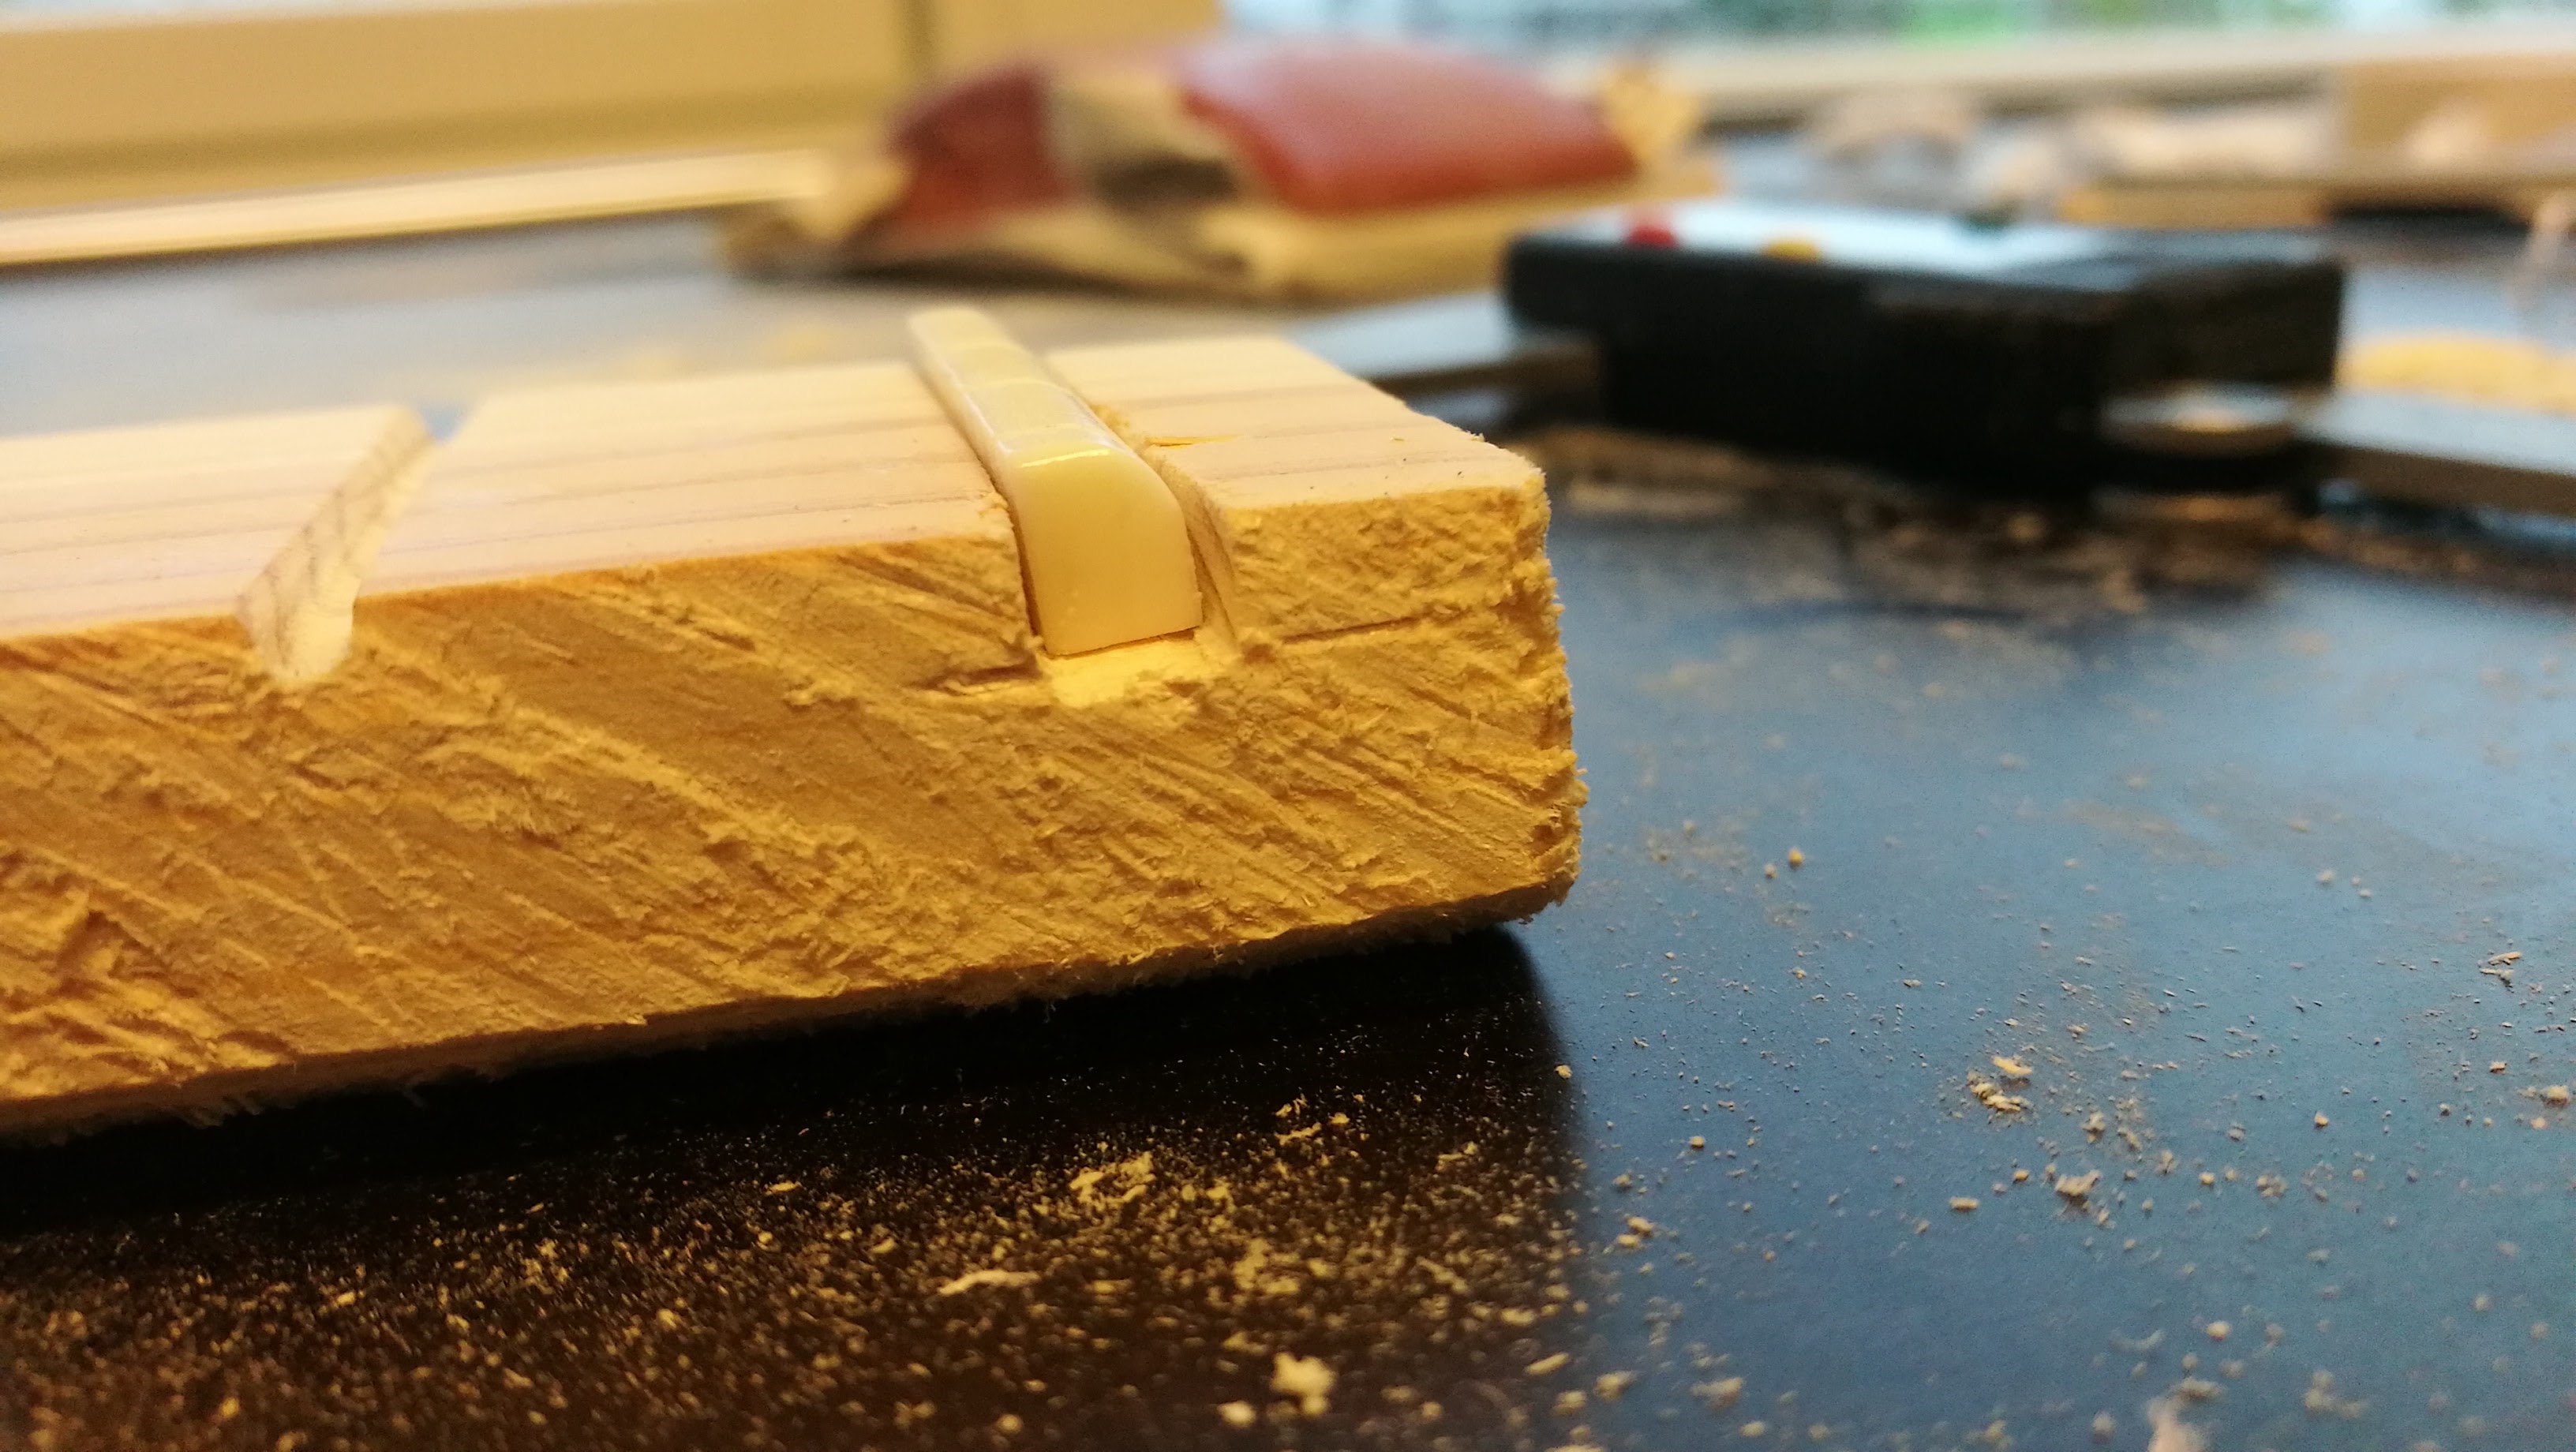
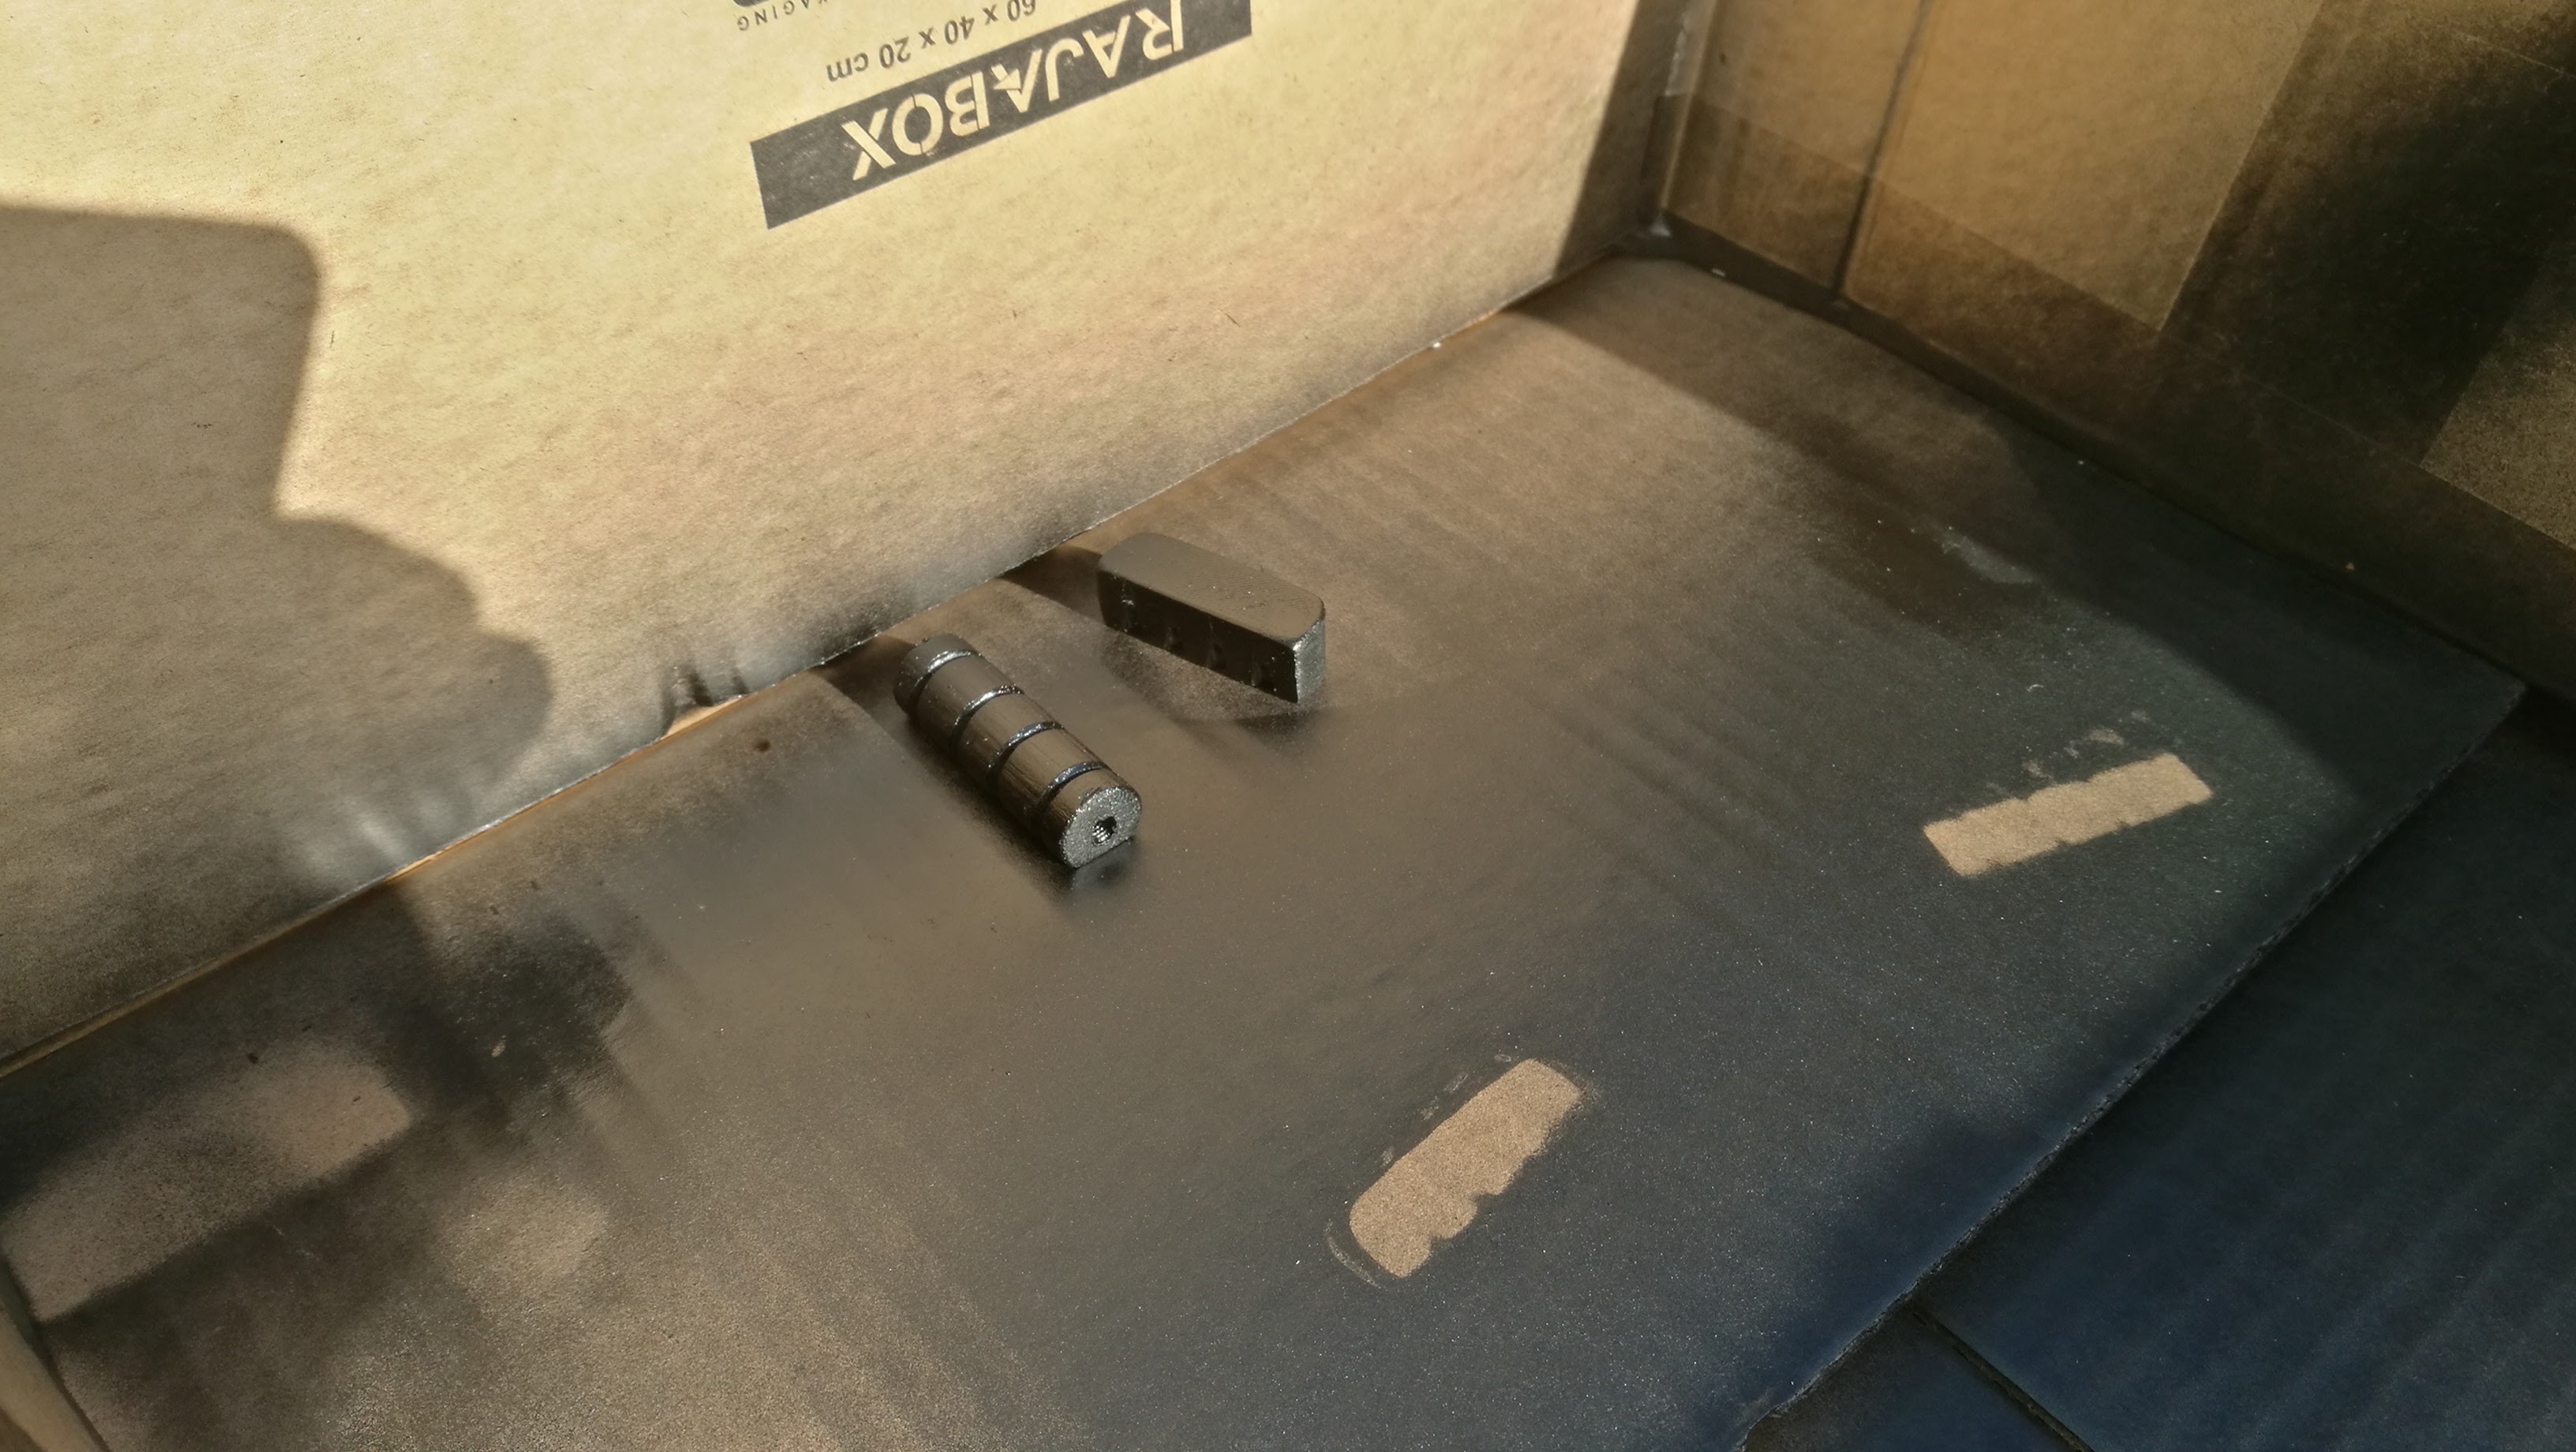
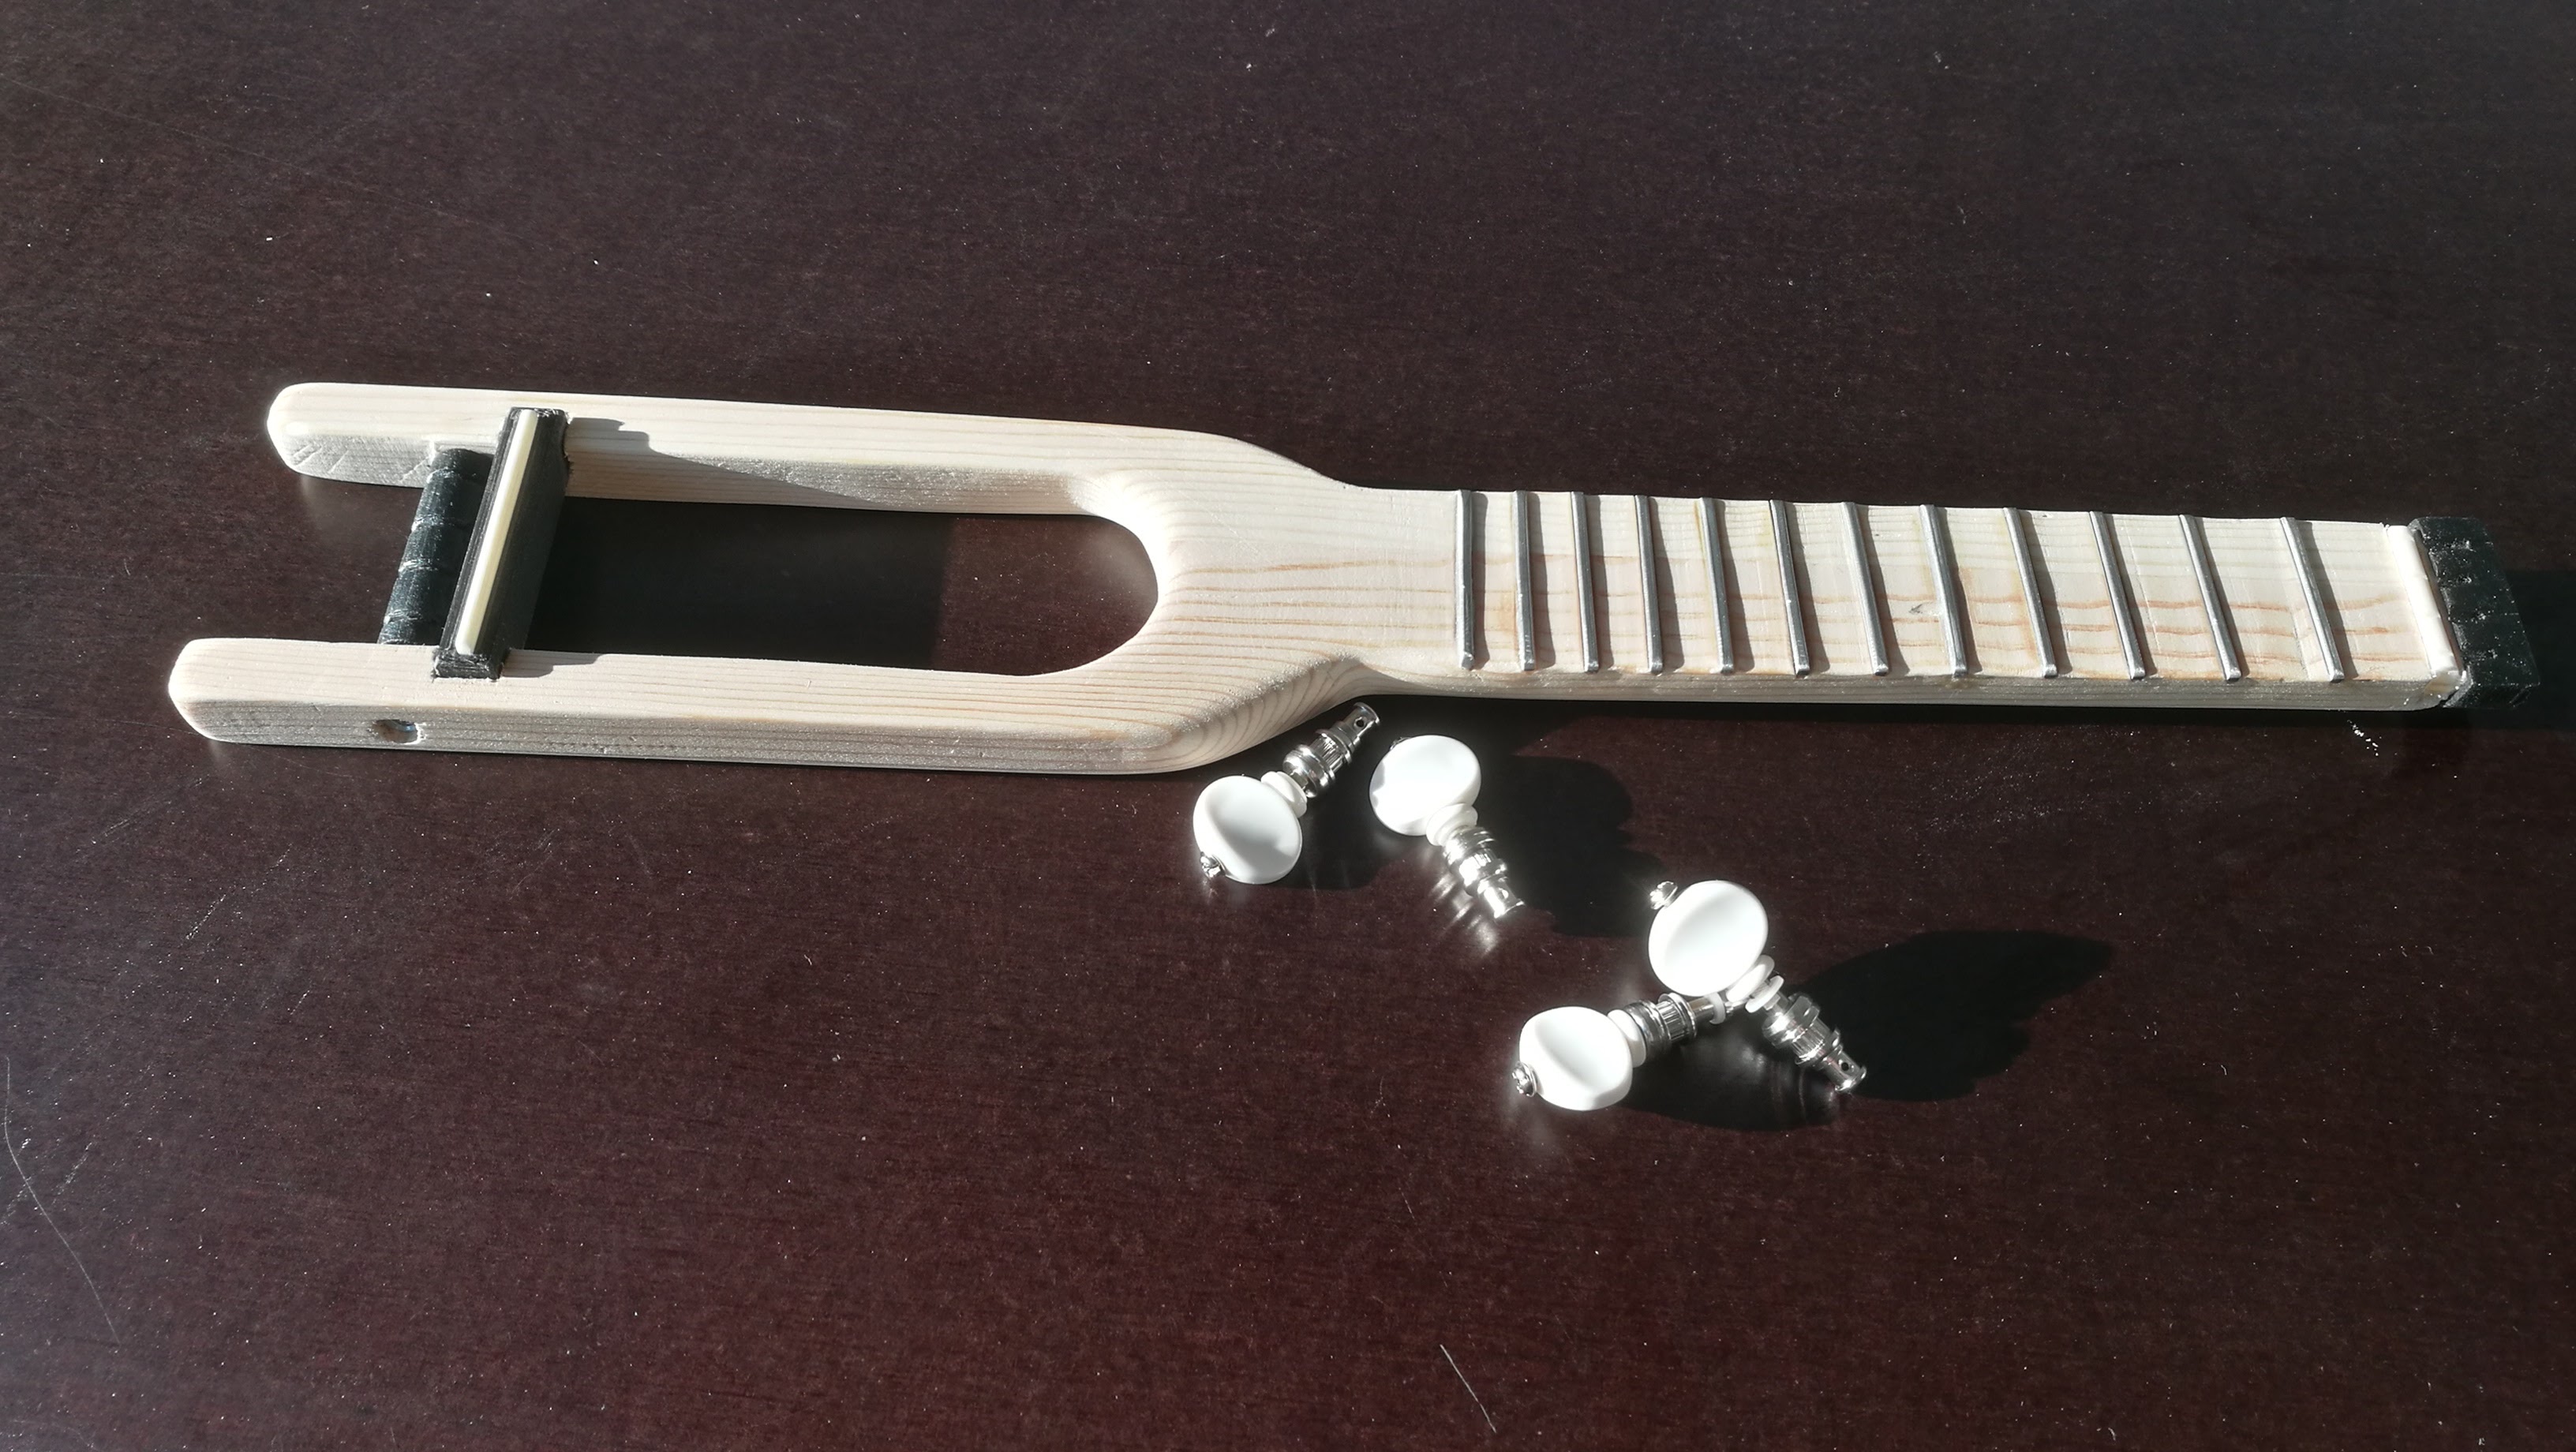
The string turnaround and saddle mount was 3D printed in black PLA plastic. The 3D files can be downloaded at the bottom. The saddle (the thin white part) itself was bought at a local music store, but it just probably just have been 3D printed as well. The space for the saddle mount was created with a chisel and a file.
Since we used a soft wood type (scrap wood board), we designed and printed a protective cover for the string attachment holes.
The “zero nut” was also bought at a music store, but was later replaced by a 3D printed version.
The plastic parts were sanded and painted for extra cool.
The result so far. It was very smooth to the touch after a spending way too much time sanding it.
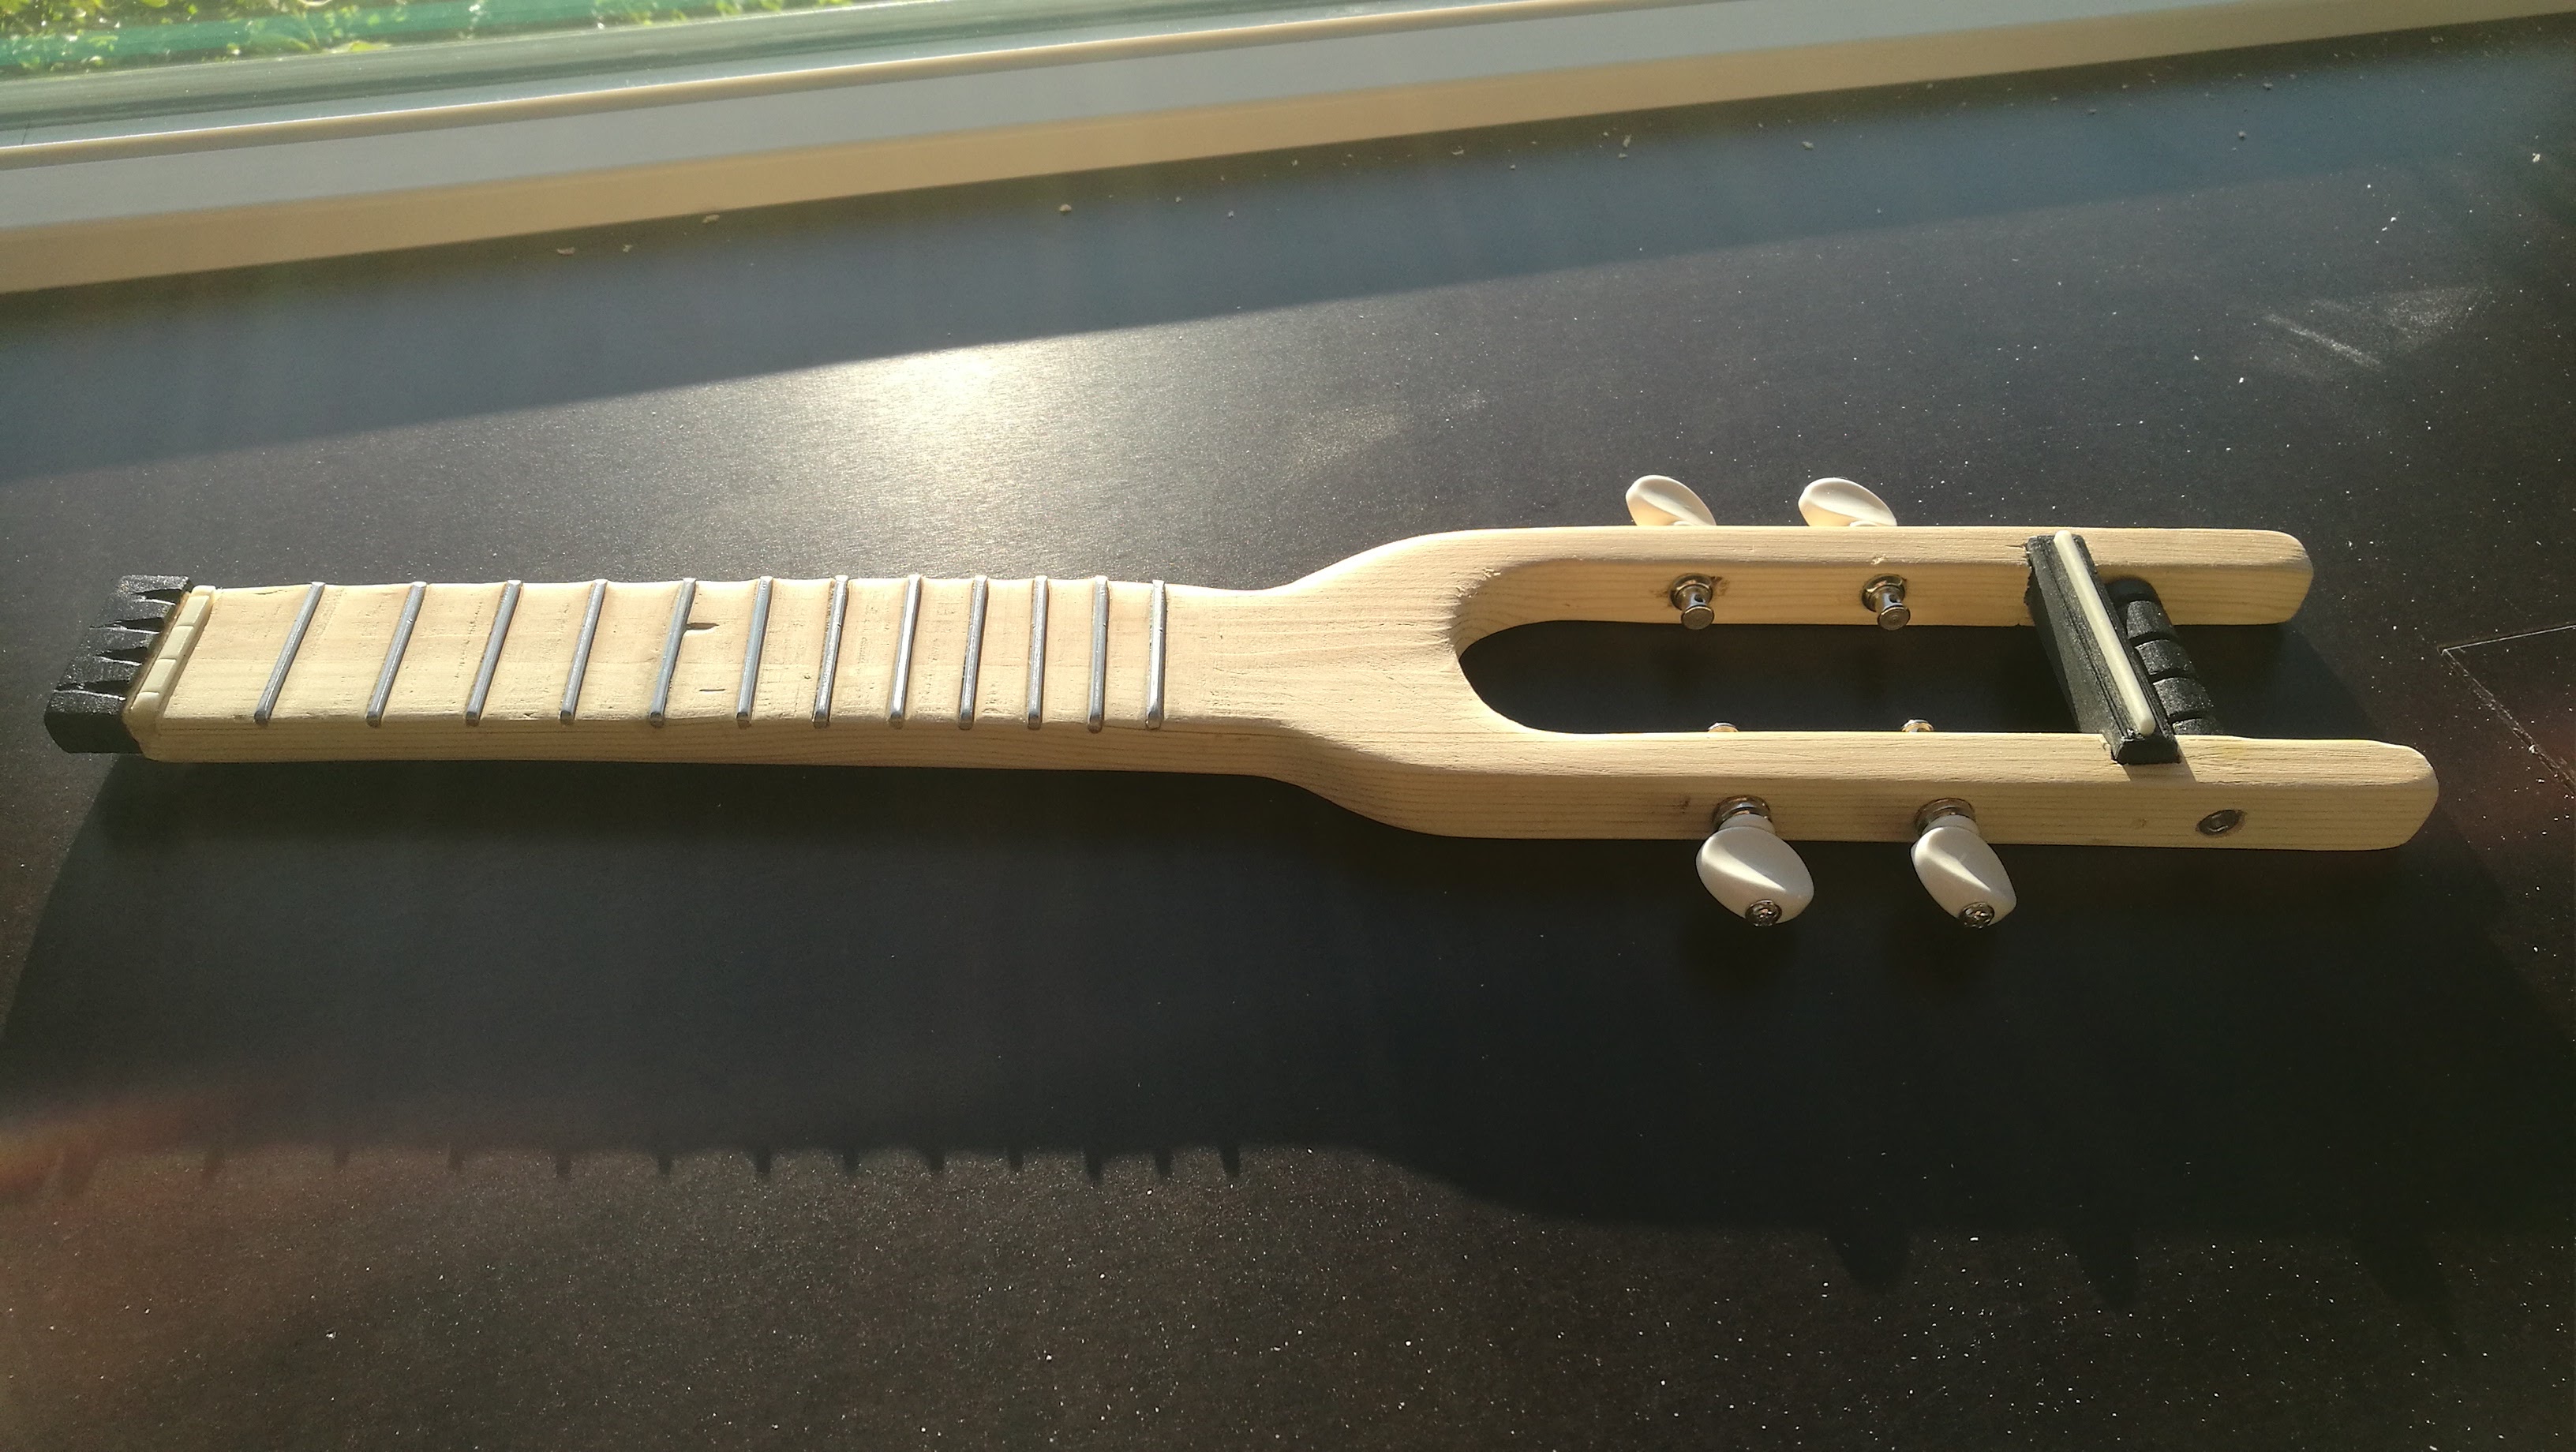
We bought these friction lock tuning pegs on eBay. Normal tuning pegs with a 90 degree angle will be better for tuning, but these take up a minimal amount of space.
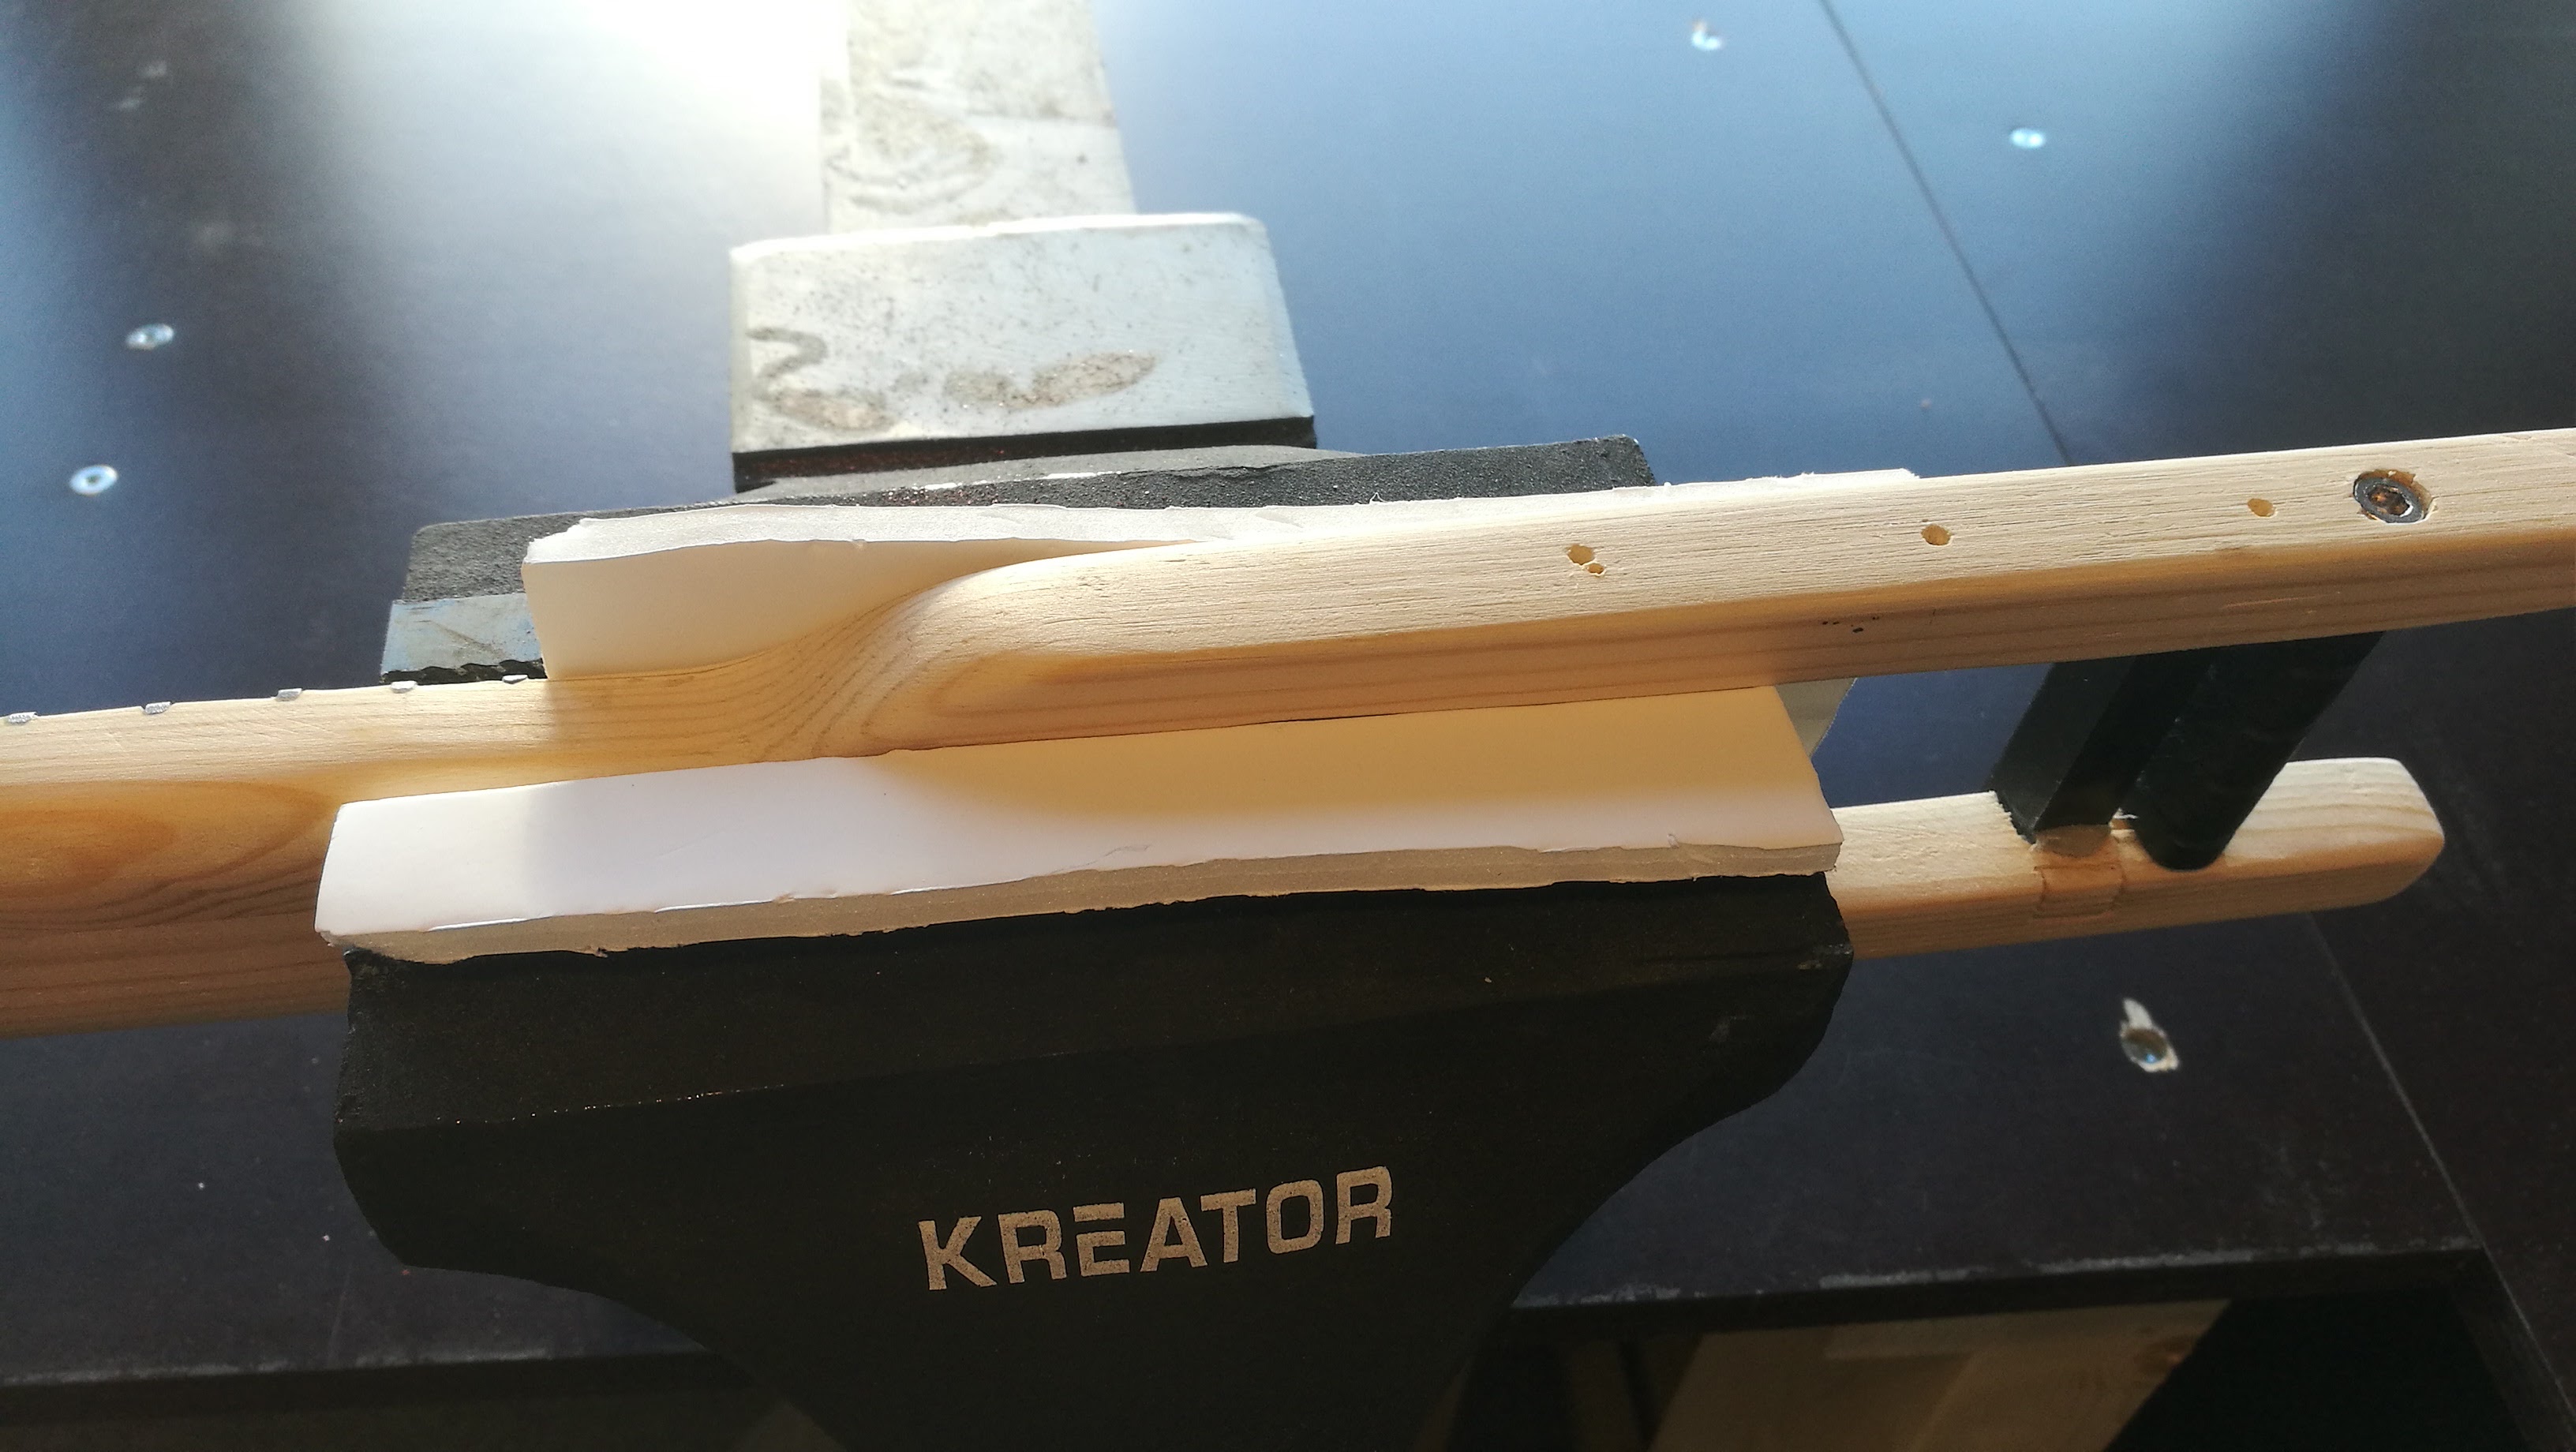
We padded our vise with some foam core to avoid crushing the ukulele while drilling the holes for the tuning pegs.
Tuning pegs mounted and read for some strings!
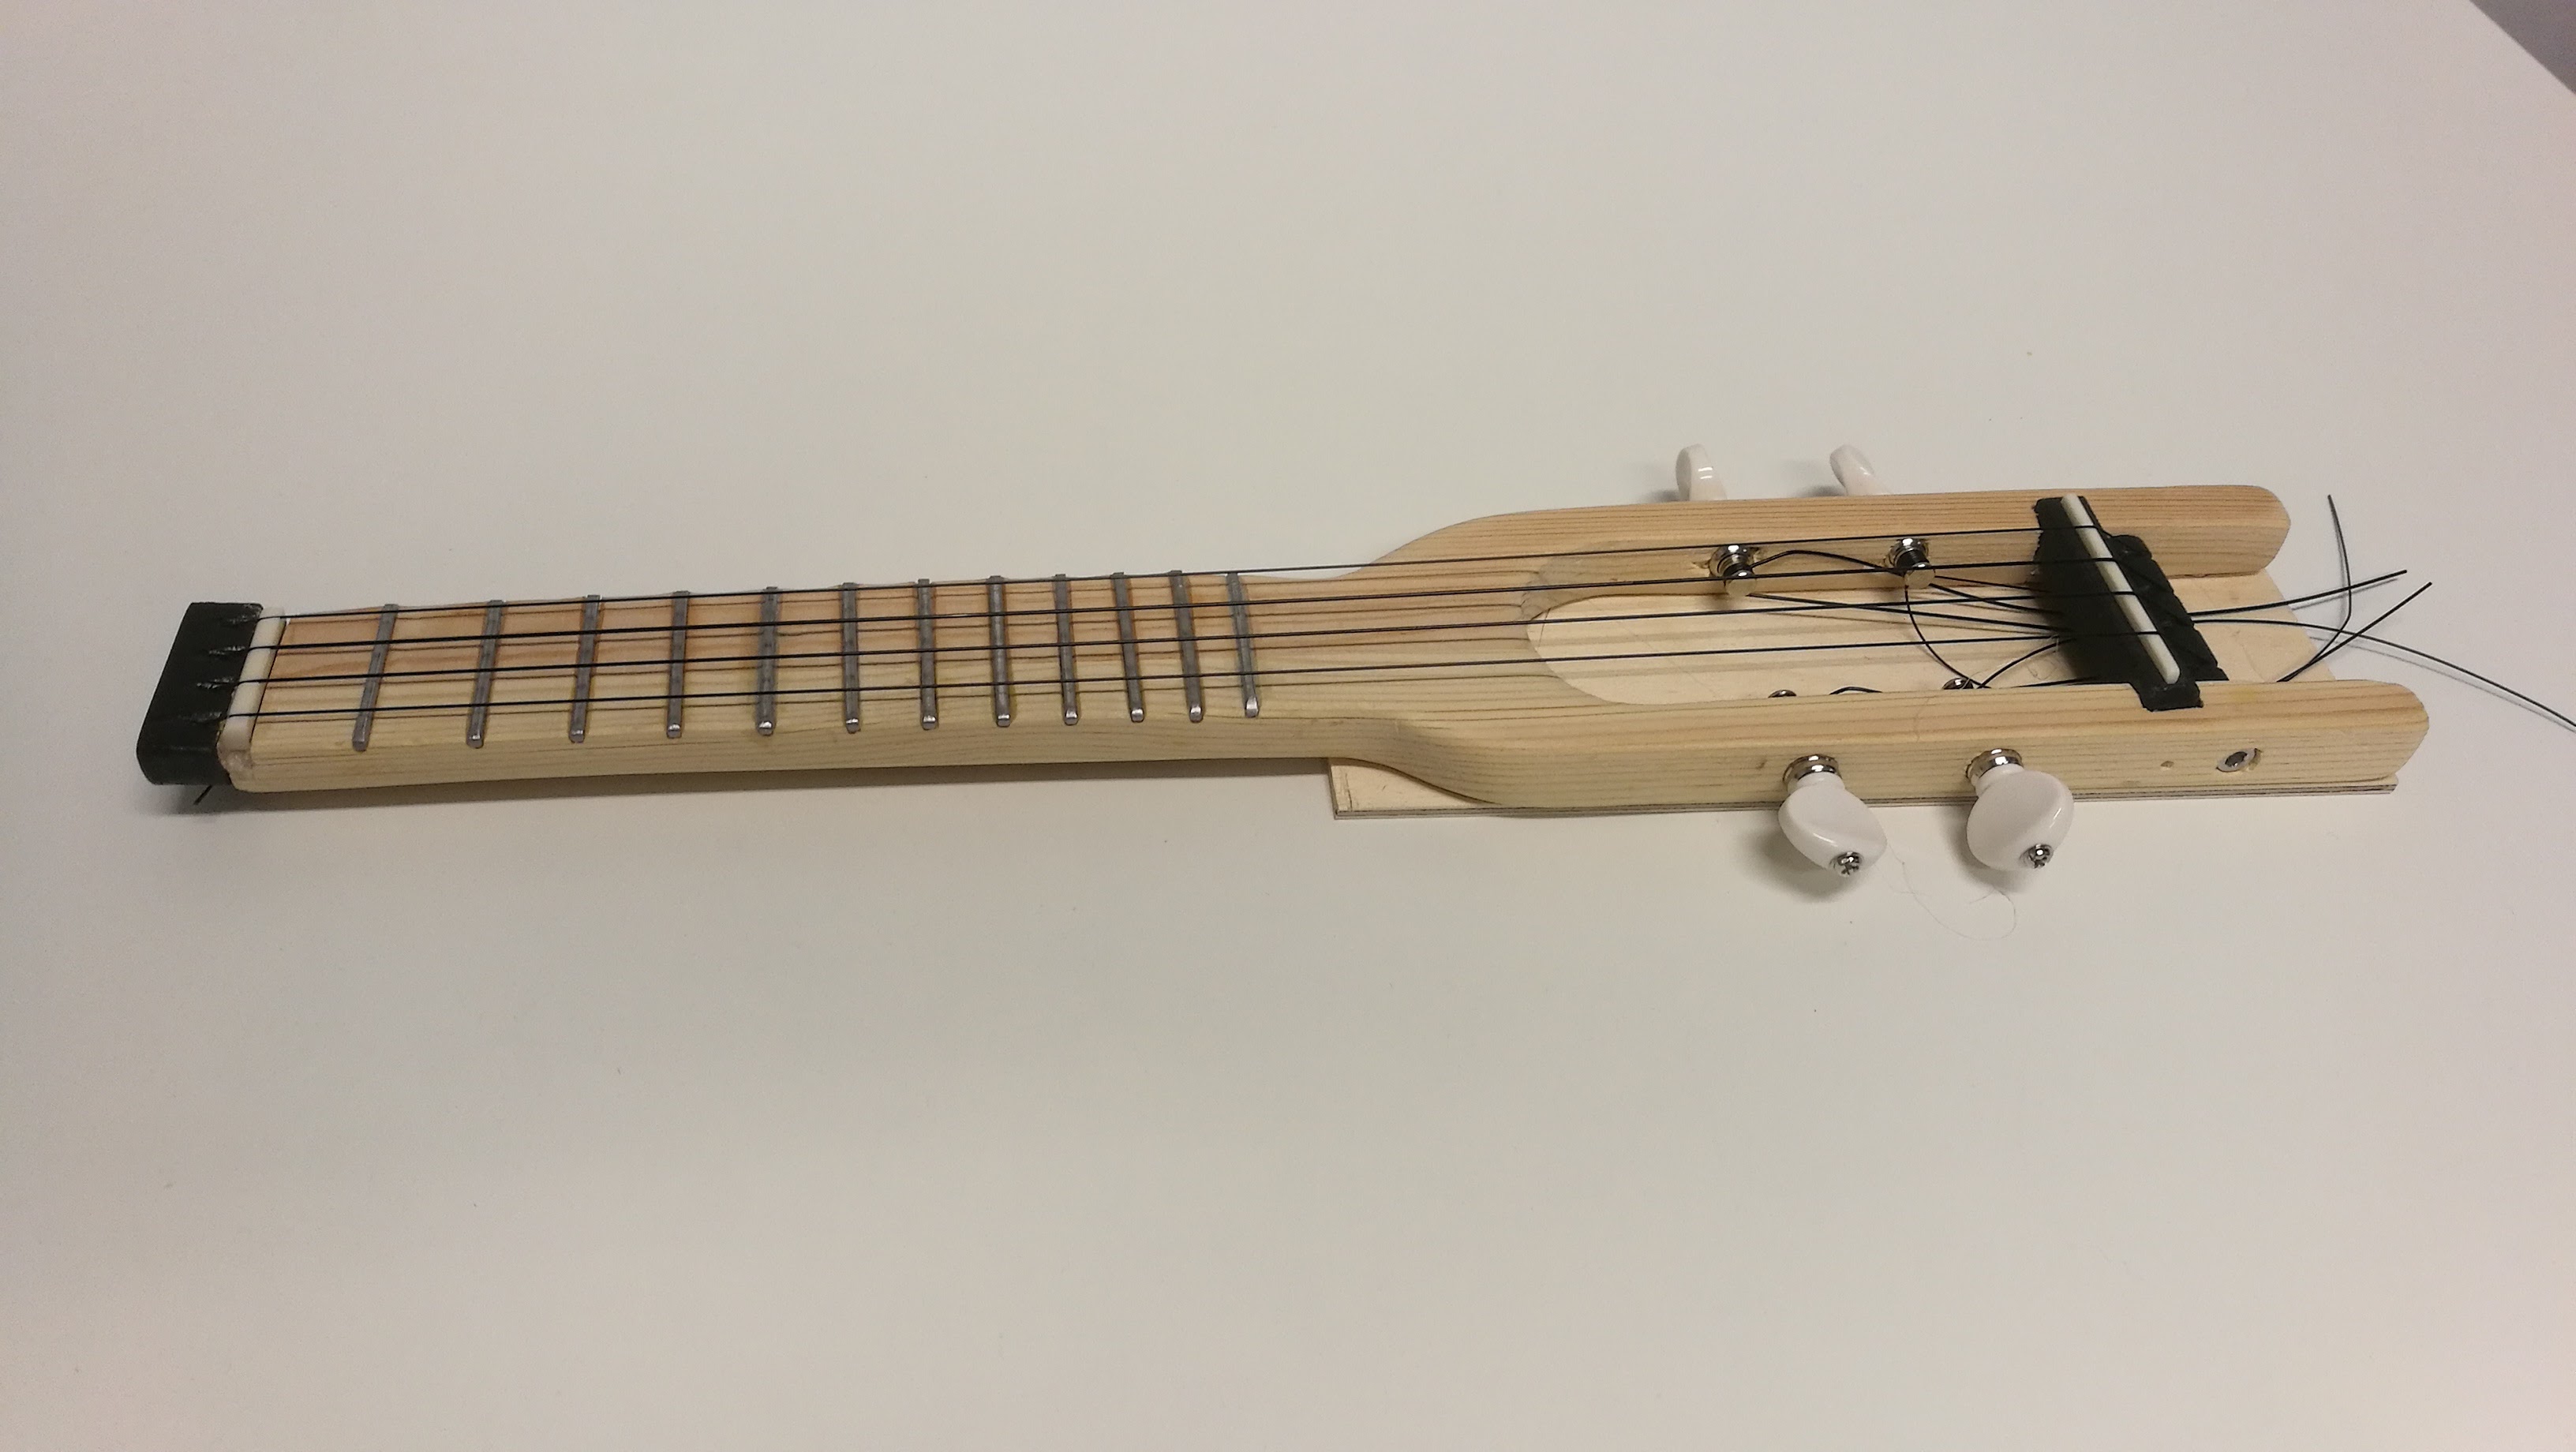
We then inserted the strings, by tying a big knot on one end, and threading it through the holes in the top part of the neck. A back panel was added to make the sound a bit higher in volume.
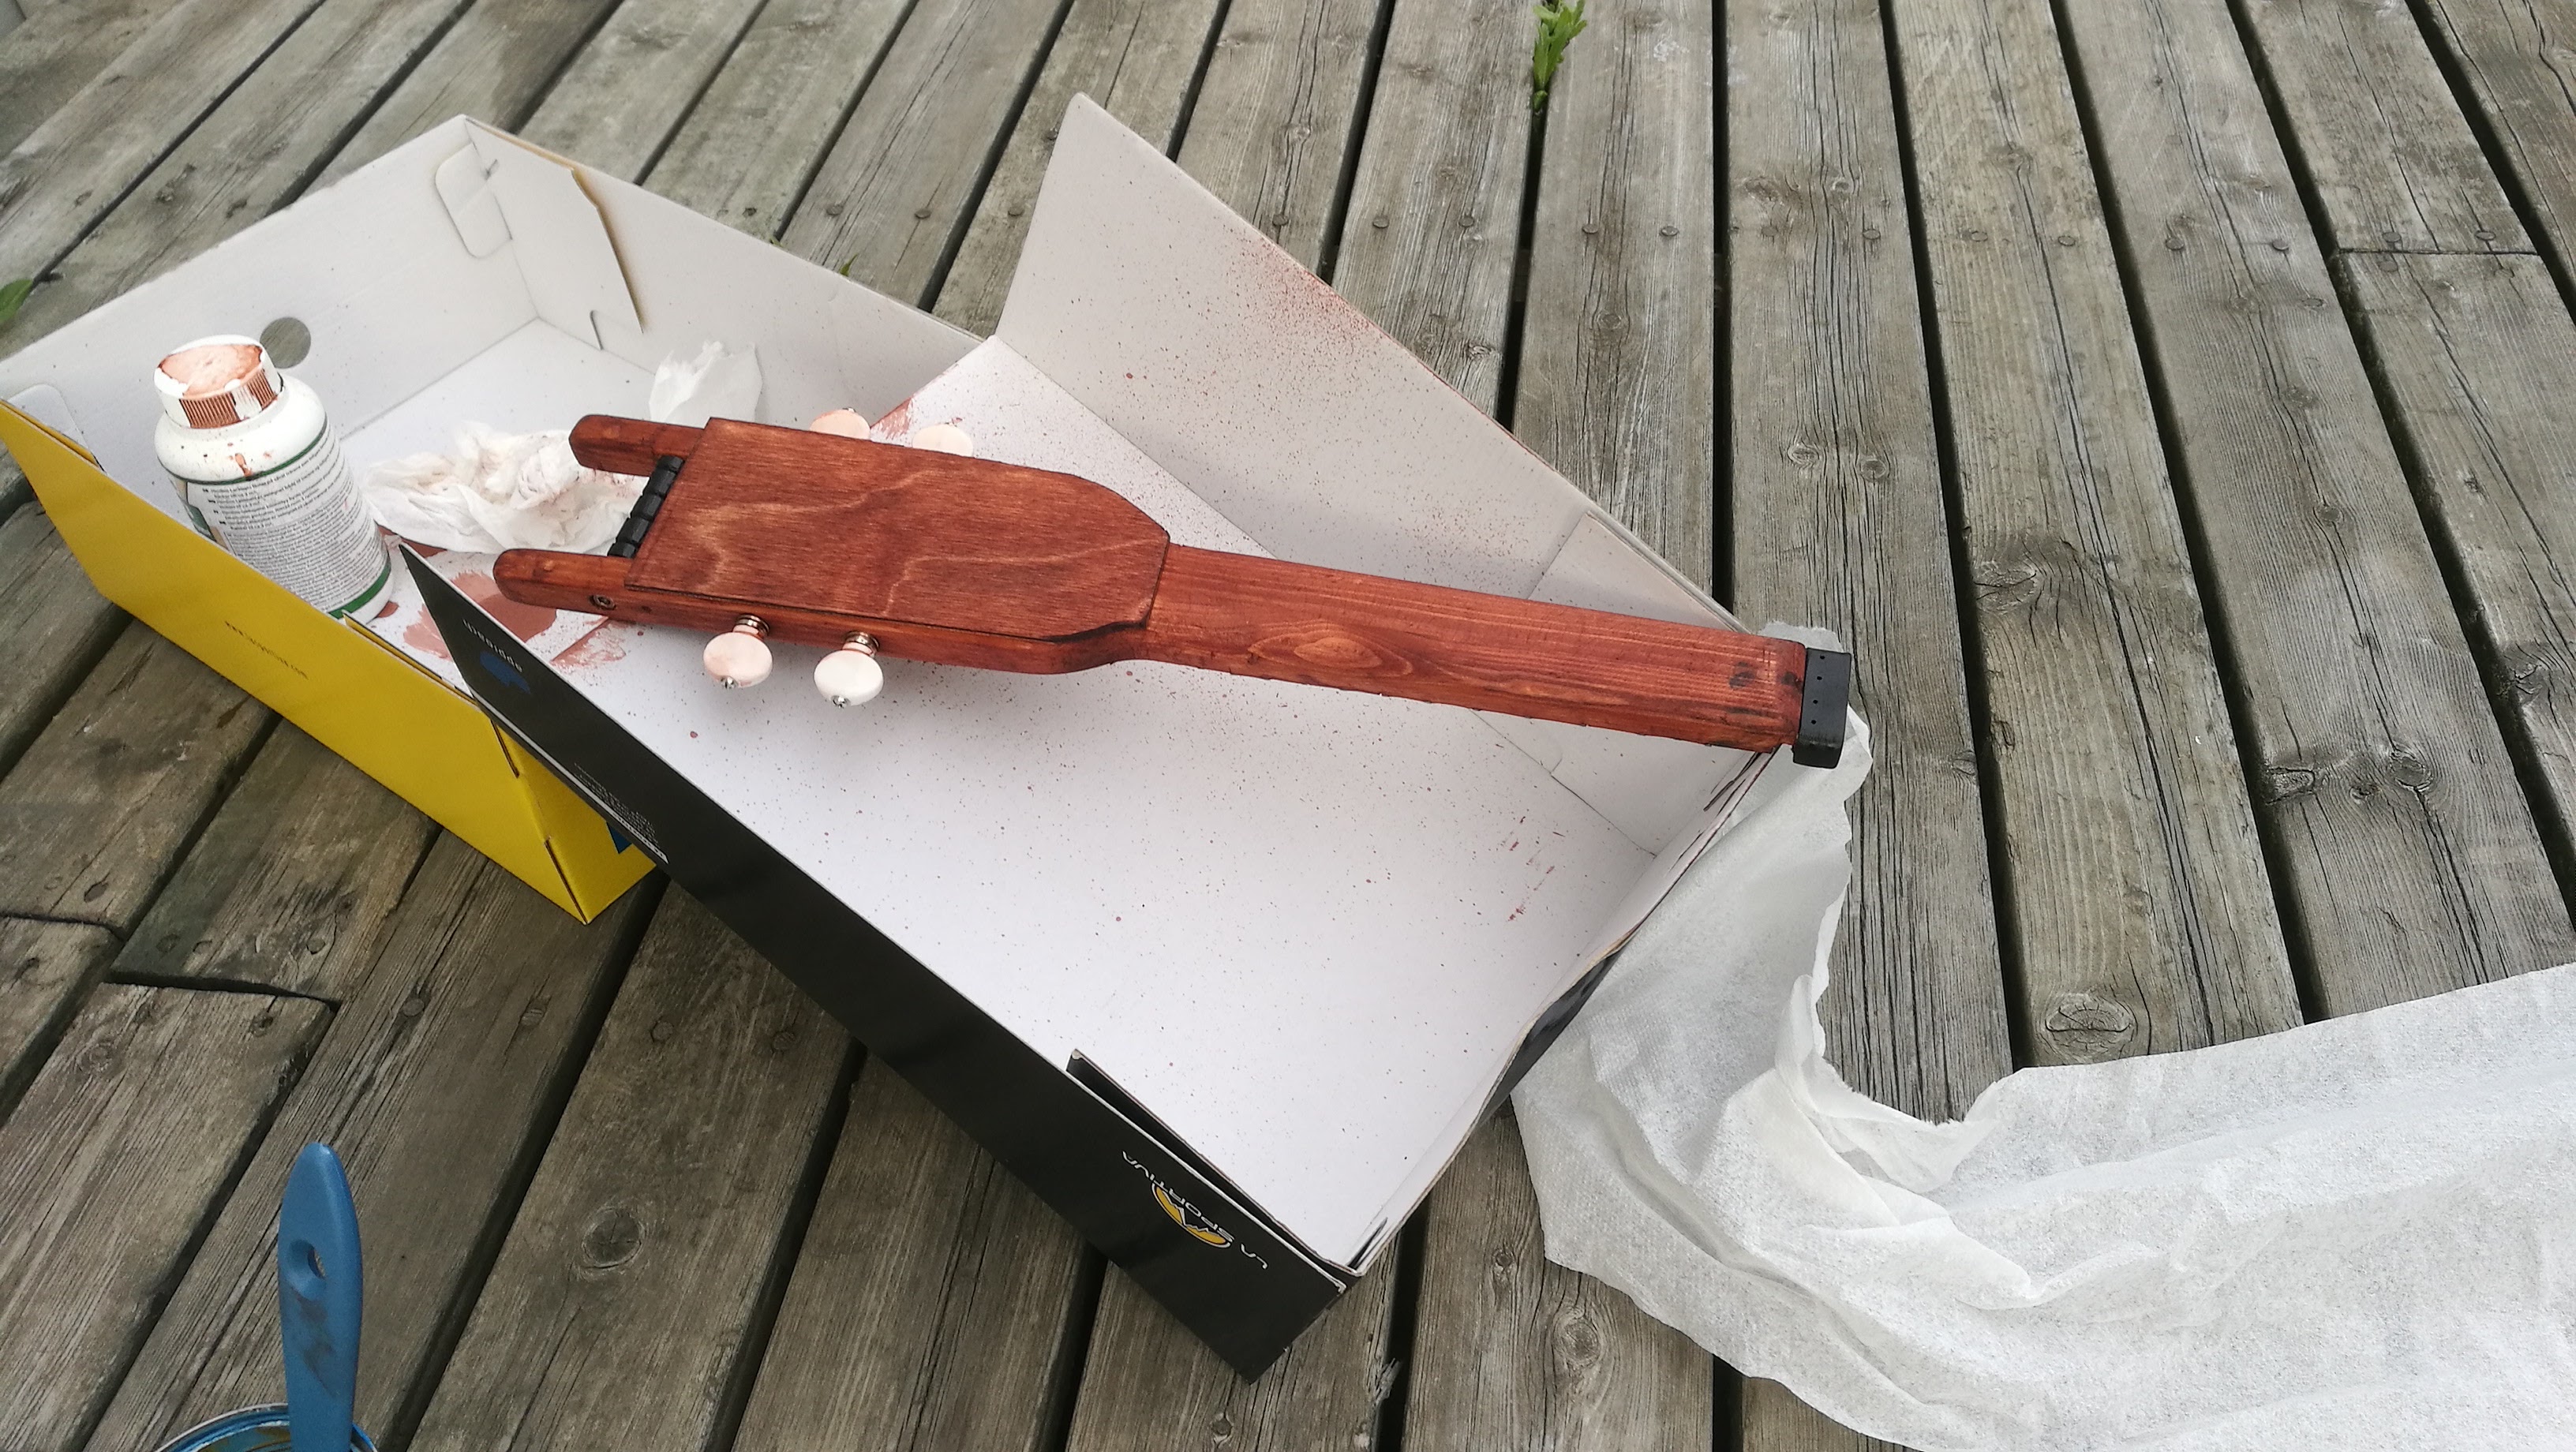
Some wood stain was added to make a nicer finish. Although it is made out of cheap wood, it now looks very legit.
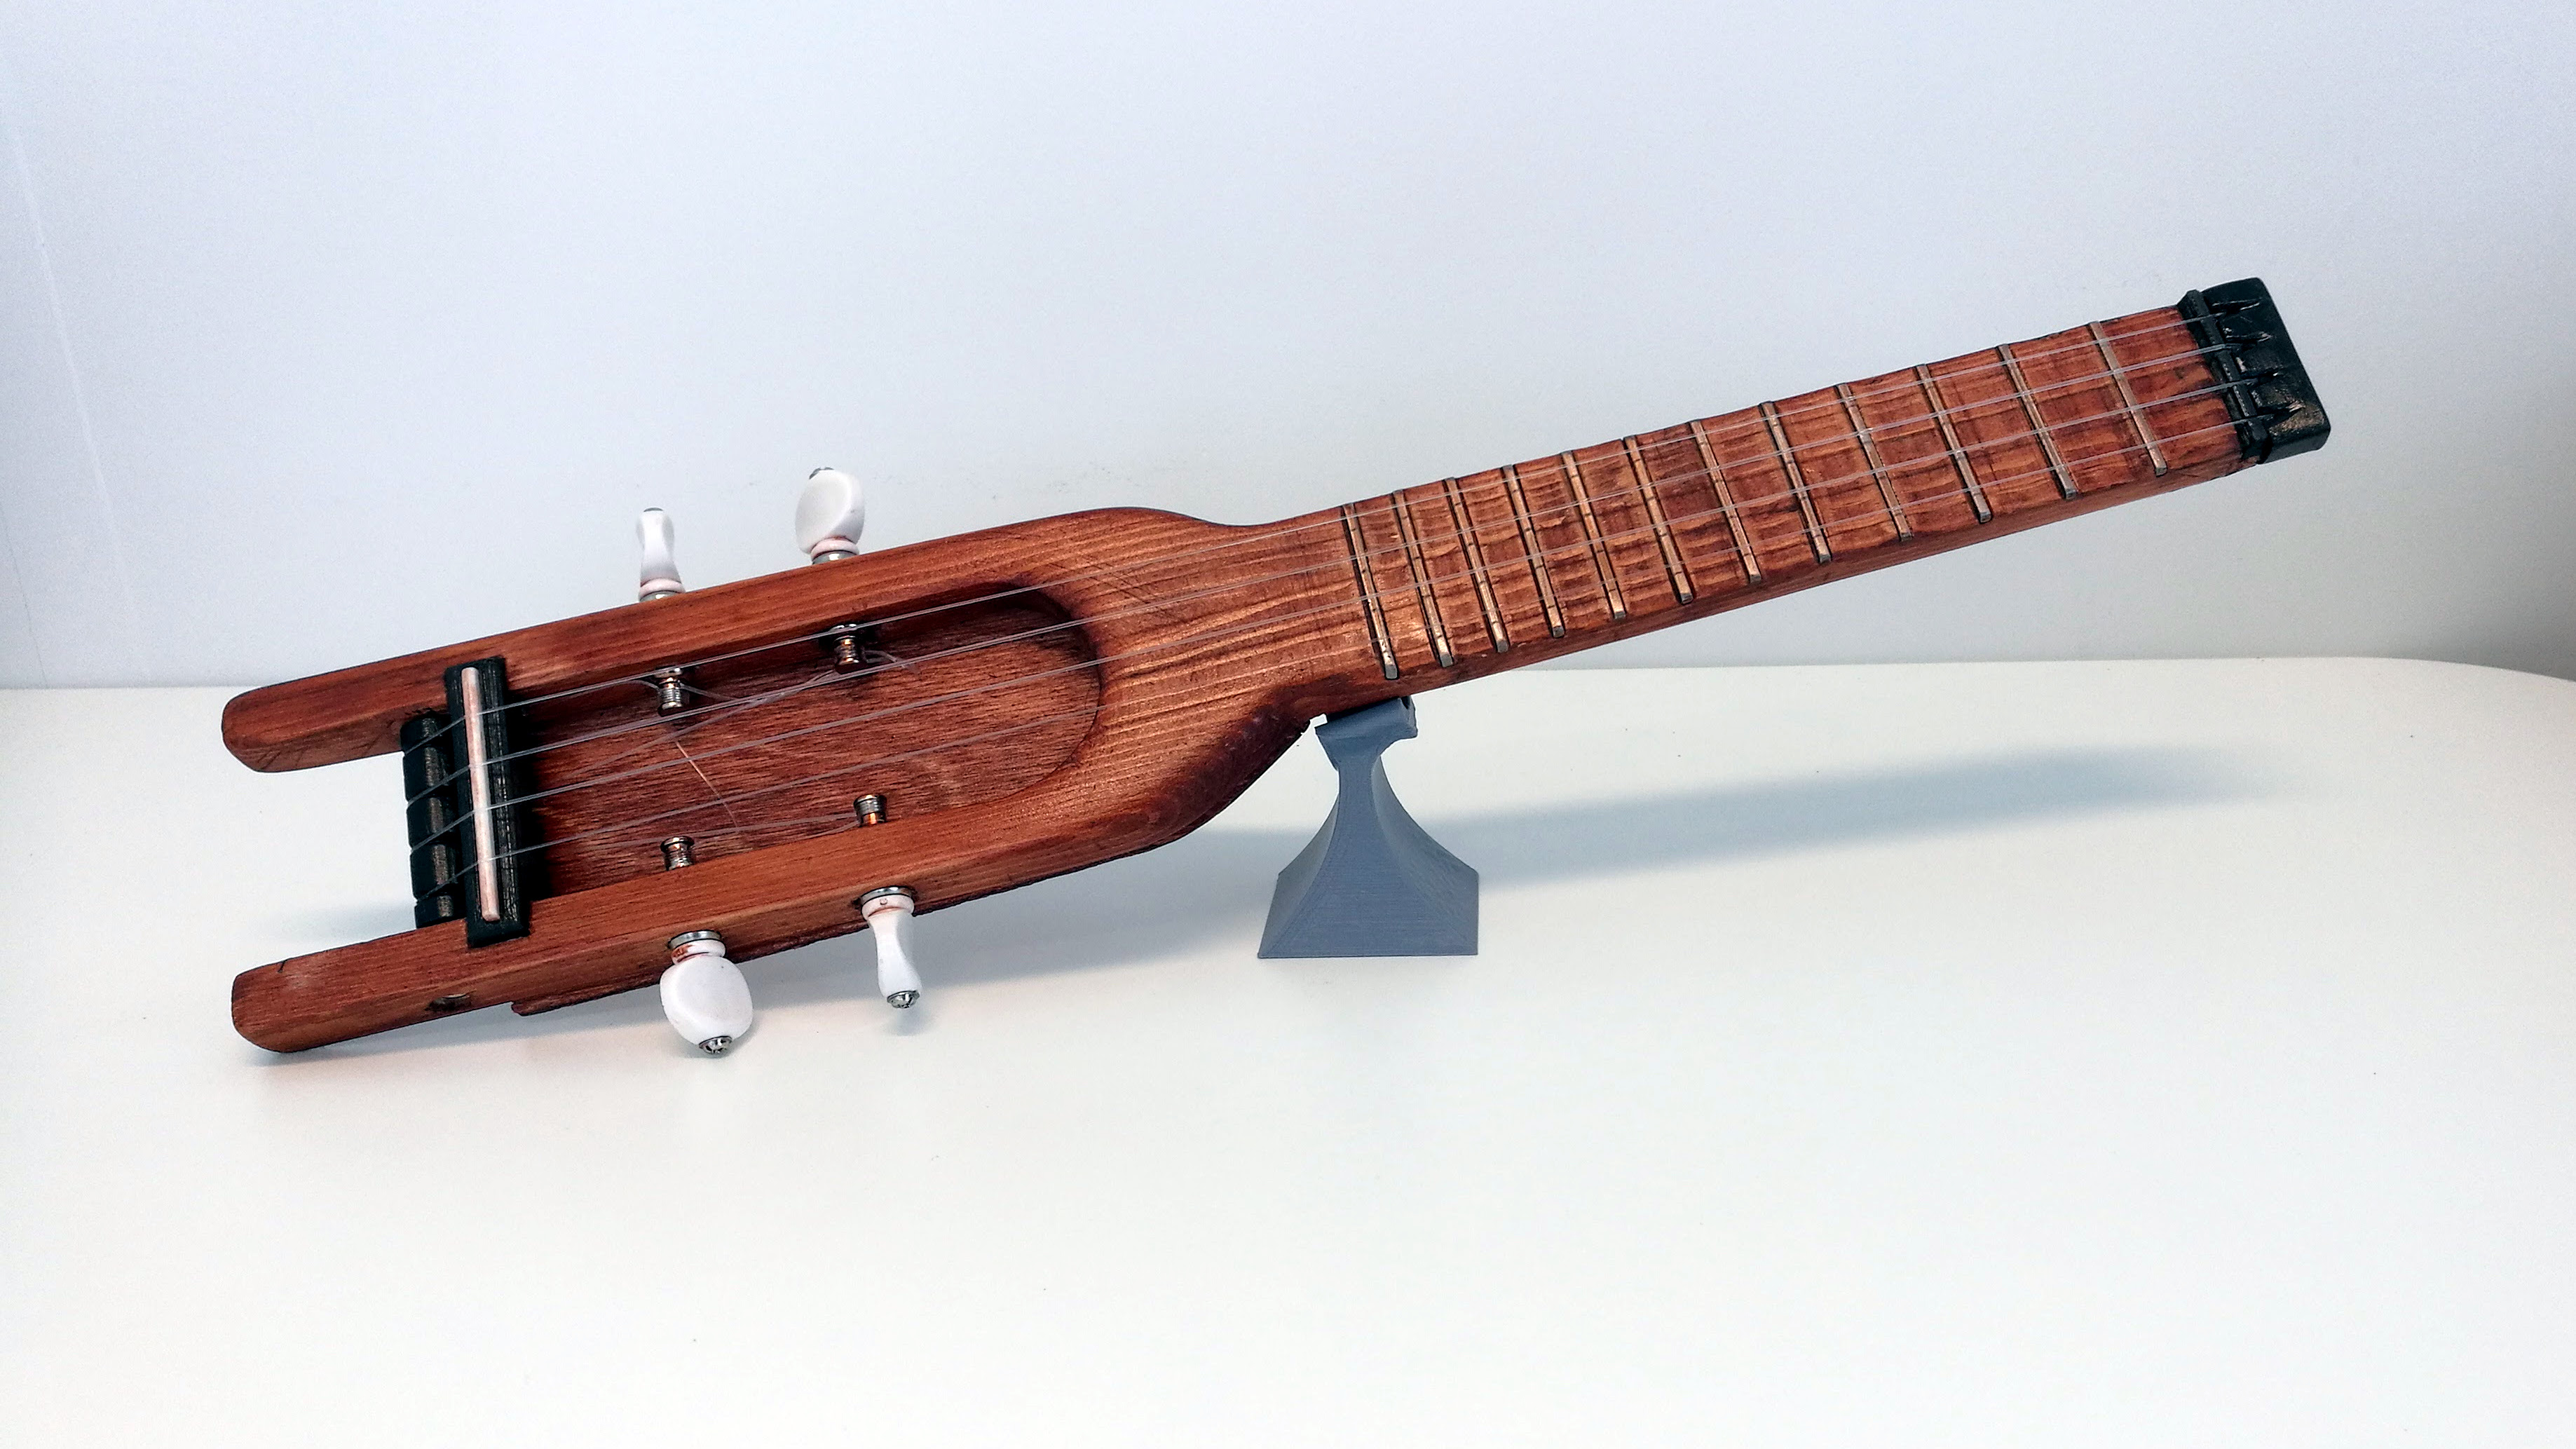
Here is a picture of the final ukulele. It looks great, and we can assure you that the sound is completely opposite. It’s garbage.
Final Thoughts
As mentioned, the ukulele came our sounding pretty bad. The volume is low, but this was expected by a ukulele with no resonance chamber. The main problem is that the intonation is not 100% correct, leading to the strings not playing in tune when playing chords. This is caused by inaccuracies in the positioning of the frets as well as string height. The strings can however be tuned in relation to each other, and sounds pretty decent when played as open strings or chords that only include one string (Like a C chord).
So our first tip is to spend a lot of time on:
- Distance between frets
- The height of the frets, they must all be at the same height
- Distance between the frets and the strings. This can be adjusted with the zero nut height at the top of the neck, and the saddle height at the other end.
We also do not recommend using a soft wood like a normal wood board. Buy some decent hardwood instead. We found that a wood cutting board can be a good source of hardwood in this size.
All in all this was a very fun build, and a great learning experience. We certainly have a lot more respect for those who hand craft instruments after trying it ourselves.
Files

This work is licensed under a Creative Commons Attribution-ShareAlike 4.0 International License.
The STL files for everything 3D-printed in this project can be downloaded here.