Measuring temperature using an Arduino and a temperature sensor is actually super easy. We’re going to show you how.
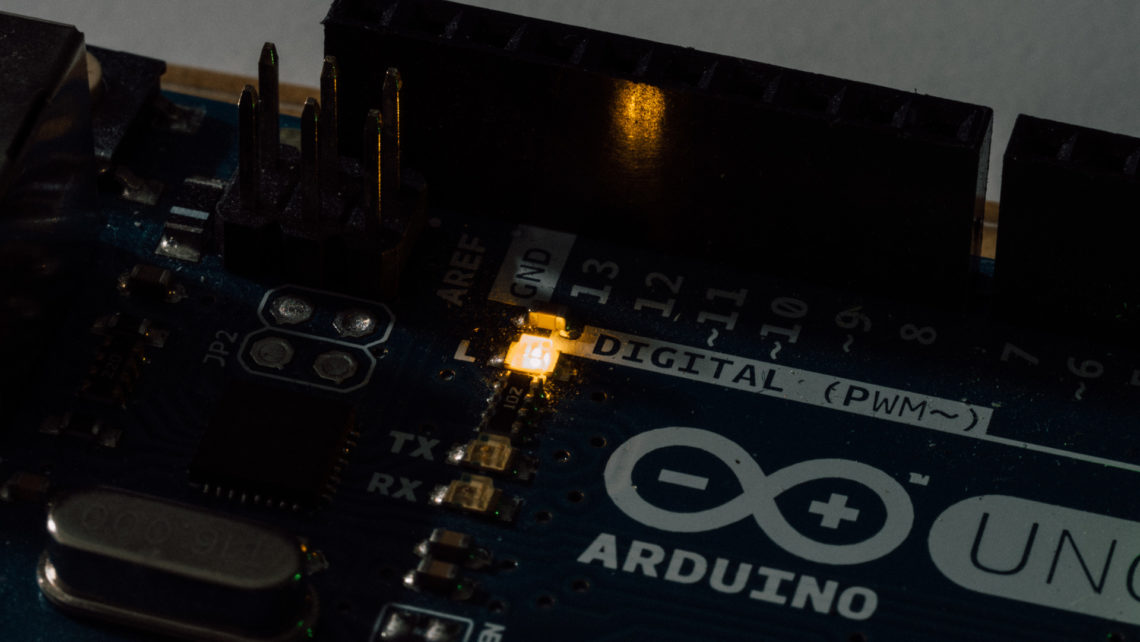
The Hardware
While getting some sort of temperature values from a sensor is really easy, getting real and accurate readings is not that trivial.
Choosing a Sensor
There are good sensors on the market and there are bad ones. What differentiates the good from the bad ones are among other things accuracy, resolution, linearity, current usage, thermal response and self heating properties. And usually you get what you pay for, so decide what’s the most important parameters for your application and prioritize those. Also get something that suits your temperature sensing range and hardware.
Analog Sensors
Analog temperature sensors are the simplest types compared to digital ones. To get a digital representation of the temperature you use an ADC (Analog to Digital Converter). The Arduinos come with and ADC, so you’re in luck here.
There are three main types of basic (i.e. dumb) temperature sensors: Thermistors, RTDs and Thermocouples. The first two are basically variable resistors where the resistance varies with temperature while a thermocouple is two pieces of wire in different metals where the metal properties are used to detect temperature. For a comparison video between these three, click here.
Then you have the more “intelligent” IC types of sensors which among other things use a bias current to compensate for heating and such in the resistor. These are easy to use and can be really cheap. Being placed in an IC doesn’t mean it’s digital! We’re going to use a common IC temperature sensor in an example further down.
A drawback with analog sensors is that it is susceptible to noise, both from external sources and from resistance in the wire. You also need a good ADC to get the most out of good sensors.
Digital Sensors
Digital sensors are just like analog sensors, except that they have some extra stuff on the chip. Both the sensor and the ADC is integrated on the same IC and the values are transmitted via digital protocols. With digital protocols you have aids that make the transmission robust, so unlike analog sensors digital sensors aren’t that prone to noise.
Digital sensors sometimes brag about “amazing” resolution, without really being that accurate.
Accuracy vs Resolution
You will still get wrong readings, only with more decimals.
You see, accuracy is NOT the same as resolution, even though one quickly might think so. Accuracy is actual accuracy while resolution is essentially how many decimals the sensed value has. You can have as large resolution as you want, but if the accuracy is bad the resolution won’t matter at all! You will still get wrong readings, only with more decimals.
The resolution is decided by the ADC, whether it is integrated on a digital sensor chip or if you’re using an analog sensor with a seperate ADC.
Example
Let’s take a look at the HW needed for sensing temperature.
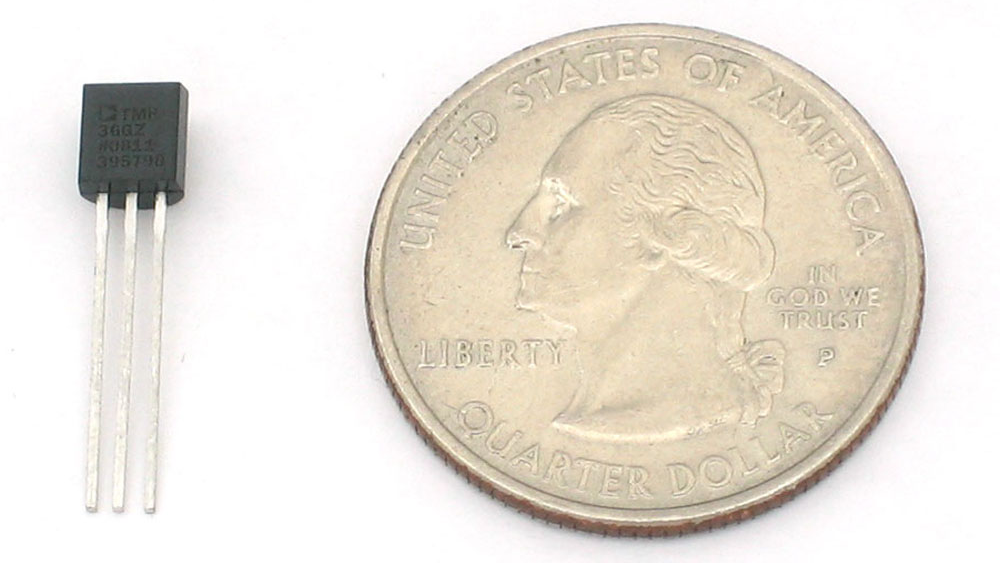
Sensor
We’re going to use a three-terminal IC temperature sensor called TMP36GZ. Take a look at the datasheet for some more info. This sensor outputs 10 mV / °C with a 500 mV offset to make it possible to read sub-zero temperatures. You compensate for this offset in firmware (see below).
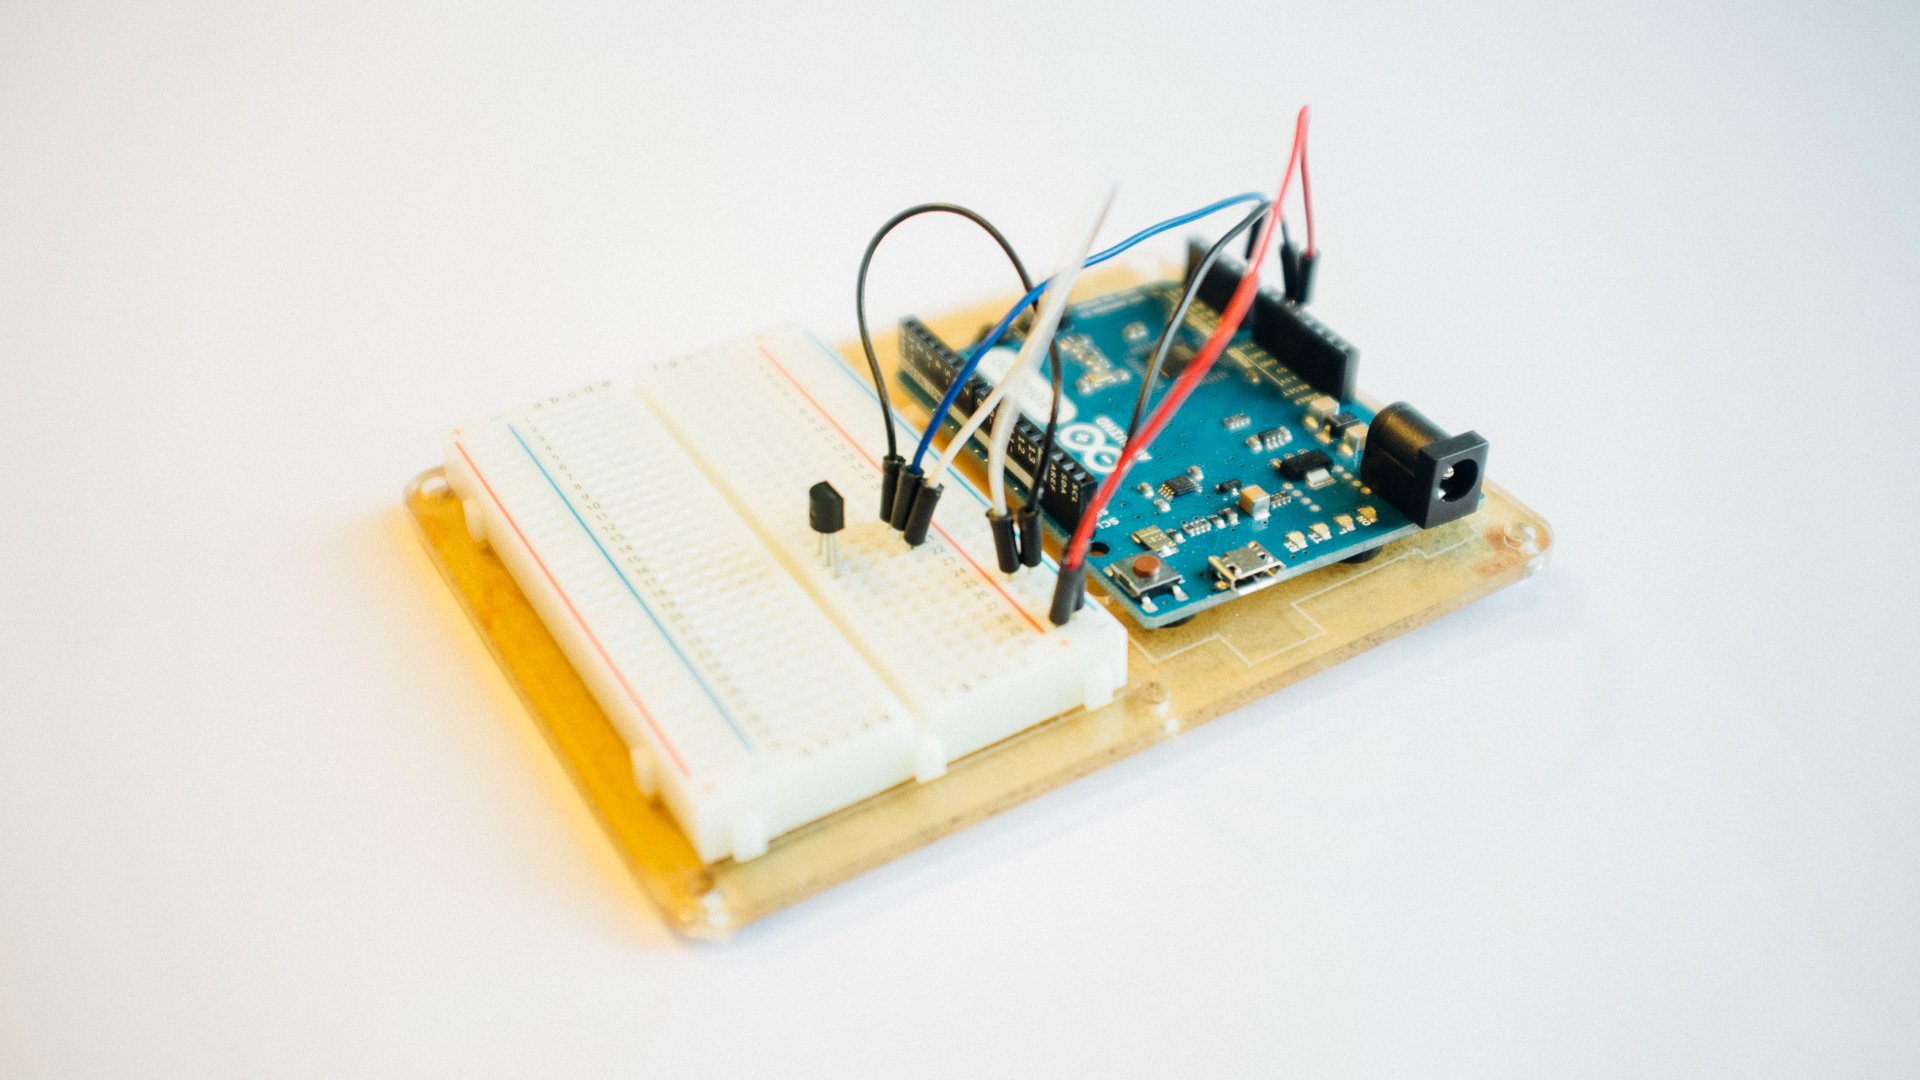
Circuitry
The rest of the circuit is super simple. As long as you have an Arduino you don’t need anything except some wires and the sensor. On the sensor just connect the middle terminal to the ADC and the other two to 5V and GND (look at the datasheet to see which is which).
The Firmware
We’re mainly going to look at the example’s firmware in this post. With some sensors you need more complex calibration hardware and/or firmware. With this sensor though, things are pretty easy peasy and straight forward:
int tempPin = 0;			//the ADC pin
float temp = 0.0;			//temperature variable
float conv_coeff = 0.0;		//conversion coefficient, 0-1024 to 0-5 range

void setup(){
	Serial.begin(115200);	//start the serial connection as always

	conv_coeff = 5.0/1024.0;	//find the coefficient to do the conversion
}

void loop(){
	temp = analogRead(tempPin) * conv_coeff;	//read the ADC and convert
	temp = (temp - 0.5)*100;					//take care of the offset

	Serial.println(temp);						//print to terminal or plotter

	delay(300);								//0.3 sec. delay per measurement
}
This is all the code required to use the TMP36. The critical lines are the last line in the setup() function and the first two lines in the loop() function:
- The calculation of conv_coeff is there to find the coefficient used when converting the digital values from the ADC in the 0-1024 range to the 0-5 V range. Optimally this could’ve been hardcoded the value as a define or something, but we wrote it out so it’s more understandable.
- During first line in the loop() function the value on the ADC is read and the value is converted to the 0-5 V range.
- The next line is a bit more cryptic. Here we compensate for the 500 mV offset making sub-zero temperatures measurable. We multiply with 100 due to the 10 mV / °C resolution. The result is °C.
We’ve also included an Arduino IDE plot:

Stick an exponential moving average filter on there to supress the noise and get a smooth graph like the orange below:

The Bottom Chapter
Temperature sensors can be really easy to use, and there are a lot to choose from. Remember that you get what you pay for and that accuracy and resolution is two vastly different things. Due to noise and wire resistance don’t place your analog sensors too far away from your ADCs.
Hooking up a simple IC sensor to an Arduino is super simple, as shown above. This can be used in all sorts of embedded applications, so go crazy!