Here in NC we do a lot of CAD’ing. CAD is an acronym for Computer Aided Design and is in our case more or less equivalent to 3D-modelling for practical purposes. Most of our projects are modelled this way prior to the actual building.
We have talked about 3D-modelling and CNC milling many times before, and CAD is invaluable when you need to 3D-print or mill parts since these machines usually need an actual file to have something to produce.
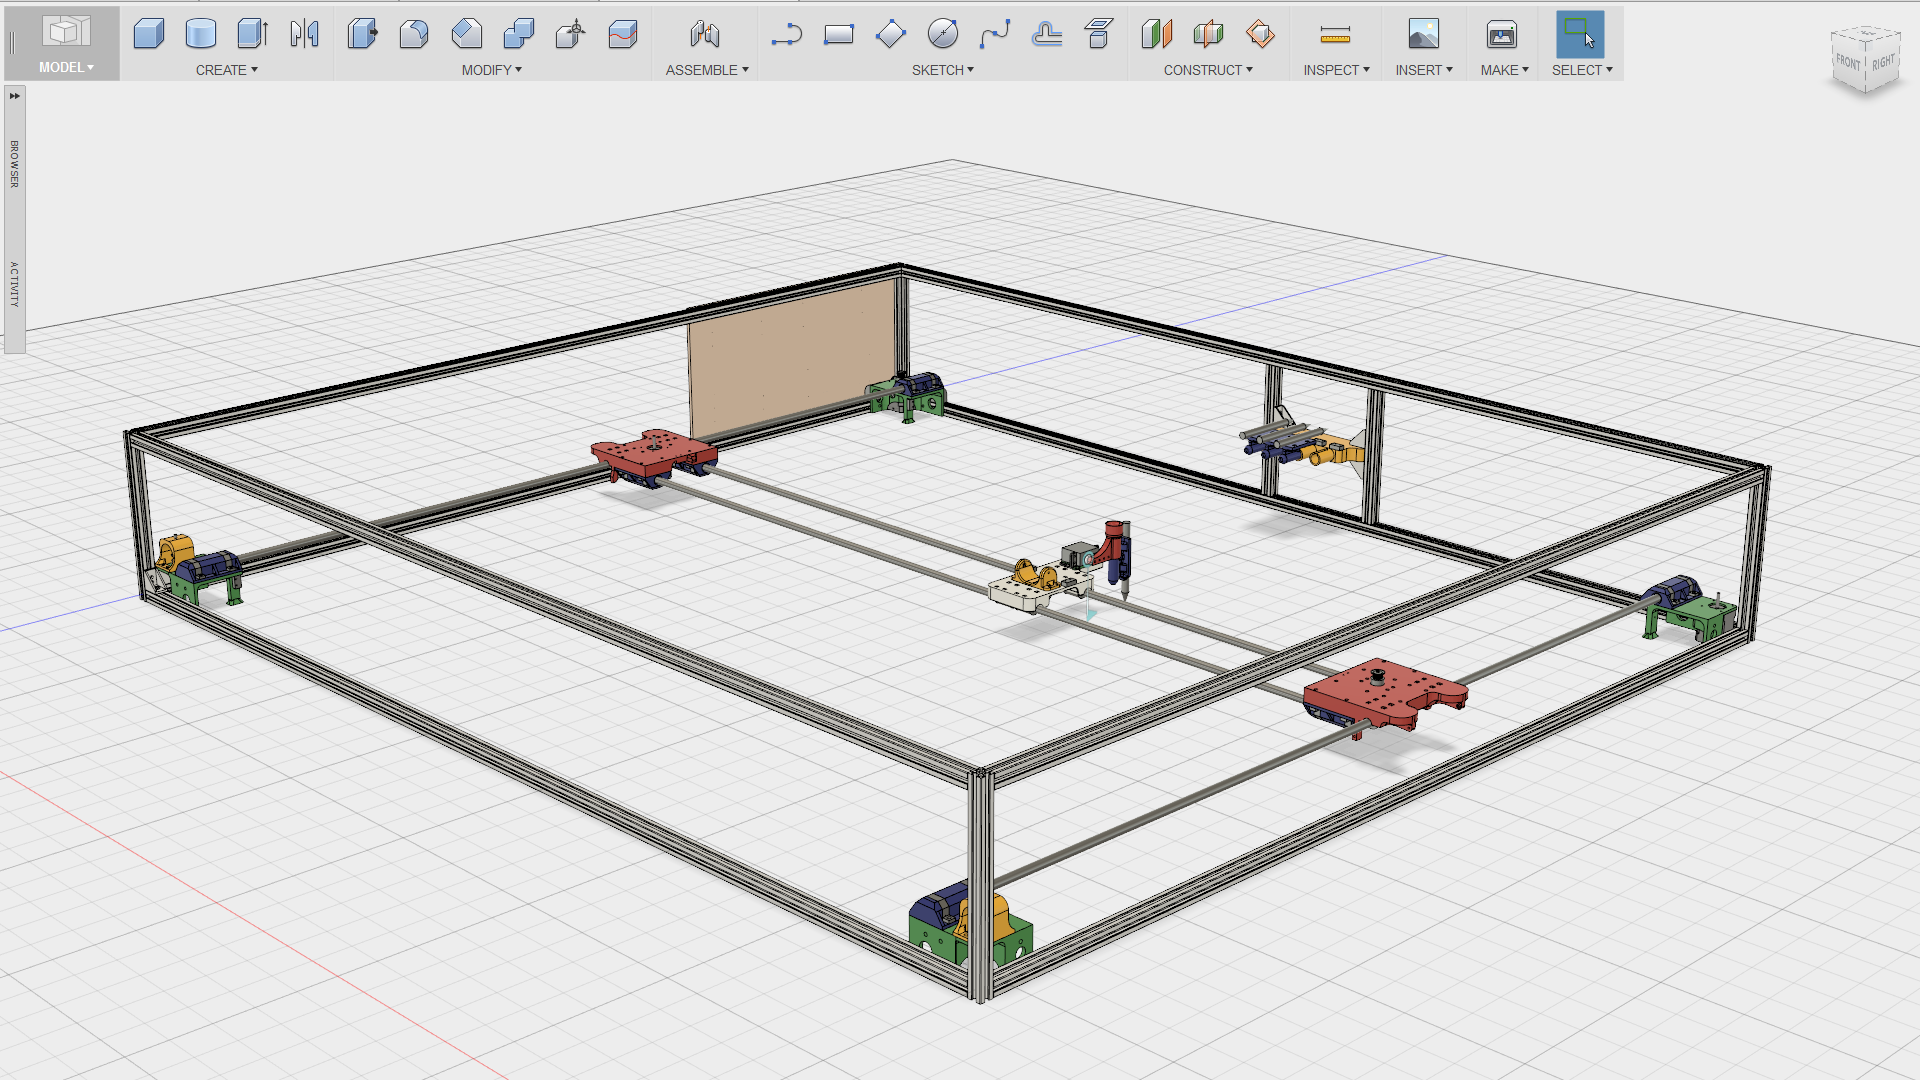
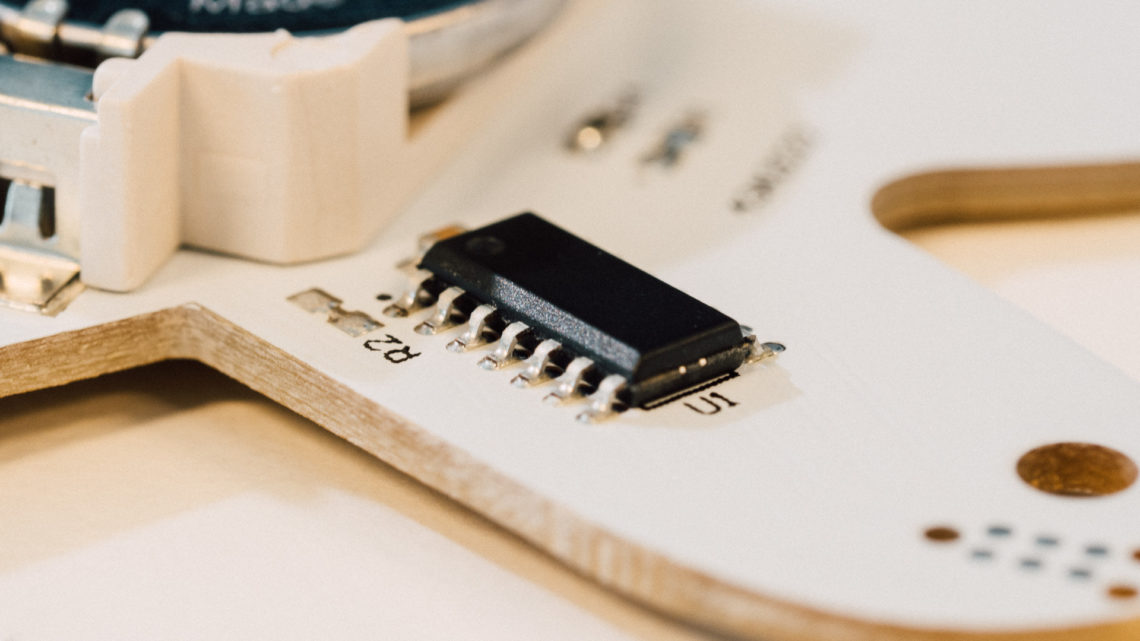
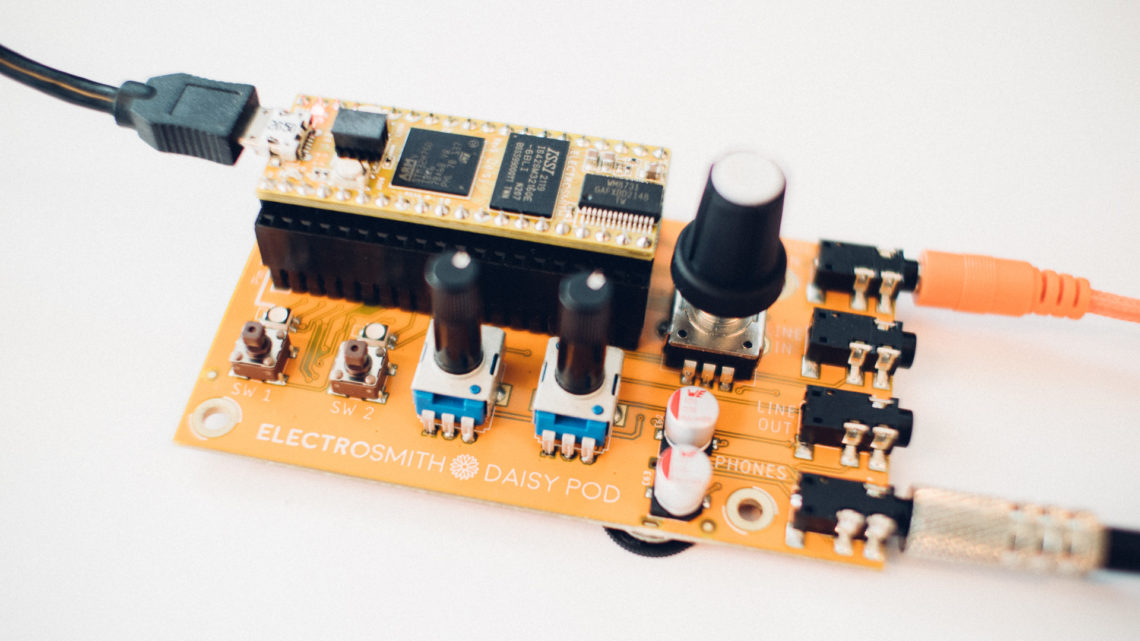
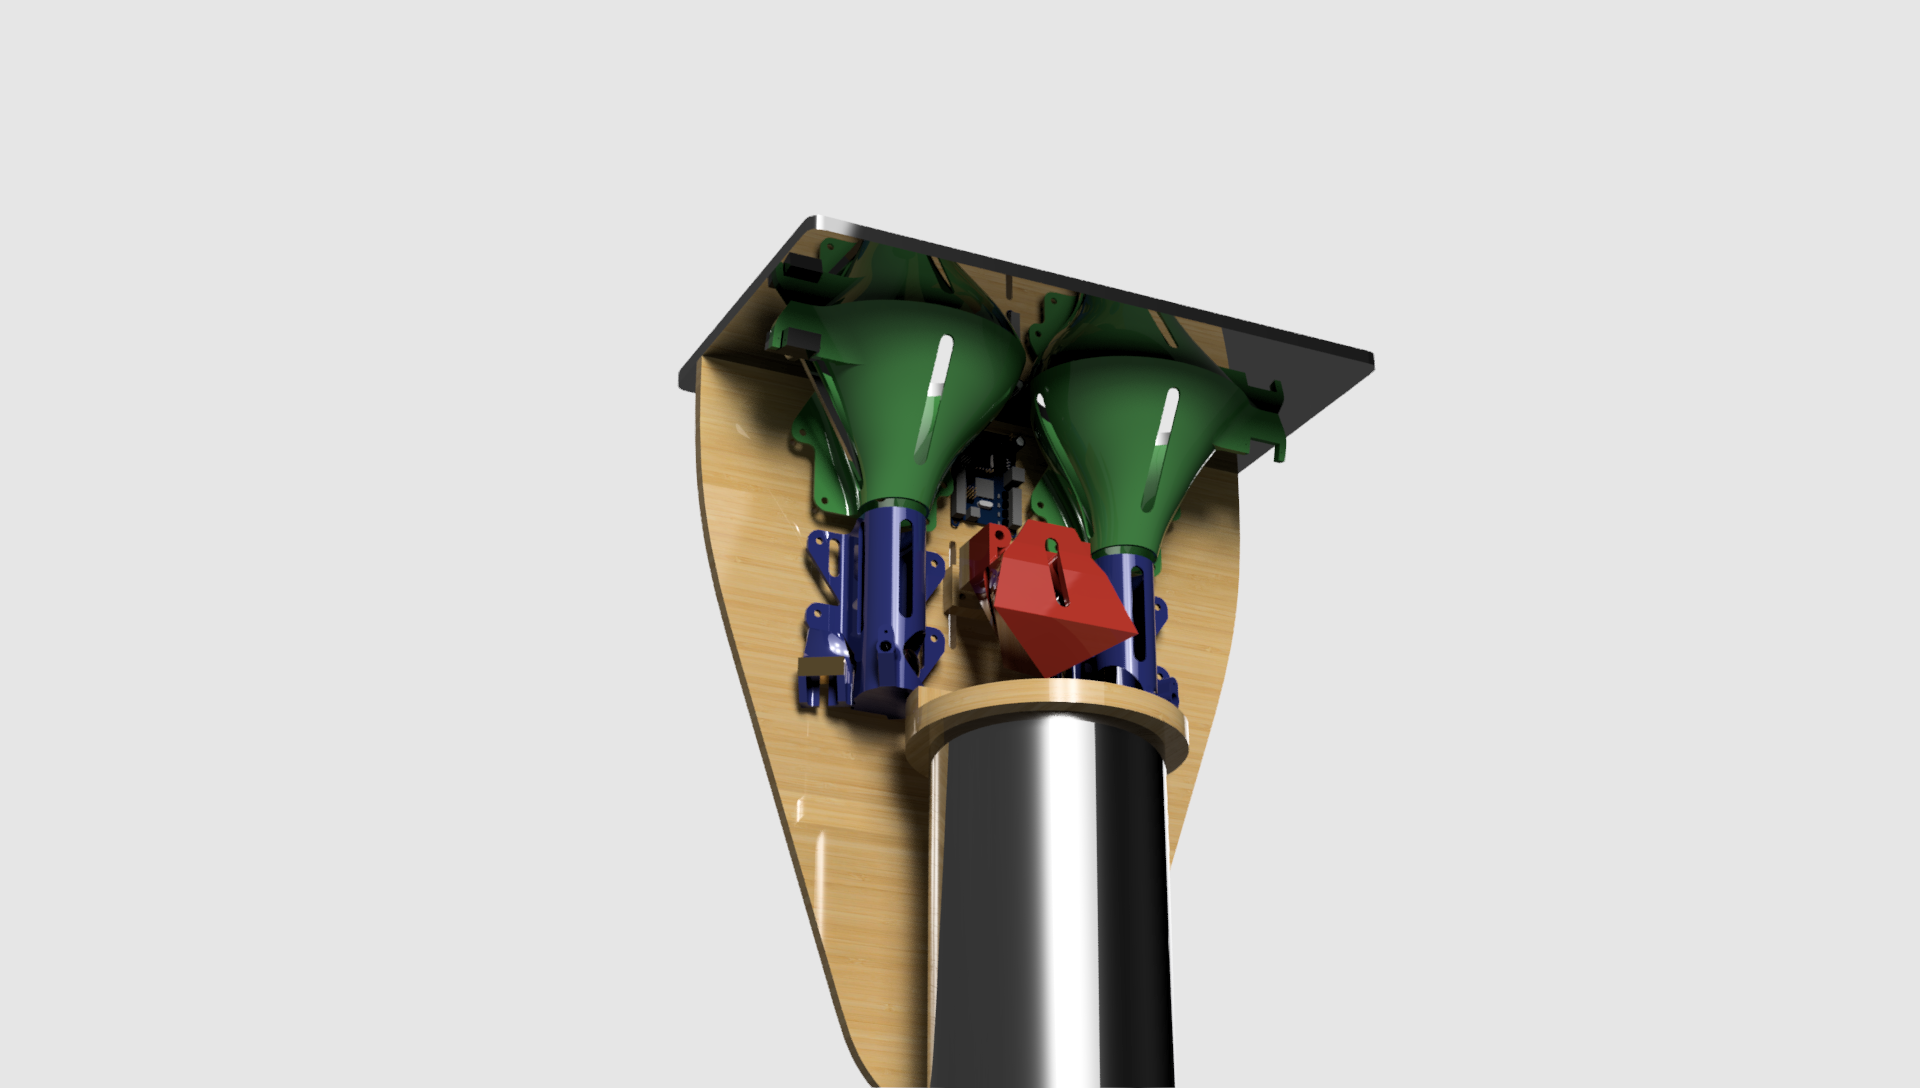
But there are other major advantages as well besides the design of custom parts. You are able to move components around and rotate them such that they end up being just where you want them in the assembly. Getting a 3D-model of an electrical or mechanical component online is rather easy. The supplier often provides one, and if not, you might be able to find something on either GrabCAD or Thingiverse. If you can’t find one, there are usually accurate dimensions in the datasheet. If not, use your caliper!
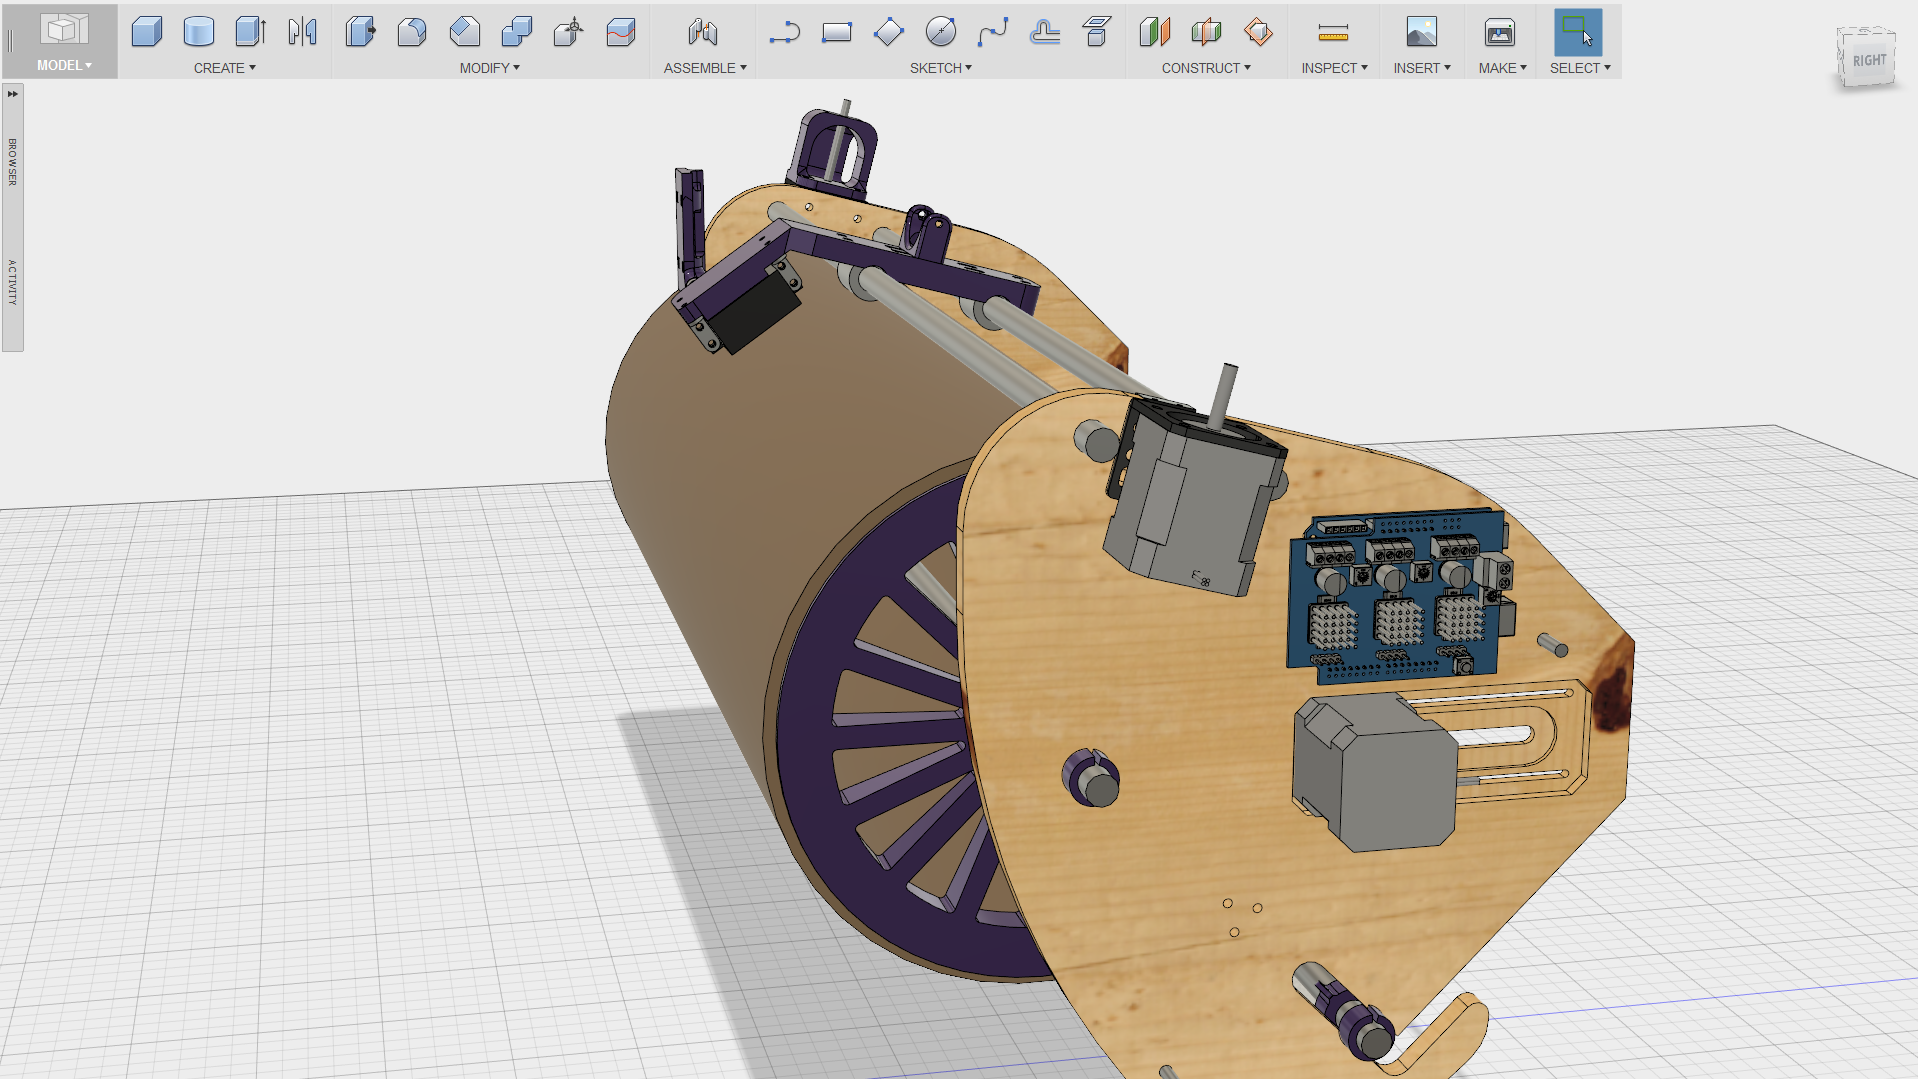
We always insert as many components as possible into our complete CAD model to be sure everything’s in order. If you use twelve hours to 3D-print this awesome custom designed part you have modelled just to find out there isn’t enough space for that NEMA 17 stepper motor next to it, you’re gonna have a bad time.
In CAD, nothing is set in stone. It’s easy to do changes, modifications or additions here and there at any time. And when you are done, you’re able to look at the final product containing all these different components from any angle. If you want to show it off in some presentation you’re also able to render the model, making it look super nice.
Software
There are many different CAD programs out there. Three big (and expensive!) ones are Inventor, Solidworks and NX. However there are a couple of cheaper options as well.
Autodesk Fusion 360
This is the software we’re currently using. It is a cheaper, cloud based option to Inventor from the same company. With its current price tag of $300/year it’s considerably cheaper than its big brother Inventor, which you can get for minimum $1,890/year. From a maker’s perspective, you’d rarely need anything in Inventor which you can’t find in Fusion 360. It’s quick and easy to use and has several additional tools as well such as an own CAM module, T-spline modelling and rendering. It’s not perfect however, with performance issues when assemblies or sketches get too large, a sub-par cloud service and the a-bit-too-frequent crash tendency. Fusion 360 is a rather newly developed software, so these issues will hopefully be patched in the not too distant future.

Sketchup
This is a popular choice for makers due to it’s (non-existent) price tag and ease of use. The Sketchup Make version is completely free. However, depending on your daily CAD needs, you might find Sketchup a bit lightweight when it comes to features and tools. A time back we wrote a blog post about 3D-printing in Sketchup, which shows a few neat tips and tricks.
Conclusion
To learn how to use whatever CAD software you’ve acquired, do a Google search. There are tons of tuturials online, both in video and text form. And don’t be afraid to play around with things. Learning by doing is fully applicable in CAD, and designing things this way, which you’ll later build in real life, can be highly rewarding! 🙂