As we could read about (and hear!) in post 1 about digital audio synthesis, it sounded “cheap” with only 8 bit sample size and ~15,6 kHz sampling rate.
The goal of this post is to look more into the MIDI protocol and to give you a comparison when we increase both the sample-rate and -depth ?
The MIDI protocol
MIDI (Musical Instrument Digital Interface) is a way instruments use to communicate with each other. It can contain note-presses, control channels (e.g. “modulation wheel”) and much more!
It’s a quite simple protocol but it’s easy to get lost in all the rather intricate terminology.
There exists a lot of great tutorials explaining the basics of MIDI online, so we will not repeat that but rather give you a short list of hyperlinks:
- Start with looking some of the basics on Wikipedia here (yes, it’s written a bit more complex than the next one)
- Sparkfun has a good tutorial located here!
TL;DR
MIDI is a serial protocol based on UART (31250 BAUD, 8n1). Eache “frame” is 3 bytes long consisting of message type and data payload.
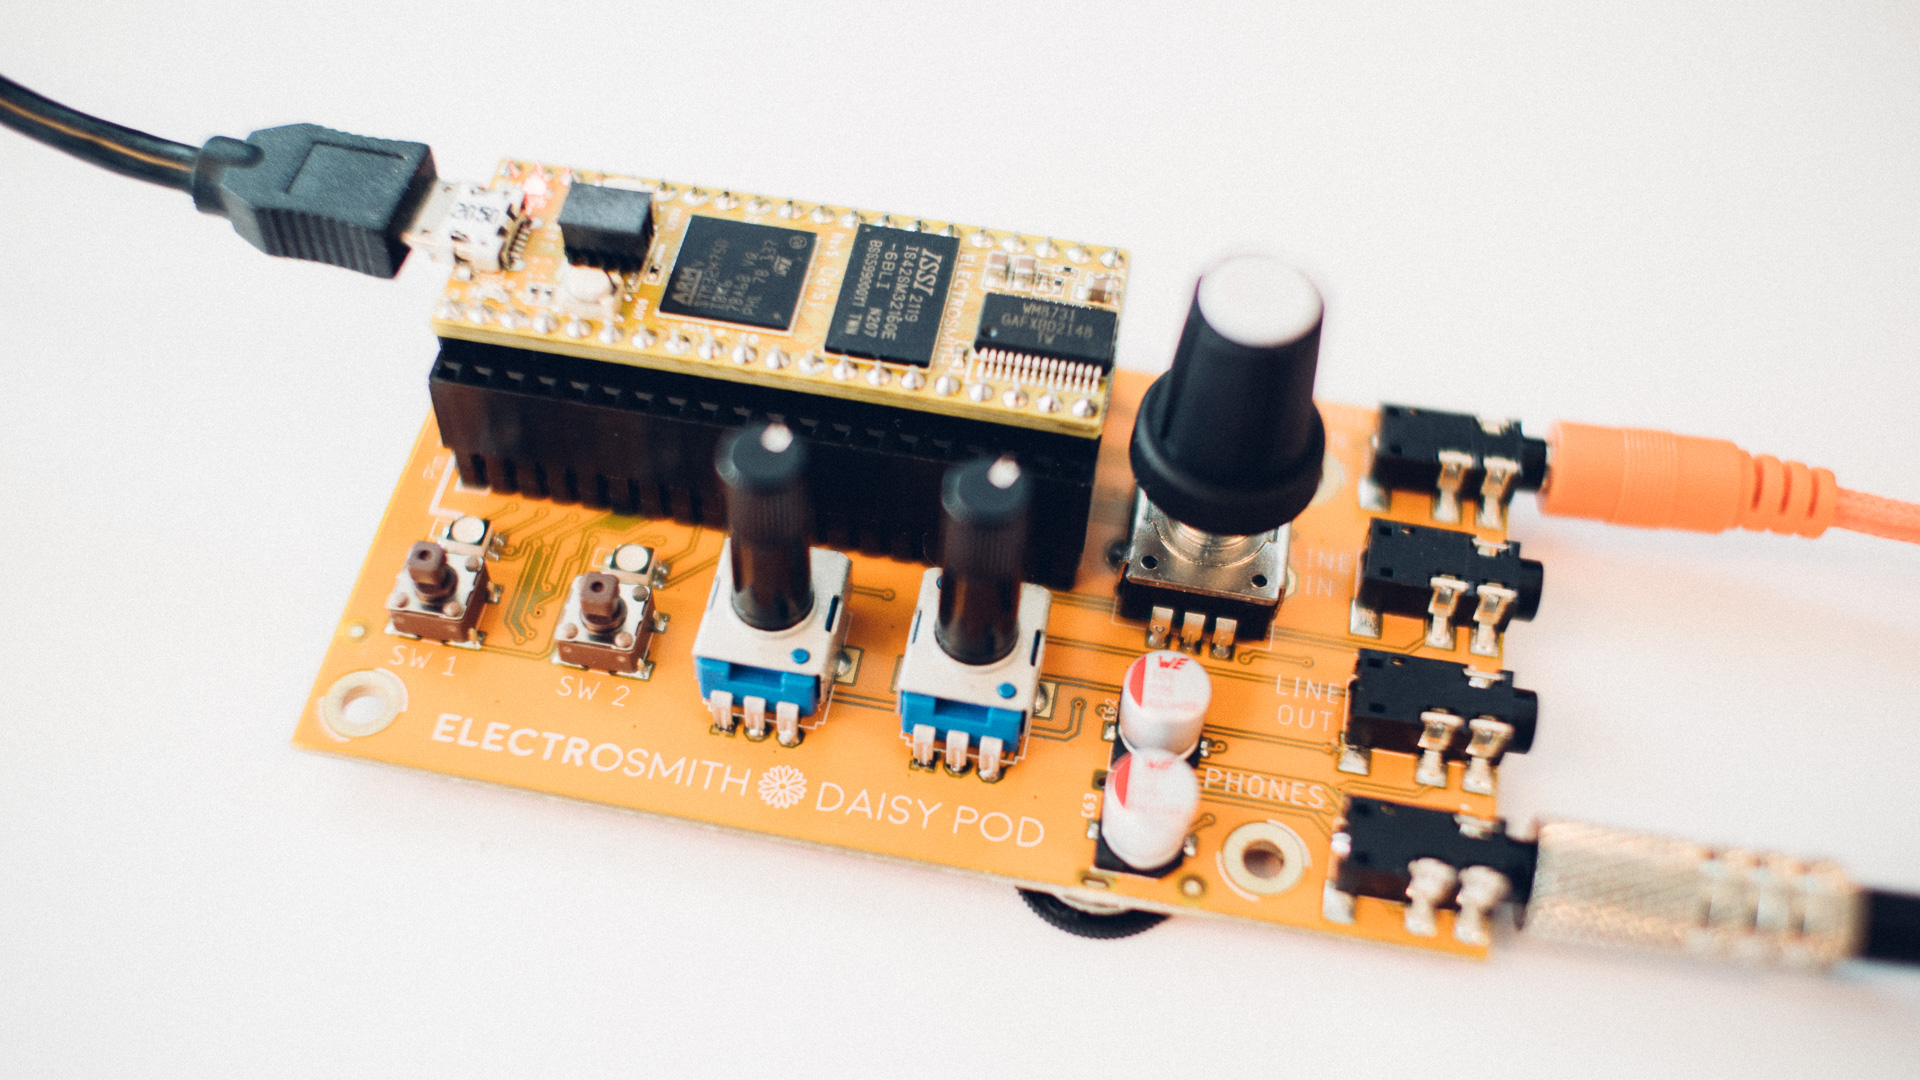
Welcome the Daisy Seed!
In the previous post was the hardware the limiting factor for the resulting audio quality.
But we want to play more!
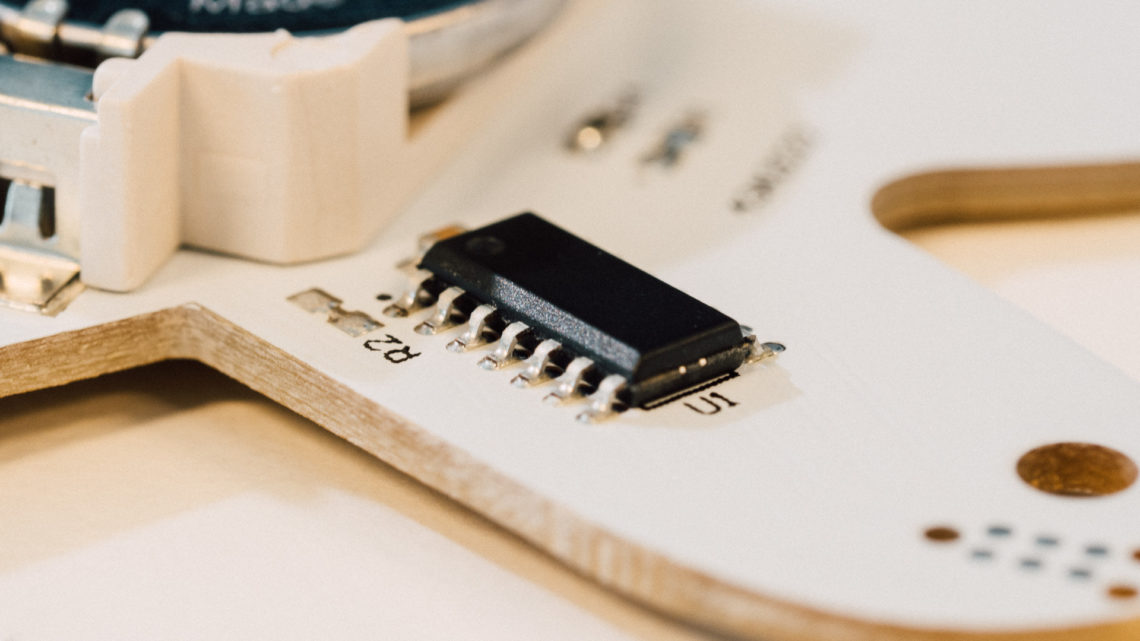
So we landed on the Daisy Seed from ElectroSmith.
It’s an embedded platform made for audio with an ARM CORTEX-M7, an AKM DAC, 64 MB(!) SDRAM and 8MB flash.
And we use the POD to easier give the Daisy Seed some connectors (this is not strictly necessary, but very practical!).
Demonstration
The demonstration song played in the last blog post was stored as a .MIDI-file on a computer and replayed to the Daisy Seed. And to recreate the tones from last time, only with a change to the bit-depth and sample-rate we implemented the following code (on top of libDaisy):
#include "daisy_pod.h"
#include "daisysp.h"

using namespace daisy;
using namespace daisysp;

DaisyPod   hw;
Oscillator osc;

void AudioCallback(AudioHandle::InterleavingInputBuffer  in,
                   AudioHandle::InterleavingOutputBuffer out,
                   size_t                                size)
{

    for(size_t i = 0; i < size; i += 2)
    {
        out[i] = out[i + 1] = osc.Process();
    }
}

void HandleMidiMessage(MidiEvent m)
{
    switch ( m.type )
    {
        case NoteOn:
        {
            NoteOnEvent p = m.AsNoteOn();

            // This is to avoid Max/MSP Note outs for now..
            if ( m.data[1] != 0 )
            {
                p = m.AsNoteOn();
                osc.SetFreq(mtof(p.note));
                osc.SetAmp(1.0); // force amplitude to max
                osc.Reset();
            }
            else
            {
                osc.SetAmp(0.0);
            }
        }
        break;

        case NoteOff:
        {
            osc.SetAmp(0.0);
        }
        break;

        default:
        break;
    }
}

int main(void)
{
    // Init
    hw.Init();
    hw.SetAudioBlockSize(4);
    hw.seed.usb_handle.Init(UsbHandle::FS_INTERNAL);
    System::Delay(250);

    // Synthesis
    float samplerate = hw.AudioSampleRate();
    osc.Init(samplerate);
    osc.SetWaveform(Oscillator::WAVE_SAW);
    osc.SetAmp(0.0);

    // Start stuff
    hw.StartAudio(AudioCallback);
    hw.midi.StartReceive();

    while (1)
    {
        hw.midi.Listen();

        // Handle MIDI Events
        while ( hw.midi.HasEvents() )
        {
            HandleMidiMessage(hw.midi.PopEvent());
        }
    }
}
The result (24 bits, 48 kHz, Daisy Seed):
The result from last time (8 bits, 15.6 kHz, Arduino UNO):
Final thoughts
As you could hear the audio created by the Daisy Seed sounded much more “clean“. The 8-bit-version does also includes several unwanted harmonics.
But it still sounds a bit “boring” and very “clinical” (and not to mention all the audio-issues caused by lack of amplitude-control). But do not worry! In the next part we will look more into envelope generation which will increase the level of “fidelity” 🙂