Why Sketchup?
Not everyone can afford the most powerful 3D modelling/CAD software such as Inventor, Solidworks or NX. Many people, like myself, might want to look elsewhere for less expensive options for 3D printing purposes, and fortunately those exist.
One reasonable alternative is SketchUp (formerly known as Google SketchUp). You can get far with the free version called SketchUp Make which doesn’t differ too much from the Pro version.
Modelling in SketchUp is pretty intuitive and straight forward, and is an excellent gateway to the world of CAD/3D modelling if you’re inexperienced. It doesn’t overwhelm you with an insane amount of different tools. If there is something you need explained, there are many good video tutorials around the interwebs. However, if you’re an experienced user of one of the more advanced high-end 3D modelling programs, you might find SketchUp a bit on the light side.
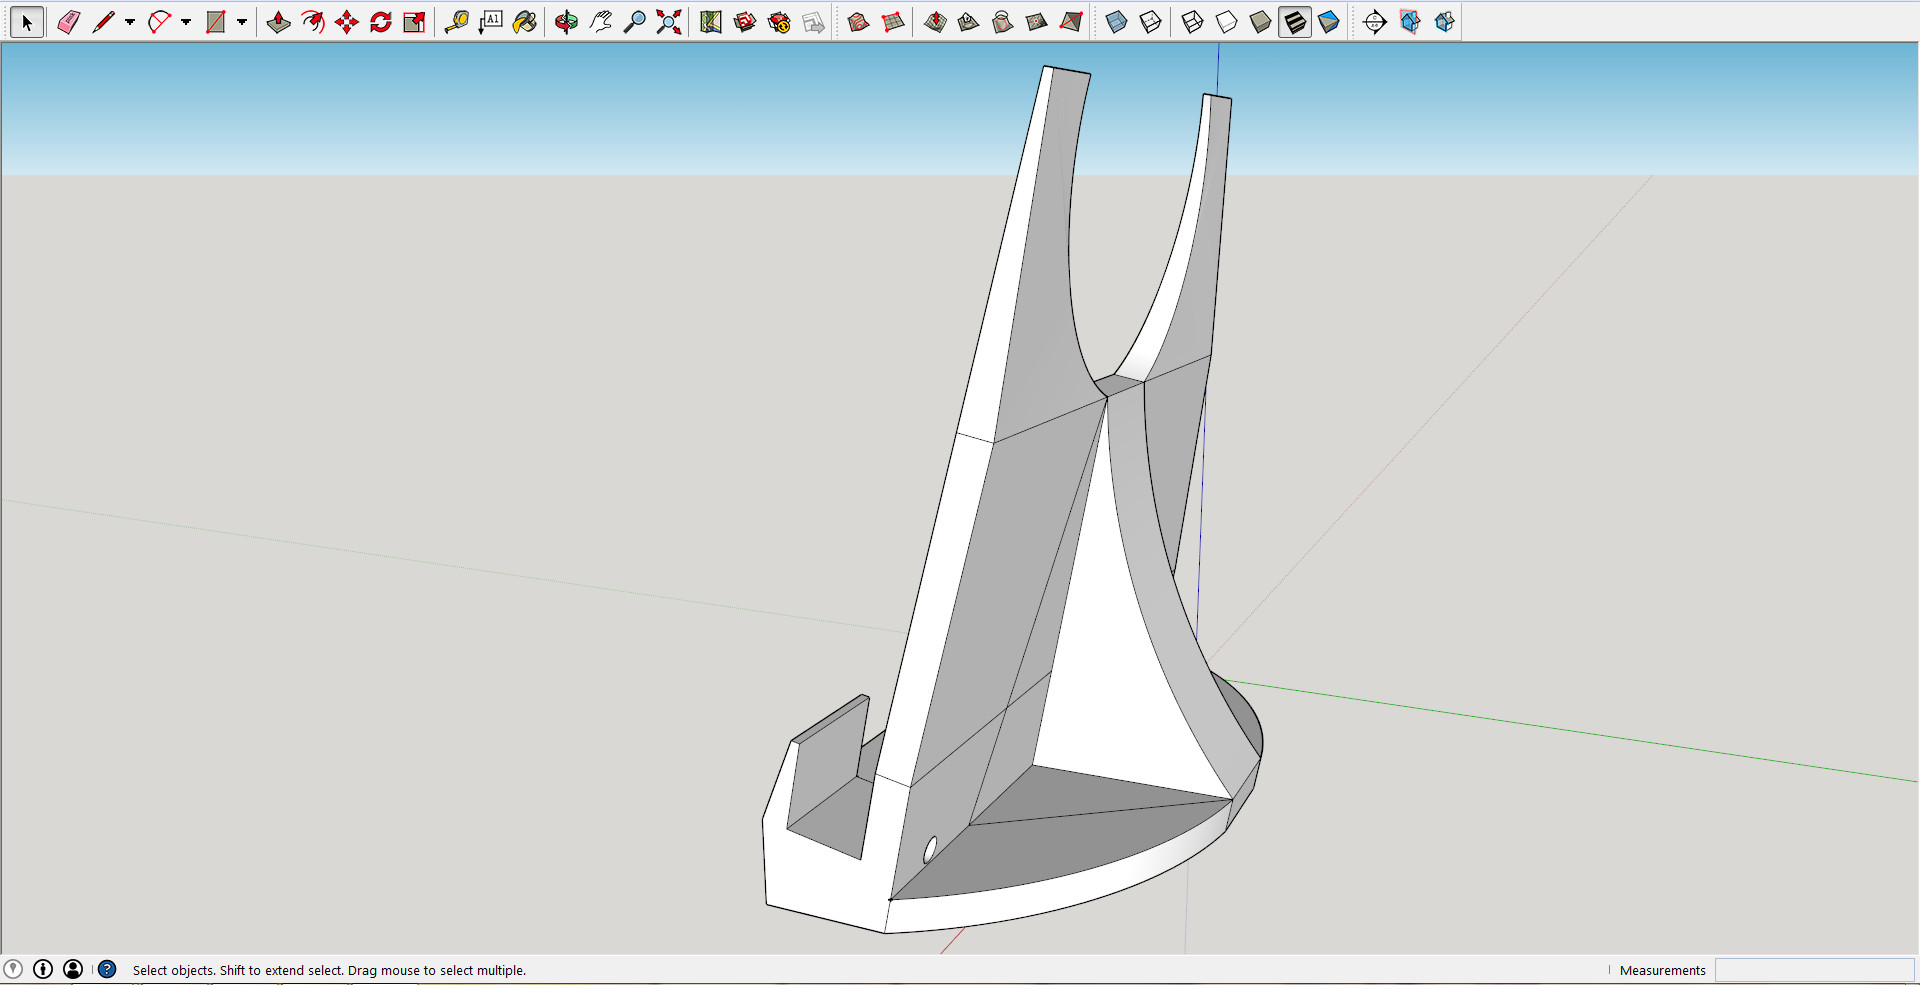
Underneath is a screenshot of a model I wanted to print.
Considerations
Now, the core idea of this tutorial is to cover the phase from a finished model in SketchUp to the point where your model is ready to be exported into the 3D printer software/slicer. In SketchUp there are a couple of important things to be aware of when modelling your object for printing.
Keep in mind that SketchUp Make only has surface modelling available. You always want to end up with something solid when printing (even very thin walls are solid), so there are plenty of pitfalls you need to avoid.
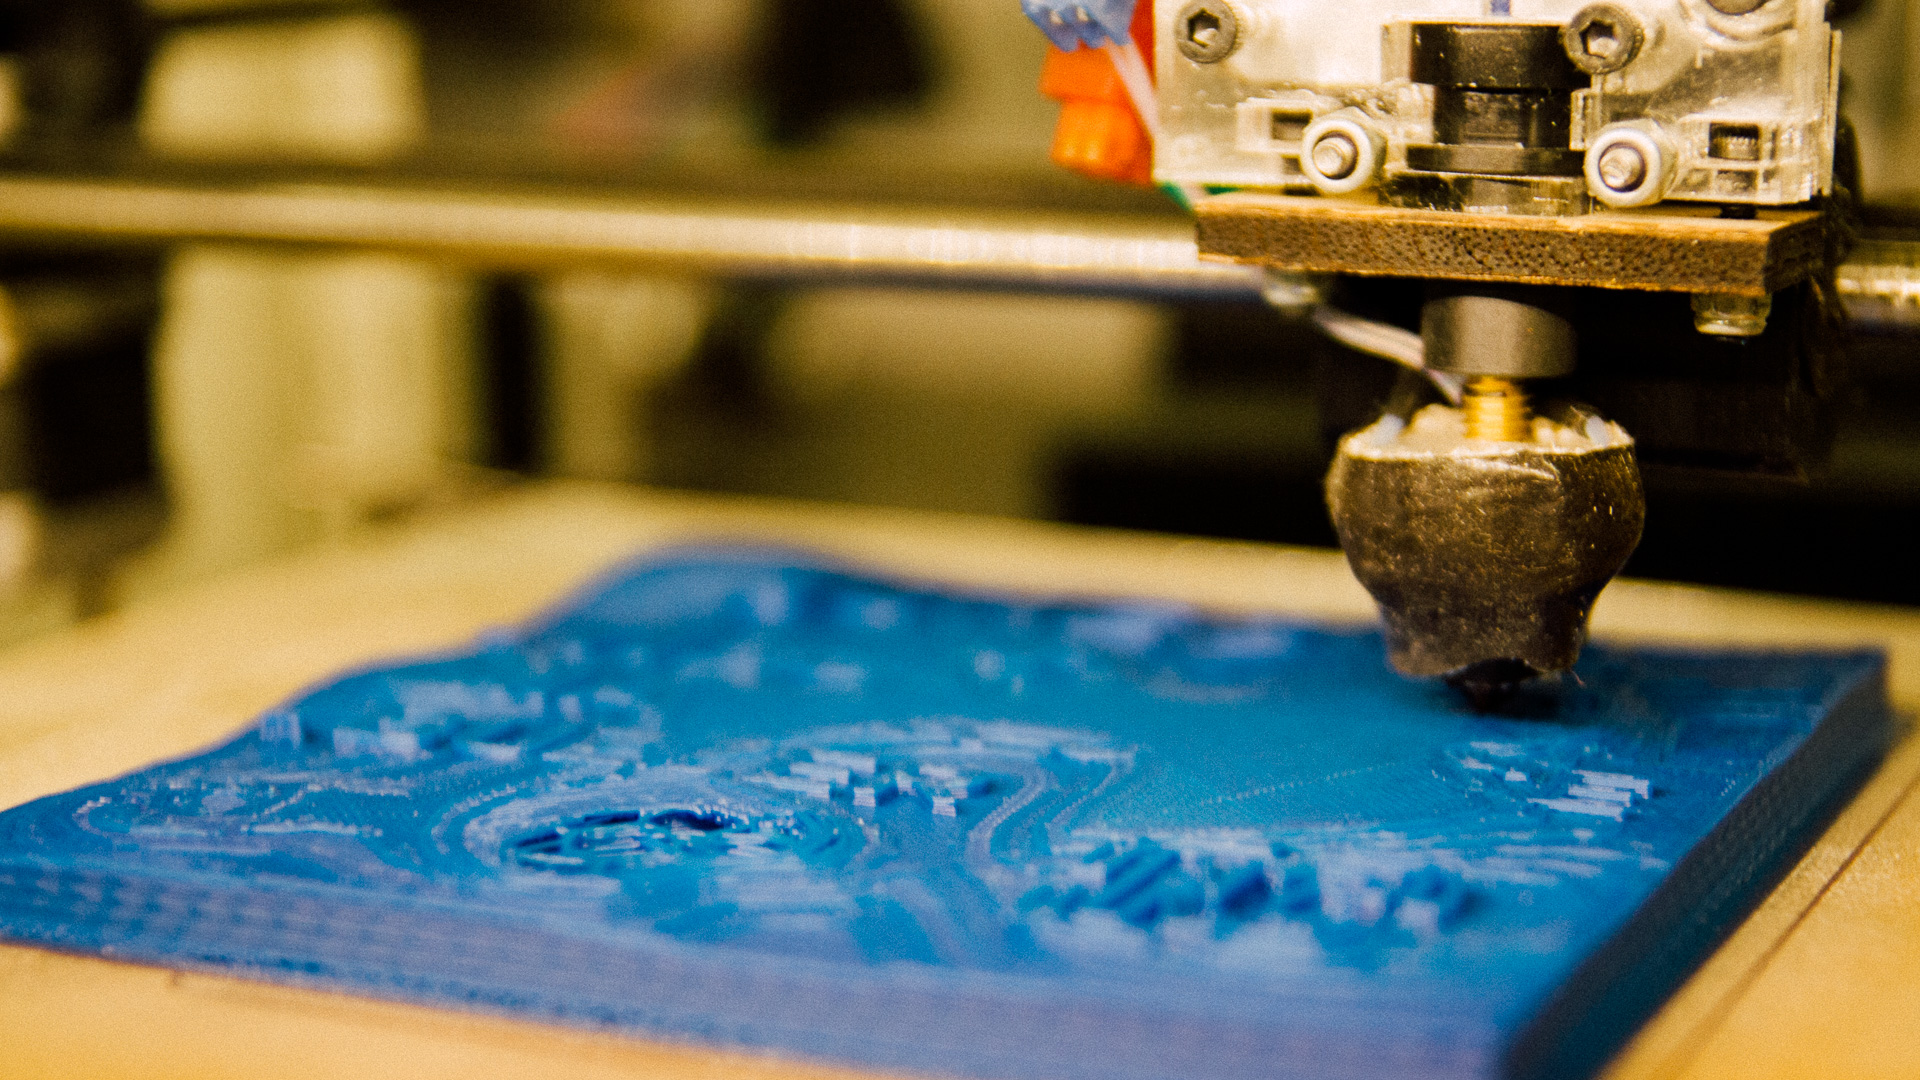
The most common small-scale 3D printer type around is the FDM type where the printer adds layer upon layer of material with an extruder. This tutorial is mainly aimed at FDM printer users. Below is a typical FDM extruder at work.
Gravity
One thing you want to avoid is that the printed model tips over during printing, or that a part of a layer doesn’t have anything underneath it to build upon (FDM printers always print from the bottom and upwards). For instance if you’re building a basic miniature bridge, you might want to flip it over to its side before printing, or model some sort of support structures which you can remove after the print.
What overhang angle your printer can handle depends on several factors, but 45° is a safe bet. Proceed with caution when printing more extreme angles.
Layer plane and structural integrity
Another thing to consider when you are making the model (somewhat related to the previous chapter) is what plane your layers are printed to, i.e. the plane perpendicular to the printer’s z-axis. The reason for this is the difference in structural integrity between the z-axis and every other axis (continuous structure along the x- and y-axes versus layer upon layer along the z-axis).
Bottom line: if you want your model to be extra sturdy along a specific axis, avoid that specific axis to be the printer’s z-axis.
Clearance
If you plan to fit the printed object with something else (e.g. placing a printed cylinder inside a hole in your wall), you might want to manually add a bit of clearance on the contact surfaces. Either that or prepare to fetch the file or the sanding paper and start removing material.
Face orientation
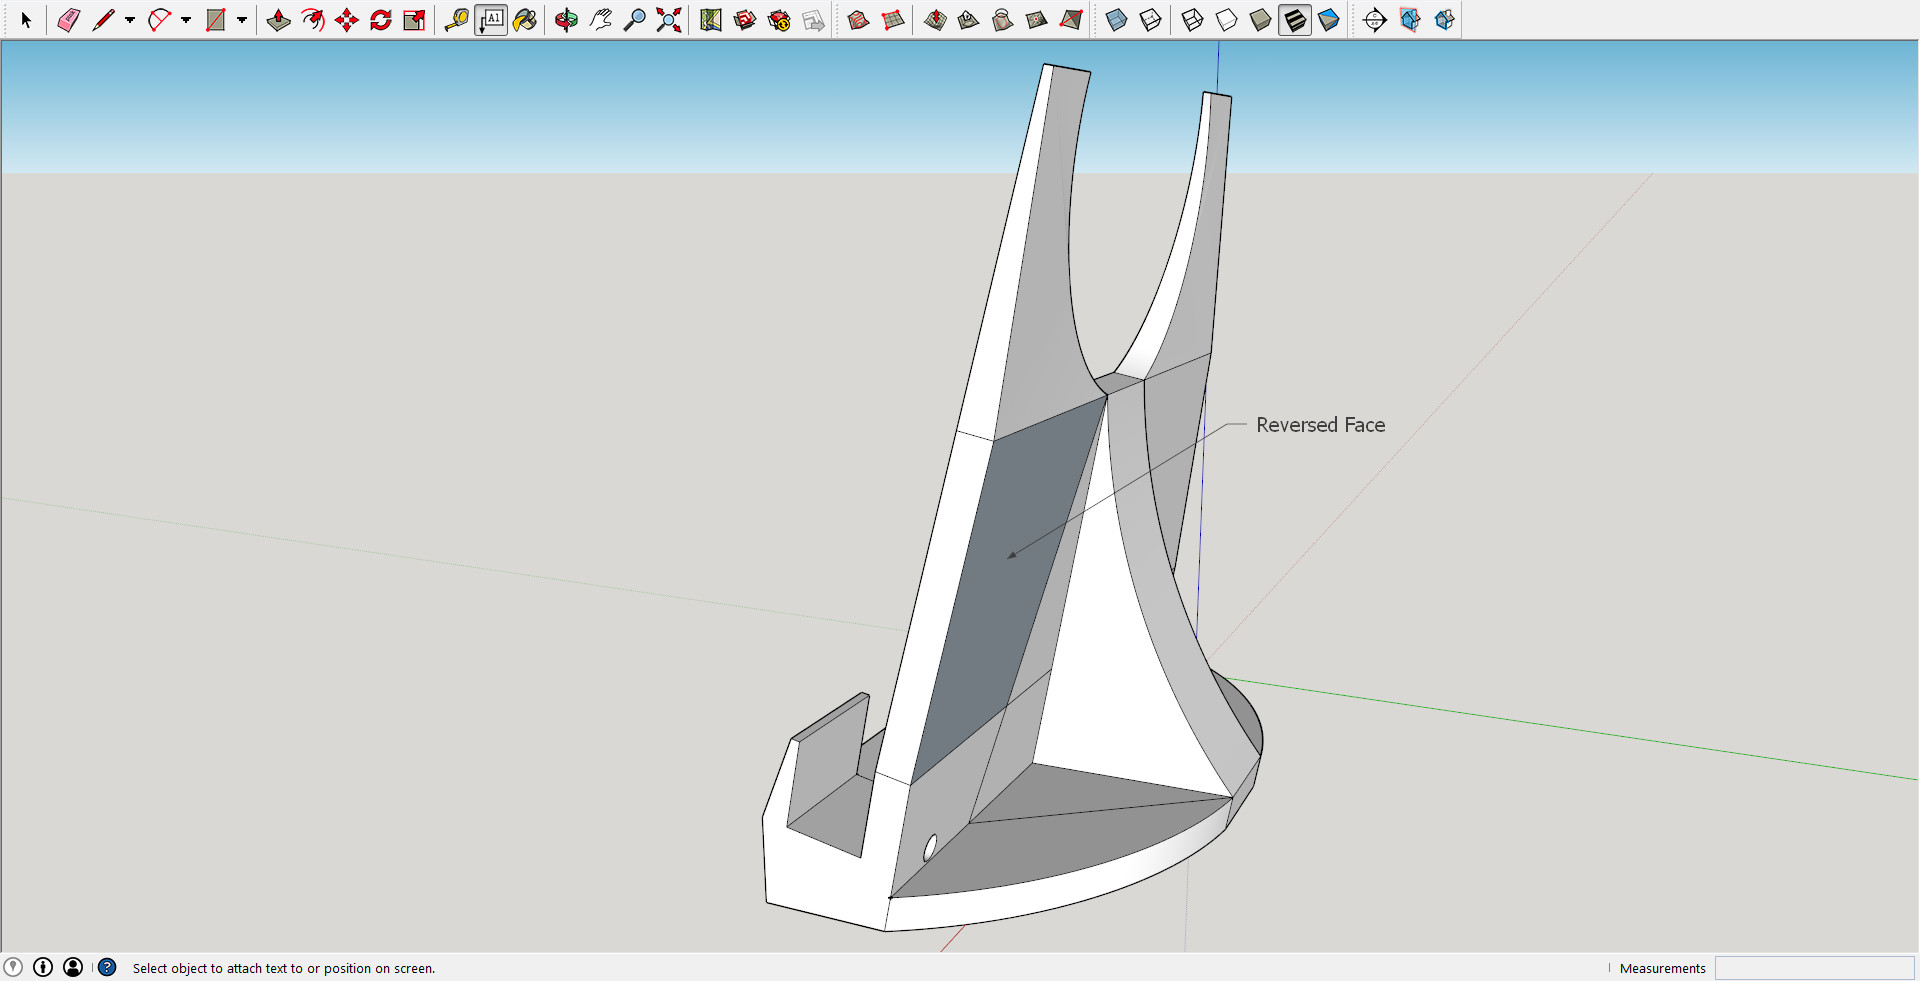
The orientation of the faces can be important. SketchUp shows the backside of a face in a light blue/grey-ish color while the default front face color is white. What you want to do is reverse any blue/grey faces (right click the face and choose Reverse Faces) such that your model only contains white faces on the outside. SketchUp still recognize reversed faces as a surface, but other software (after export) may not.
Plugins
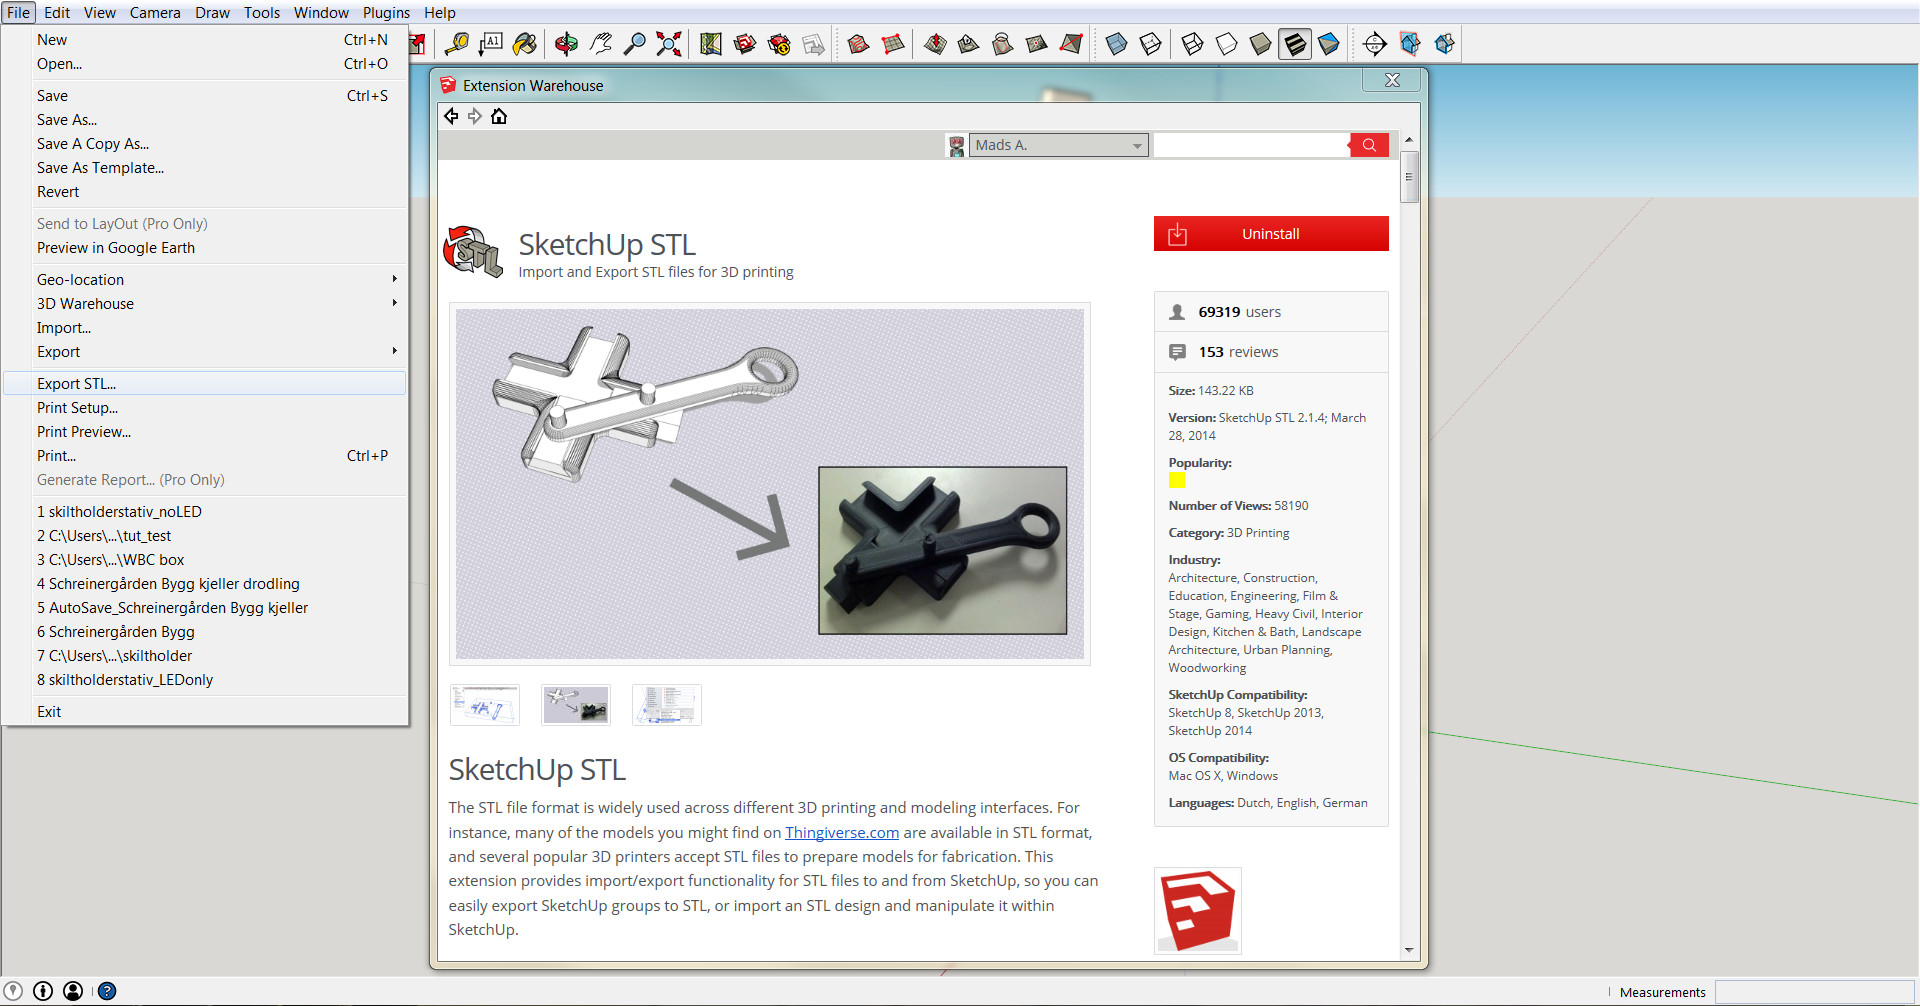
SketchUp STL
The .stl format is the de facto standard for the 3D printer in average Joe’s basement. SketchUp doesn’t have the ability to export to .stl by default, but an easily accessible plugin is available just for this purpose.
What you need to do is go to SketchUp’s Extension Warehouse (you can find it in the toolbar) and just search for “stl”. The plugin you’re looking for is simply called SketchUp STL and is easily installed via the Extension Warehouse.
After installation, a new menu item will appear in the File menu called Export STL.
CleanUp3
Another handy plugin available is called CleanUp3. After installation, a new menu item called Plugins will appear between Window and Help, and under that you will find the CleanUp3 tool.
It removes all unnecessary edges in a model, which are always present when you import an .stl file. It can among other things also fix duplicated faces (two faces that occupy the same space).
Personally, I find this plugin useful when I want modify imported .stl files in SketchUp or if I just want to make my model less messy.
The plugin requires a library (TT_Lib2), but you are prompted during the installation if you don’t already have it, and it’s easily installed on the fly.

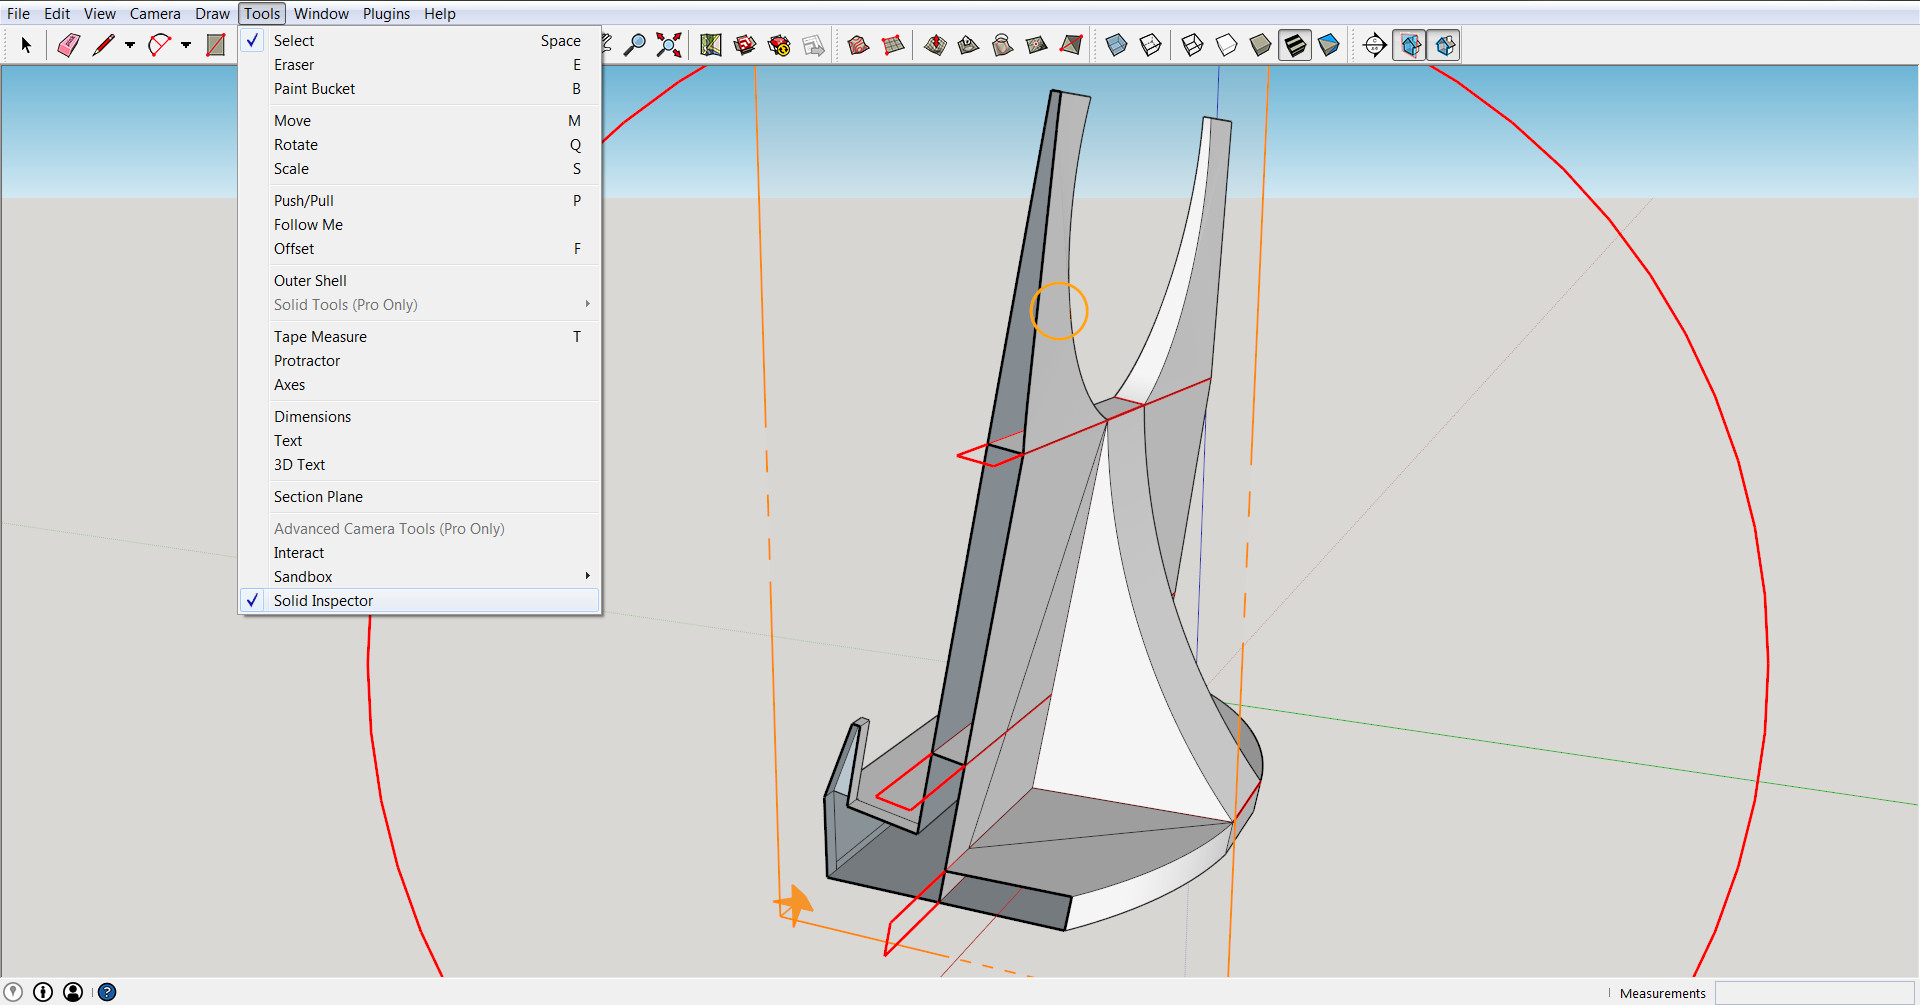
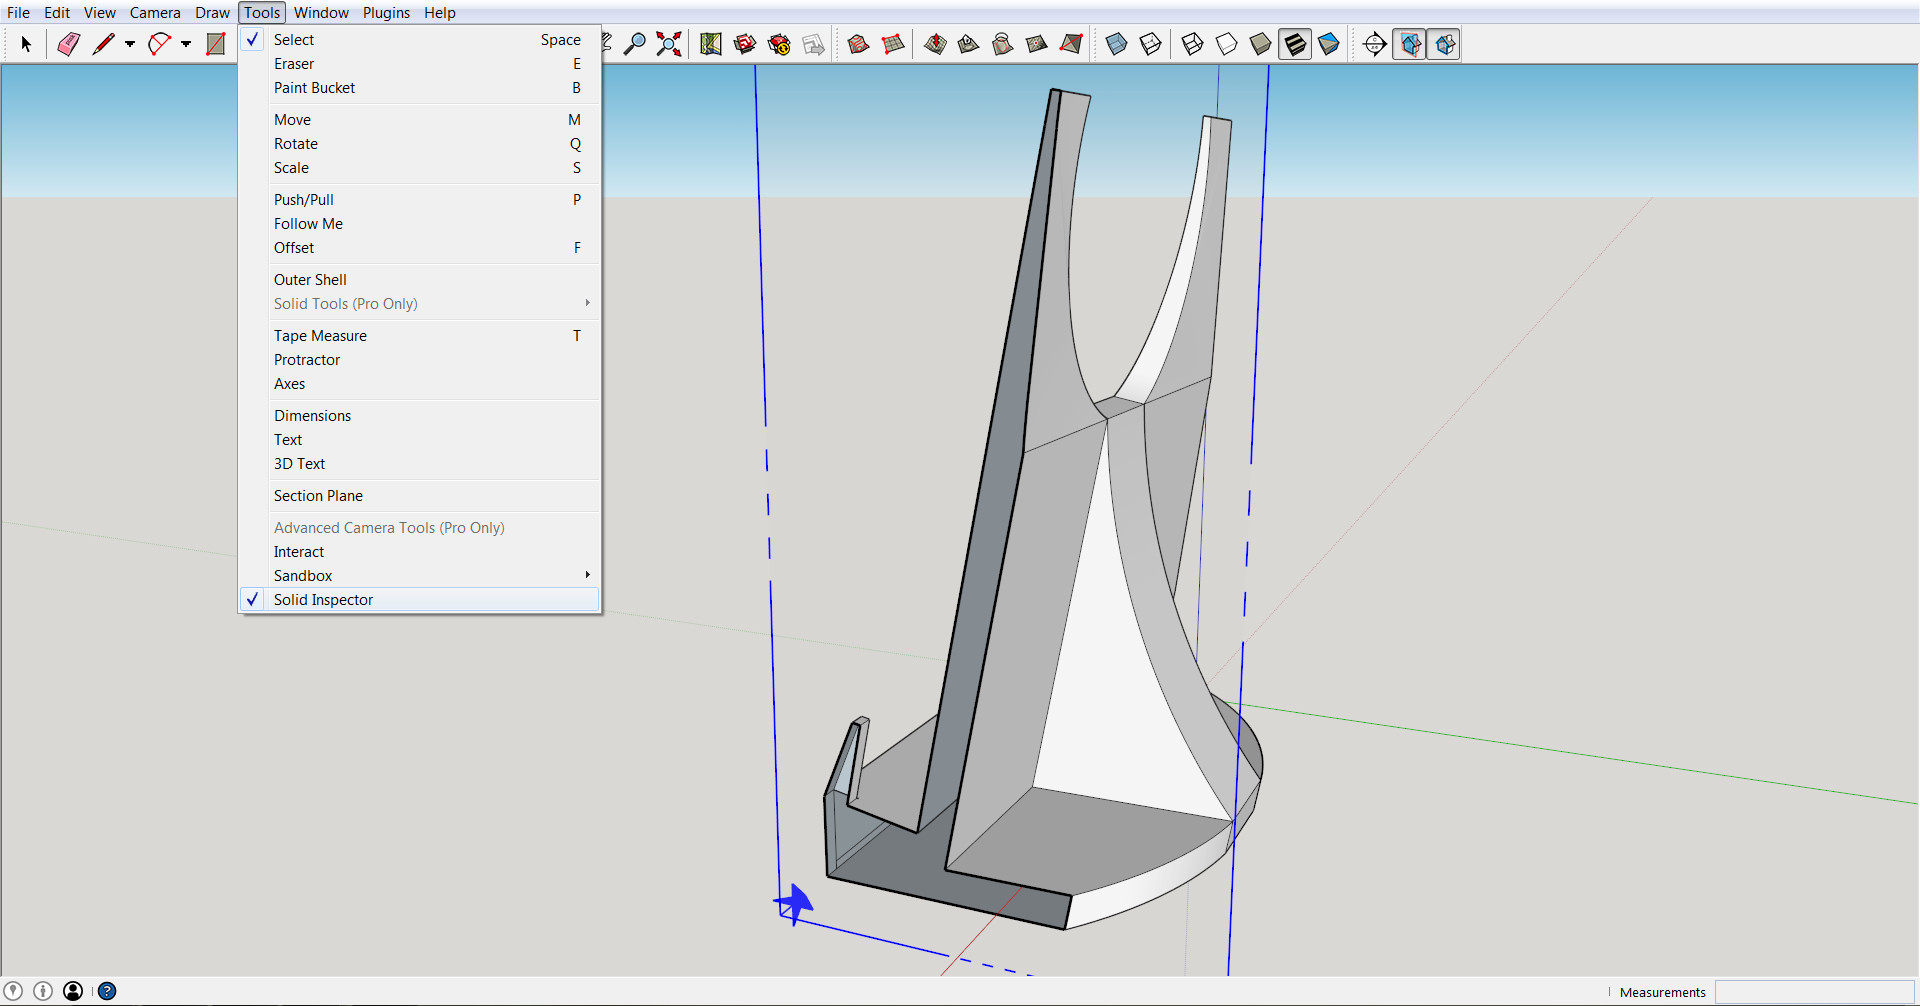
Solid Inspector
The last plugin I would like to mention is called Solid Inspector, and it requires the same library as CleanUp3. After installation it will appear at the bottom of the Tools menu.
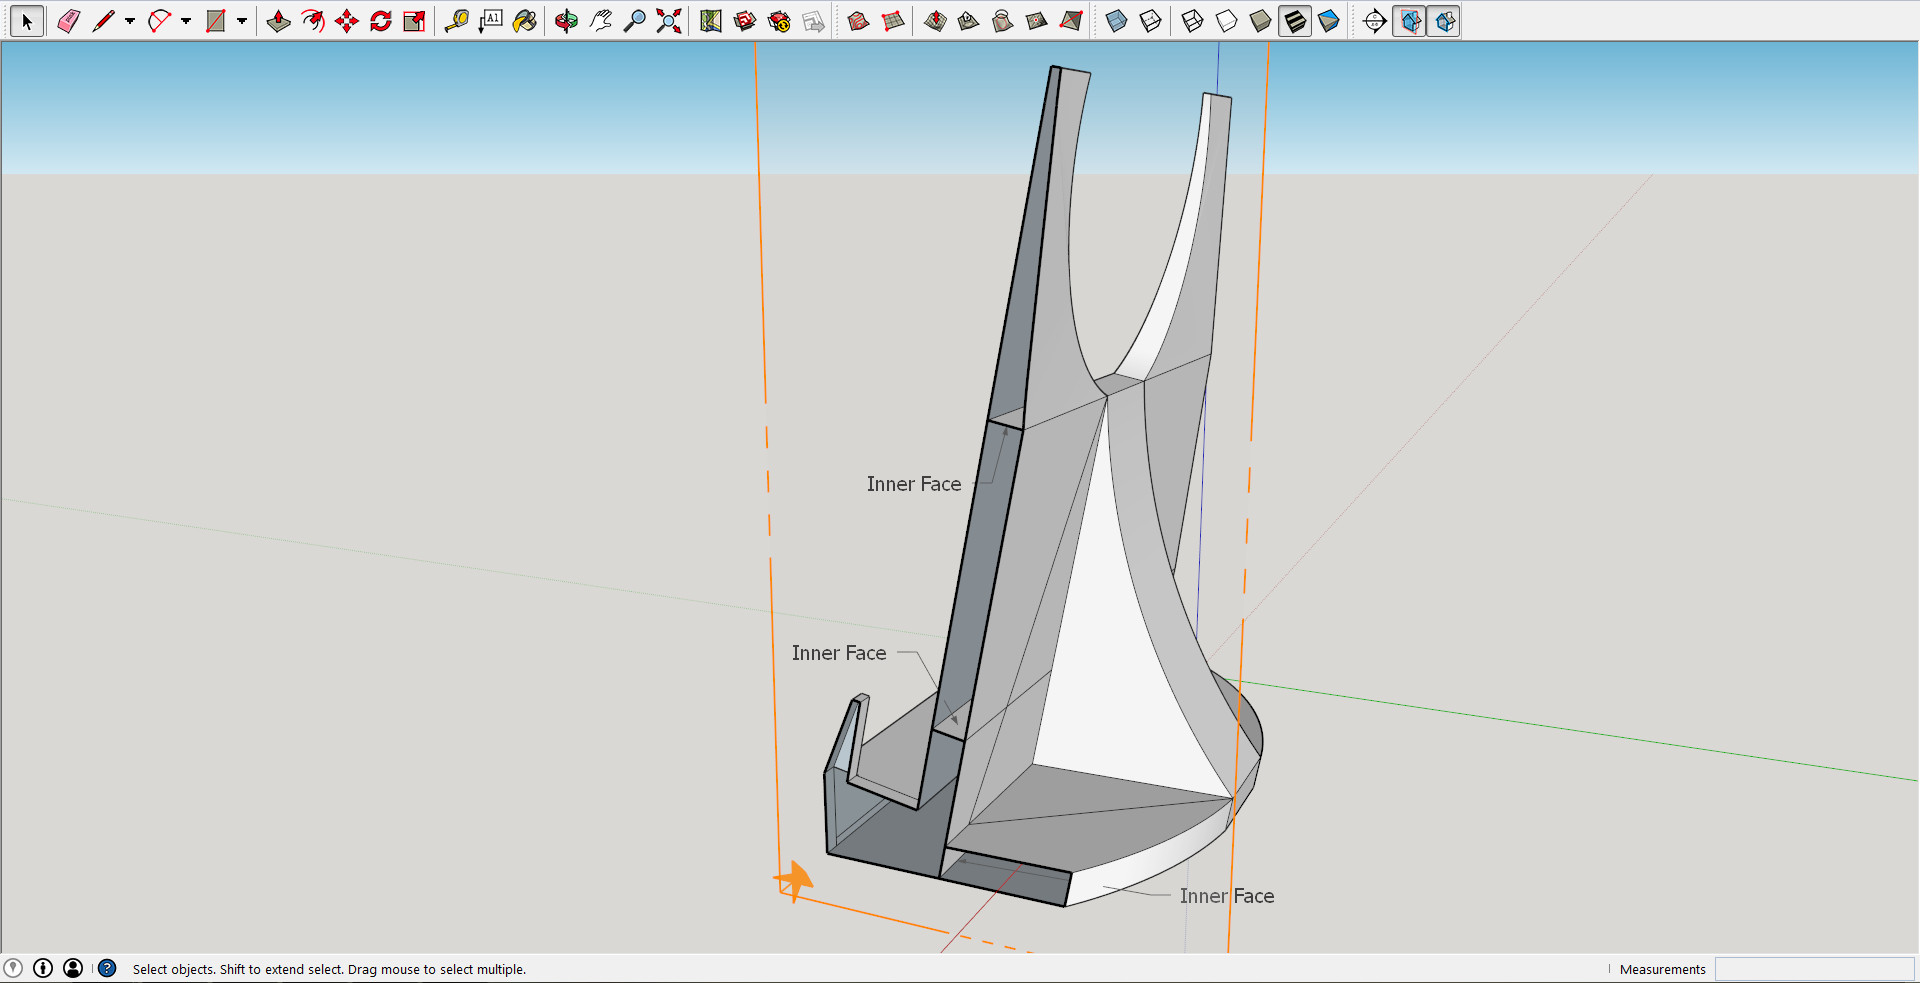
This plugin detects holes in your model (i.e. holes in the virtual model surface, not intended cylindrical holes through the finished printed object), which are always undesired, and places red or orange circles around them (depending on which error you have selected). You can cycle through the errors using the Tab key.
One thing that confused me a bit in the beginning was that it displays errors if you have faces inside your outer shell as well. These can be a bit fiddly to select for removal, so a tip here would be to add the Section tools to the toolbar and draw section planes. That way you can easily look inside your model and delete the redundant faces.
Solid Inspector also detects duplicated faces which are easily fixed using the CleanUp3 plugin as previously mentioned.
In this example I removed the internal faces first, then ran CleanUp3 which automatically removed unneccesary edges and some duplicated faces.
When you have no red or orange circles in the Solid Inspector, your model should be ready for .stl export!
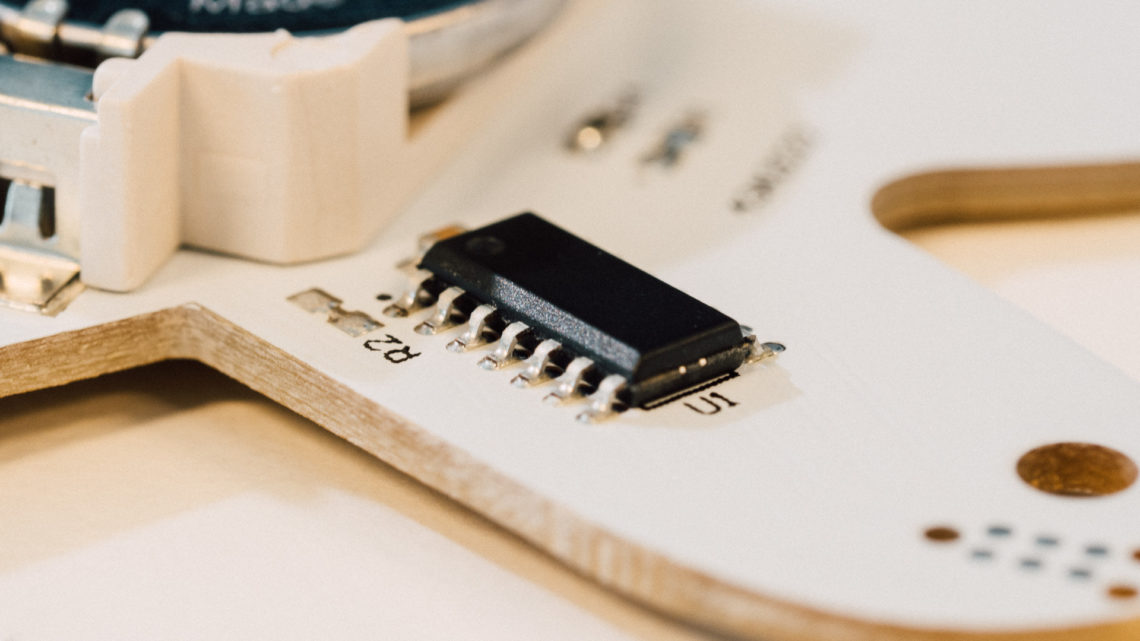
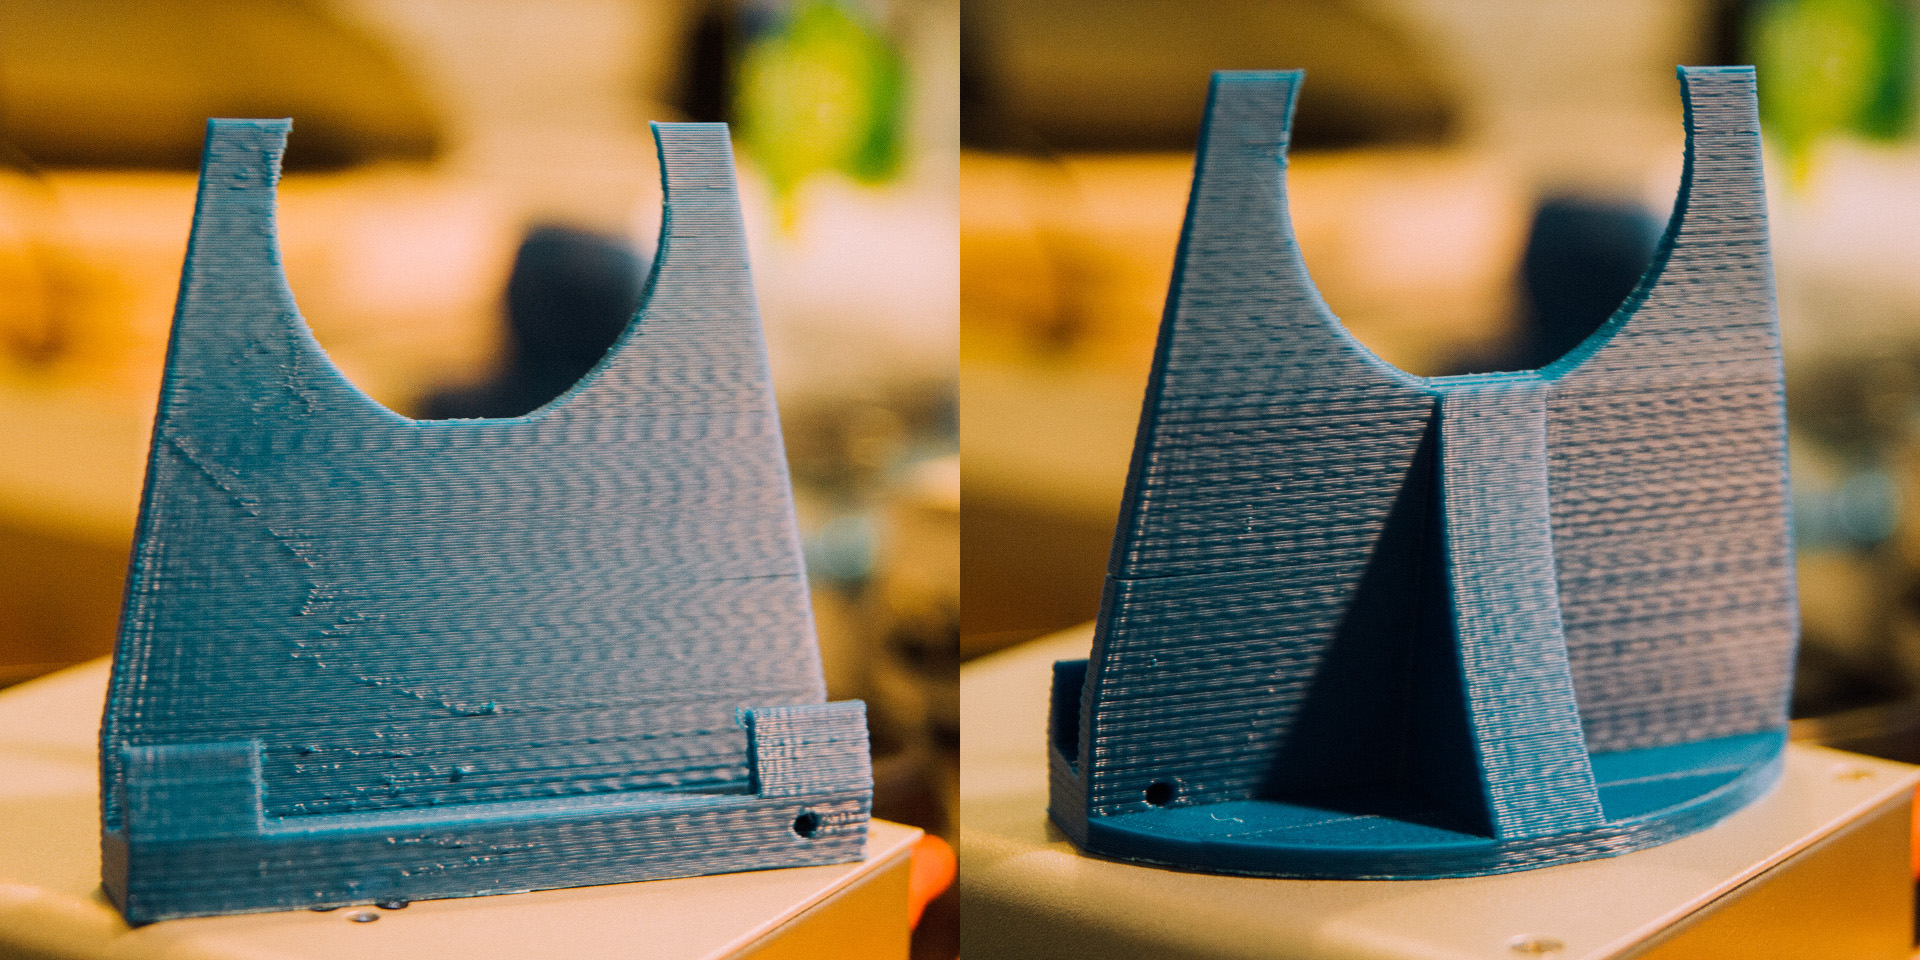
The finished product:
Further reading
You can read about our previous 3D printer encounters here and here, and our whole 3D printing category is located here.