Printing out already created models downloaded from sites like Thingiverse is great, but what to do you do when you cannot find the part you need/want there?
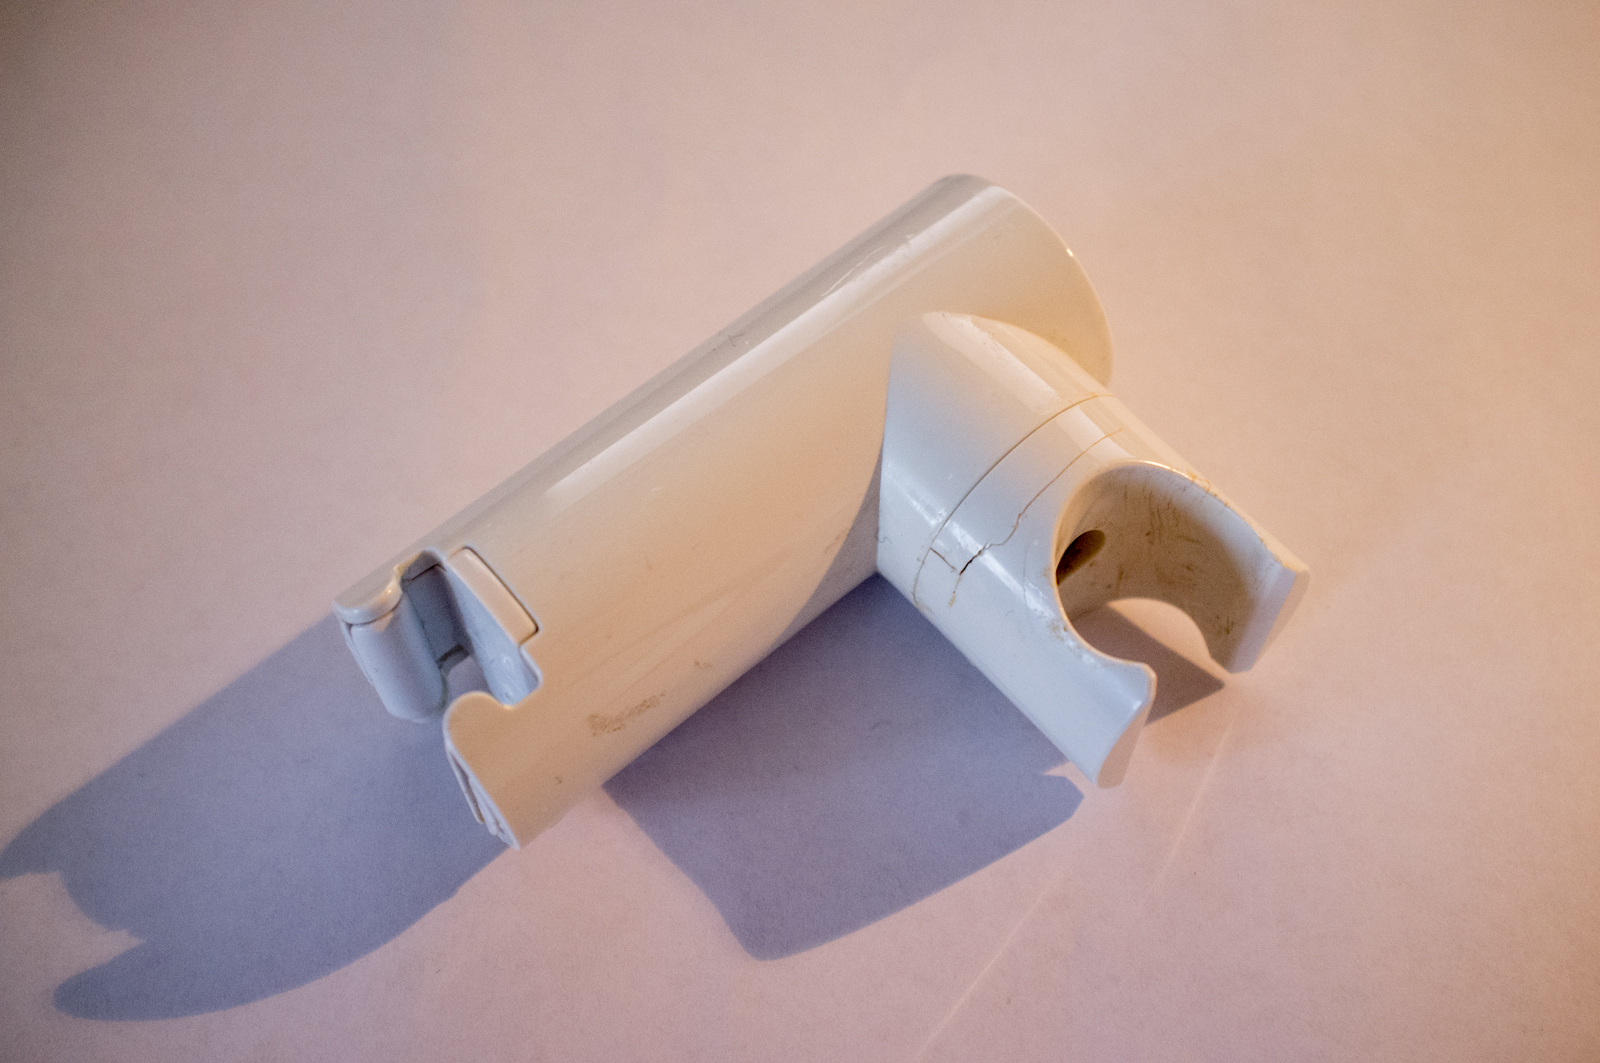
In my case I needed a new shower handle holder. Because of a leak in the hose, it was replaced. But the new hose had a hexagonal screw at the end, so it didn’t fit into the original round holder:/
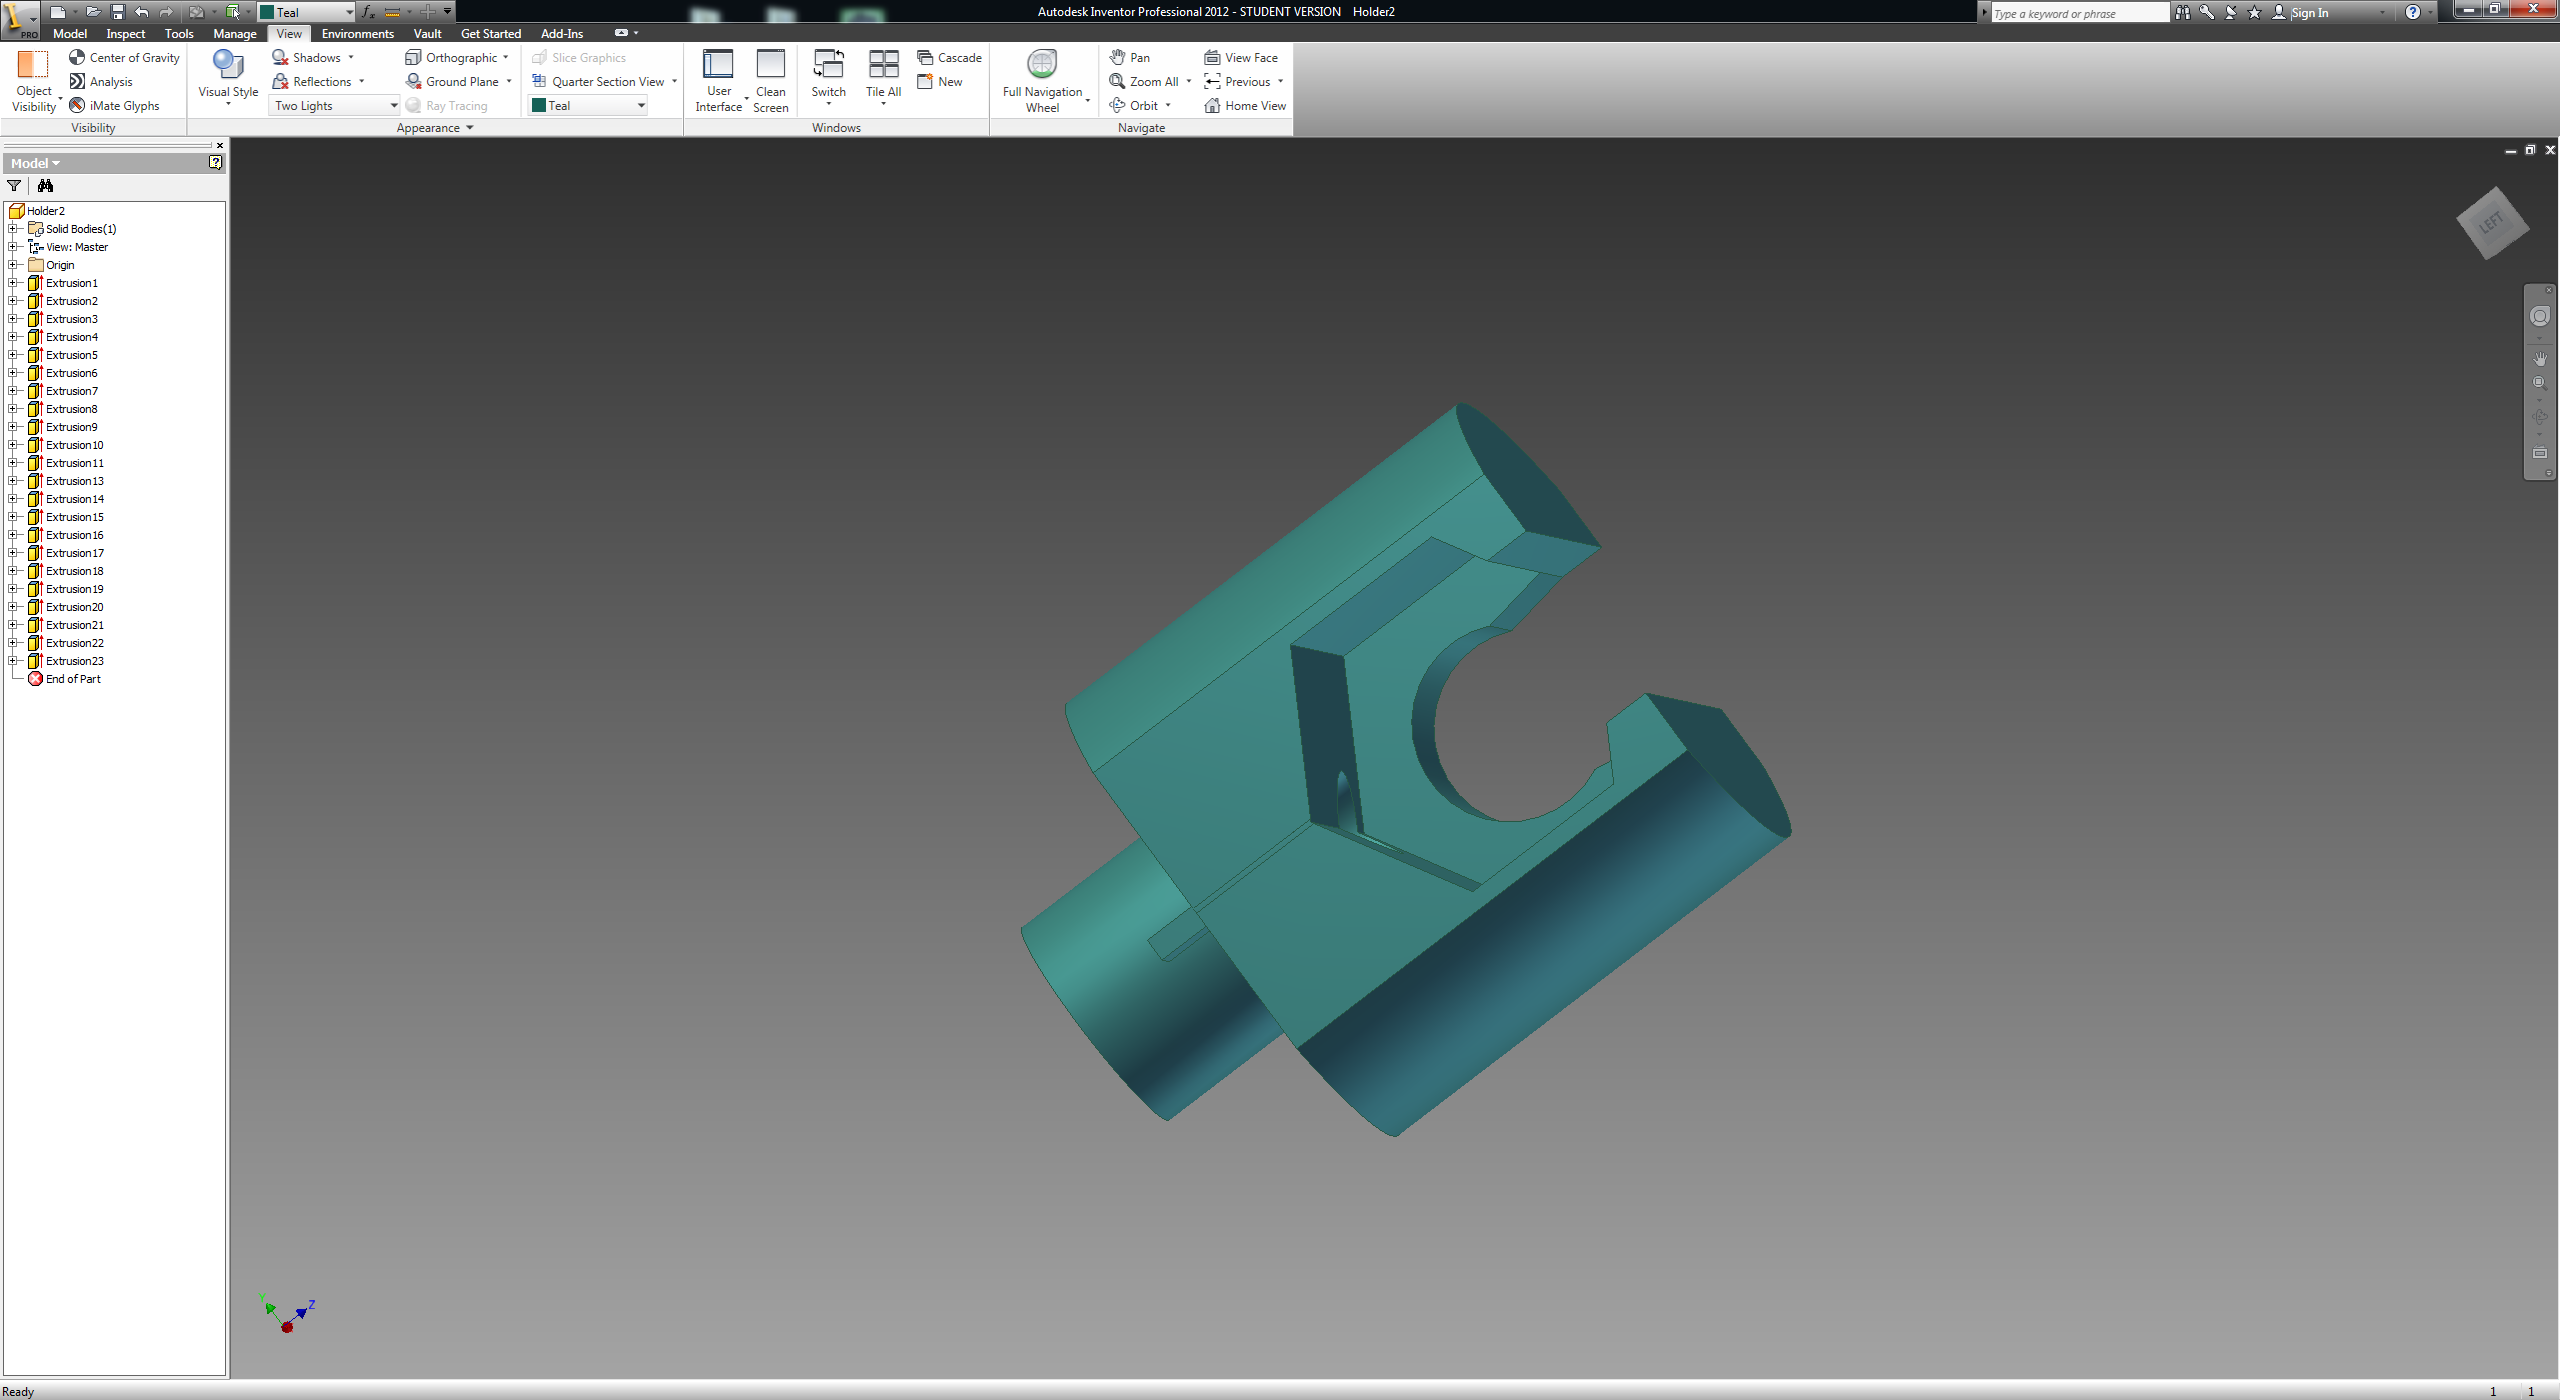
Modeling the first draft
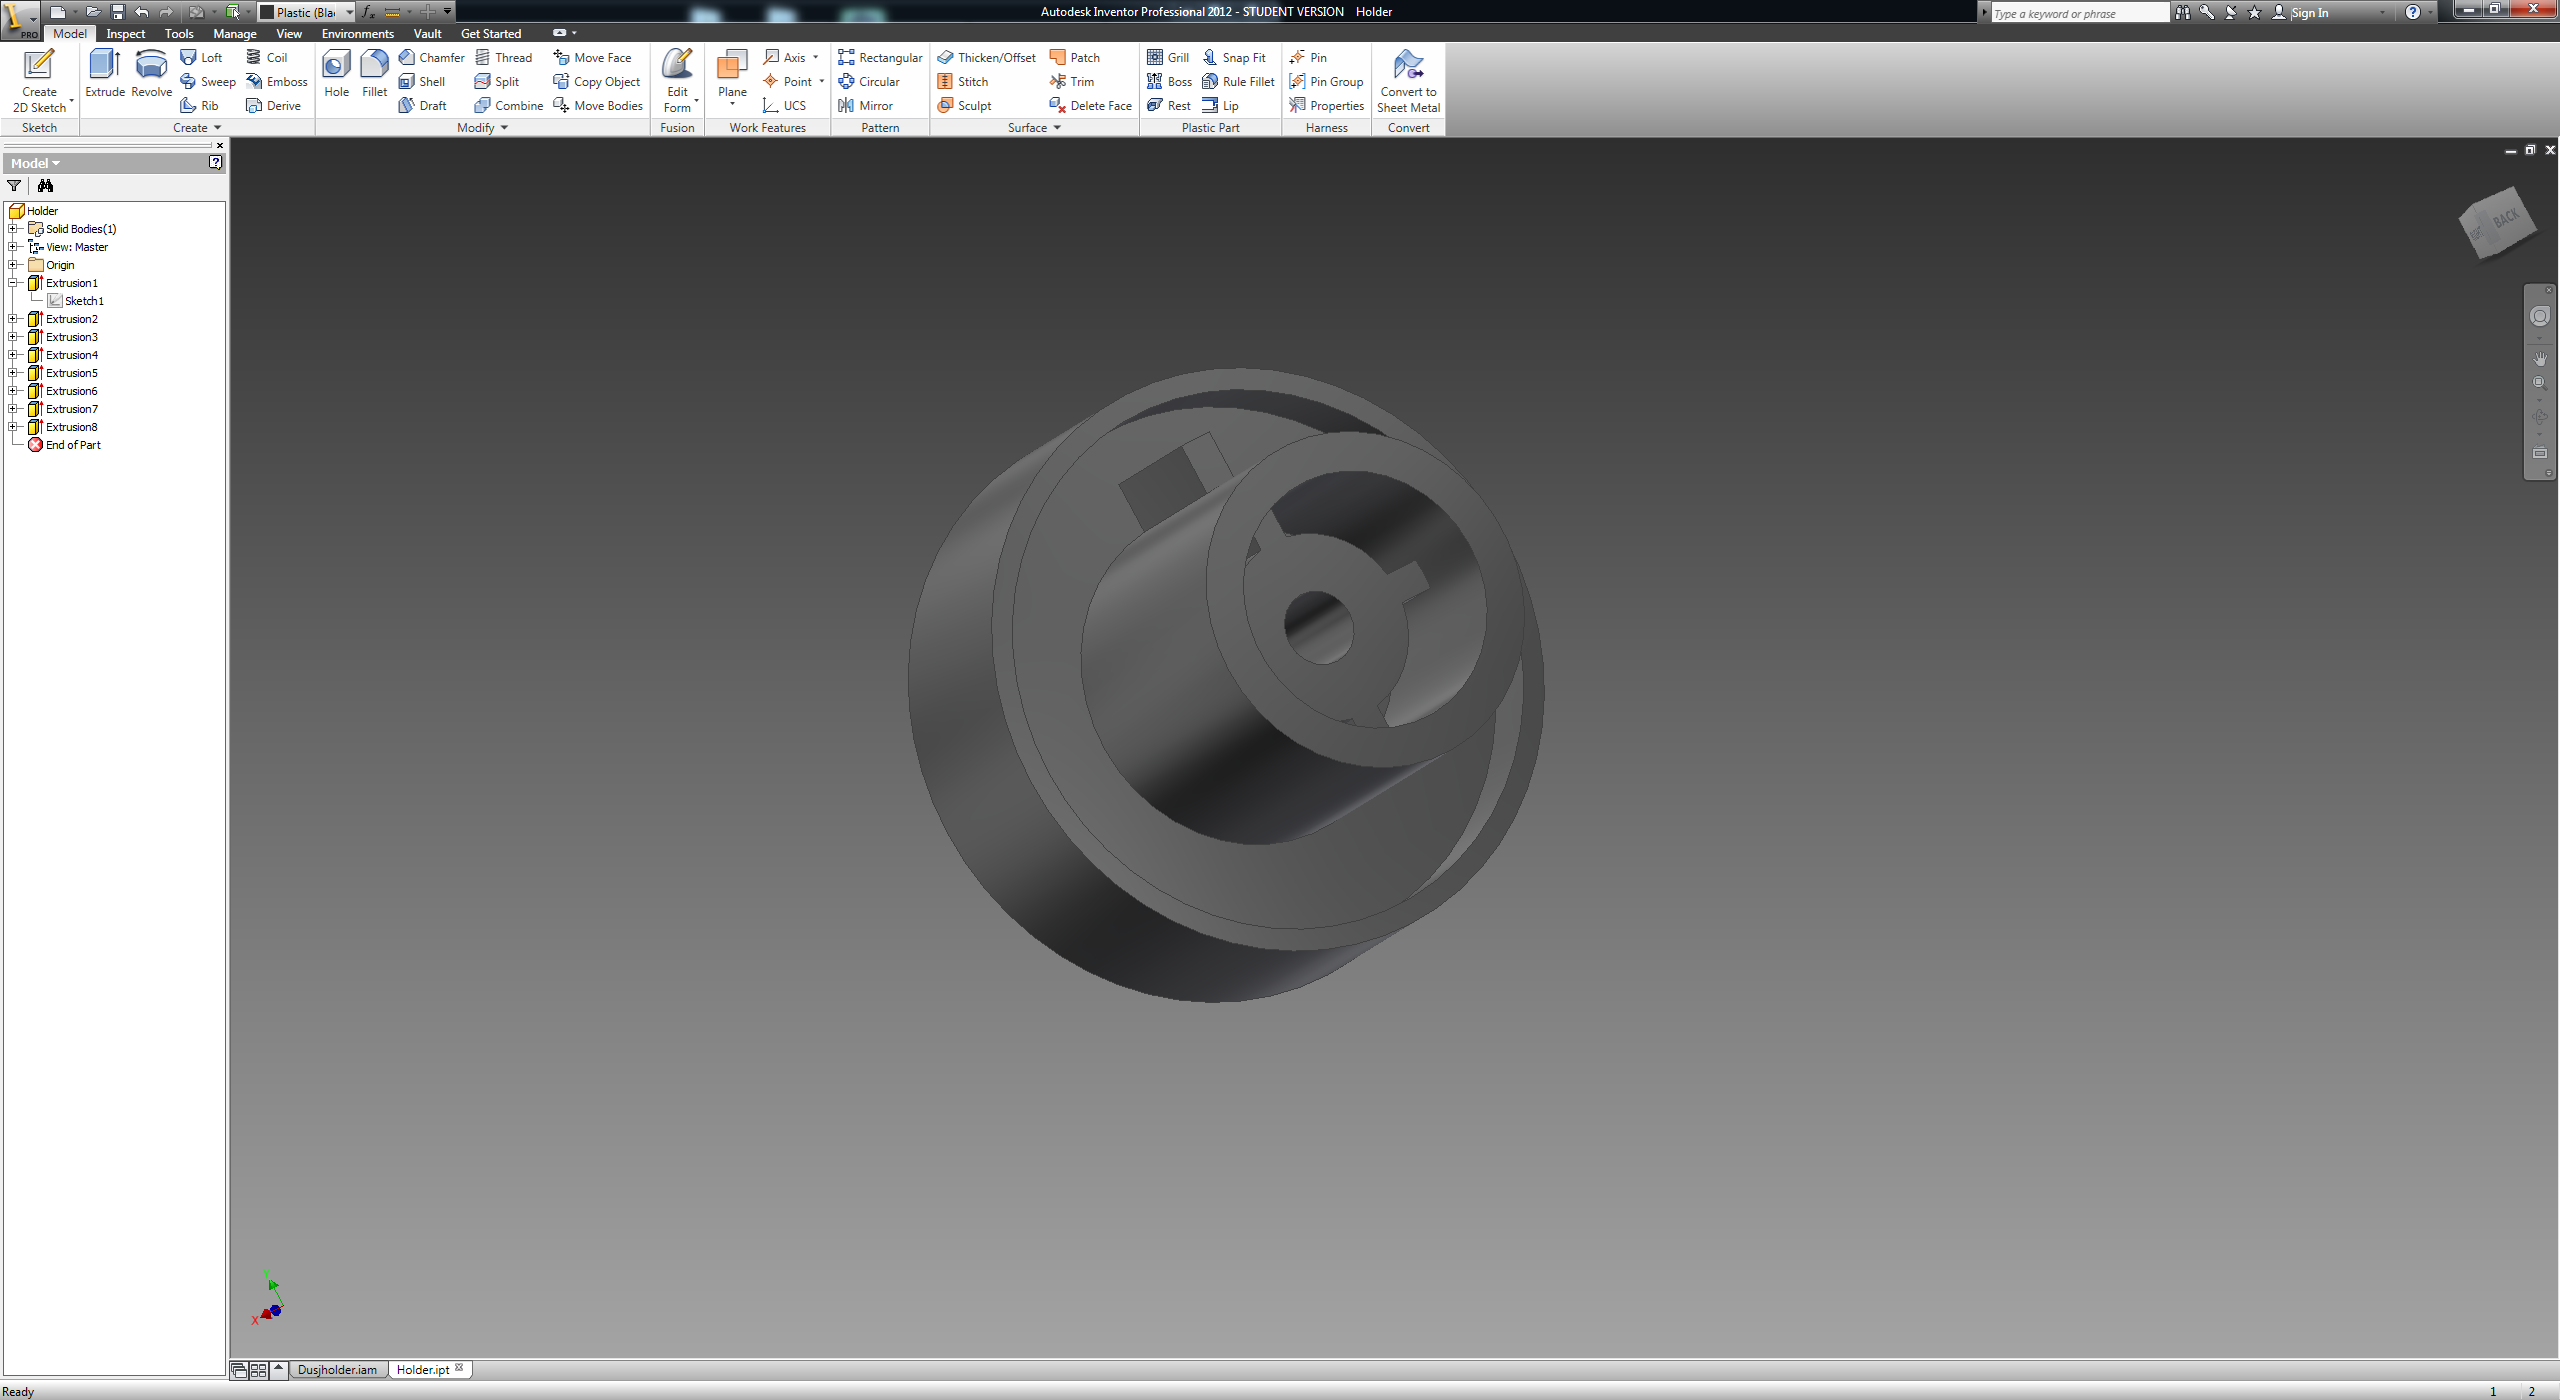
I created the model using Autodesk Inventor. The job could of course have been done in many other softwares, such as Google Sketchup.
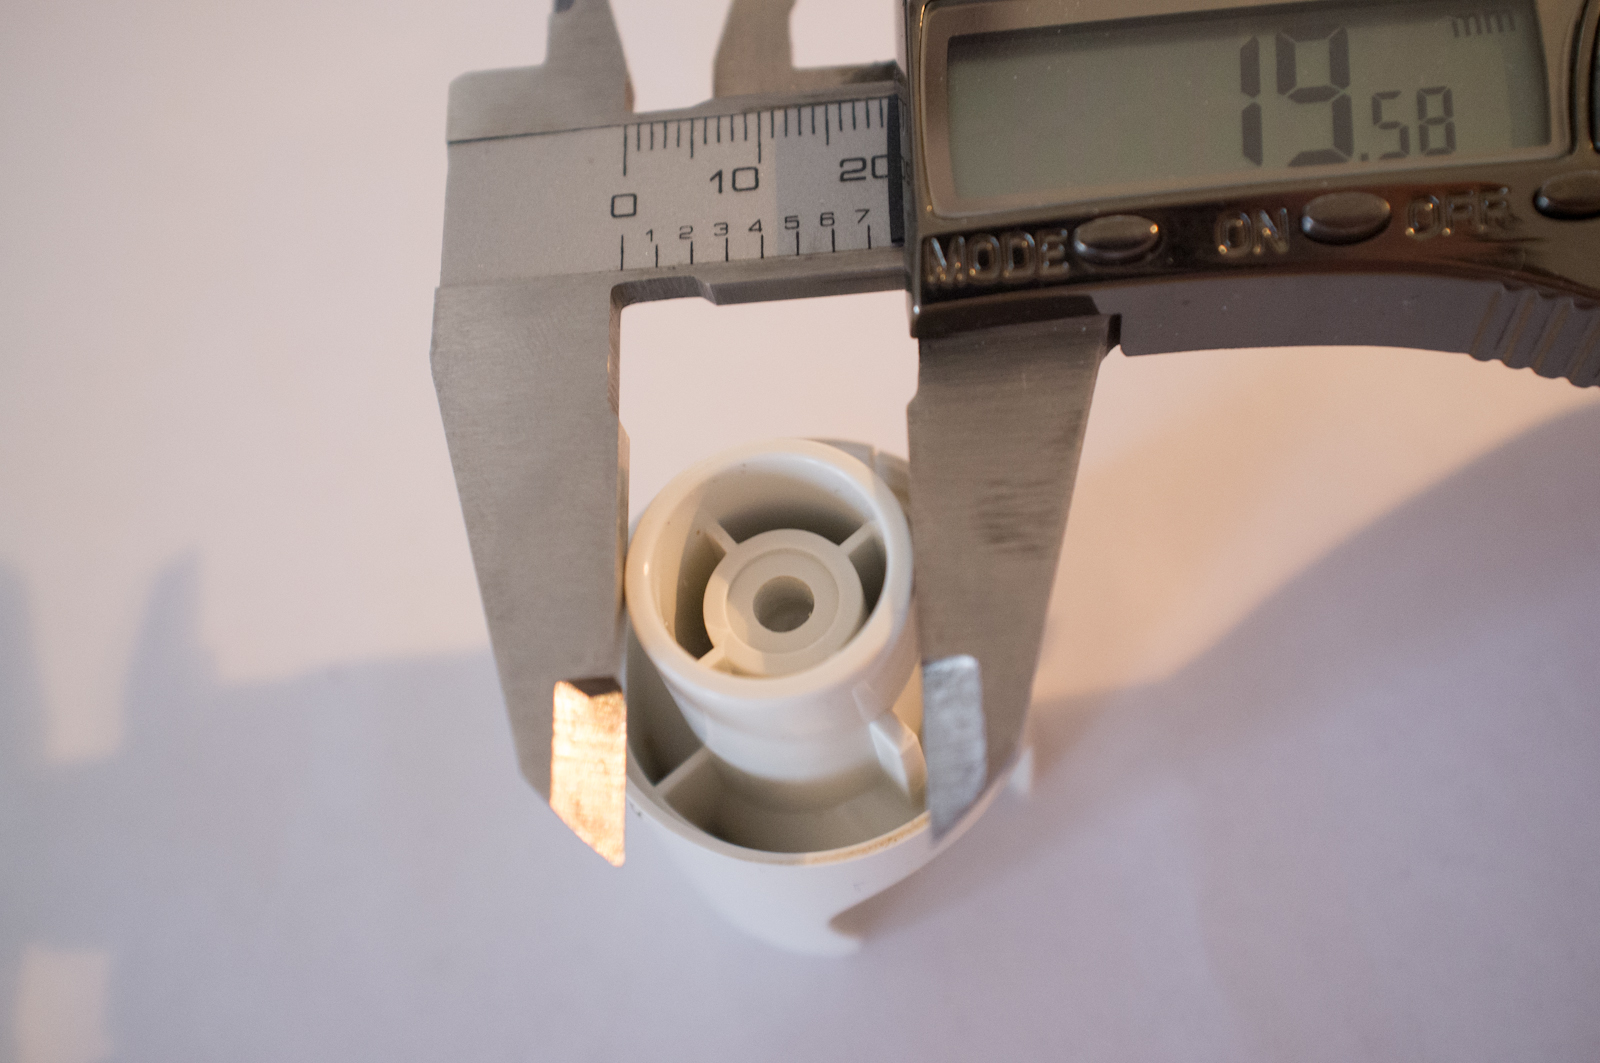
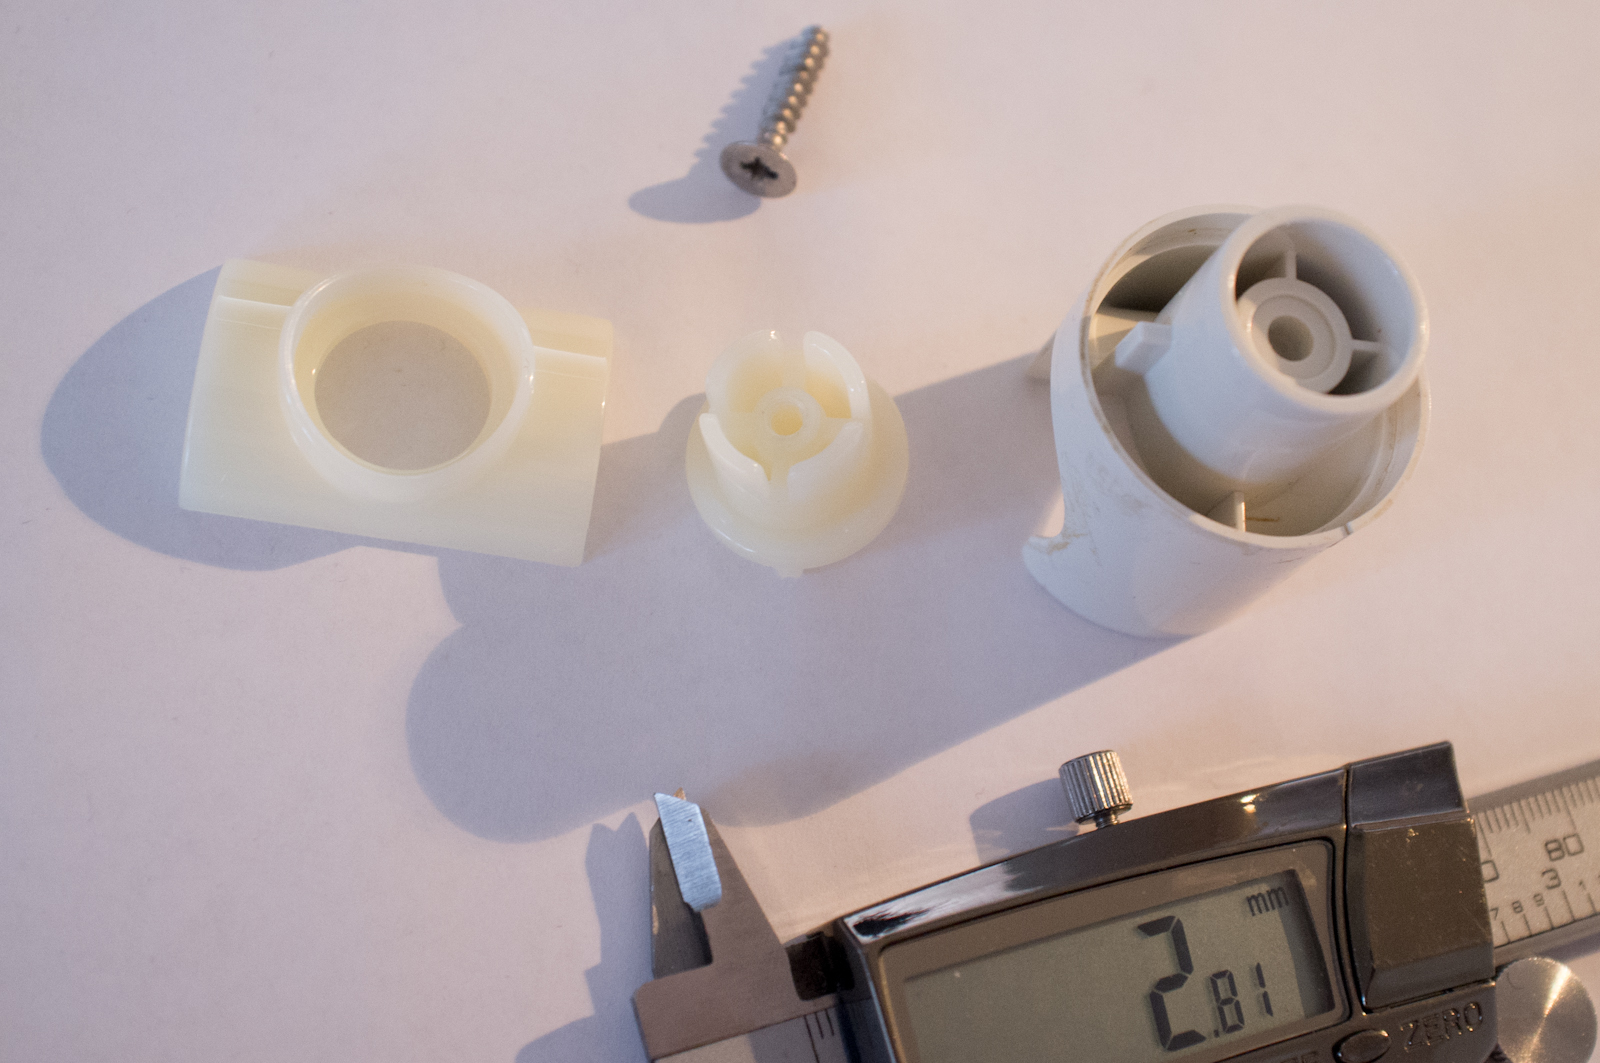
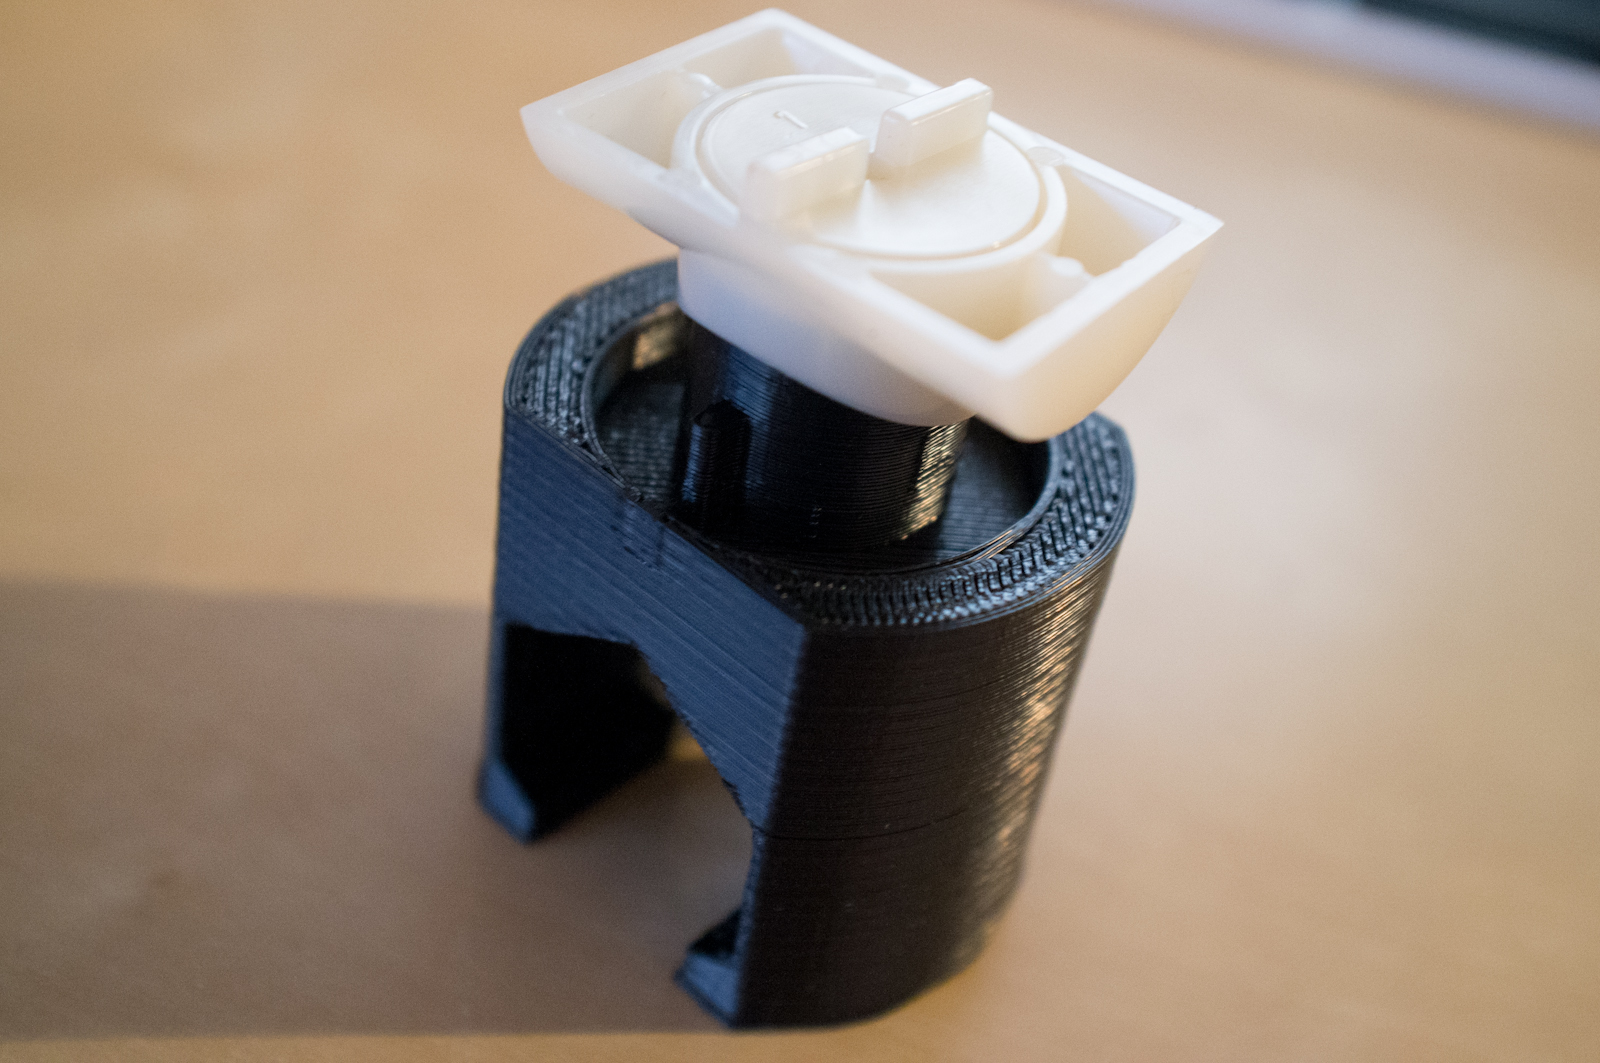
First i measured the critical dimensions on the original part. By critical I mean the dimensions that has to be correct to make the new part fit into the existing structure.
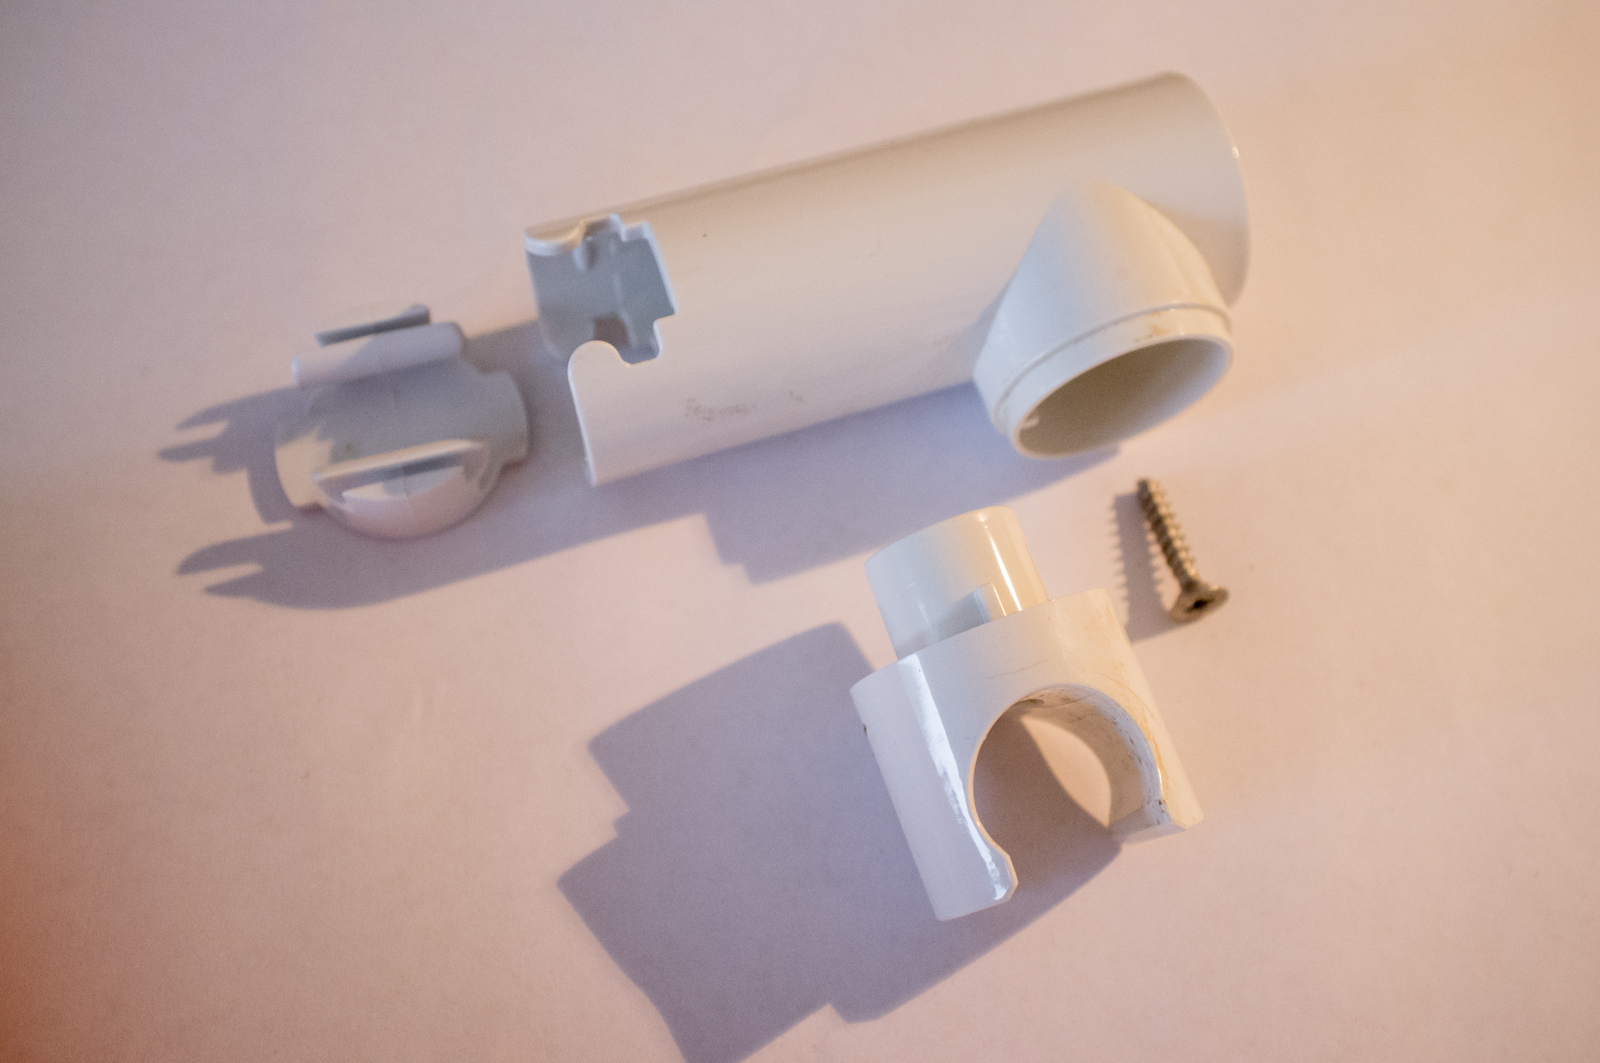
Then I began modelling the new part. The only thing I was going to change was the hole: It need to accommodate the new hexagonal hose end.
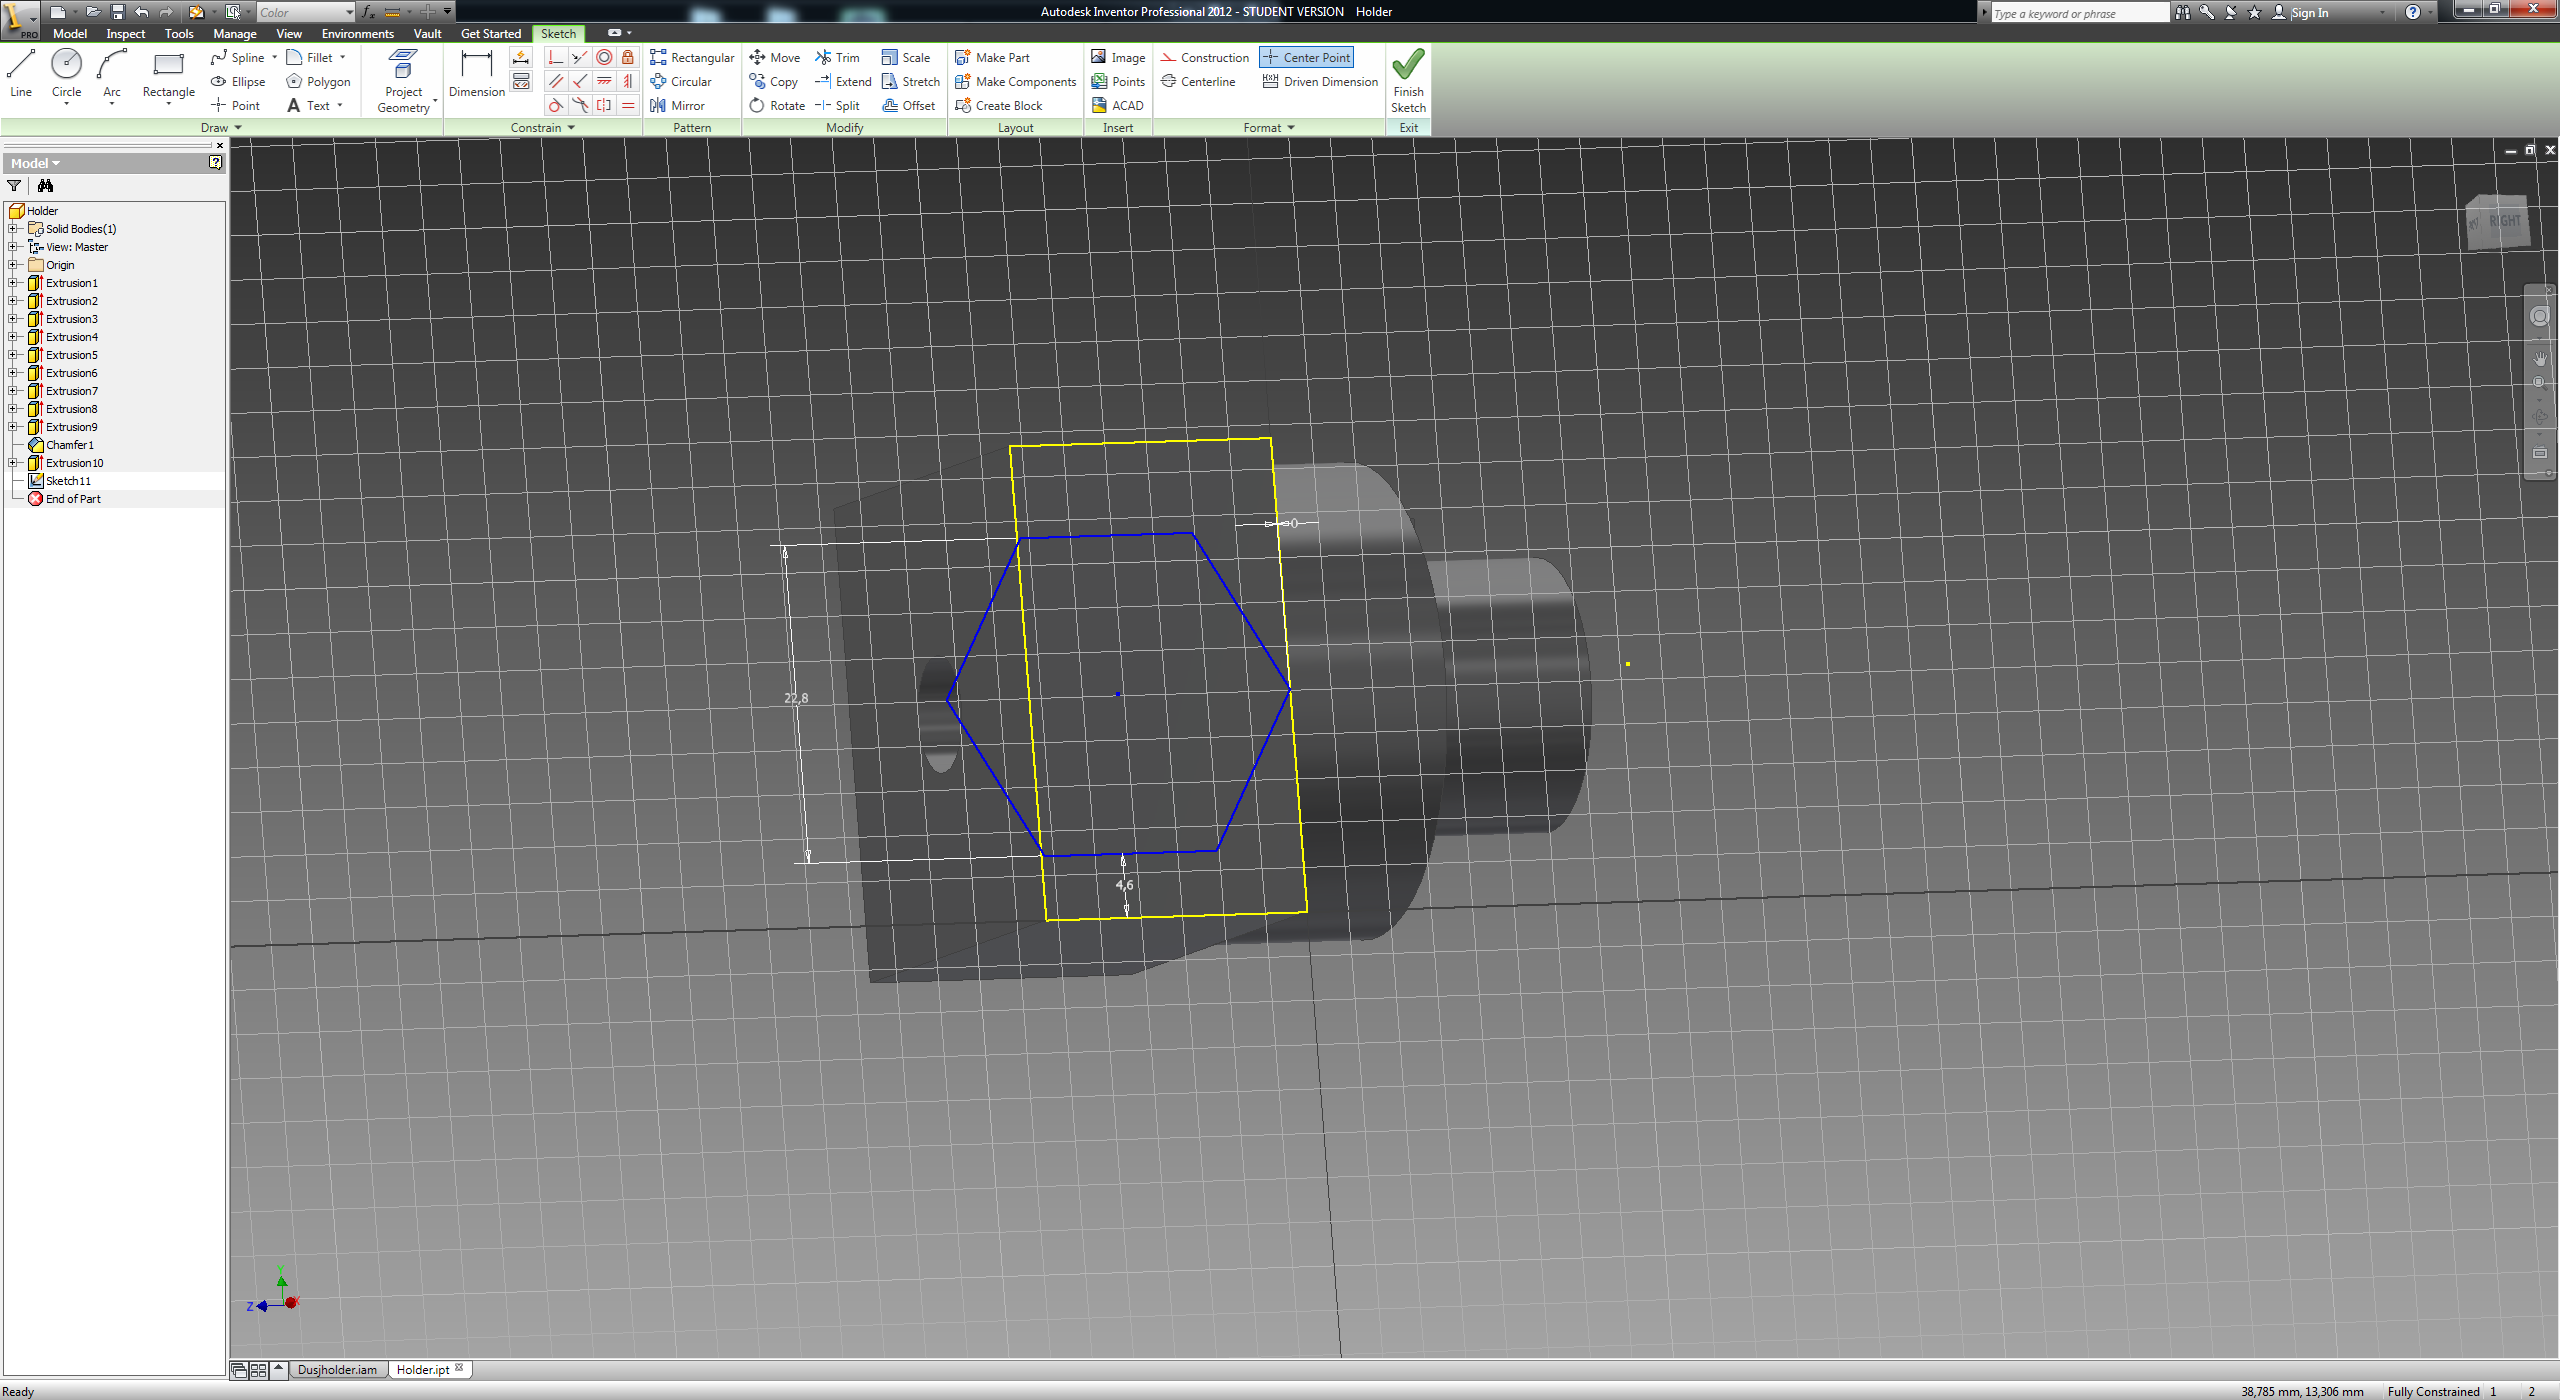
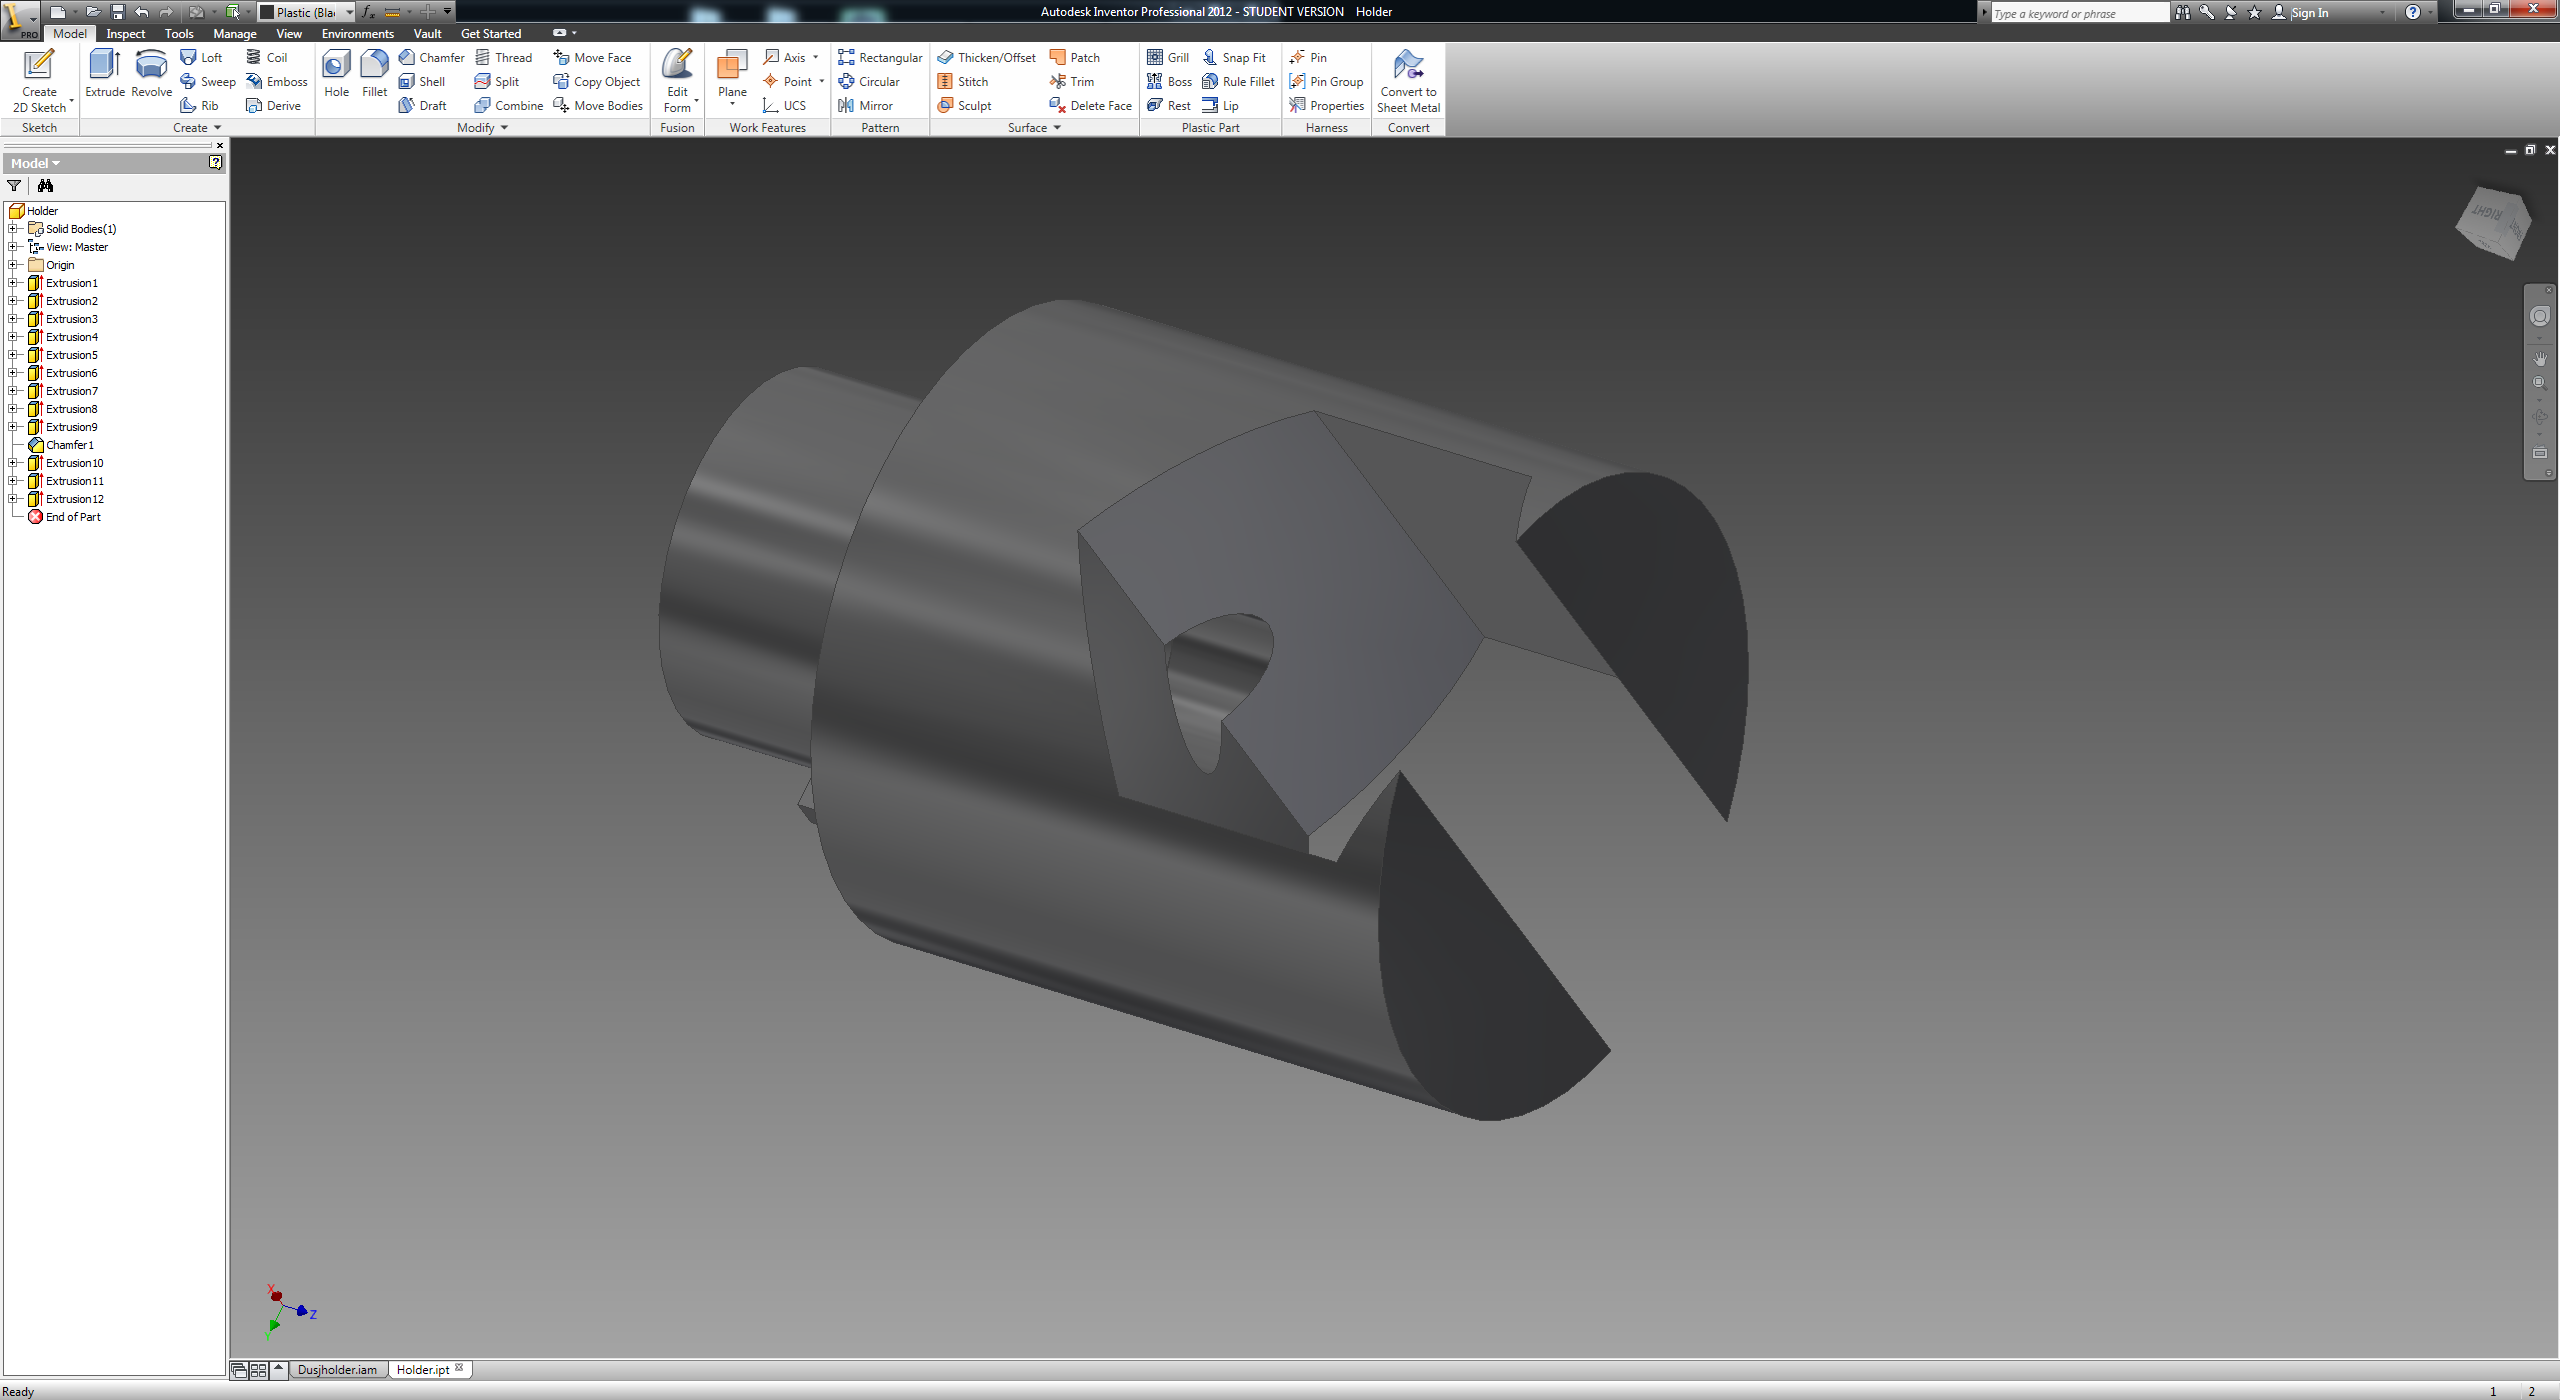
This first model was designed with zero clearance, and with these goals in mind:
- To find out what clearance is necessary to use so the part fits the rest of the structure.
- To find the weakest structural point. (Simulation could work, but naaah, not so fun:P).
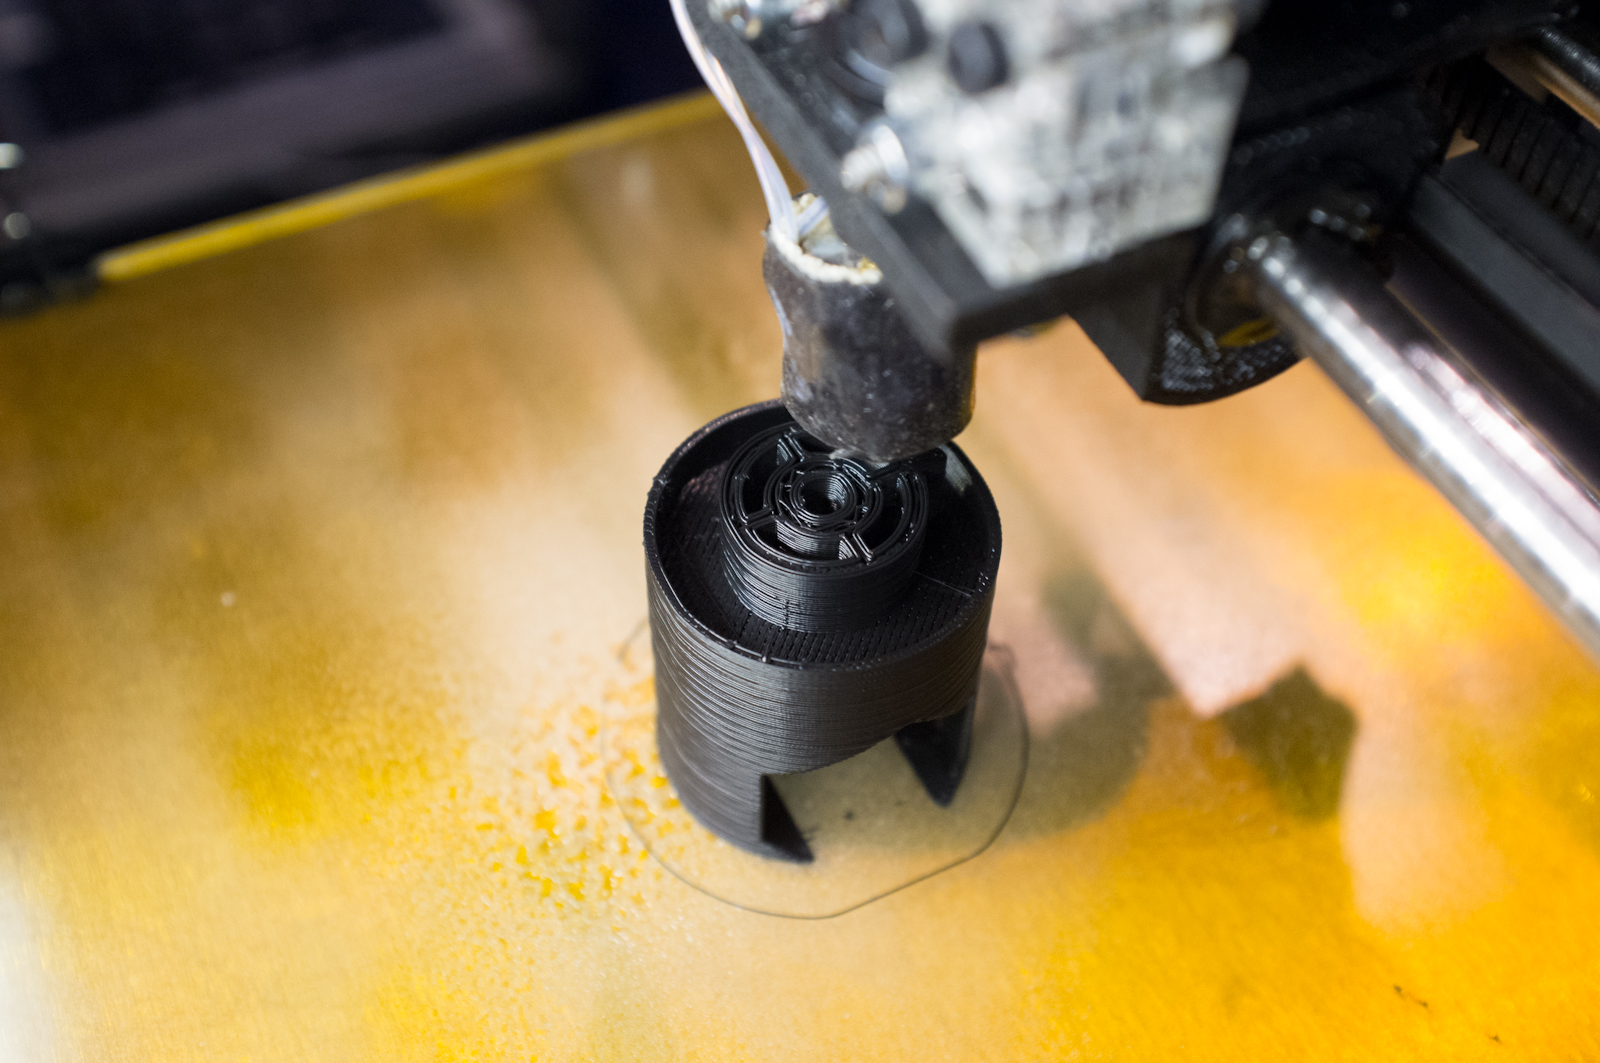
Printing and testing the draft
The first draft was printed with an infill of 20%.
Then it was time to do some structural tests:)
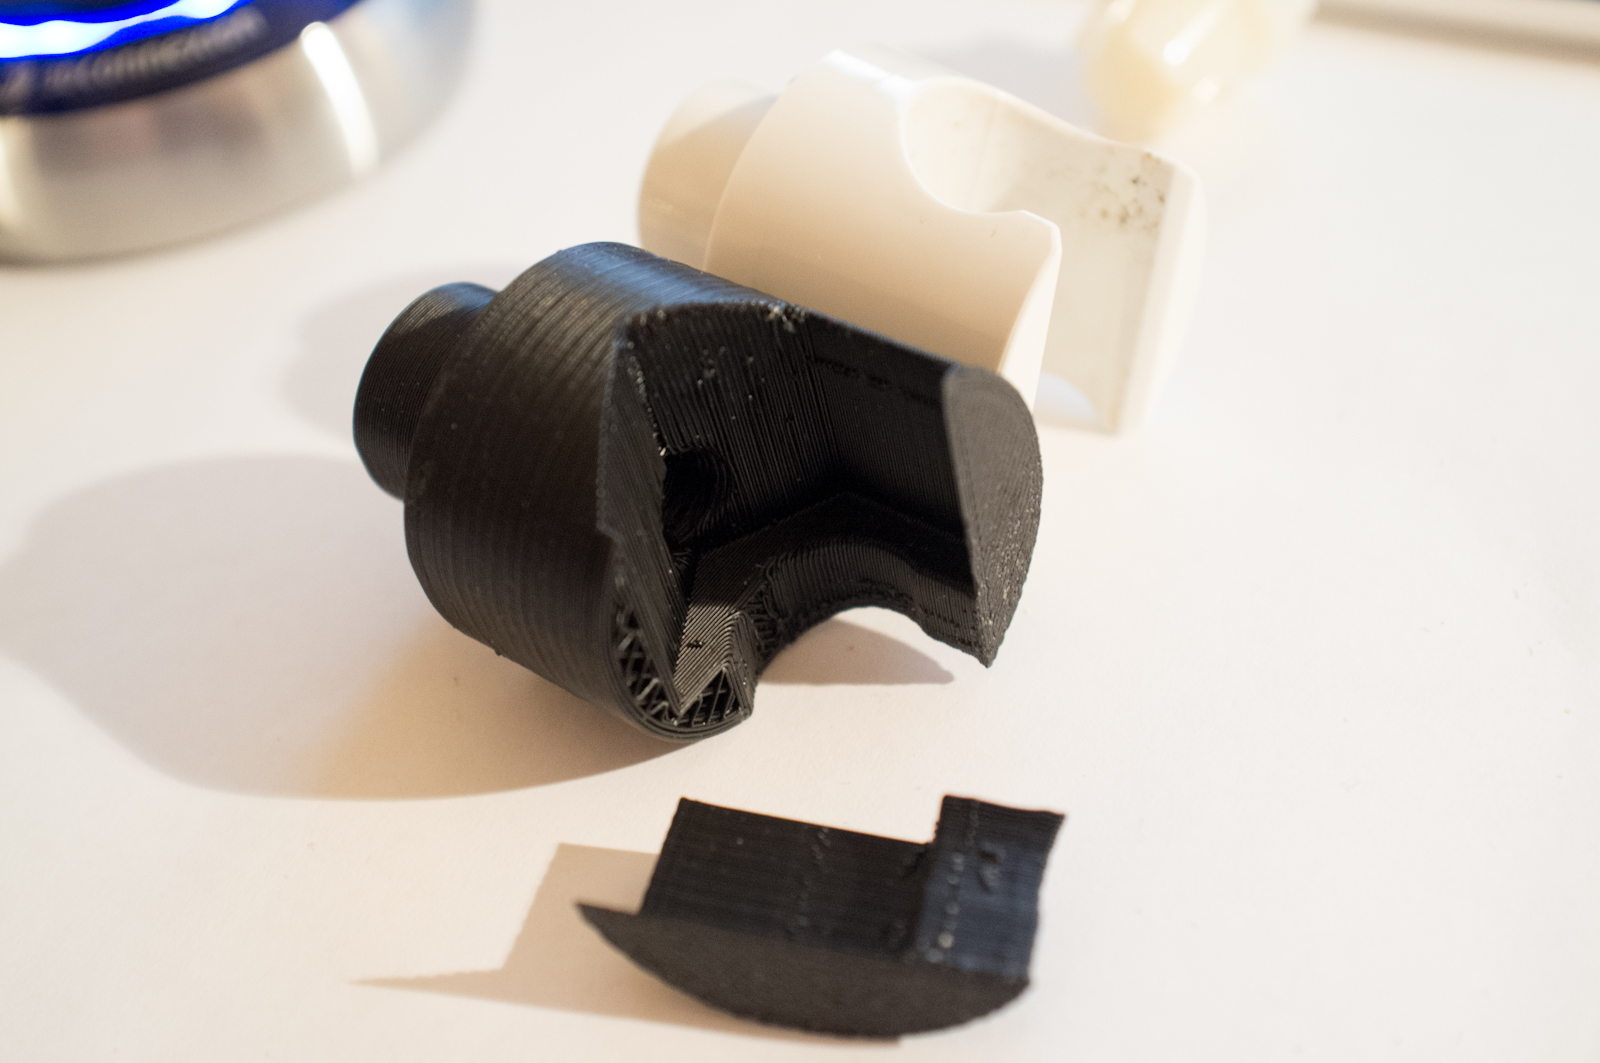
With only 20% infill, the structure is not that solid, so it was easy to find the weakest point. I did also identify were I needed to adjust the model regarding the clearance.
Modifying, printing and assembling the final part
Time to modify the draft! Instead of adding fancy support structures, I just made things thicker. Engineering at its finest!
First, I printed this with only 20% infill, because it’s faster.. It did fit, so the part was printed again, this time with 100% infill (it took 2,5 hours).

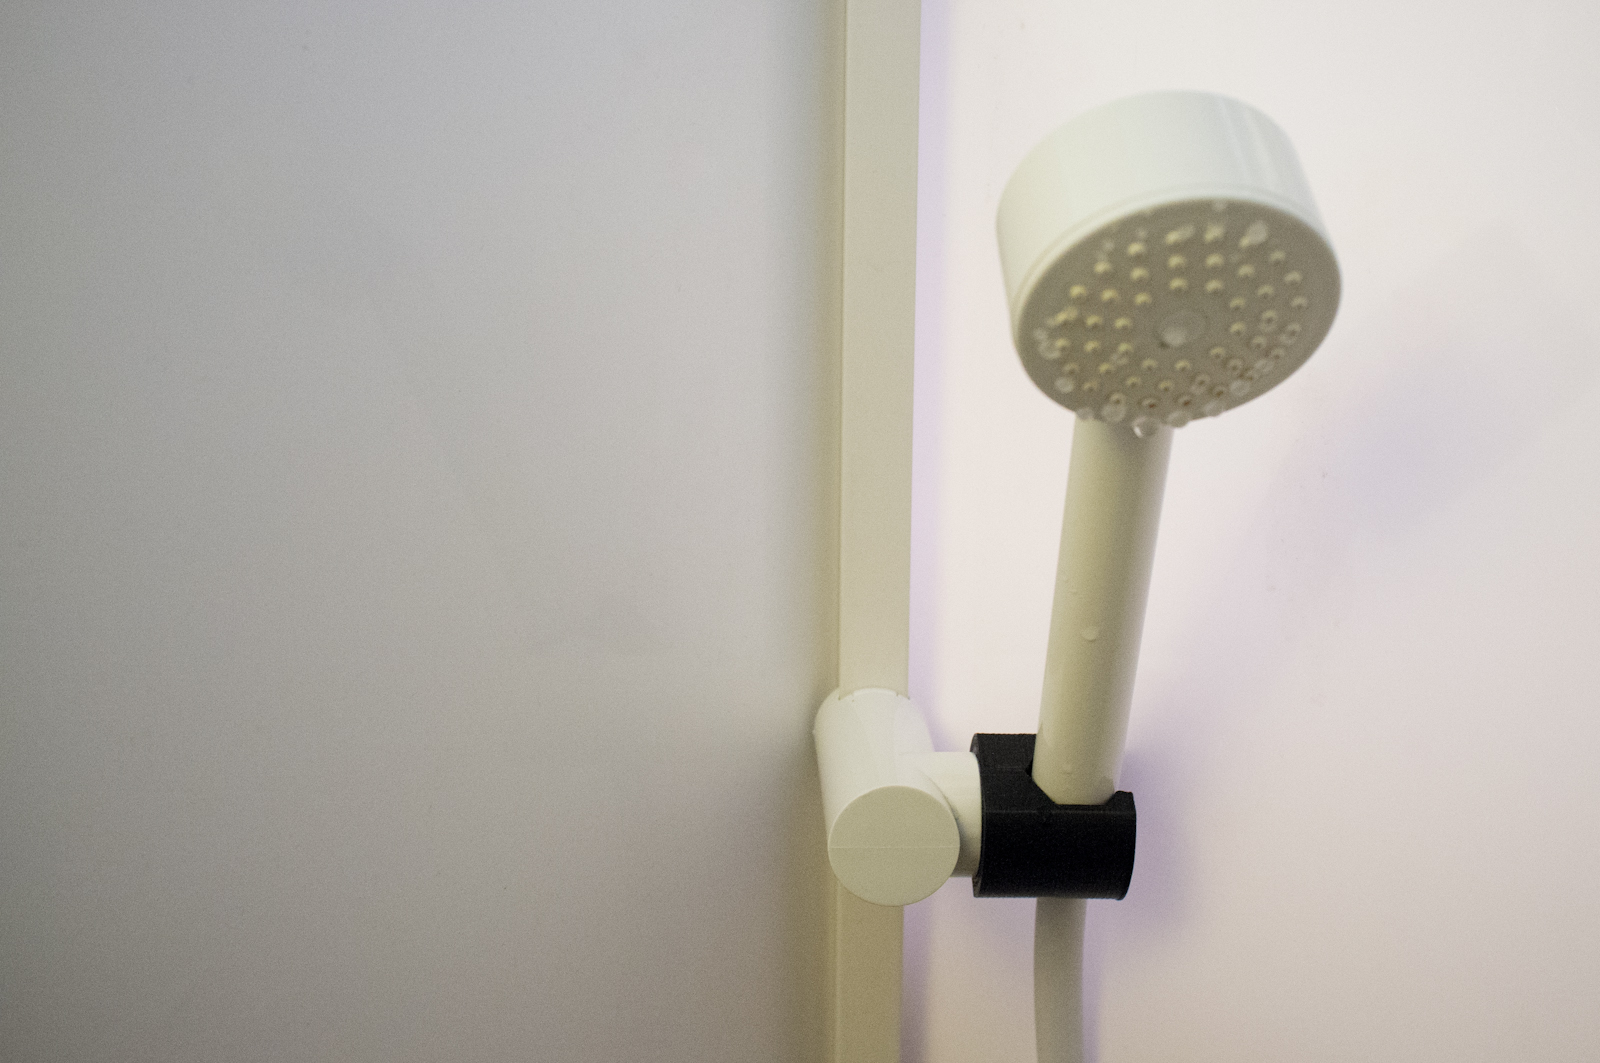
I am now a happy owner of a custom made shower handle holder. Yay!


