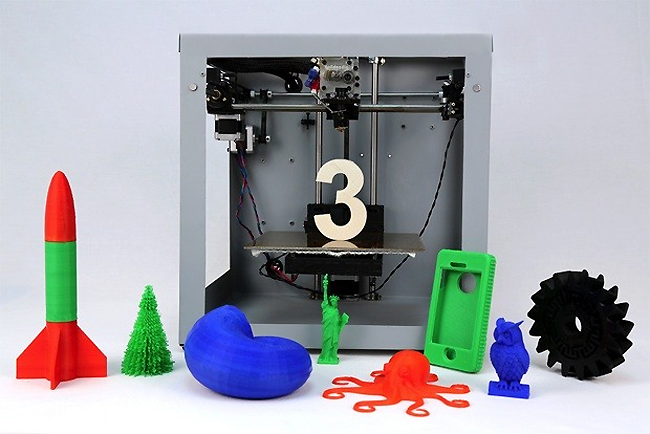
After a long time waiting we finally received a Solidoodle 3 3D printer for a couple of months ago. After countless hours research on the web we knew a lot about its capabilities and limits, so we felt ready for the adventures into calibrating, tuning, fixing and (hopefully) printing amazing part with the SD3.
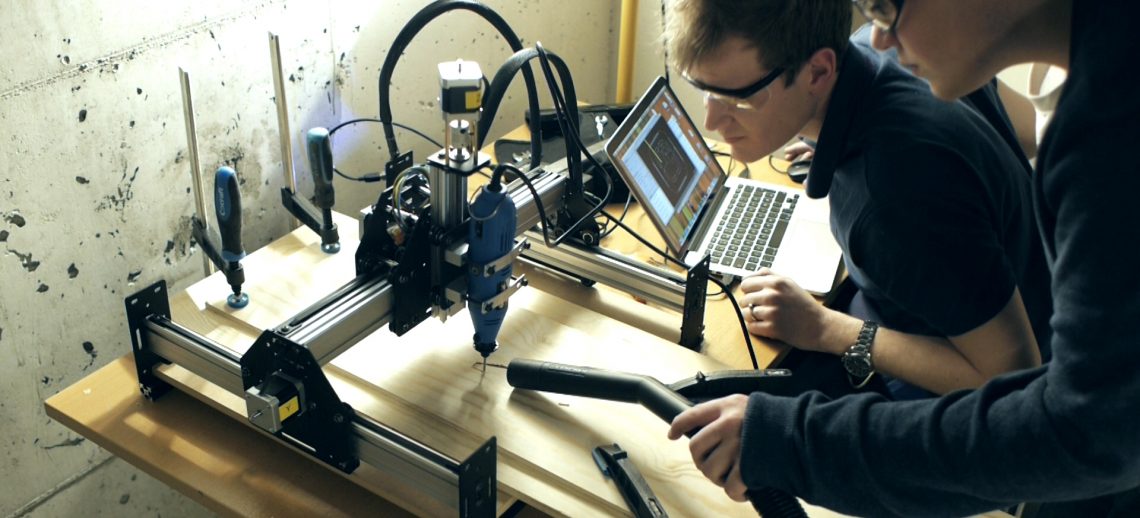
We will use this printer to create different kinds of useful parts to our creations; sliders to the next laser engraver, a camera gimbal and dolly, a new drawing machine pen holder and so on and so forth..
This post will just be a short summary of our first impression, and we will get around to post some more in depth printing experiences later.
- Do not expect it to be ready to print when it arrives. Sure, they test it in the factory, but the shipping ruin the small amount of calibration needed to do that. And maybe they loosen some of the calibration screws prior to shipping to protect the unit? Useful resources for calibration can be found here:http://wiki.solidoodle.com/solidoodle-1
- First we had some troubles making prints stick to the bed. But we only needed to lower the Z enough… Great guide by Ian Johnson:http://www.soliforum.com/topic/1889/the-plastic-wont-stick-it-just-drags-around/
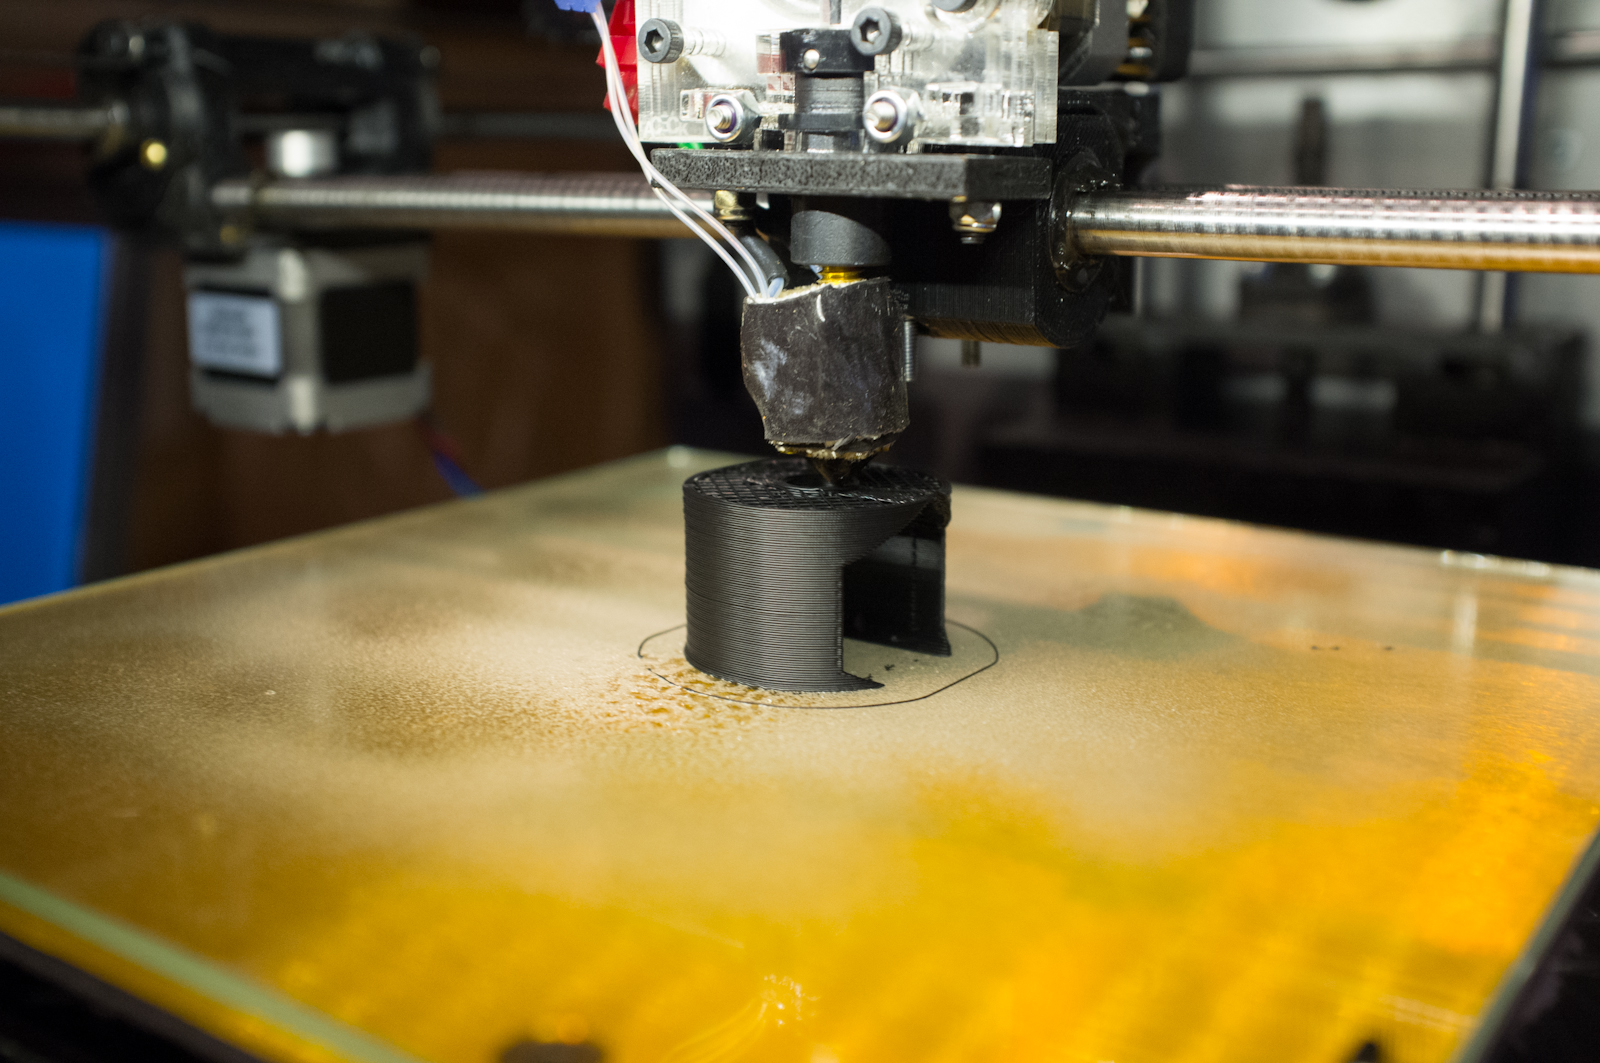
- Our plan was to attach a glass bed, but to do that we had to print out a couple of parts:
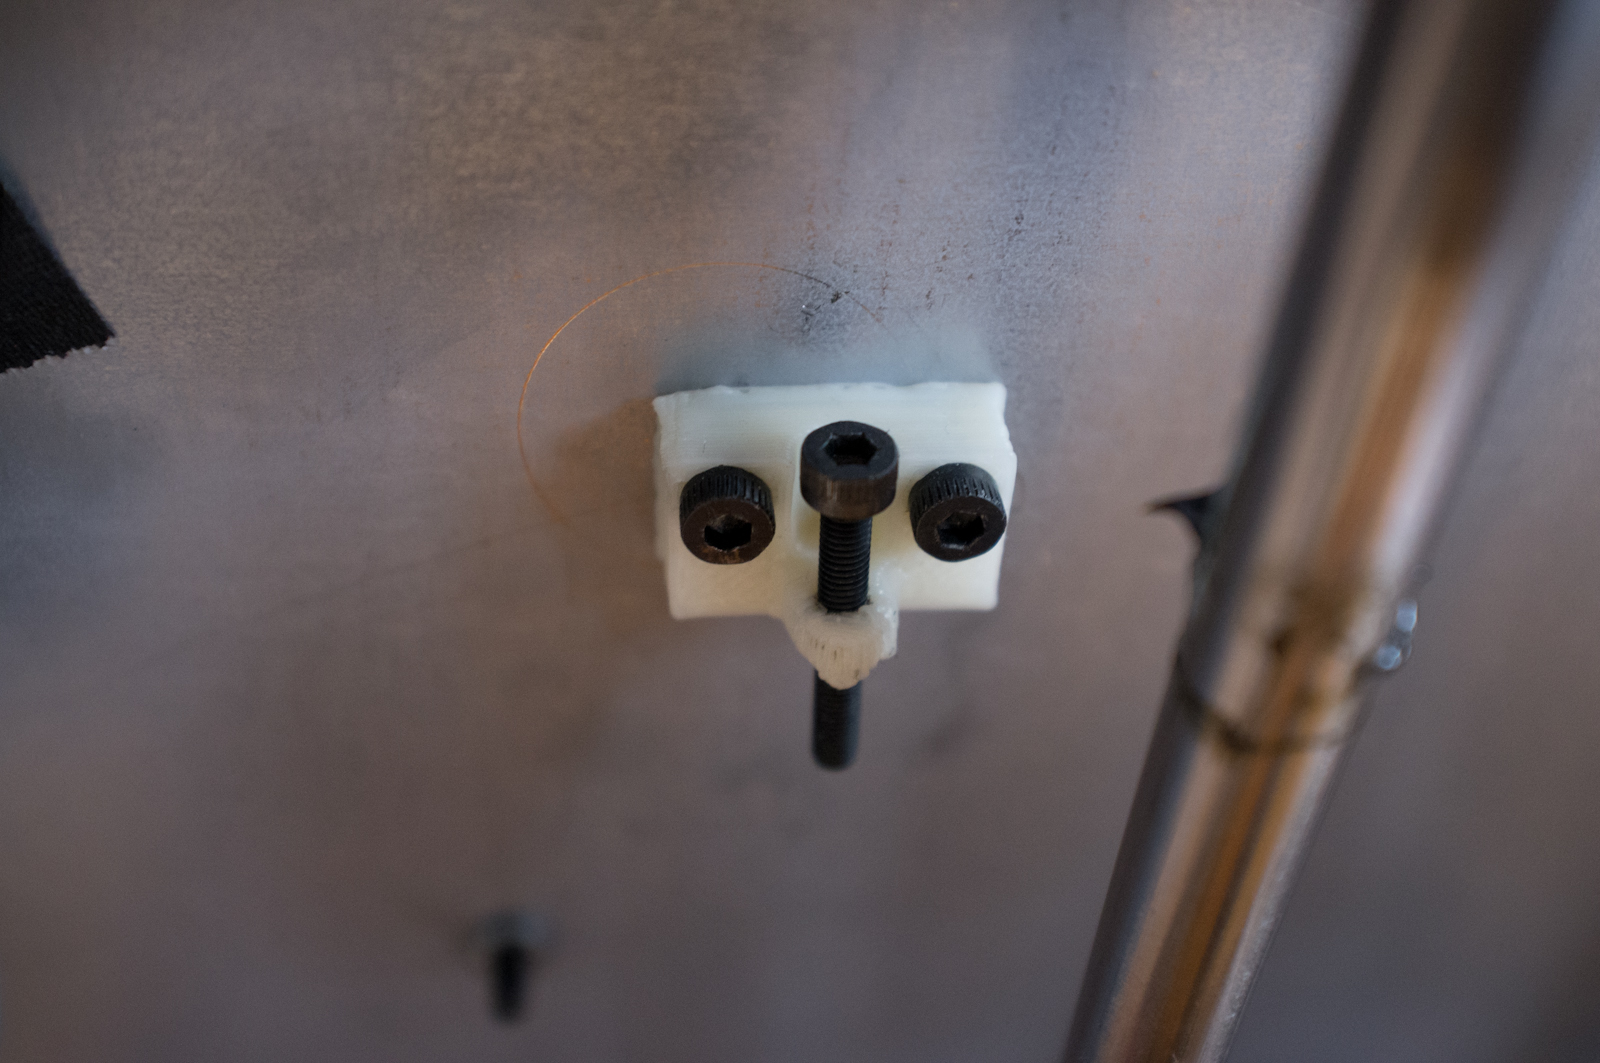
- A lowered Z-screw holder to compensate for the glass plate thickness:http://www.thingiverse.com/thing:40701
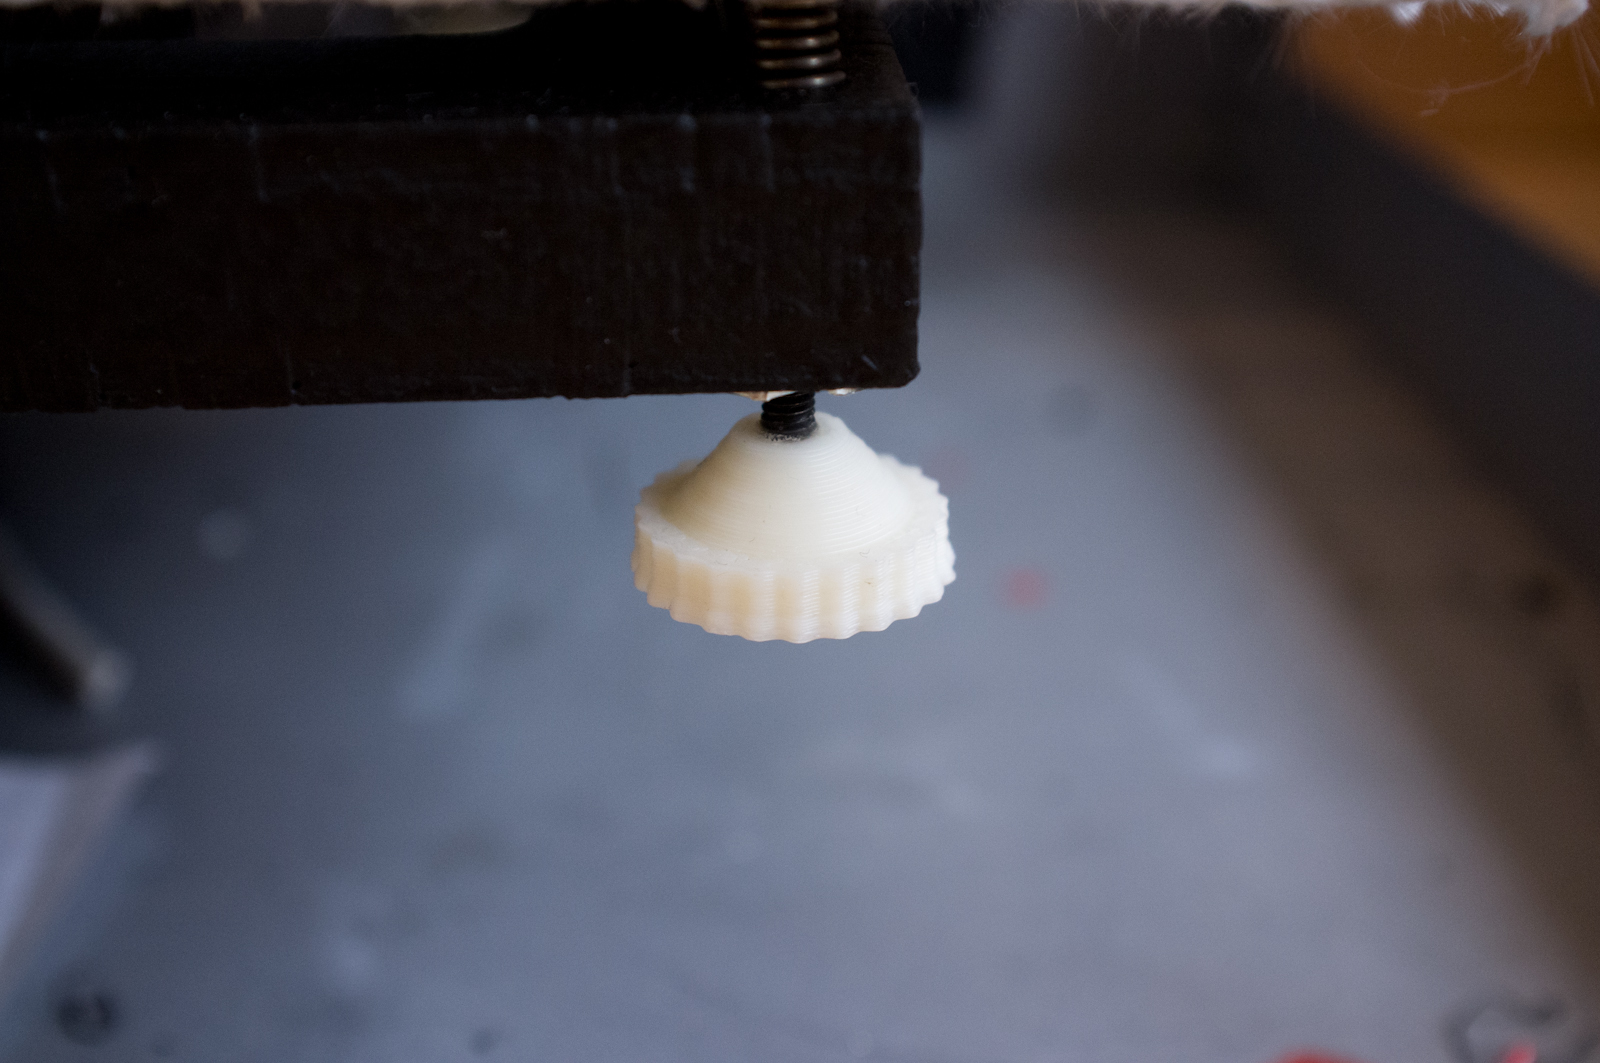
- 3 thumb screw to make it possible to adjust the bed level from beneath:http://www.thingiverse.com/thing:38064
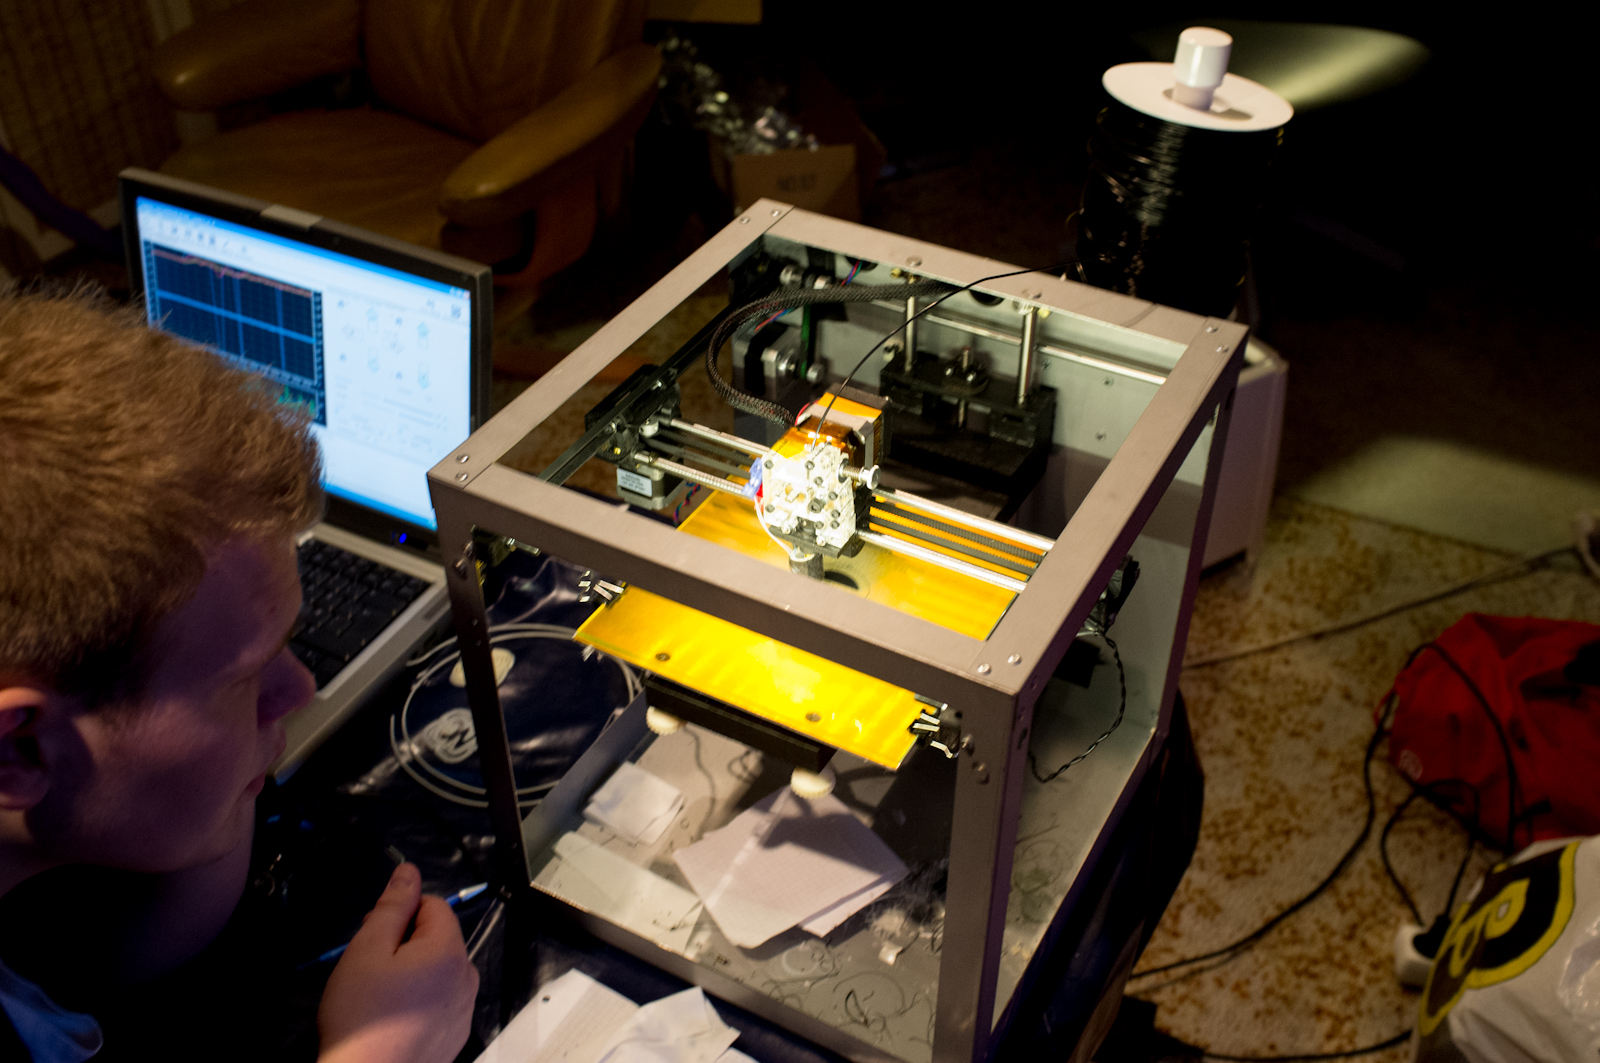
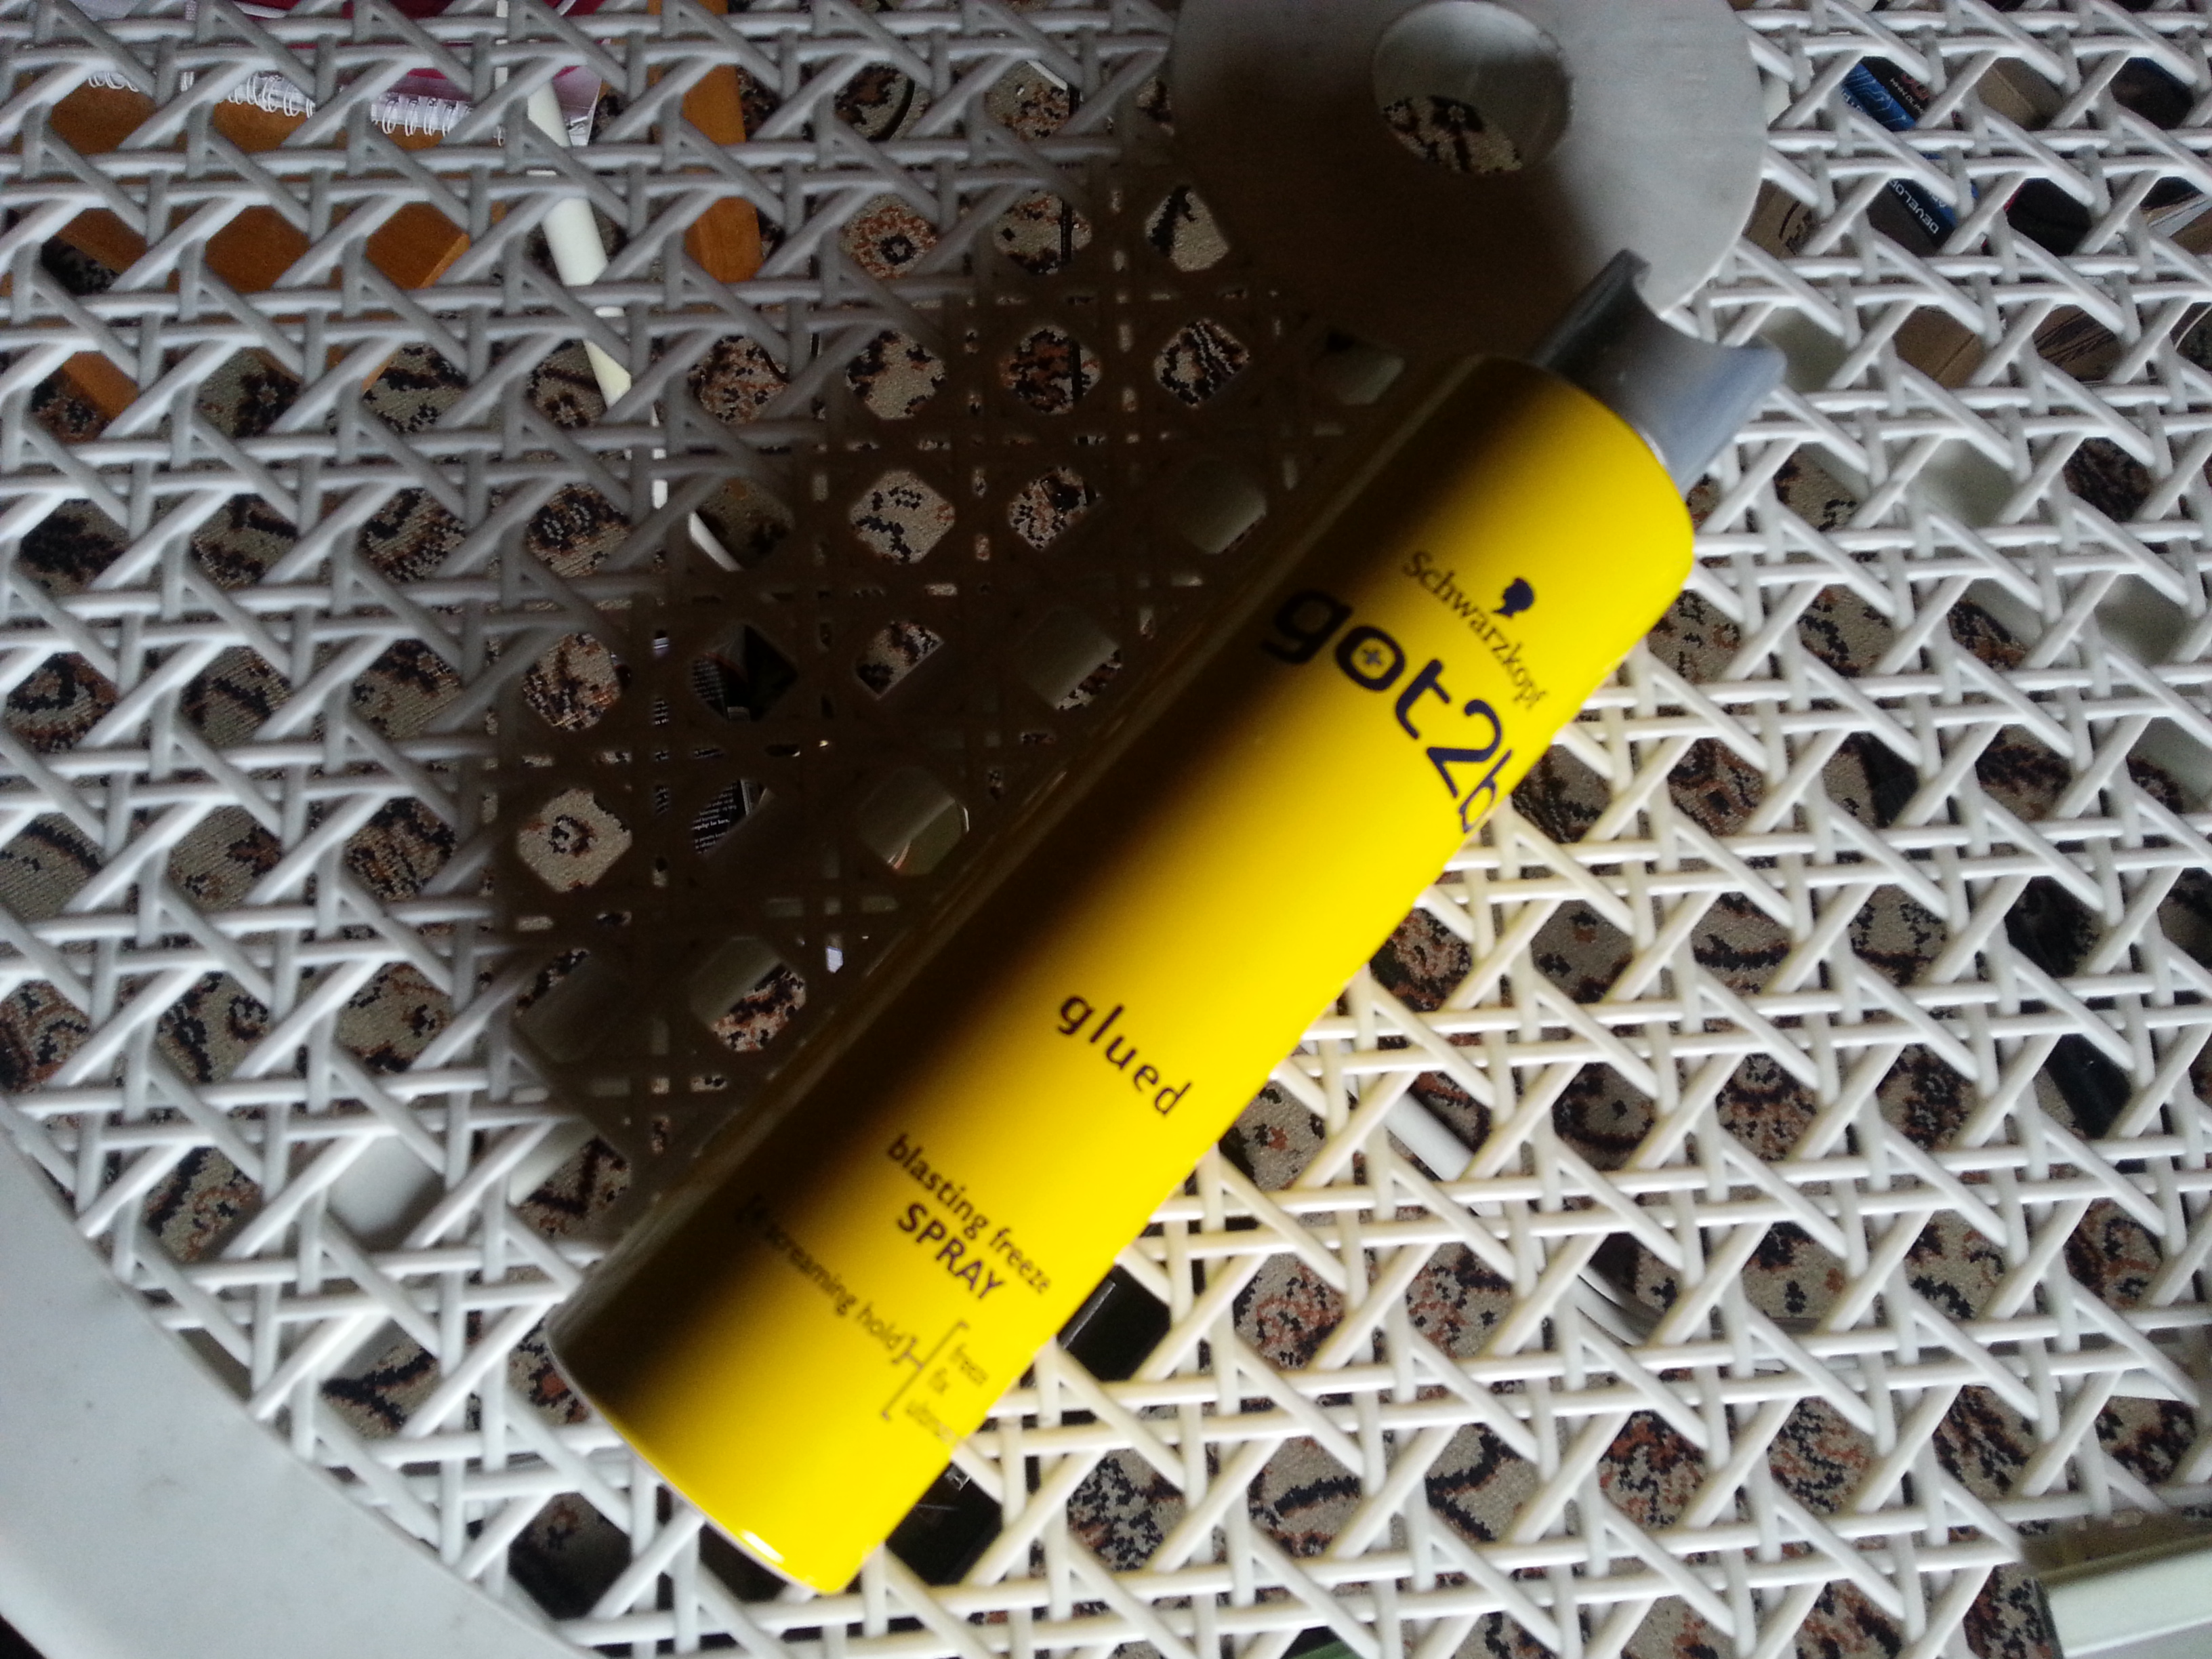
- We use 3mm standard glass plate (8″x8″) and the cheapest hairspray they had at the store. And binder clips to attach the plate to the bed.
- With the glass bed attached everything regarding bed leveling and Z-calibration was much easier. And the “stickiness” with hair spray was superb (95°C bed). We have only leveled the bed with the “paper method” so far, but we will soon try with a digital dial indicator =)
- Tools and consumables: Yes you need several to enhance your printing experience: hex drives, pliers, caliper, acetone, tweezers.. I think we will write a short post regarding tools for 3D printing with a low end FDM printer such as this in the near feature.
Overall it’s a great printer for the price! It’s sturdy and easy to maintain. Because it’s so well built, print repeatability and quality seems to be better than e.g Printrbot.
Solidoodle is not open source. So making spare parts yourself is not that straight forward.. But a great community exists at http://www.soliforum.com/, containing many pages with useful resources:)
So far we have no experience with the official Solidoodle support ourself, so we cannot say anything against people talking about slow/bad support.