Here at NC we try to always have some fun internal projects going on to keep our creativity sharpened and to test out new ideas. This is one of those projects.
We’re planning on building a remotely controlled vehicle which want to play around with. We also want to use it as a platform for sensor testing and automation. With a vehicle like this up and running the possibilites are endless.
In this blog post we’re going to go through our plans with this projects and present the current design and components we’re planning to use.
General Design
Wheels and Steering
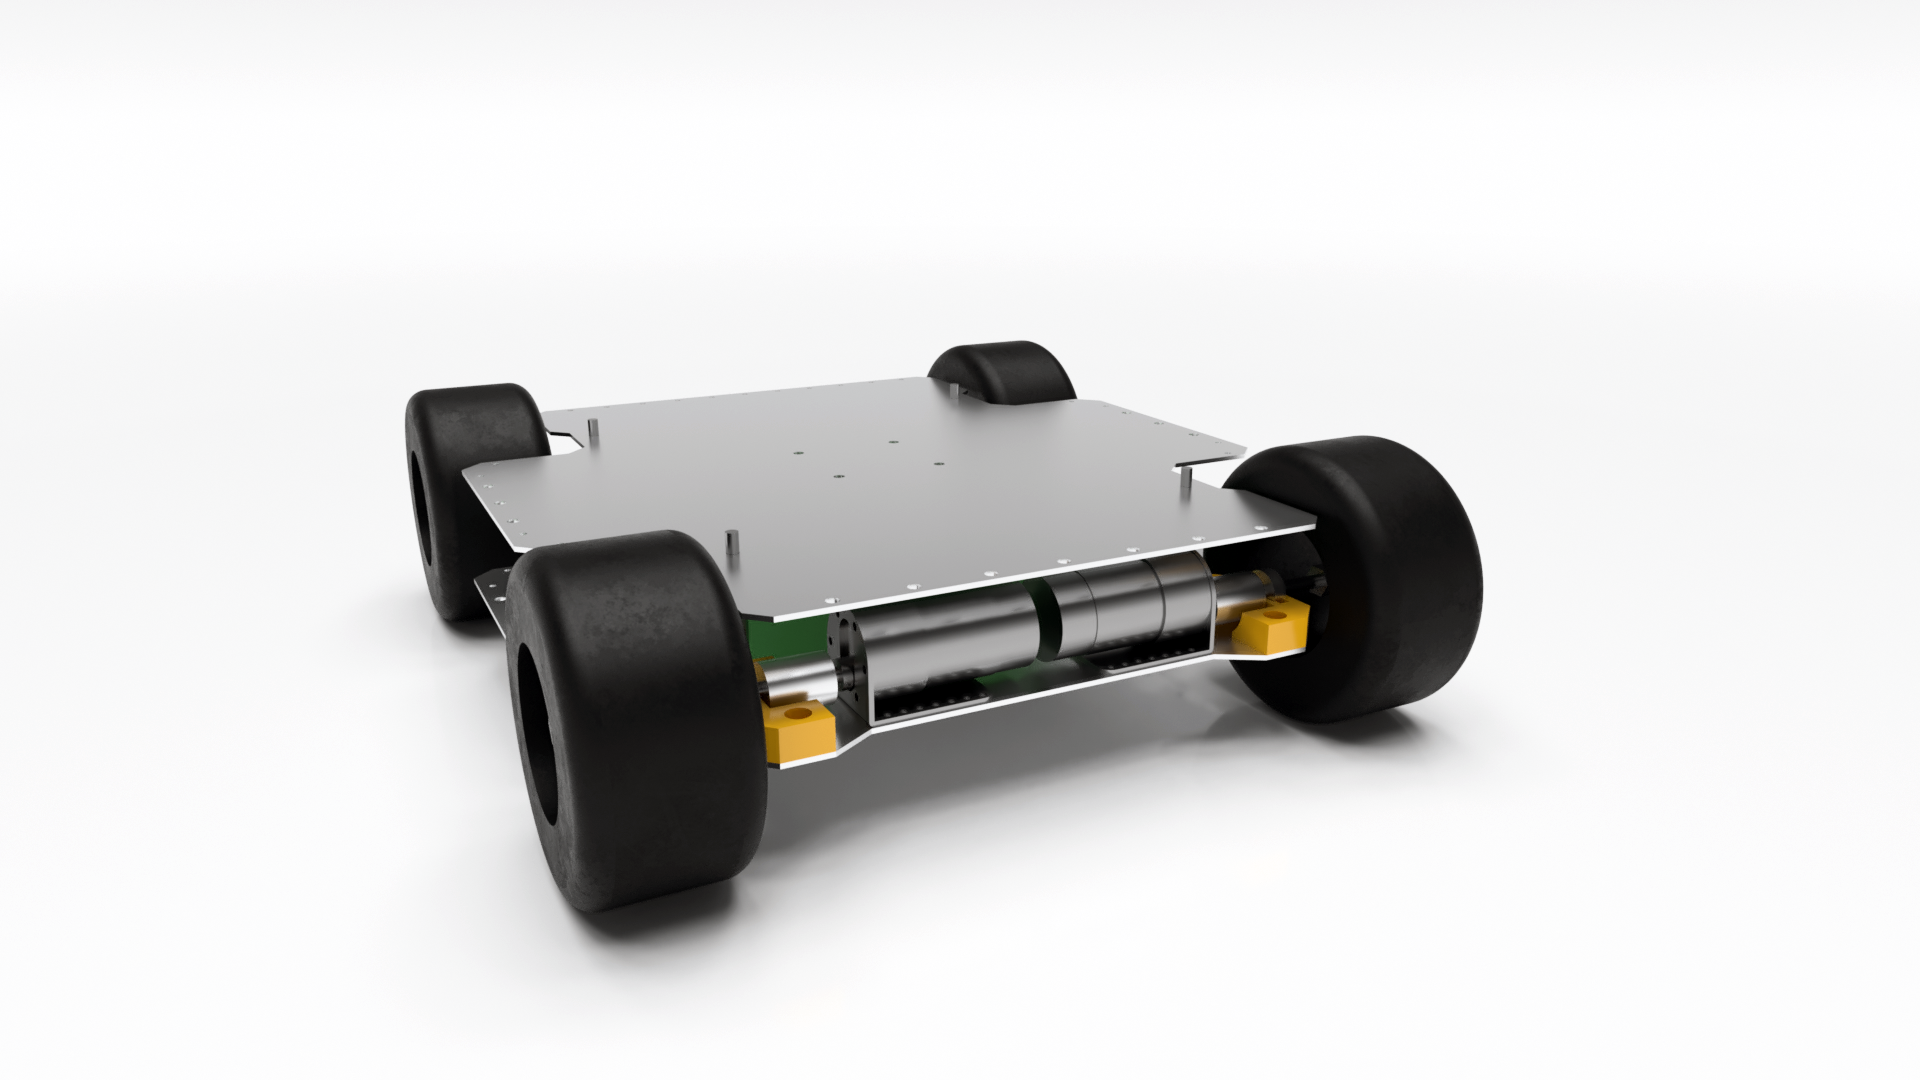
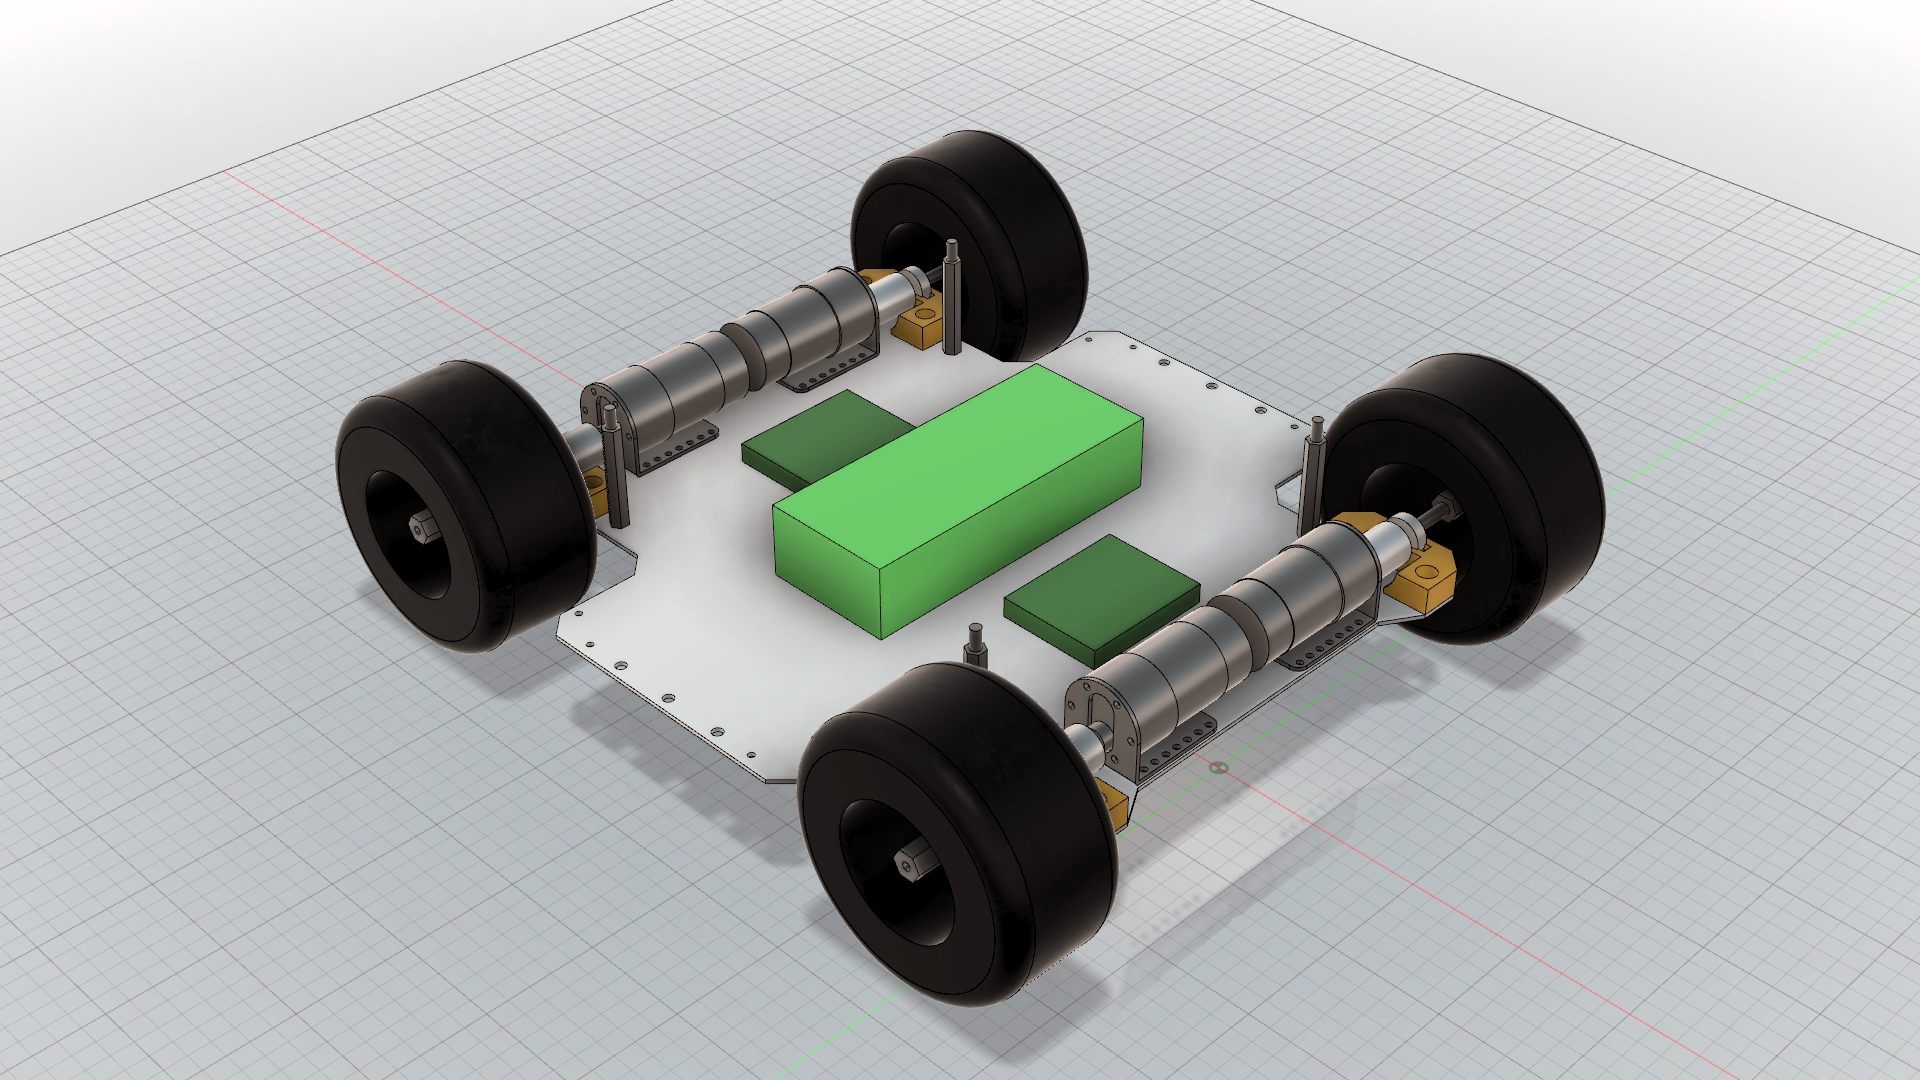
There are many different ways to design a land-based vehicle. You can have front wheel steering and rear wheel drive like a normal car. Or you can for instance have two normal wheels and one single omni-directional wheel. Or maybe a tank principle with belts instead of wheels? What we ended up with is similar to the tank principle, only with wheels and 4 wheel drive. This method is both simple and robust and the vehicle can turn around its own axis. The downside is that the wheels must spin/slide for it to turn, but we assume this won’t be a problem.
Structure
At first we thought of creating a frame consisting of aluminium extrusions and some sort of plating on the outside. But we wanted to keep things simpler, so we landed on a sandwich solution with two aluminium plates with 50 mm spacers between them. To “pop the hood” we just have to loosen four wing nuts. The plates will have lots of holes along the edges and some in the center where we can fasten different brackets and peripherals.
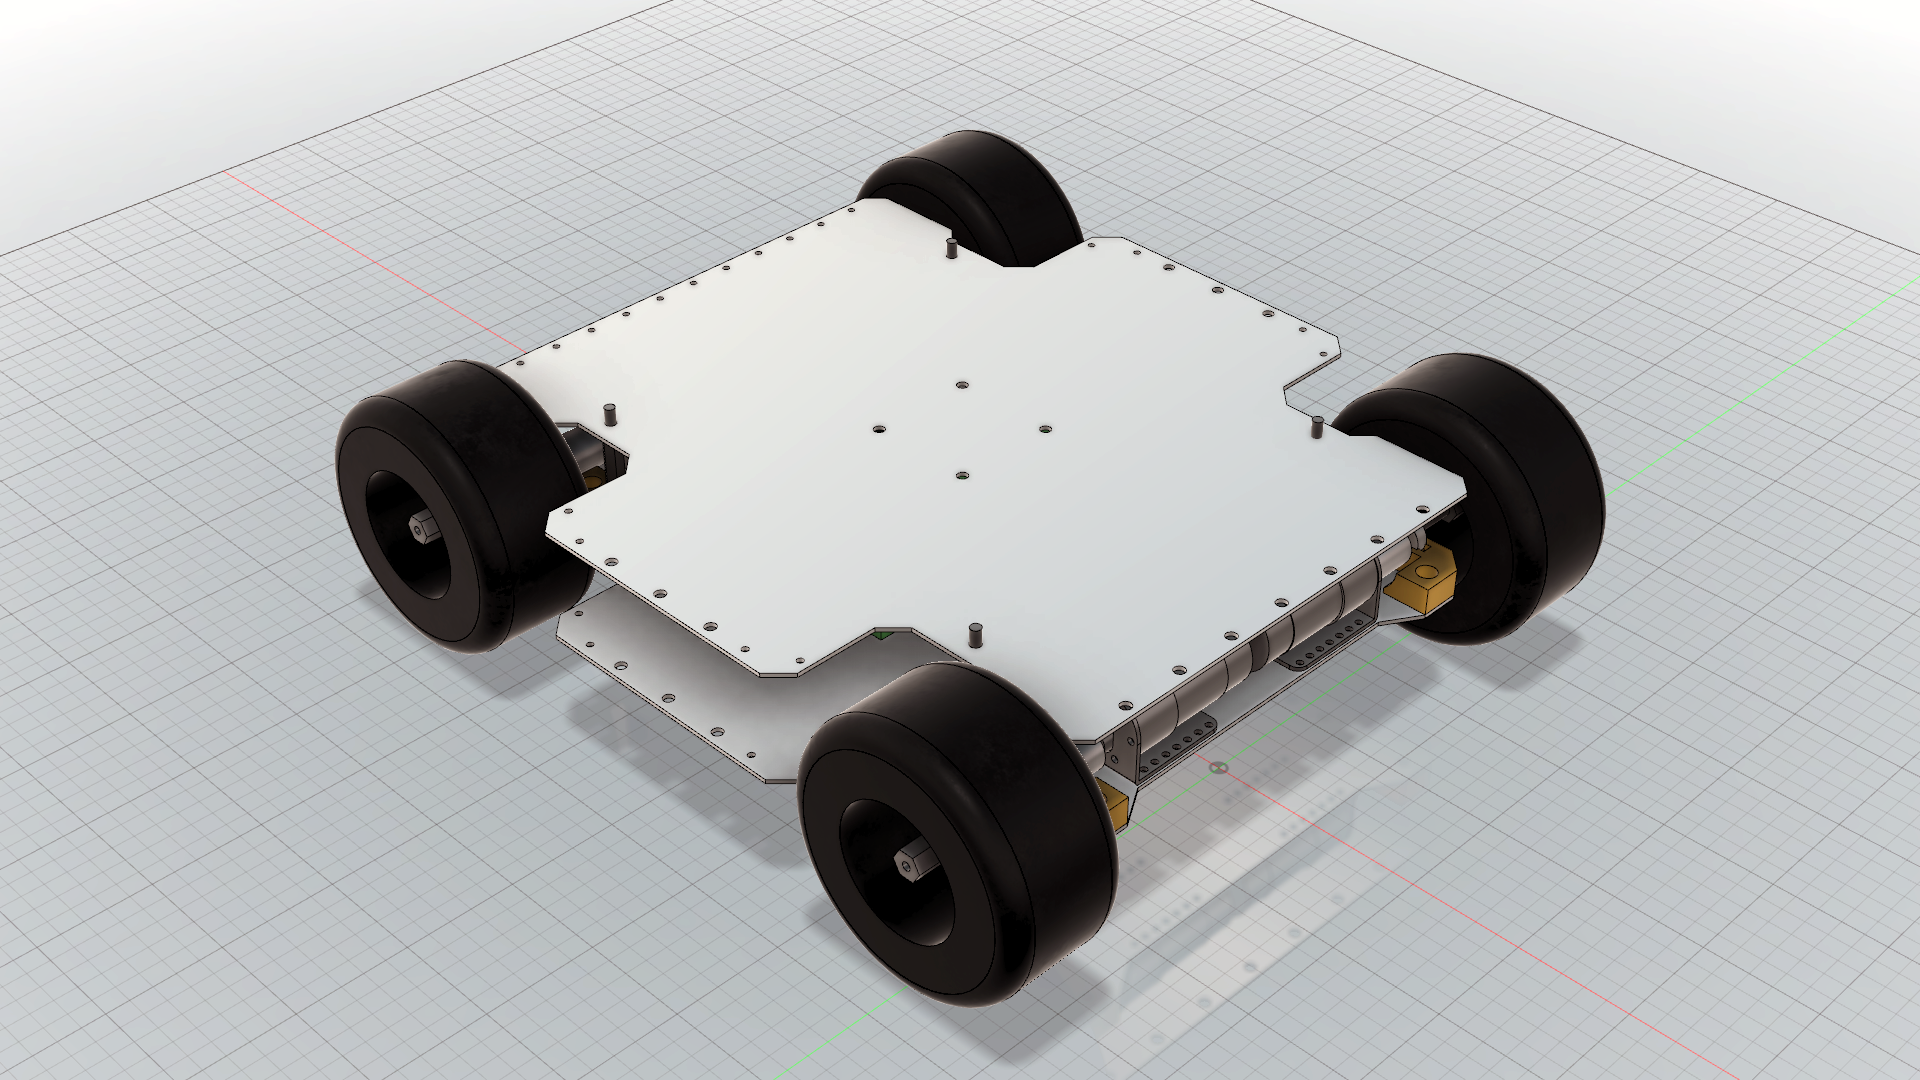
The aluminium plates will be laser cut. The thickness is still to be decided. The design of these is also work in progress since we need to receive some parts first to make sure everything fits.
Components
Power
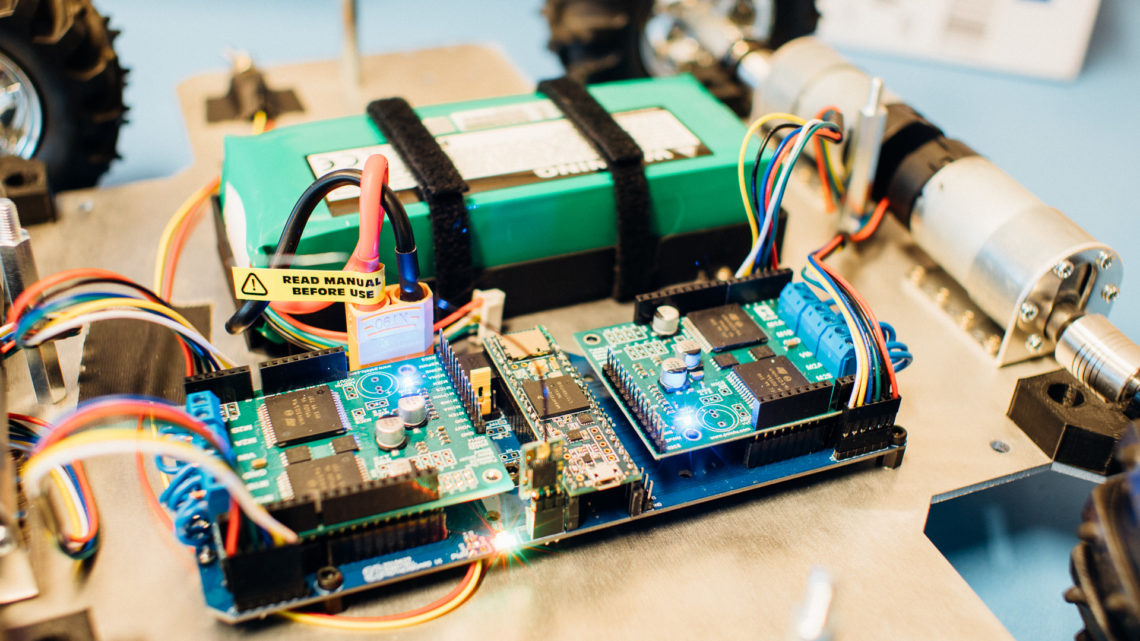
We want the vehicle to be electrically powered. Battery-wise we’ve gone for a 14.8 V 10 Ah LiPo pack. It fits well within the structure of the vehicle, has a lot of capacity, is rechargable and is able to deliver enough current.
Drivetrain
Initially, we looked at having two motors driving all four wheels by using belts, but it turned out being a bit too intricate and take up too much space for our liking, so we just went with 4 motors instead. This resulted in a bit wider vehicle, bit it is still within acceptable limits.

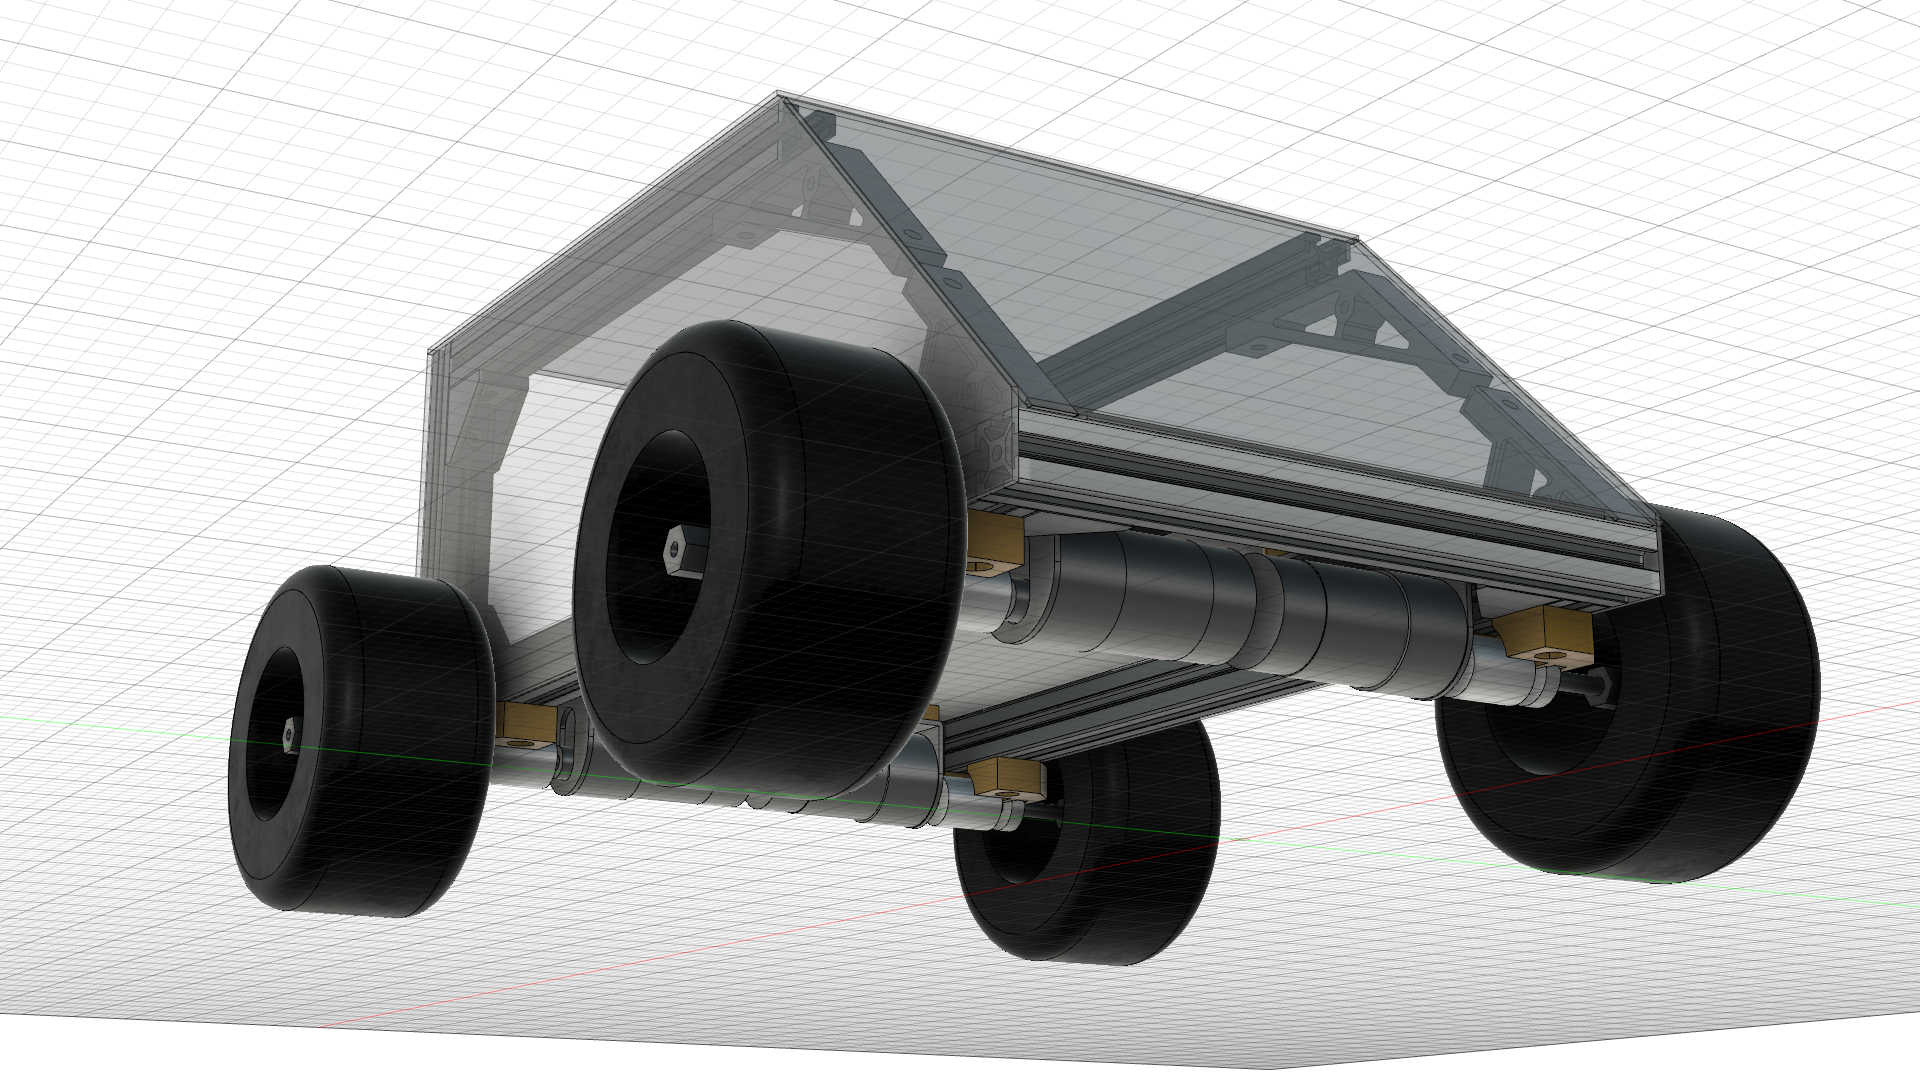
The choice fell on four 12 V DC motors with 1:30 gear ratio and encoder from Pololu. With these motors we get a top speed of just over 2 m/s and a total of 32 kg-cm torque. We’ll reduce the maximum duty cycle to the motors to protect them from the battery voltage.
Since we want to place a bearing along the drive shaft we also need to extend the shaft. This is done by using couplers and additional shafts. We will also use motor brackets, wheel adapters and wheels (we would’ve prefered the red ones, but they were out of stock 🙁 ) from Pololu. The wheels are quite large which enables the vehicle to traverse relative rough terrain. The housings for the bearings will be 3D printed.
Motor Control and Logic
The motors will be controlled by two motor controller shields well suited for the motors. We will have some sort of MCU on a dedicated board to manage all the logic. Initially this will probably be some Arduino based board, but might end up being something more custom later. We will also probably make a separate module for power distribution.
Radio
We need to remotely control the vehicle, not just rely on automation. We wanted a radio with many channels to able to control different things. We landed on FrSky’s Taranis Q X7 16 channel radio, which seems to give some bang for the buck, together with a compact FrSky XM Micro 16 channel S.Bus receiver.
The Road Forward
At the time of writing this blog post this design is still work in progress, but the major features are more or less decided.
When we’ve received the components and is starting building, we’ll revisit this blog series with several follow-up posts.