I remember when I first was trying to setup wireless connection between two Arduino’s back in 2010. I used a lot of time searching the web for a good tutorial, just to find out there wasn’t any. There may be some tutorial out there now, but with this I want to give back to the internet what it has given me almost every time I can’t figure something out; a tutorial.
Wireless communication is still one of the coolest things I know of, and it opens up for so many possibilities! I will therefore, in this tutorial, show you how to setup and communicate wirelessly between two XBee’s Series 1. I will use OSX 10.8, but you could easily adopt this method to Windows or Linux. We will make a very simple program, because this tutorial will focus on setting up the communication. What you will use the wireless link to make is up to you – be freakin’ creative!
Pre requirements
Software:
- Arduino Software
- FTDI Drivers (used to communicate with the XBee Explorer)
- CoolTerm
Hardware:
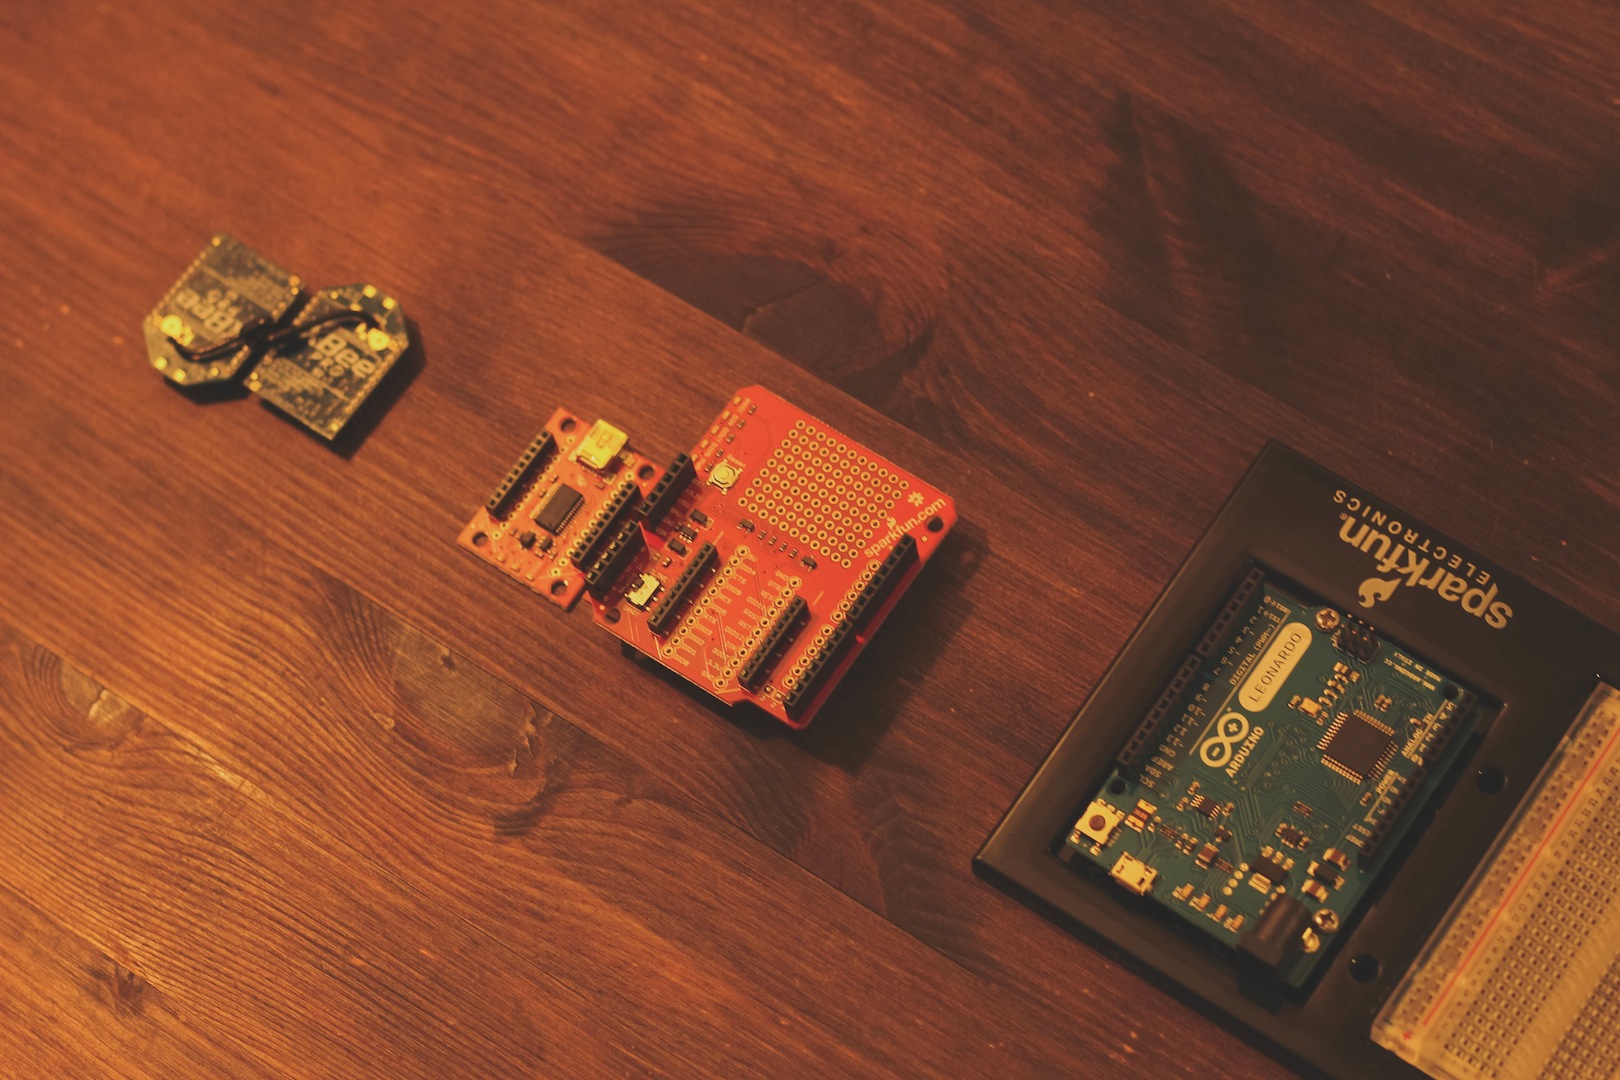
- 1x Arduino Leonardo or UNO (I’ll provide code for both)
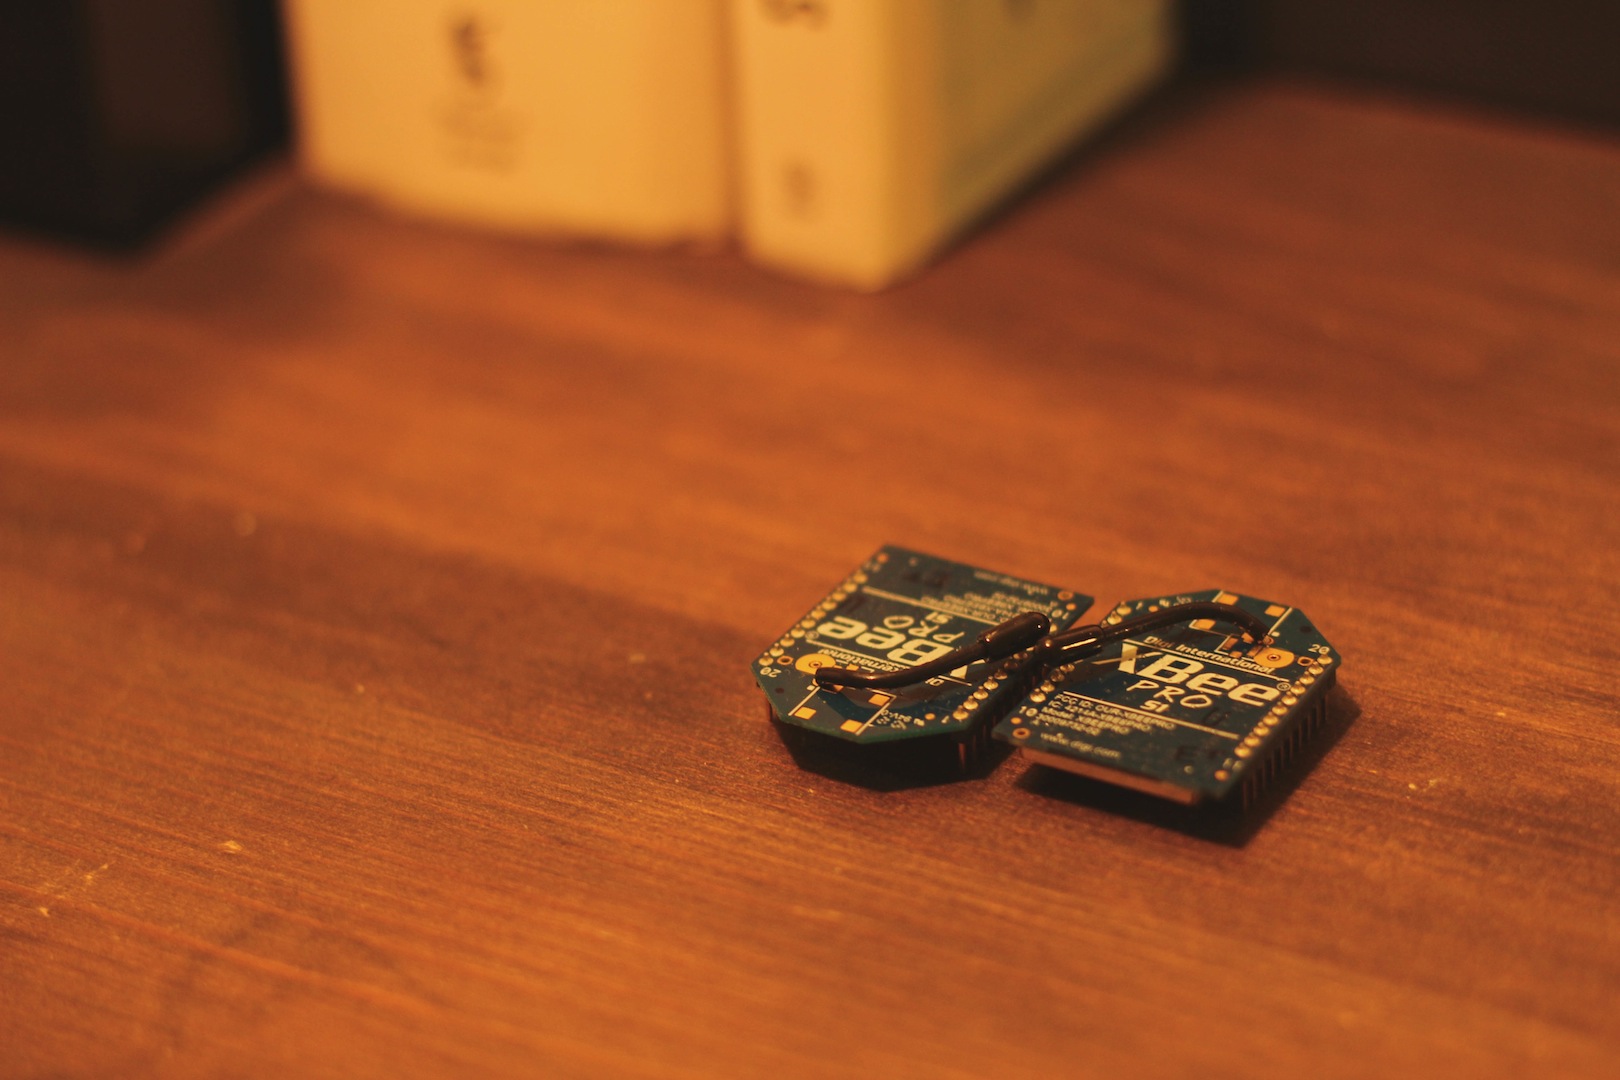
- 2x XBee Series 1
- 1x XBee Explorer
- 1x XBee Shield
- (1x 9V to Barrel Jack Adapter) optional
- (1x 9V Battery) optional
(Yes, I am a Sparkfun whore, but hey – they have a good community, good customer service and short delivery time. The downside is that they are more expensive than for example Digi-Key. On the other hand, Sparkfun is a great place for beginners and prototypers (as myself).)
Step 1: Program the XBee’s
The first thing we need to do is to setup the XBee’s so they talk to each other. There are different ways to do this, but I found the easiest way is to use CoolTerm.
- Place one of your XBee’s in the Explorer board, and connect it to your computer with a USB cable
- Open CoolTerm and (1) press the “Option” button. Under “Serial Port Option” (2) press the “Port”-dropdown menu and choose your Explorer. The name is something like usbserial-AD025ES5. If you can’t see it there, press the “Re-Scan Serial Ports”-button. (Still can’t see it?: Are you sure you have installed the FTDI drivers?)
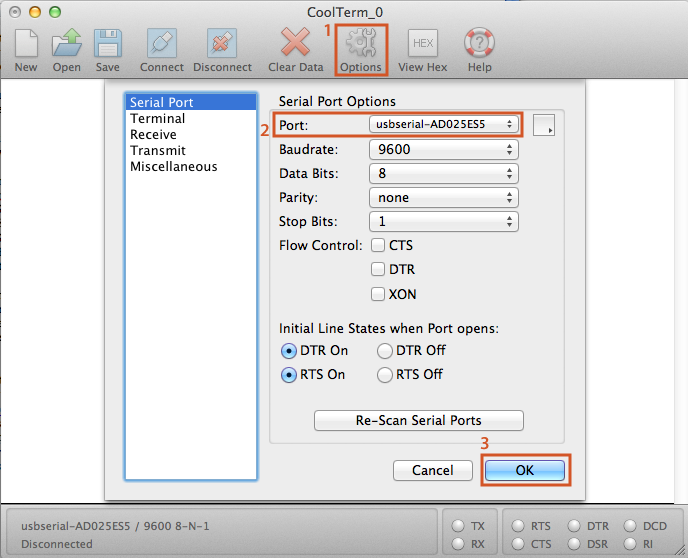
- Hit the (3) “Ok”-button and get ready for some quality time with the XBee.
- There are the four commands you need, to setup the XBee’s:
- ATMY: The XBee address. This needs to be different on the two XBee’s.
- ATDL: The destination address (the other XBee’s ATMY address).
- ATID: The PAN ID – this is the network the XBee’s will communicate in. This needs to be the same on both XBee’s.
- ATWR: Save the changes to the XBee.
- We are going to setup the XBee’s like this:
ATMY ATDL ATID XBee 1 1234 5678 2244 XBee 2 5678 1234 2244 - Hit the “Connect”-button and write +++. Don’t press enter, just wait a second and you will see ‘OK’. (The ‘OK’ means that the XBee is ready to receive commands. If you don’t type in a command within 10 seconds, the state will change and you have to write +++ again.)
- Write ATMY1234 and hit enter
- Write ATDL5678 and hit enter
- Write ATID2244 and hit enter
- Write ATWR and hit enter
- Hit the “Disconnect”-button
- Repeat the steps 5 to 10 for the second XBee (the only difference on the second XBee is: write ATMY5678 and ATDL1234 (In other words, the opposite of XBee 1))
- Close CoolTerm and remove the XBee Explorer from the USB port
- That’s it boy! Your XBee’s is ready.
Step 2: Program the Arduino
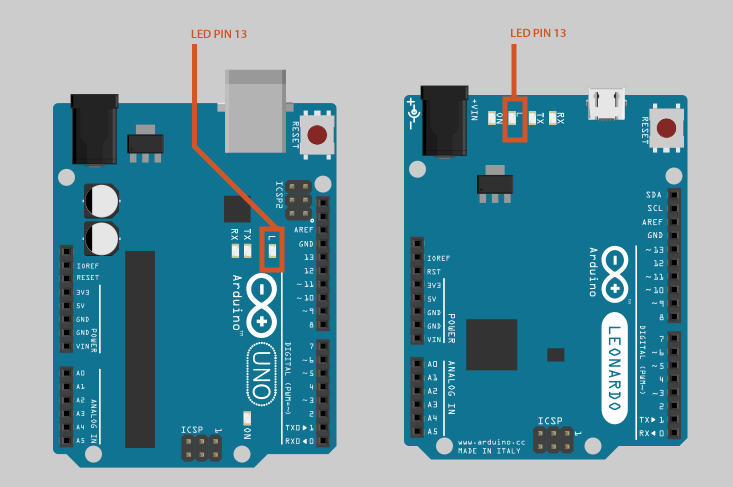
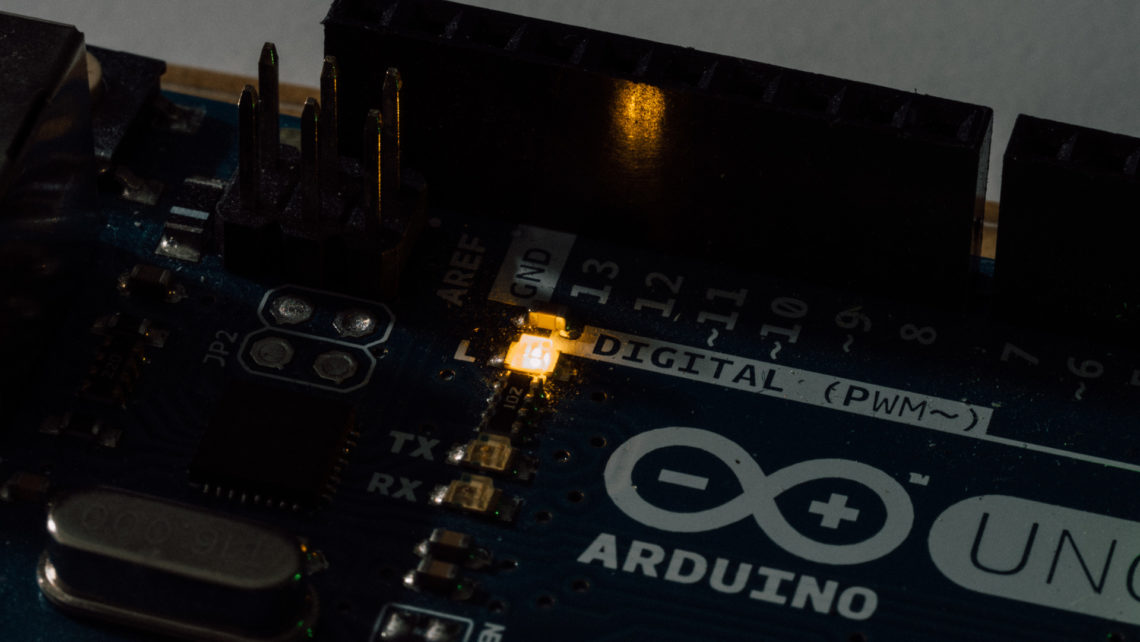
On the Arduino there is a built-in LED (digital pin 13). This pin is placed different on the UNO and Leonardo, see picture above. In this tutorial we will make this light up when the Arduino receives a wirelessly signal.
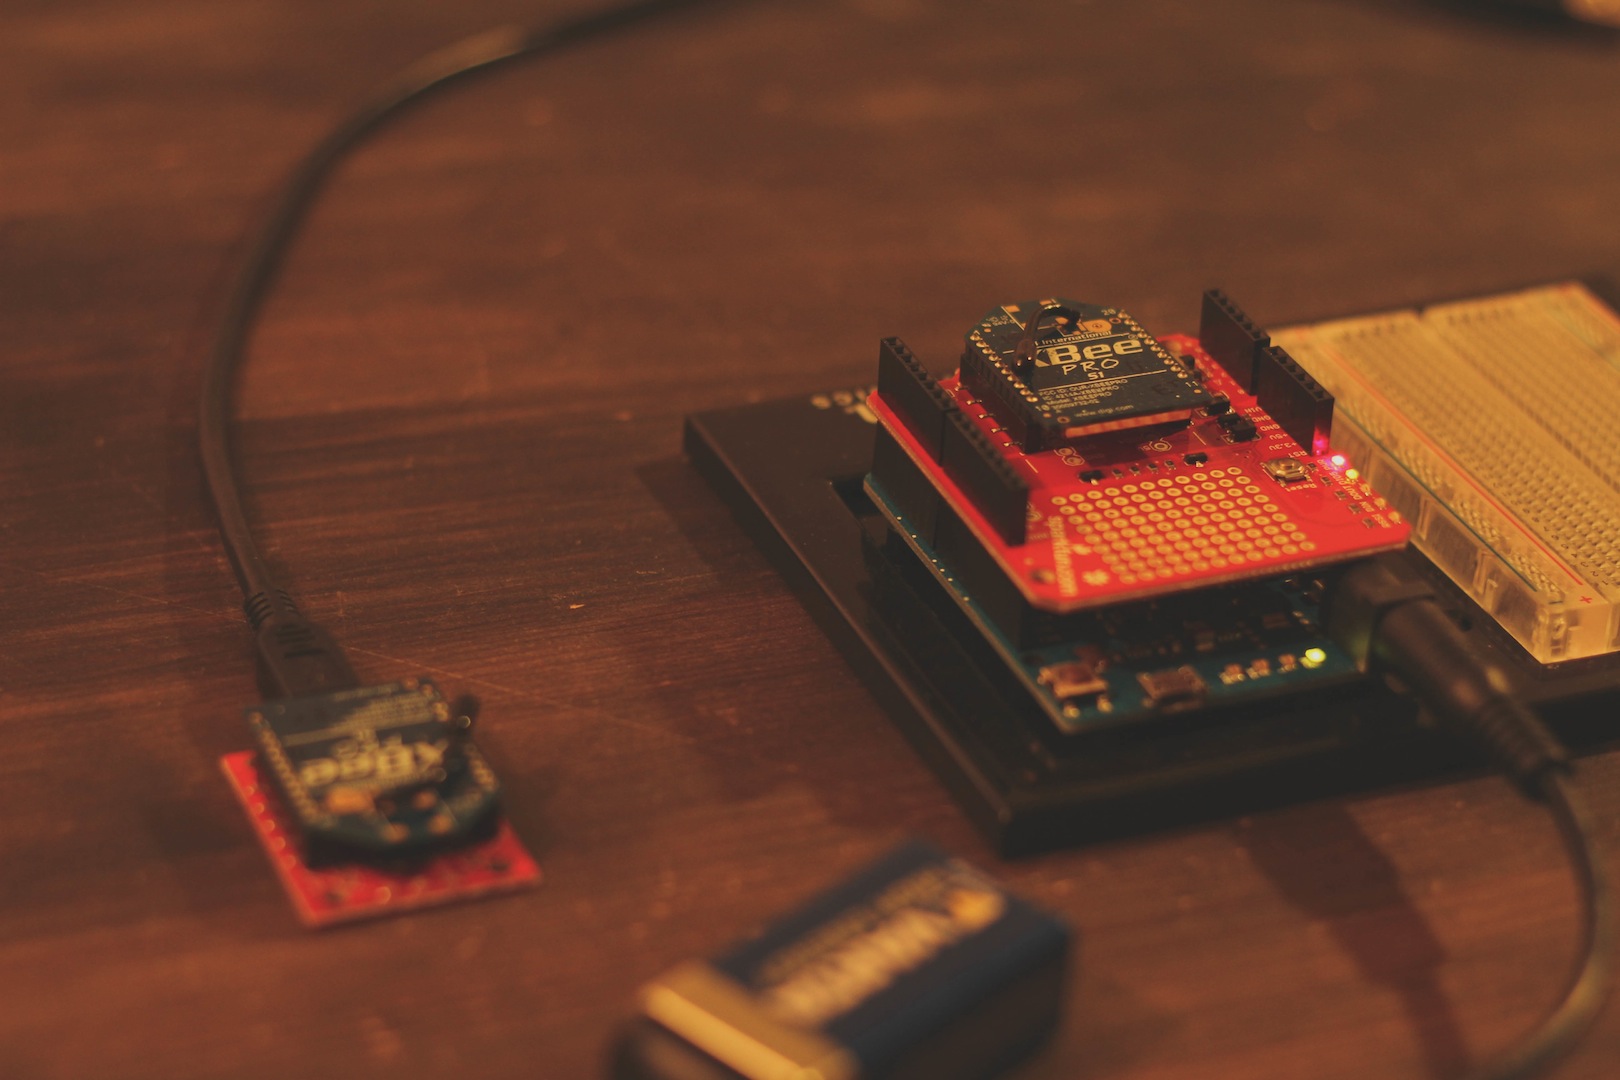
- Place one of the XBee’s on the shield and place the shield on the Arduino. On your XBee shield you have a switch where you can choose between DLINE and UART. Set the switch to UART.
- Plug your Arduino board to your computer and open the Arduino software
- Press “Tools” -> “Serial Port” and choose your serial port. Mine is tty.usbmodem1411 (yours will look the same but probably have different digits).
- Press “Tools” -> “Boards” and choose your board (Leonardo, UNO etc.)
- Paste in the code under (use the first one if you have Arduino UNO or the second if you have Arduino Leonardo) and hit the upload-button.
//Arduino UNO XBee Test Code
int led = 13;
int temp = 0;

void setup() {
  Serial.begin(9600);
  pinMode(led, OUTPUT);
}

void loop() {
  if (Serial.available() > 0) {
    temp = Serial.read();
    digitalWrite(led, HIGH);
    delay(1000);
    digitalWrite(led, LOW);
    delay(1000);
  }
}
//Arduino Leonardo XBee Test Code int led = 13; int temp = 0; void setup() { Serial1.begin(9600); pinMode(led, OUTPUT); } void loop() { if (Serial1.available() > 0) { temp = Serial1.read(); digitalWrite(led, HIGH); delay(1000); digitalWrite(led, LOW); delay(1000); } } - Let the Arduino stay connected to the computer
Step 3: Let em’ talk!
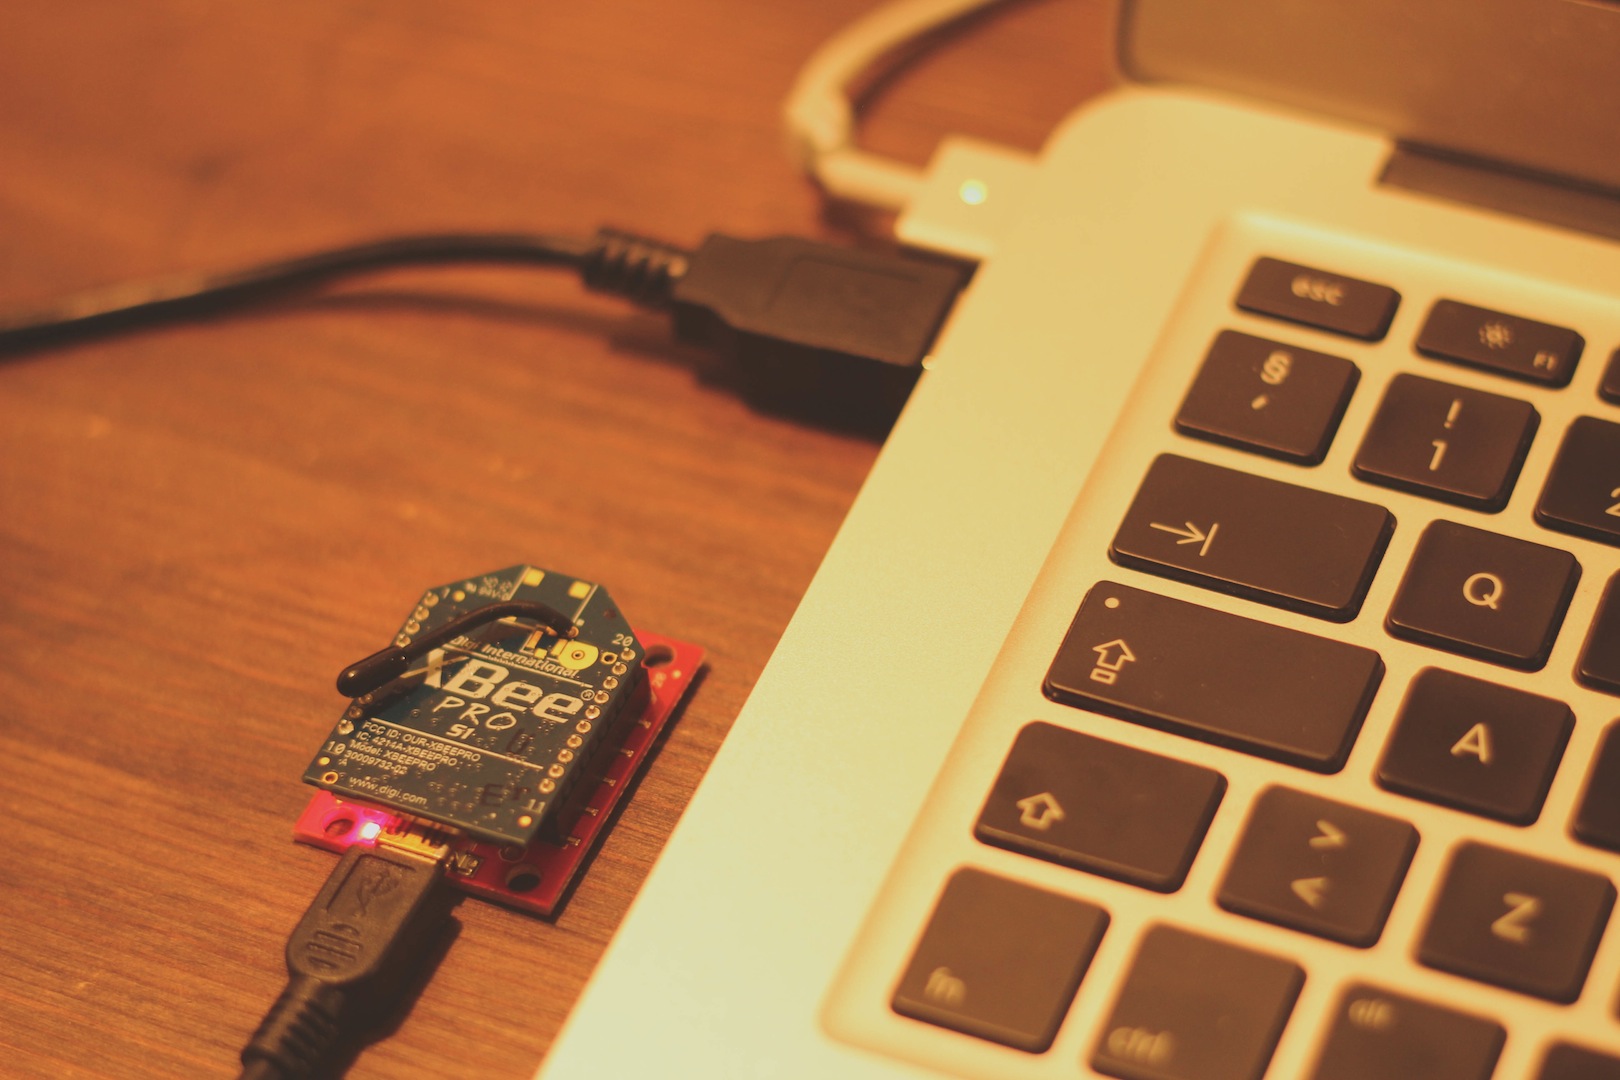
- Place the other XBee onto the Explorer and plug it in the computer
- Open up CoolTerm, choose the Expolrer board in the options menu and press ‘OK’ (step 2 and 3 in step 1)
- Press the “Connect”-button
- Write something (doesn’t matter what you write and you won’t see anything in the serial monitor space). You should see led pin 13 on the Arduino blink for a second.
- That’s it! You now have two XBee’s talking to each other!
What you will use the wireless connection for is up to you. Be creative, make something insane and give us a link to the creation in the comment field under!
And please, if you have some input to alternative solutions, some questions or if you just can’t make it work. Give us a heads-up in the comment field and we will respond.
Enjoy and Good luck!