In this post we will showcase a few pretty cool projects from Trondheim Maker Faire and give you some insight in how they’re made and how they work.
Ascend NTNU
Ascend NTNU is a team of 16 students at the Norwegian University of Science and Technology. They have made an awesome autonomous drone from scratch and competed in this year’s International Aerial Robotics Competition where the goal is to herd Roomba-like robots by briefly landing on them and at the same time avoid moving obstacles. The drones are completely autonomous and requires both excellent sensors, control, data processing and AI to do well in the competition.
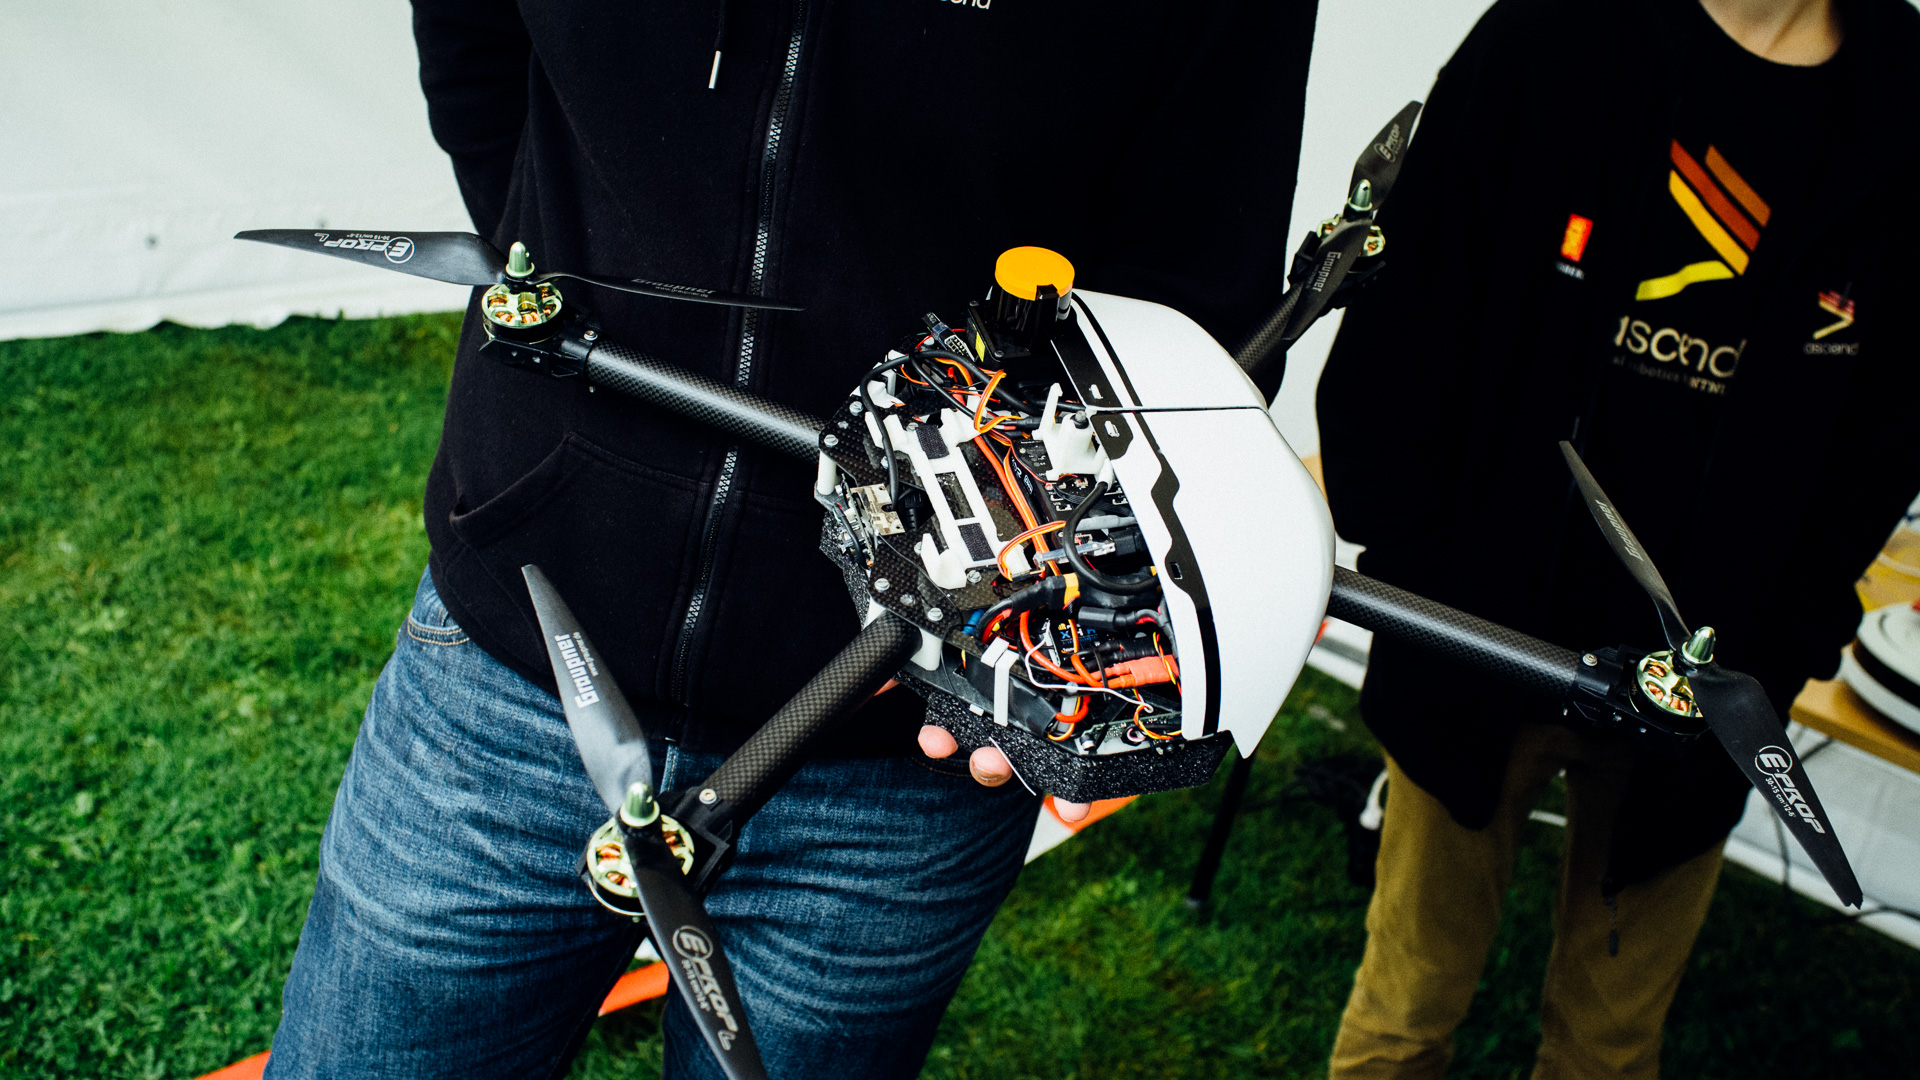
An Intel NUC is used for on-board computing while a Pixhawk takes care of the flight control. As for sensors they use a LIDAR, five cameras, one laser proximity sensor and an inertial measurement unit. The chassis is made out of carbon fibre while the bodywork is 3D printed and coated. The drone has a WiFi link to a base station which does the more heavy data processing.
KAPRA
KAPRA (Norwegian website only) is another student project at the Norwegian University of Science and Technology. The people behind this are members of the student society at Mechanical Engineering. Although these aspiring mechanical engineers don’t participate in a competition like Ascend, they make some really cool stuff each year.
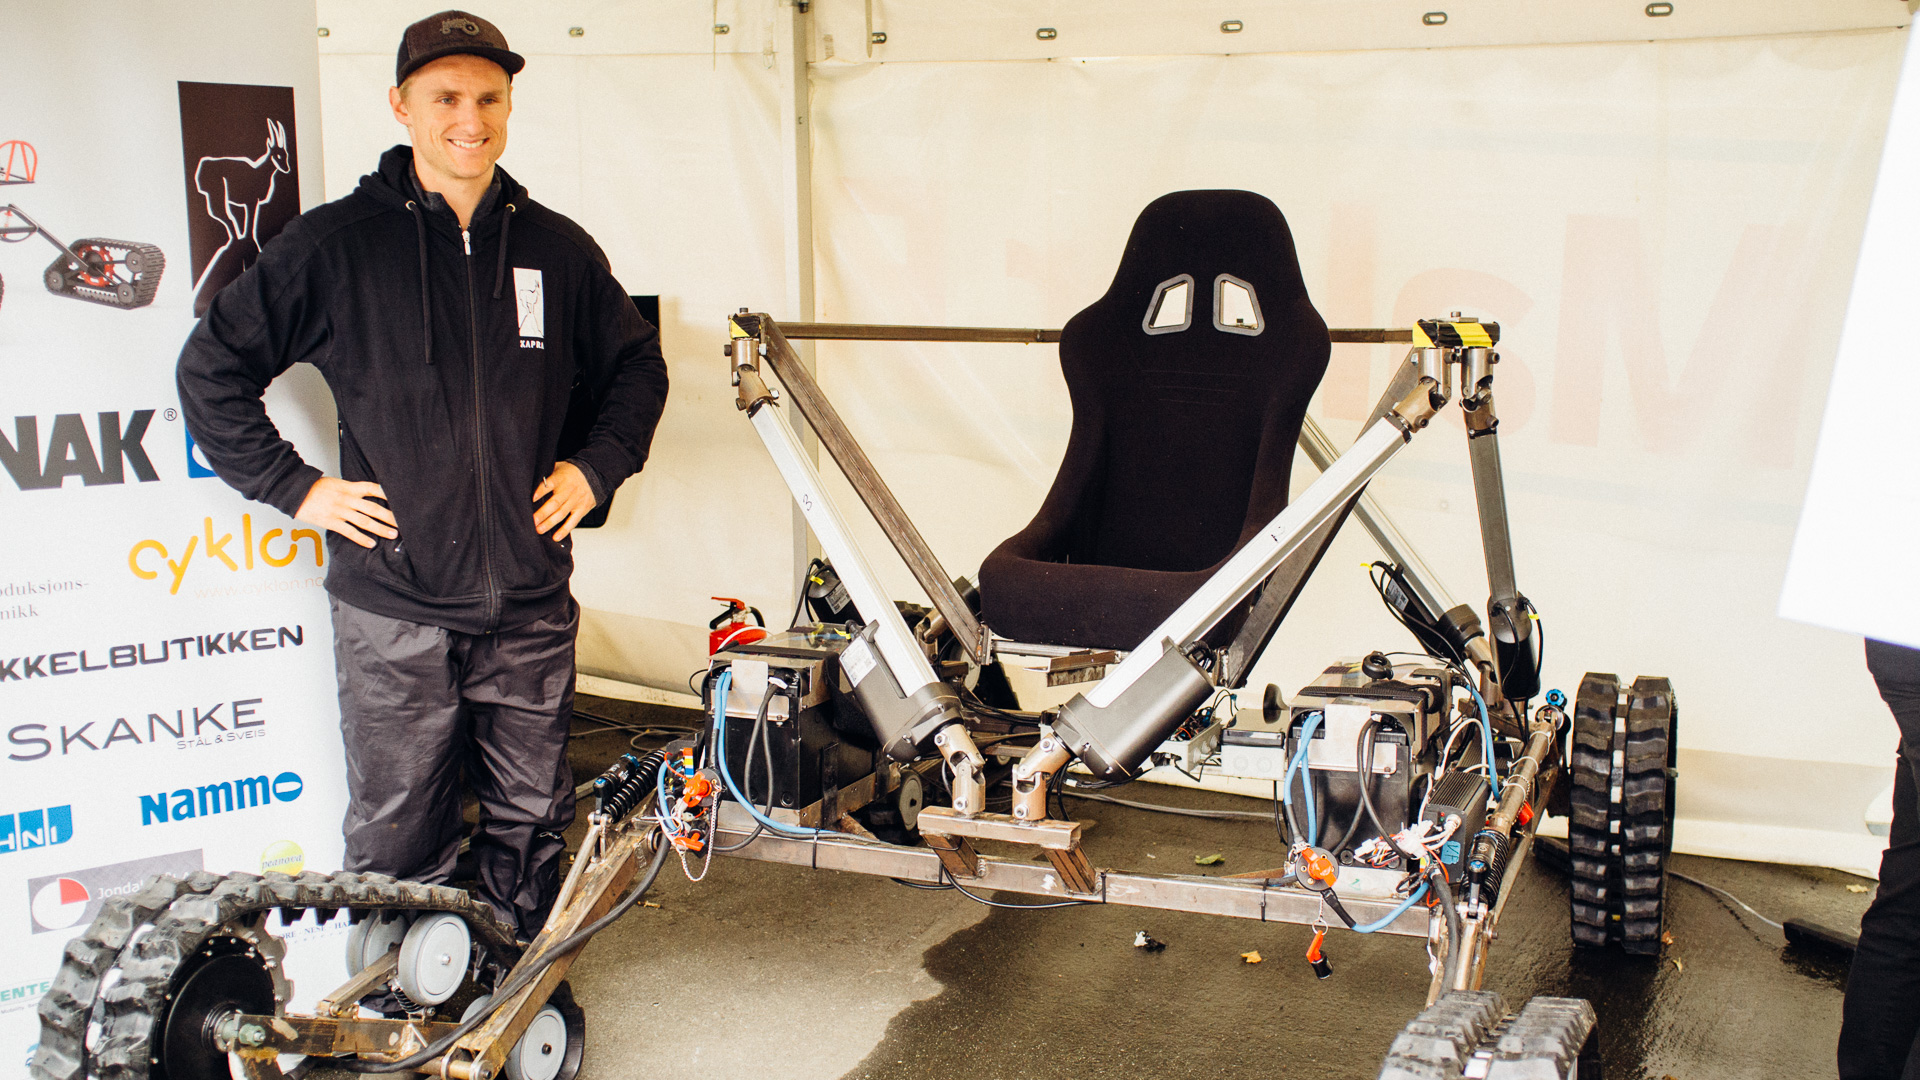
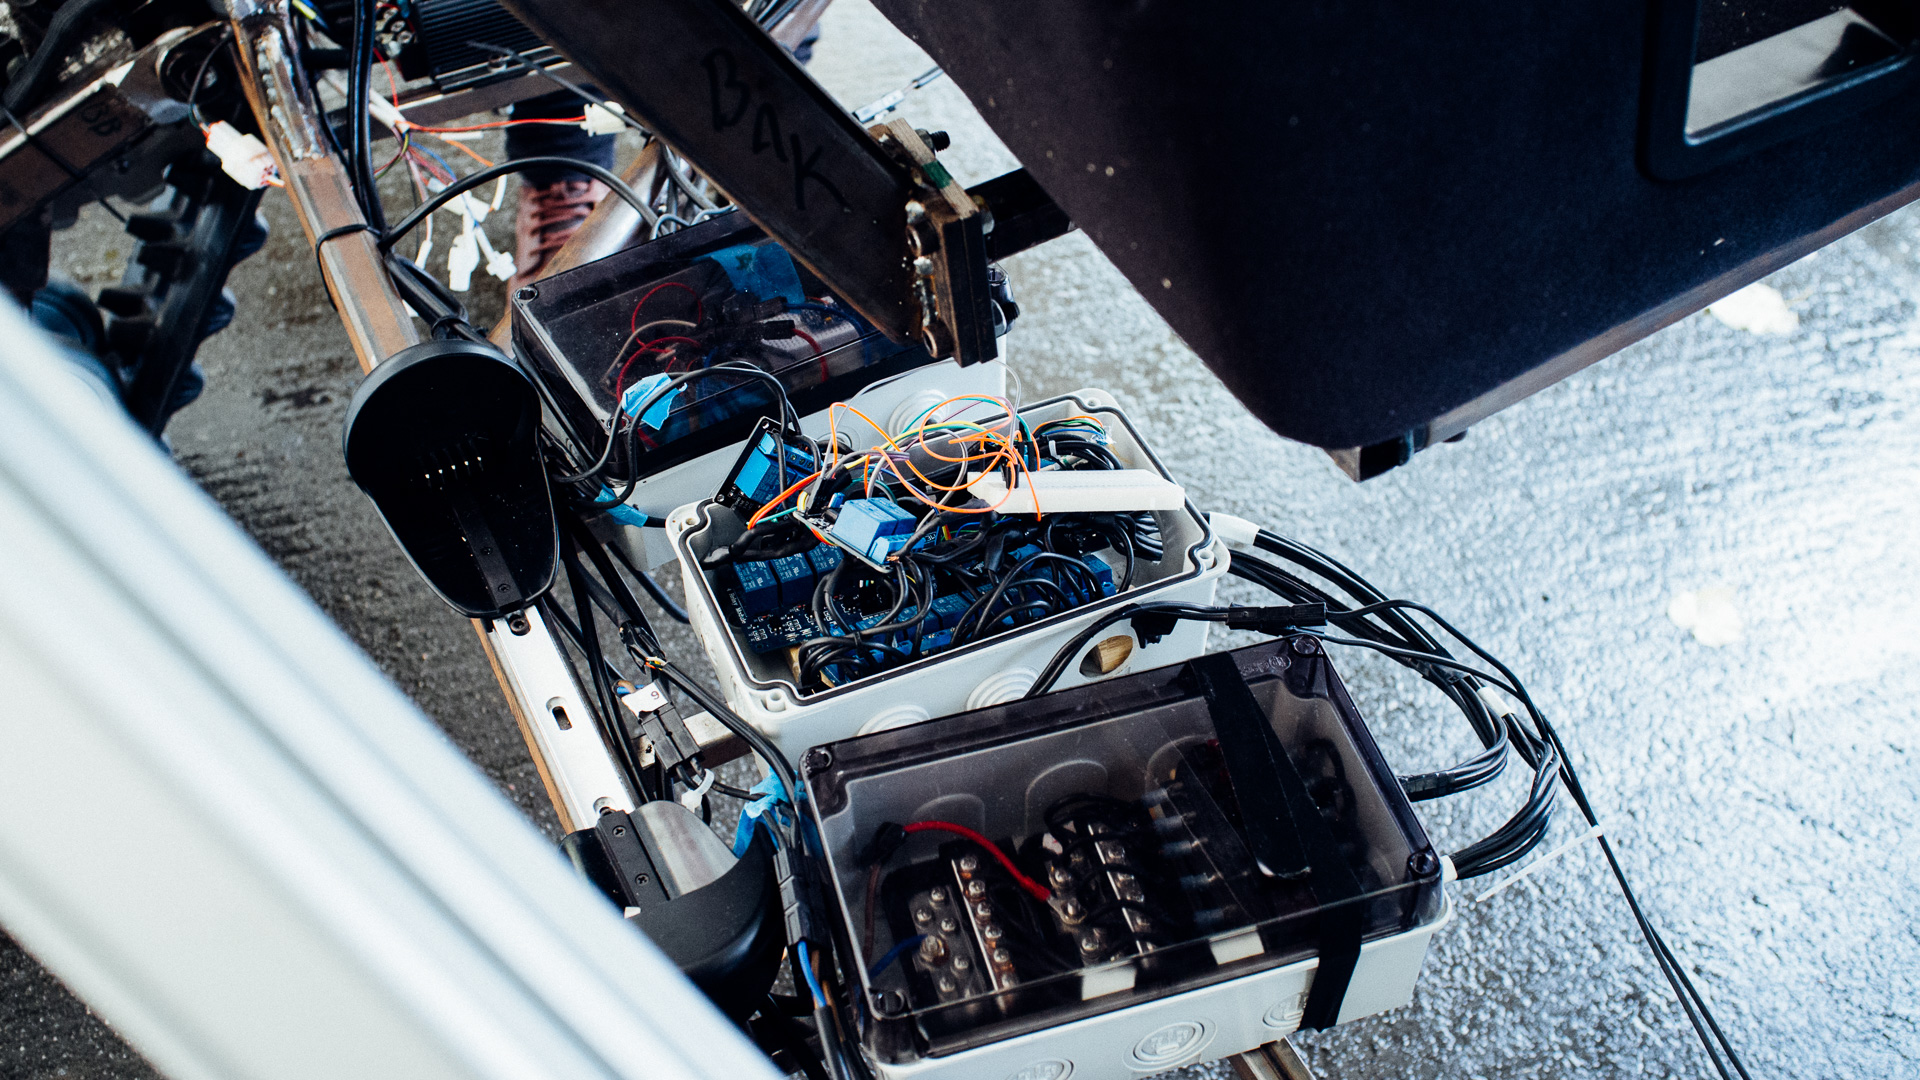
This year the theme was off-road, so they built a pretty large tracked vehicle with a stabilized driver position based on the Stewart Platform principle. The platform is able to rotate the driver 35 degrees relative to the vehicle. The driver position is actuated by six Linak LA36 linear actuators with 1000 N push force each. An MPU6050 gyro/accelerometer chip takes care of the sensoring, while an Arduino takes care of the computing. Each belt has its own 3 kW electric motor (with 170 Nm starting torque) designed for electric motorbikes. The belts themselves are built for mini diggers and weighs around 20 kg each. The battery comes from a Think City electric car with 4×1.4 kWh capacity. All vehicle steering is done by wire via the Arduino and it can rotate around its own axis. Top speed is estimated to be 35 km/h tops. 25 students have participated in the development of this badass vehicle.
LabaL
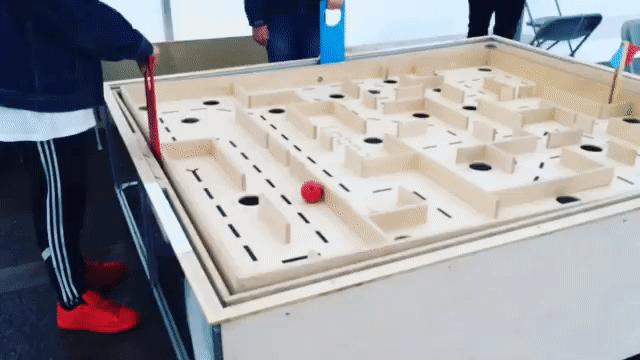
This is the most low-tech project we’re going to mention, but LabaL proved to be super engaging for kids and grown-ups alike. Remember those toys back in the day where you must guide a small steel ball through a wooden labyrinth by turning two knobs and at the same time avoid the holes? This is like that except that it’s 2×2 meters and needs two people to play. Each player controls one axis which means that the they must really cooperate to succeed.
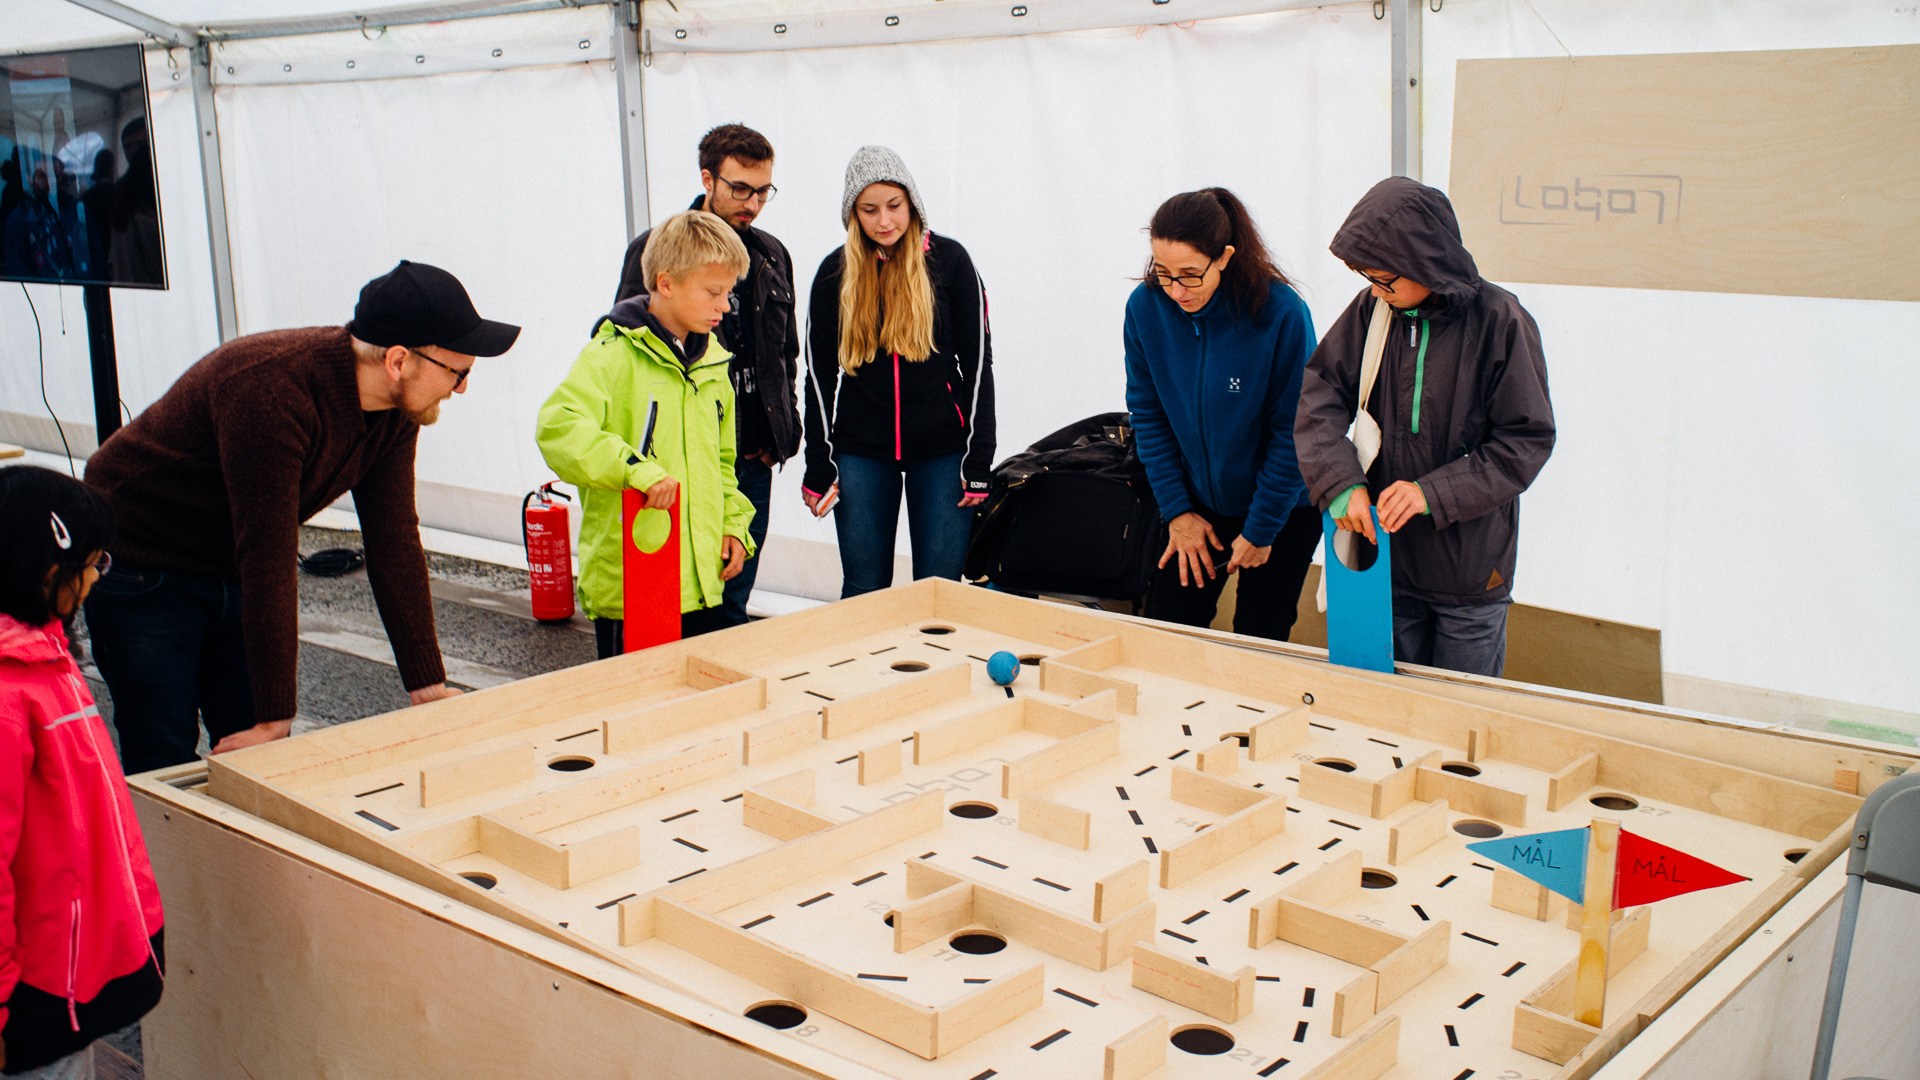
They use aluminium profiles (as seen on several of Norwegian Creations’ projects) for the frame. The rest is plywood and the ball is also made out of wood. Ball bearings take care of the points of contact between the aluminium and the wood as well as between the inner and outer wood modules.
Synthomir
Synthomir is a simple open source Arduino-based DIY synth. You can buy the PCB(s) and the components seperately and solder it yourself, or you can buy it already soldered. Synthomir is made by Igor Brkić (< check out his website) who has been featured on Hackaday several times.
The synth has three modes:
- Sample-based drum machine
- Theremin
- Bass synth
The interface consists of a button, a potentiometer, photoresistor and an LED.

In drum machine mode you use the potentiometer to select sample and the button to trigger the sample. The photoresistor is used to control a bitcrusher effect. You also have a loop mode in which you can create repeating rhythm patterns. The LED works as a metronome.
The theremin mode lets you play theremin where the photoresistor controls the pitch and the button works as the trigger. The potentiometer selects sounds.
With the bass synth you trigger notes with the button and select pitch with the potentiometer. The photoresistor controls the attack.
The modes are not hardcoded. You can change between them by resetting the synth while the pot is at certain positions.
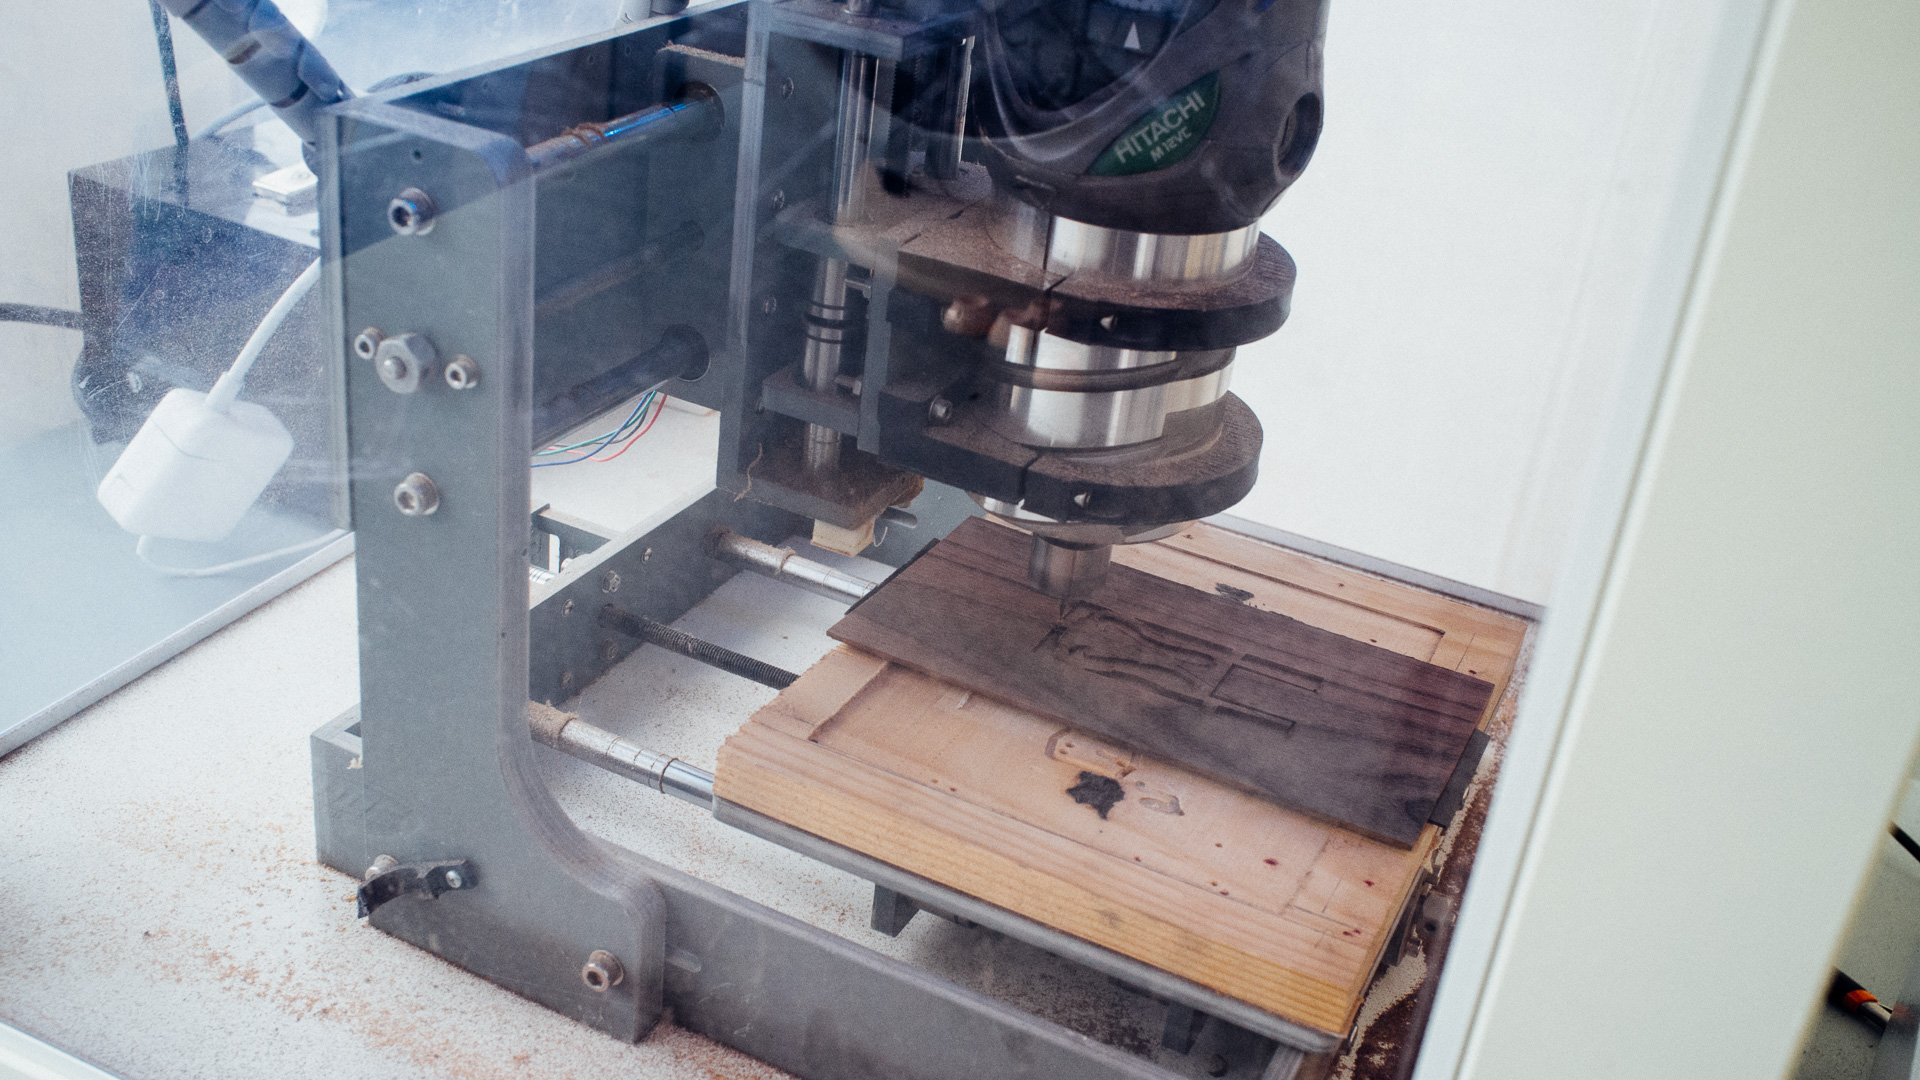
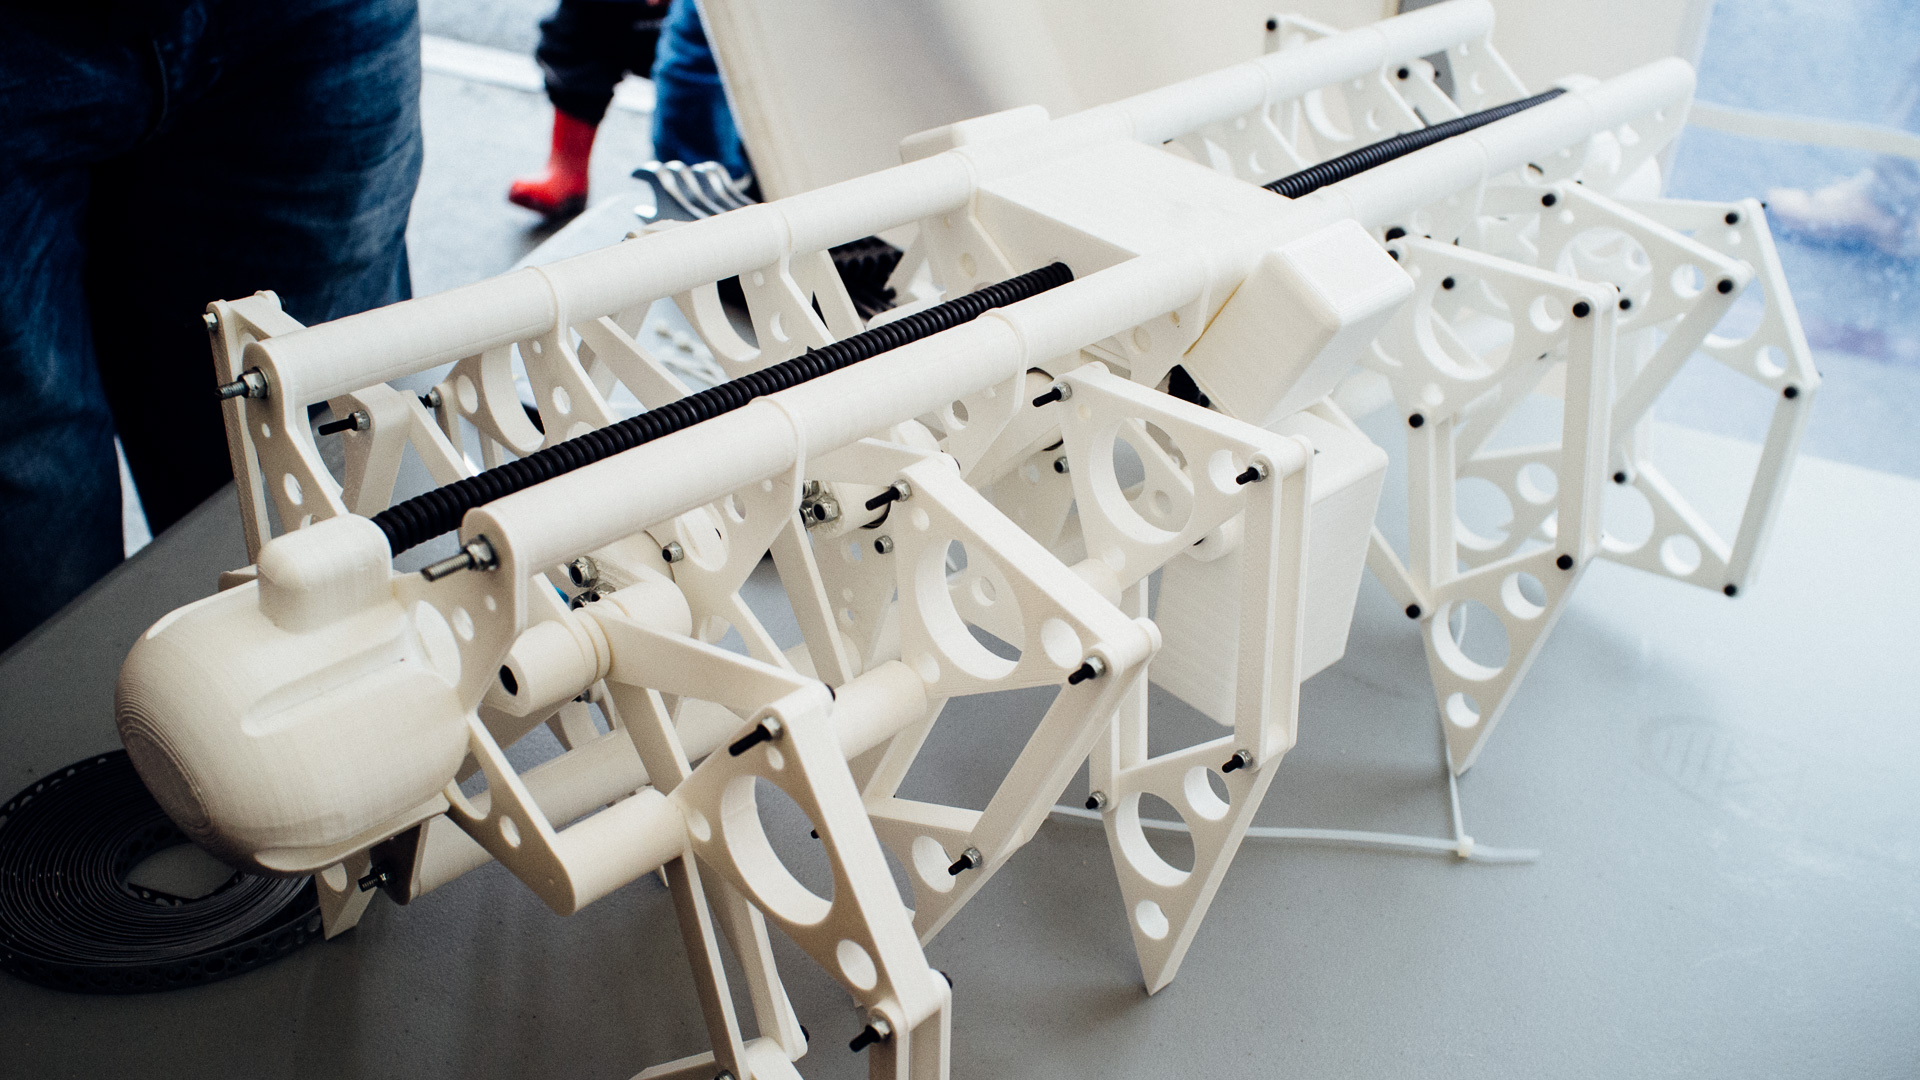
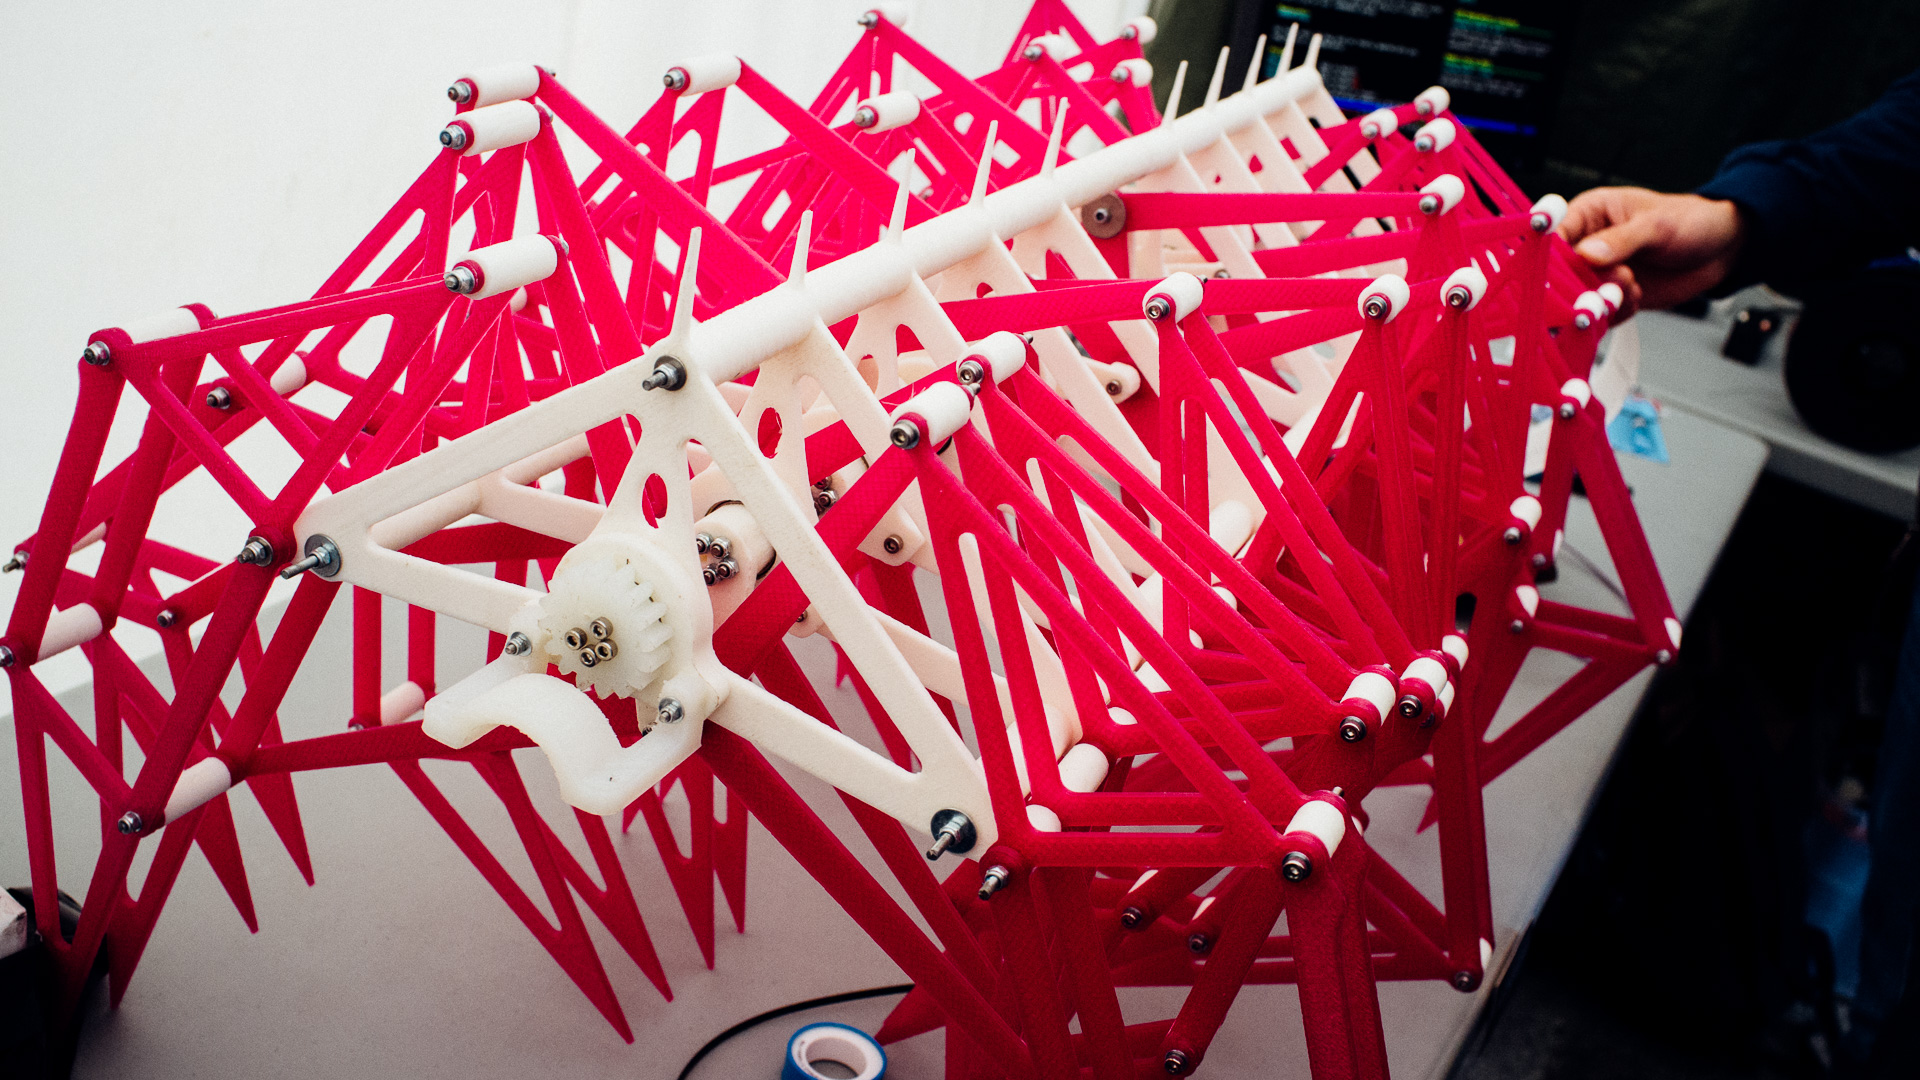
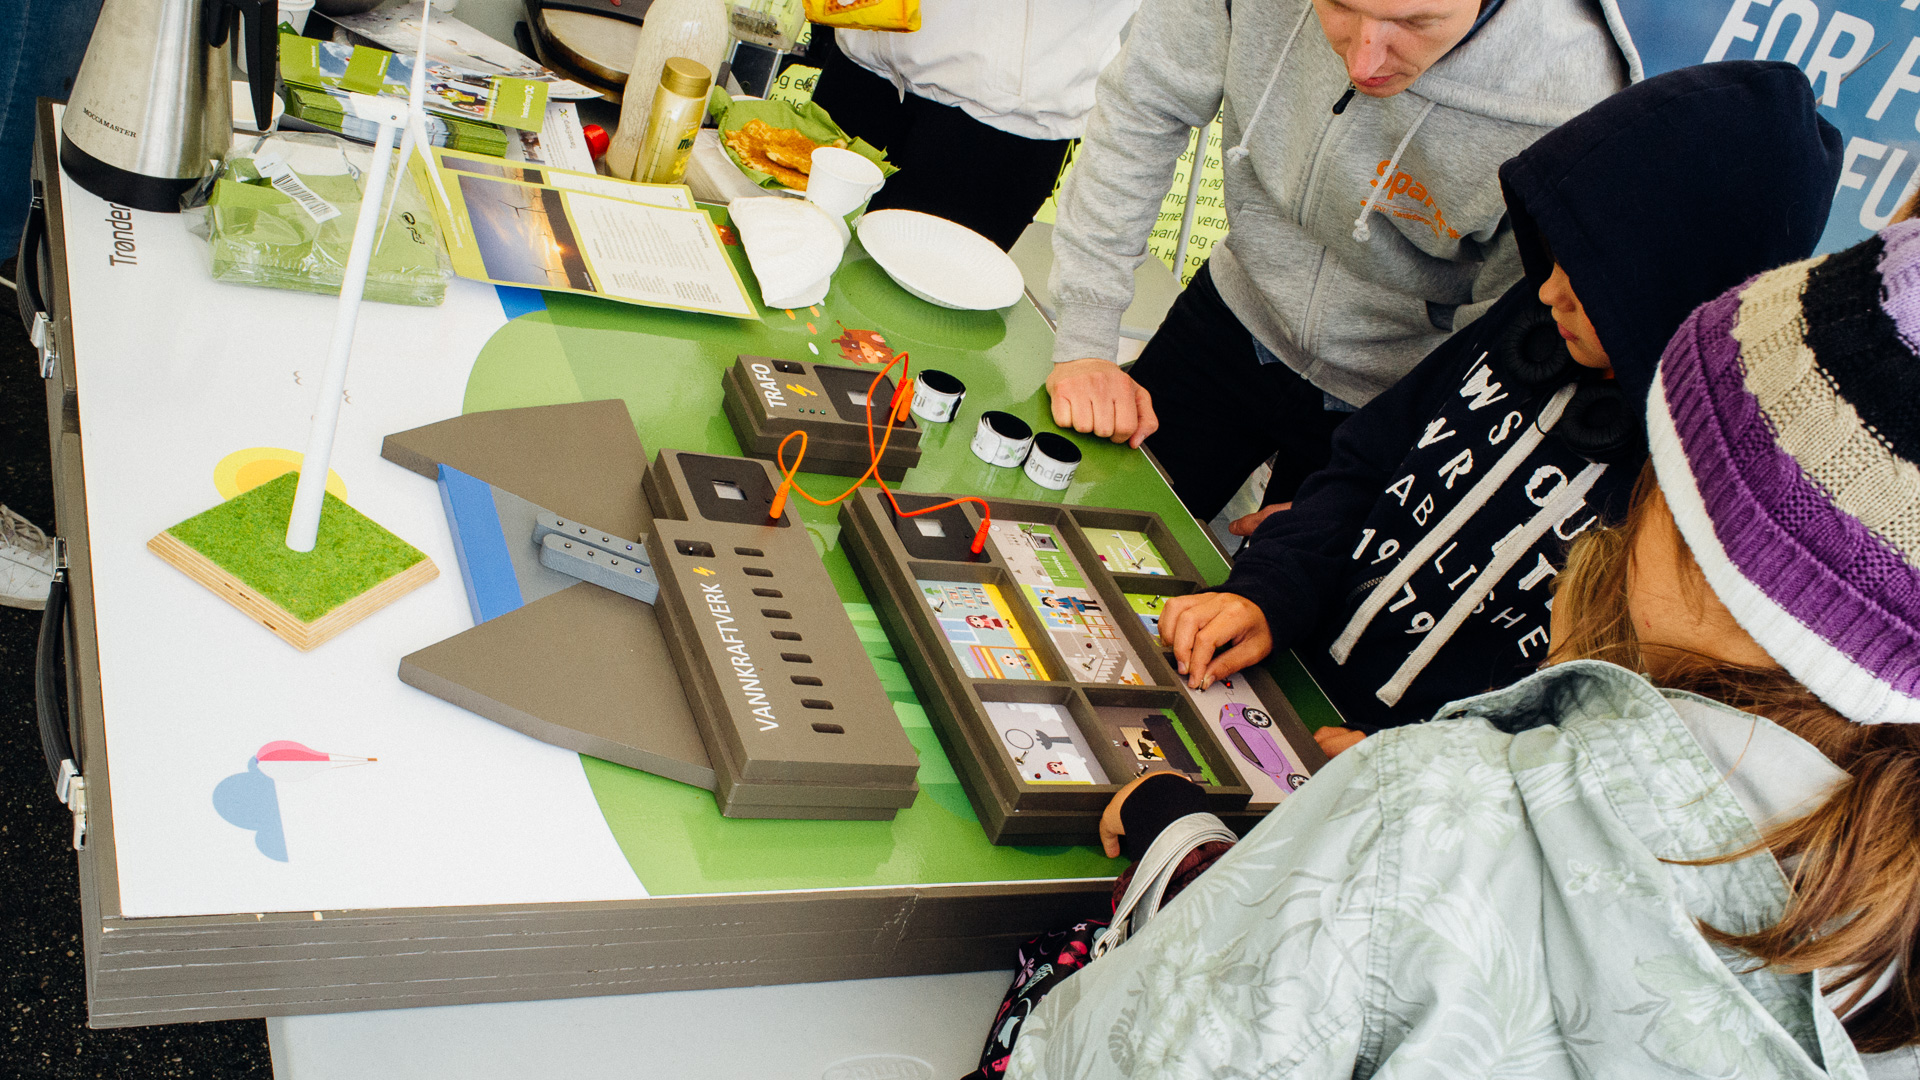
Pictures of Other Projects