A very common problem with NAD amplifiers (here: C370) is that it becomes very slow to start after some years (10+).
The time between power-on and deactivation of the protection increases to several minutes!
And why is this happening?
In this post we will go through how we repaired a challenge like this on a 16 year old NAD C370 amplifier.
Hypothesis
As shown on our instagram account, something like this seems very much like a problem caused by dried out electrolytic capacitors.
Reading that this was a rather common problem on diyAudio made us almost 99% sure that this was caused by bad caps on the protection circuit.
Foundation
Before opening the amplifier we gathered the necessary schematics and discovered which components that probably was the reason for this fault.

This is the schematic from the protection module. And our hypothesis says that it is here the problem occurs. We thought that the market capacitors have dried out (so that they didn’t operate at the necessary performance). By replacing those it should work perfectly again!
This capacitor desiccation is probably caused (or at least accelerated) by a closely placed zener diode that becomes rather hot (D721).
So if we should manage to move that, as well as replacing the capacitors, this problem should be fixed, and it should not re-occur as easily as it occurred in the first place.
After another look in the schematics, we opened the amplifier to discover the physical size of the used capacitors and sourced the necessary replacement parts.
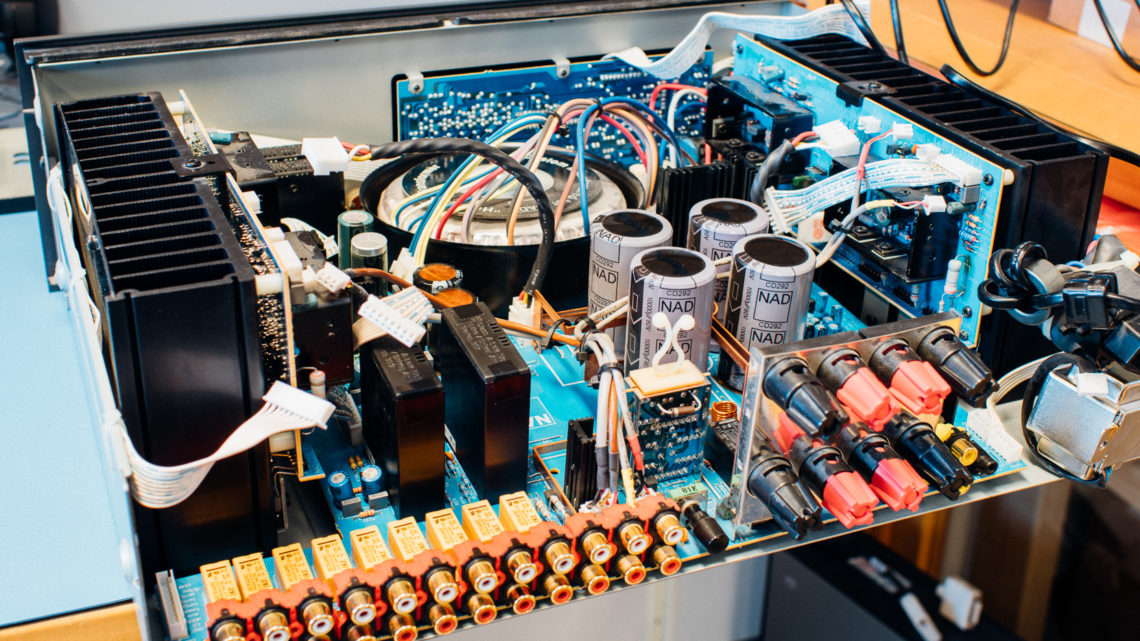
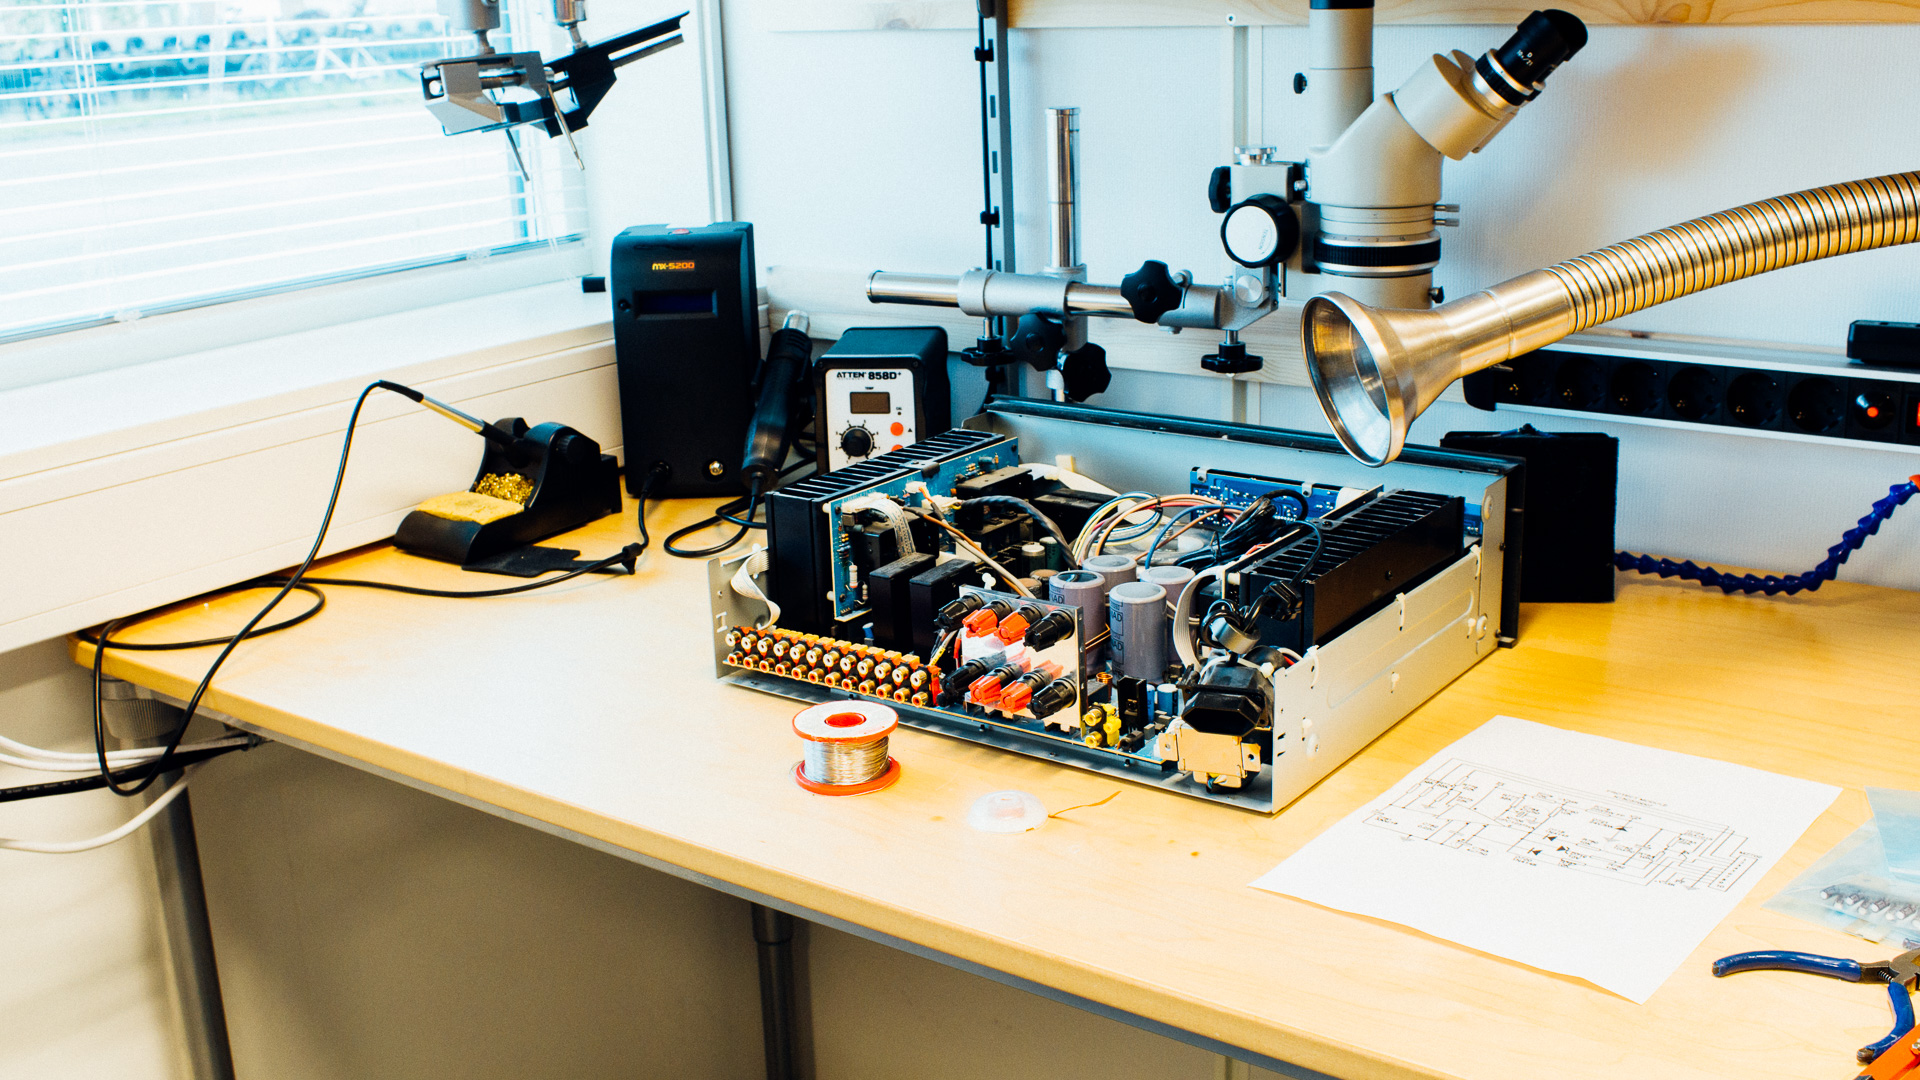
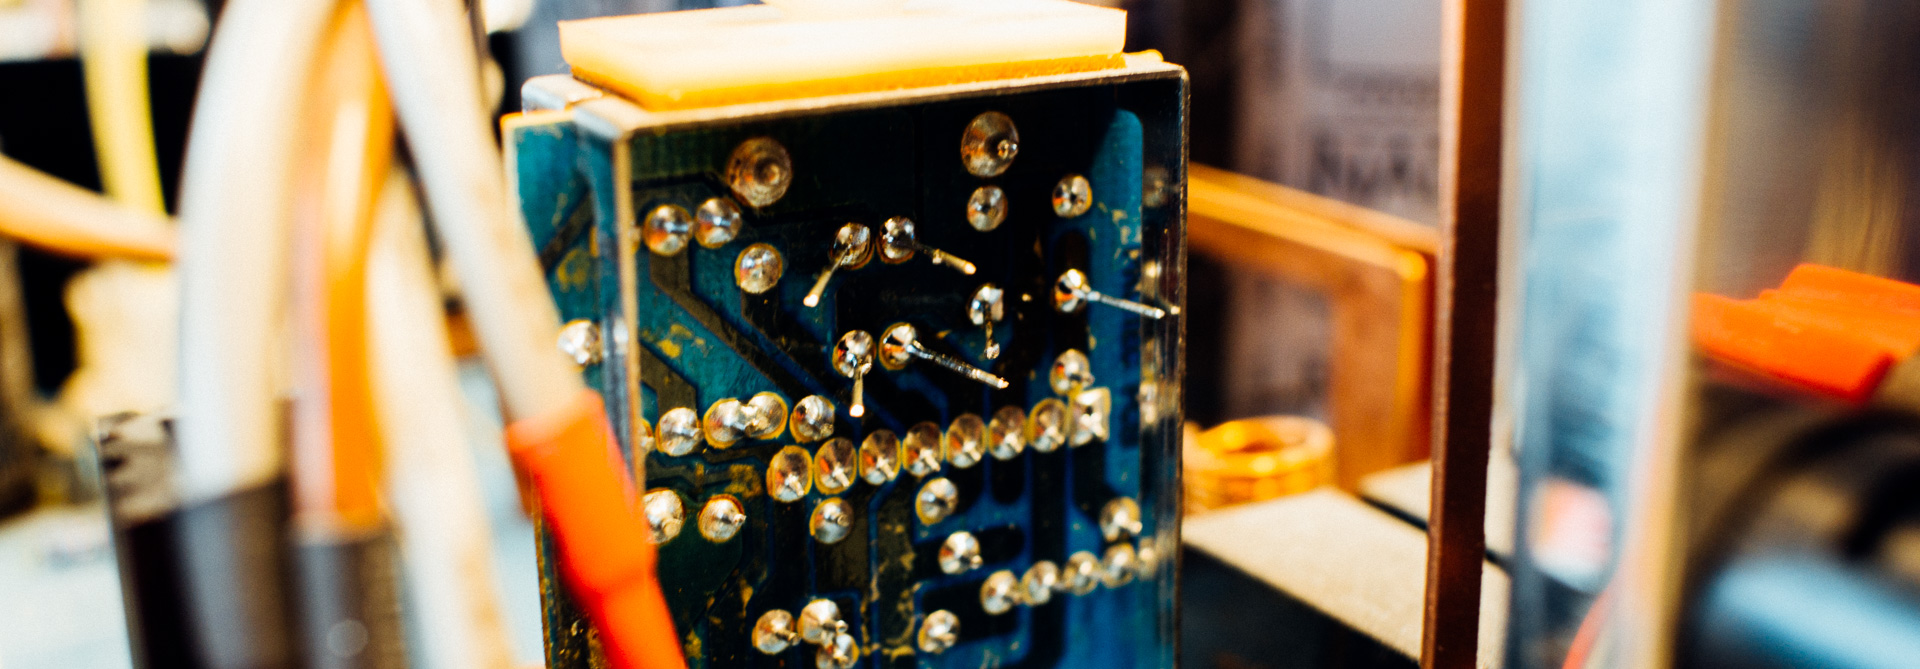
The protection module is placed in the back, and by removing the back plate it’s possible to reach the underside of it with necessary soldering tools.
These are the replacement capacitors we ordered from Digi-Key:
- C783 – 4,7 µF min. 50 V – 493-14730-1-ND
- C784 – 47 µF min. 50 V – 493-14727-1-ND
- C785 – 10 µF min. 50 V – 493-14728-1-ND
The protection is controlled by a uPC1237 (IC706 in the schematic). Its job is to protect the amplifier (and probably connected loudspeakers) against challenges that typically happens when you start up something like this. Many of the different cases is handled by a “slow start” delay.
Repair
When the rather strong hypothesis were shaped and replacement parts were in house, the rest of the job was pretty straight forward. The biggest challenge (mentally at least) was maybe the large amount of screws necessary to remove to open it up.
Make it easy for yourself and have good practices around screw storage!
Final words
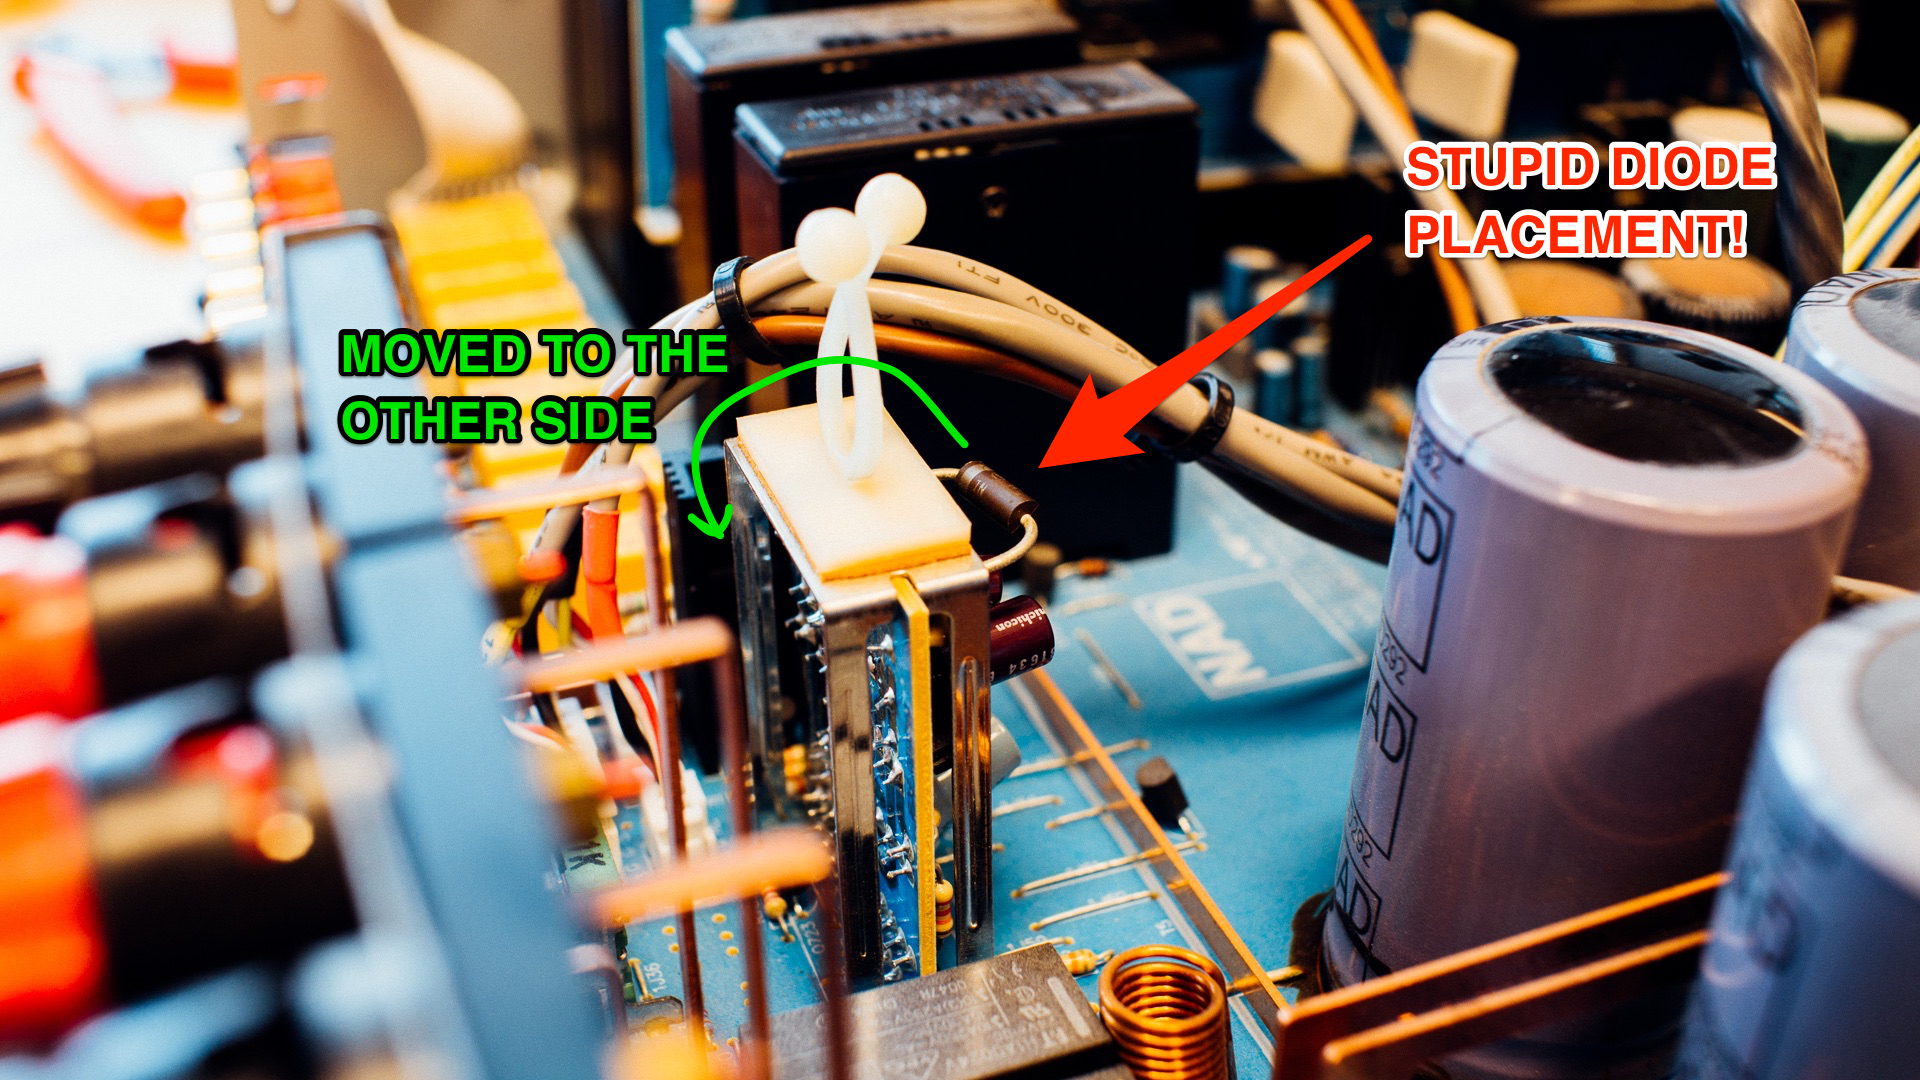
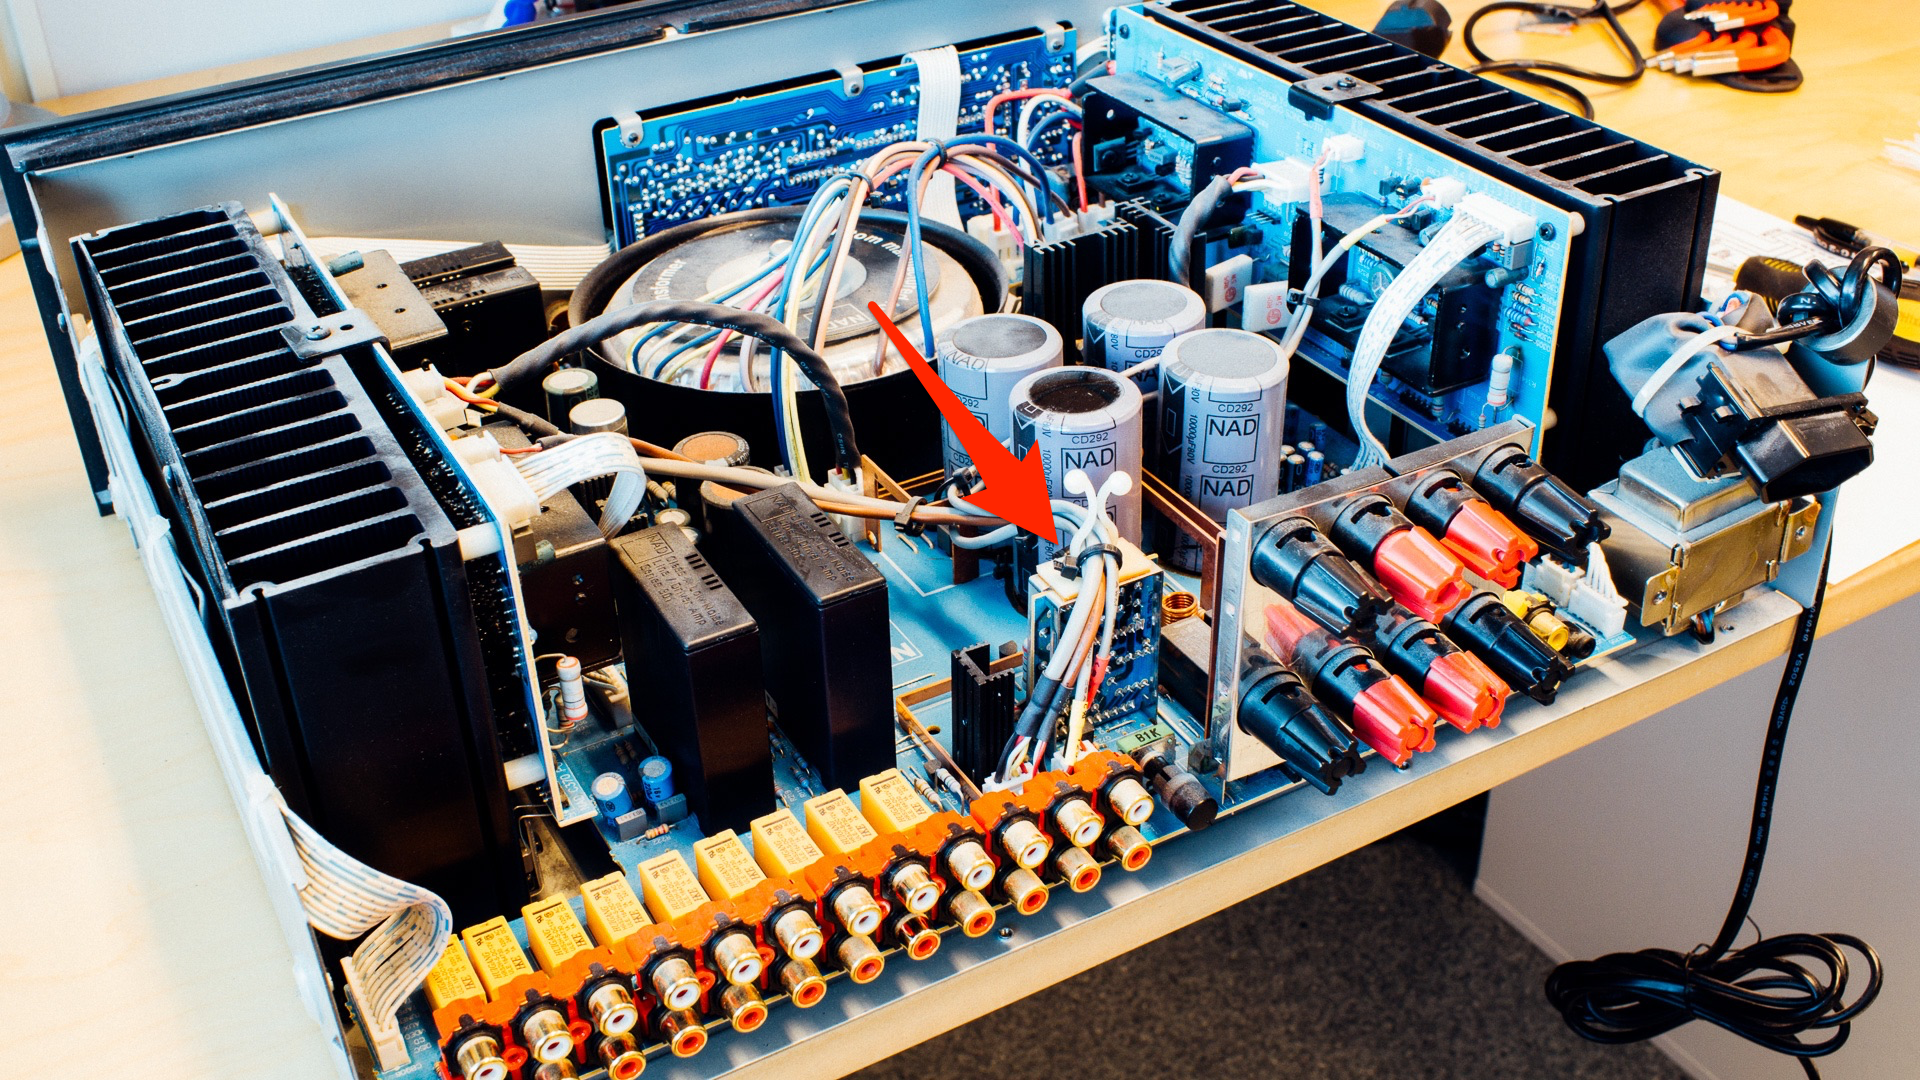
We moved the rather stupidly placed zener diode to the other side of the Protection Module PCB so it has a harder time heating up and damaging the necessary capacitors in the circuit.
Here are the measurement results of the removed capacitors. This was done with a Keysight U1232A multimeter, so it’s not that accurate, but it sure gives us a good indication of the condition!
- C783 – specified 4,7 µF – measured 0,2 uF!
- C784 – specified 47 µF – measured 13 uF!
- C785 – specified 10 µF – measured 0 uF!
We did also measure all new capacitors in the same way and they were all within specifications.
In addition to this problem, the amplifier also contained a good collection of dust and dirt. We grabbed this good opportunity to clean it inside.
The amplifier worked great after the fix, and it would be great if it could continue performing awesomely the next couple of decades!