In addition to our Reaction Game, vi also had a drawing machine on display at this year’s Trondheim Maker Faire.
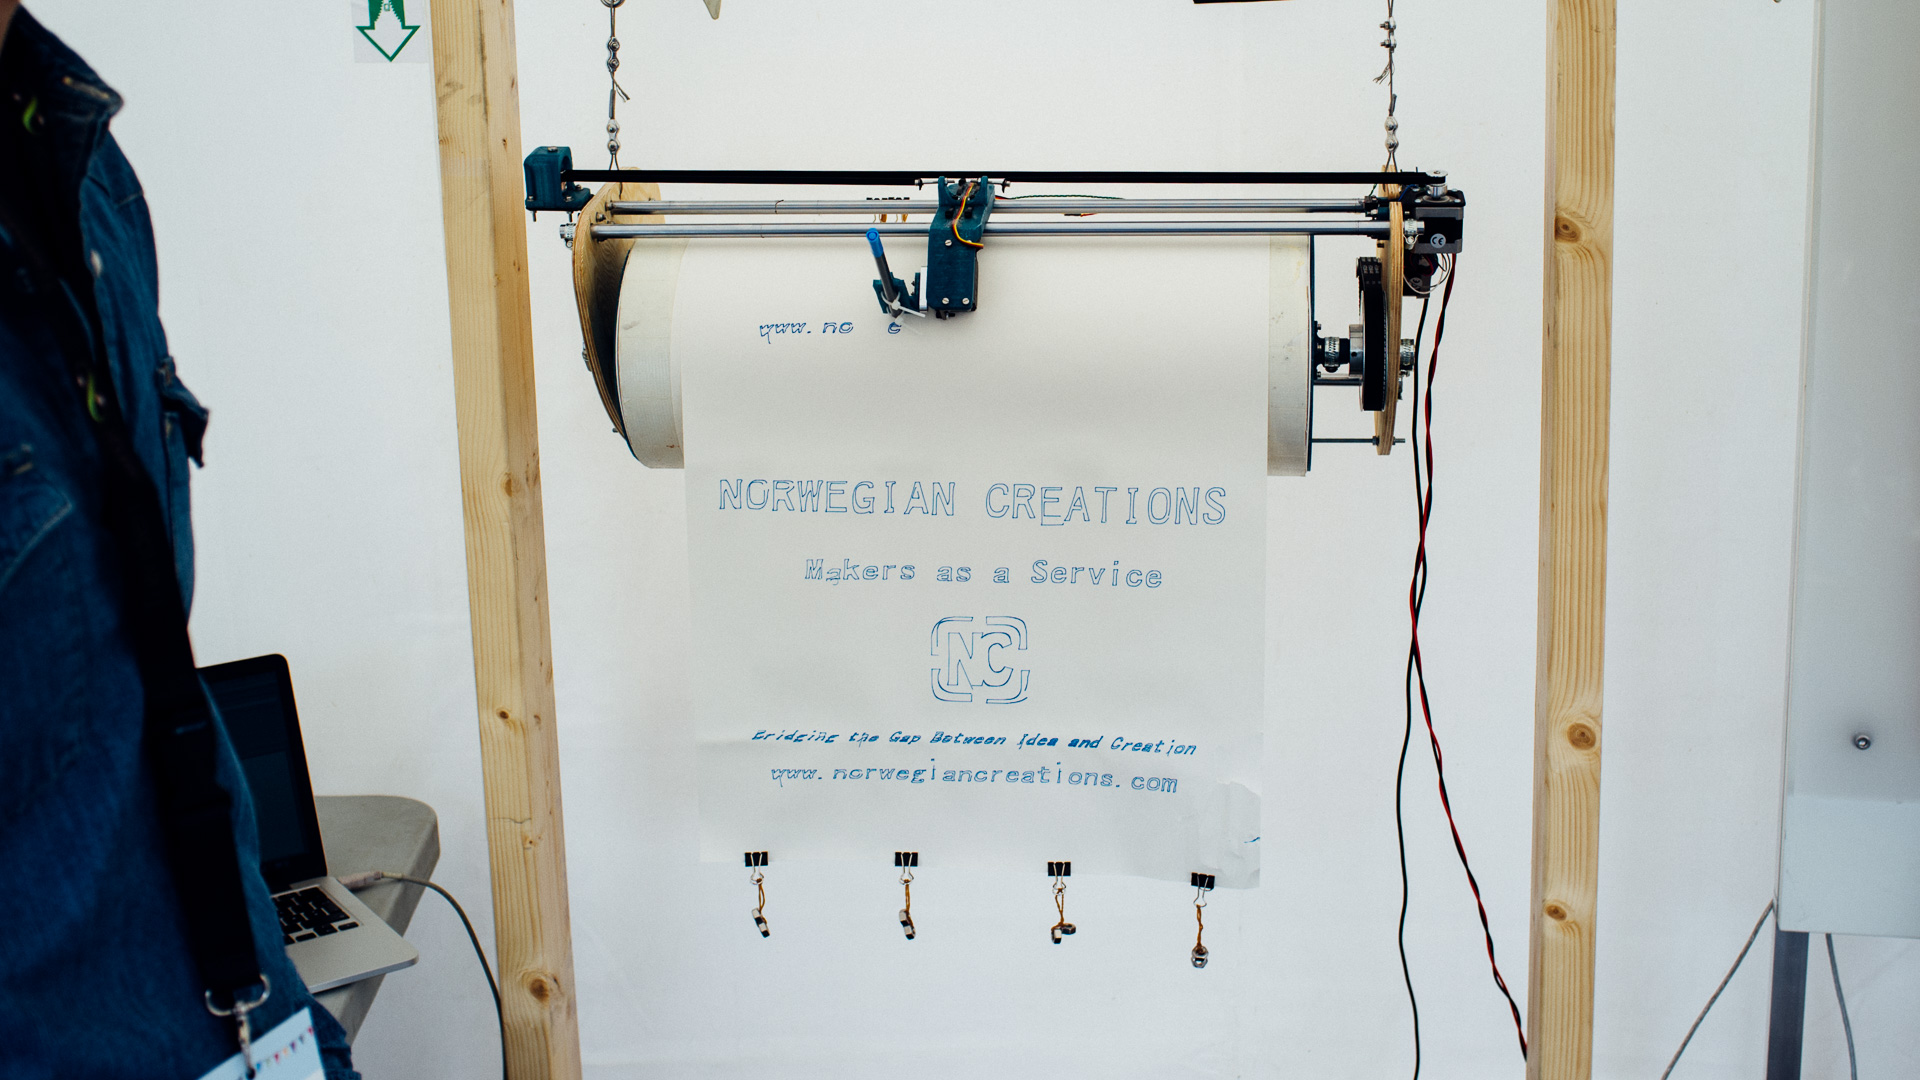
This drawing machine is designed to draw on paper from a paper roll, and as opposed to last year’s plotter, it is designed to draw pre-generated graphics only and not real-time generated drawings.
This post will briefly describe the machine, since it’s still in an early prototype stage. Later, when it’s more completely developed, we will go more in depth into the nitty gritty details.
Mechanical and Structural
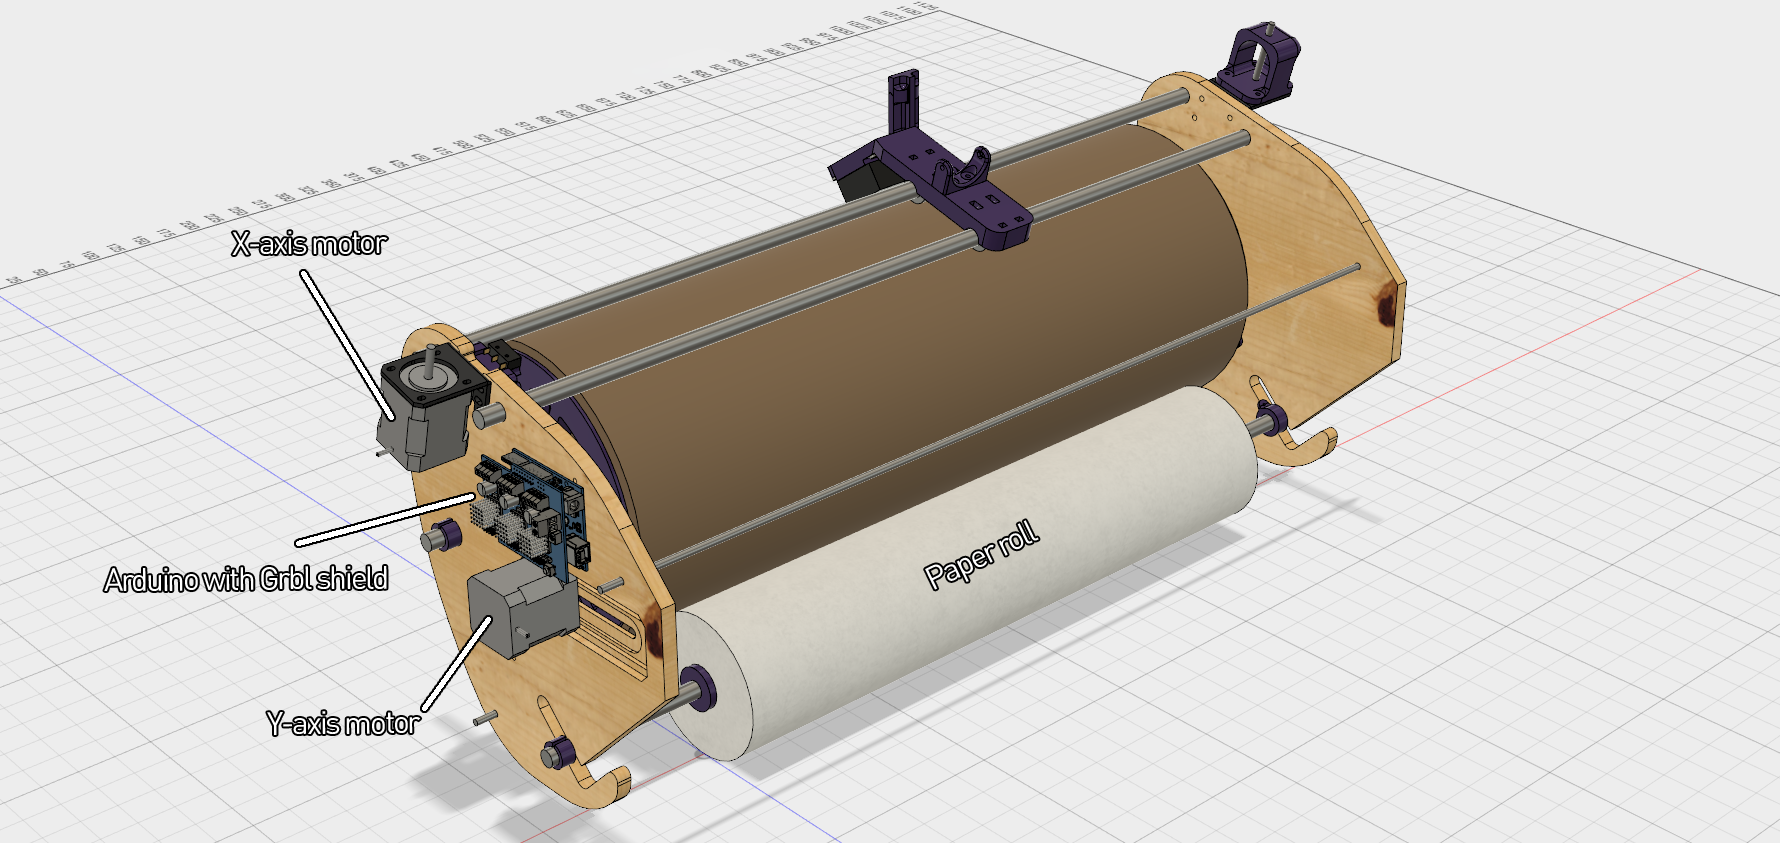
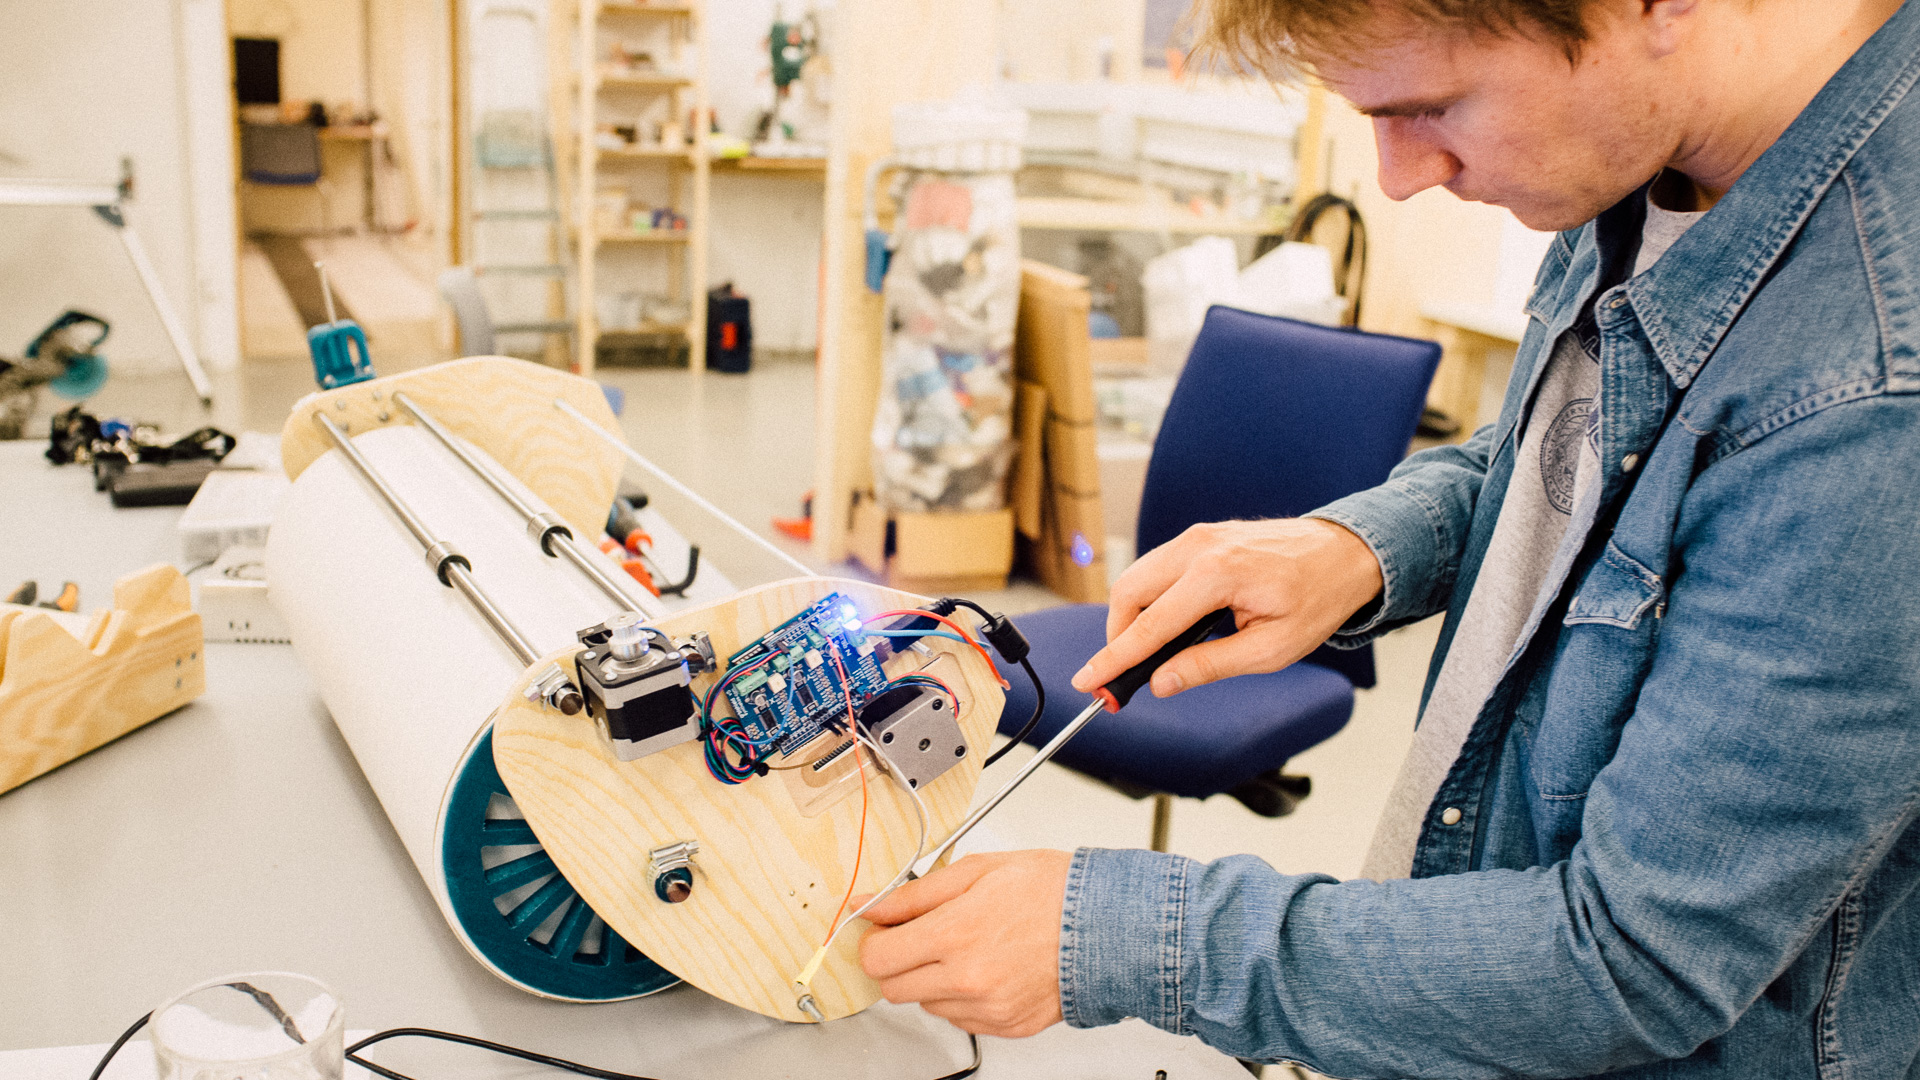
The machine’s main structure consists of one vertical milled out plywood sheet on each side. Between the two sheets are several steel rods. We have also 3D-printed several parts which is mostly used as different types of brackets.
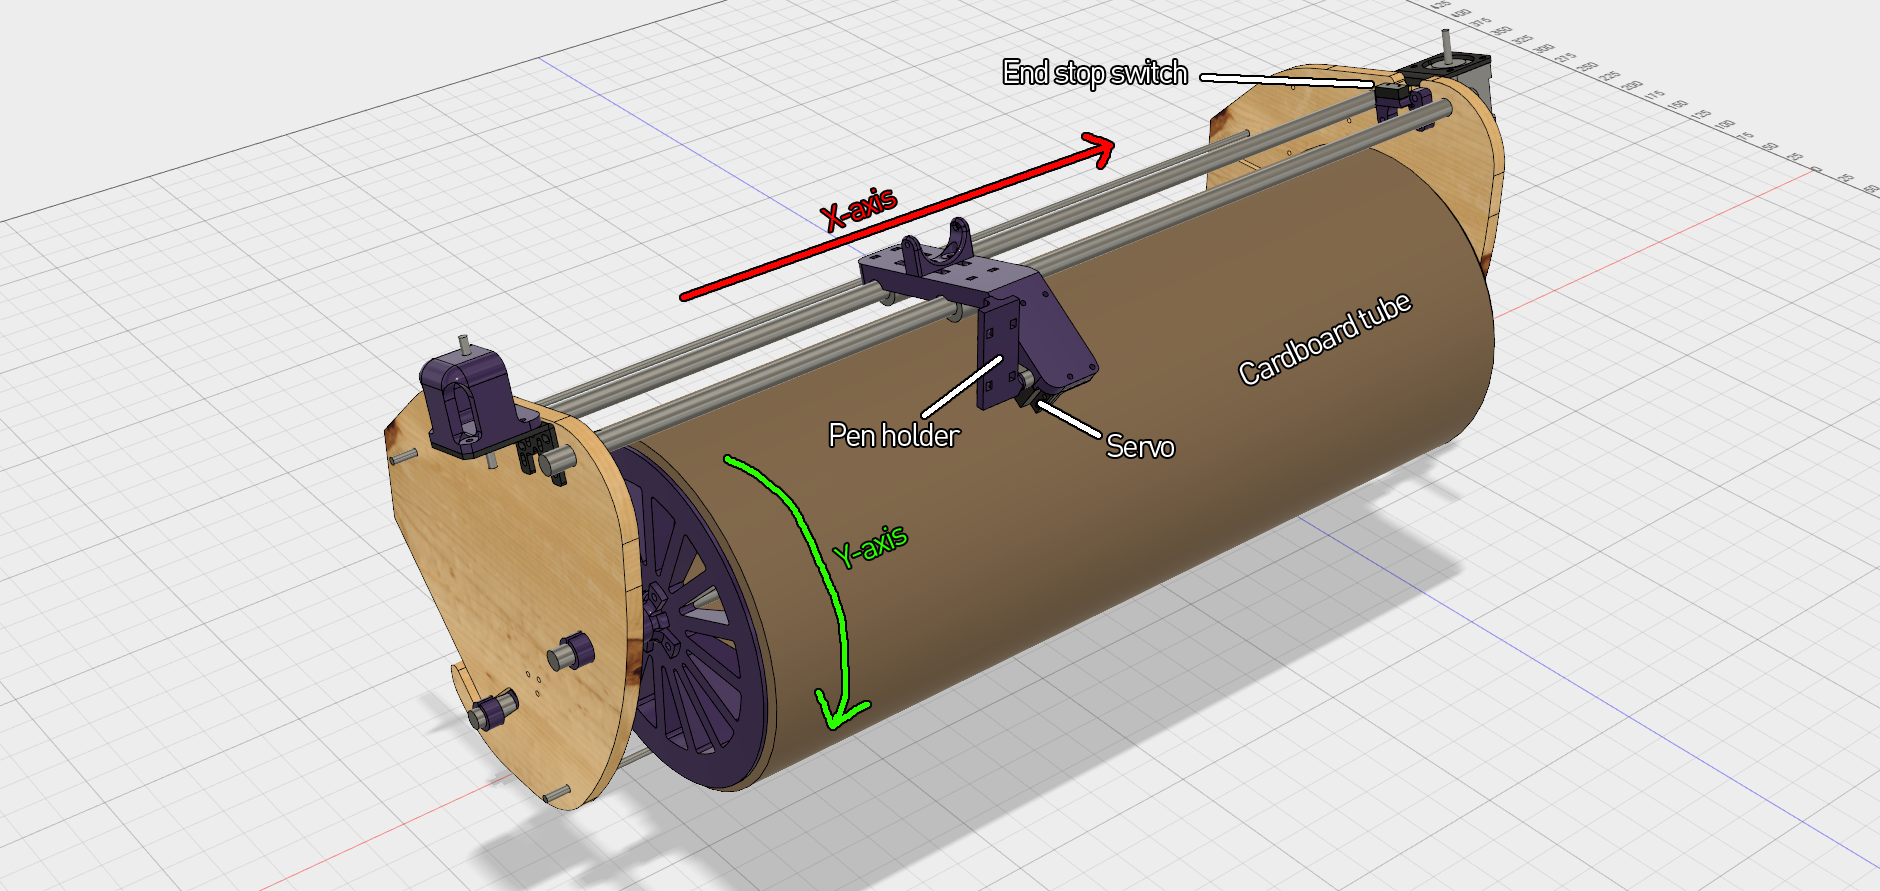
The X-axis works a lot like an axis on last year’s plotter, with a “carriage” moving linearly along two steel rods. The actuator system is similar as well, with stepper motor and belt.
The Y-axis is a bit different. The paper roll is held tightly against the cardboard with the help of a couple of springs. The Y-axis movement is actually the cardboard tube, and thus also the paper roll rotating, feeding or retracting the paper.
The “Z-axis”, i.e. moving the pen up and down, is actuated by a servo on the carriage, quite similar to the large plotter.
To keep the paper fairly straight, we fasten plumbs on the edge of the paper. Even though the machine looks like a printer, it is designed to move back and forth along the Y-axis (unlike a printer) to make it more enjoyable to watch.
As you probably can see from the images, this machine is not suited for standing upright on a flat surface. Therefore we made a rough stand from which the machine can hang by a couple of steel wires. Later, we plan to make a wall mount for the machine.
Electronics and Software
We use an Arduino with a Grbl shield to control the stepper motors, which are one NEMA 17 per axis, and the servo. We feed the controller with pre-generated G-code through Universal G-code Sender.
For homing purposes we have an end stop switch on the X-axis.
Current Challenges
The Y-axis ended up being a bit hard to actuate, demanding quite a bit of torque. Our NEMA 17 motor with 2:1 gear ratio and no microstepping struggled (read about pitfalls when using microstepping here). Therefore we increased the gear ratio to 6:1. This introduced another issue, which was backlash due to a new belt standard. The way we will solve this is to continue to use a low-backlash belt standard (GT2), as we did before the switch, and custom build a large cog to get the gear ratio we want.
Another challenge we faced was torsional bending of the whole structure everytime the Y-axis changed direction, resulting in the paper moving undesirably. Modifications will be done to the structure to make it more stable in the future.
These two issues actually resulted in quite an interesting font when drawing text, and made the whole machine a lot more charming than initially planned. 🙂
Stay tuned for a more detailed post and an improved machine in the near future!


