Making a device with an LED matrix is something we have wanted to do for a while now, and now we’ve finally gotten around doing it.
The way we usually do it with these kinds of quick-builds is to use what components we already have lying around in our component storage. This project is no exception.
Device Overview
With the LED matrix we wanted to represent virtual particles, which would move relative to “gravity”. Tilting the device one way would make particles move accordingly.
In addition to the LED matrix, we would need an enclosure with some sort of handle and an acrylic plate to soften the LED light. We also wanted the device to be portable with a chargeable battery on board. A Teensy and an accelerometer are key components inside this device. We will get more into the technical details in a different blog post, which we’ll publish in the near future.
The Result
We ended up with a game where you have to move bouncy particles by tilting the device. The square NC logo is part of the game and works as walls for particles. The goal is the get all the particles out of the NC logo through a small hole in the C letter.

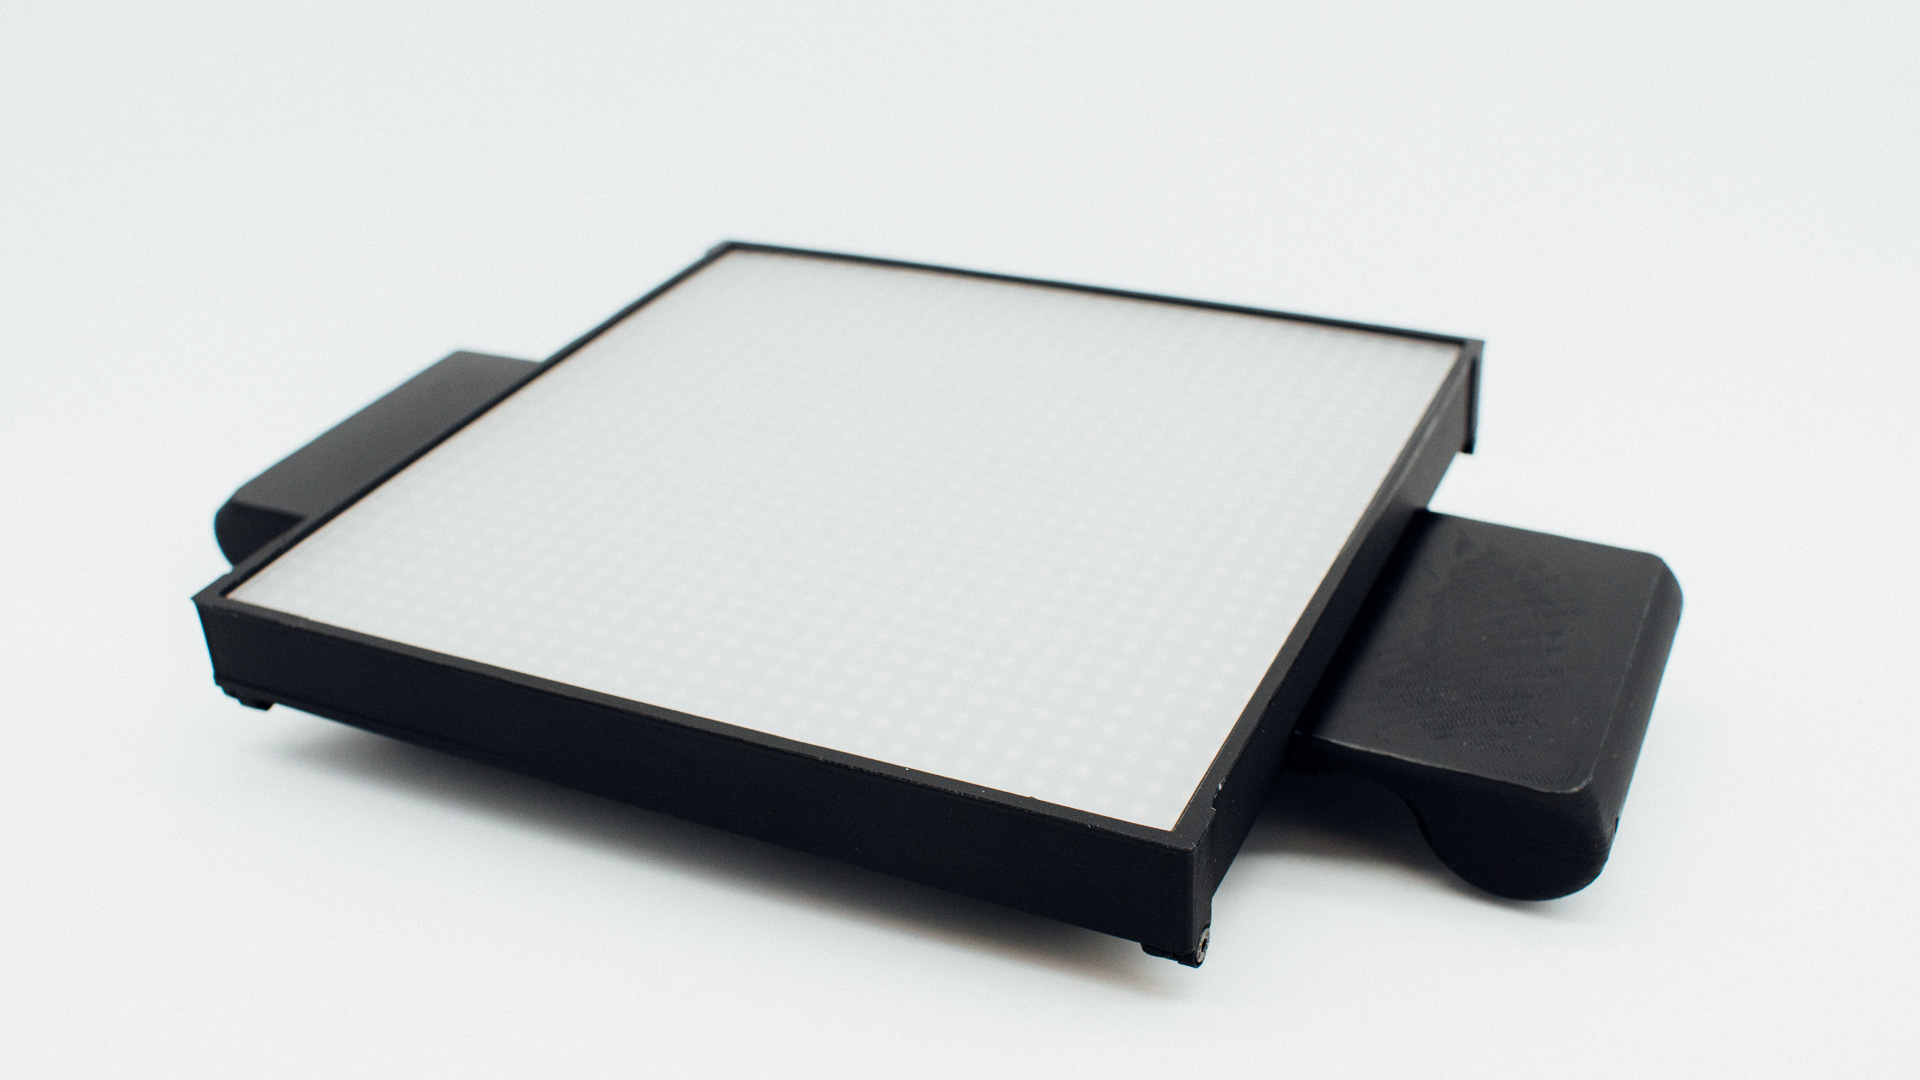
Enclosure
The enclosure consists of 5 different parts, four 3D printed ones and one acrylic plate. We used M3 brass inserts for attaching several of the parts.
The Back
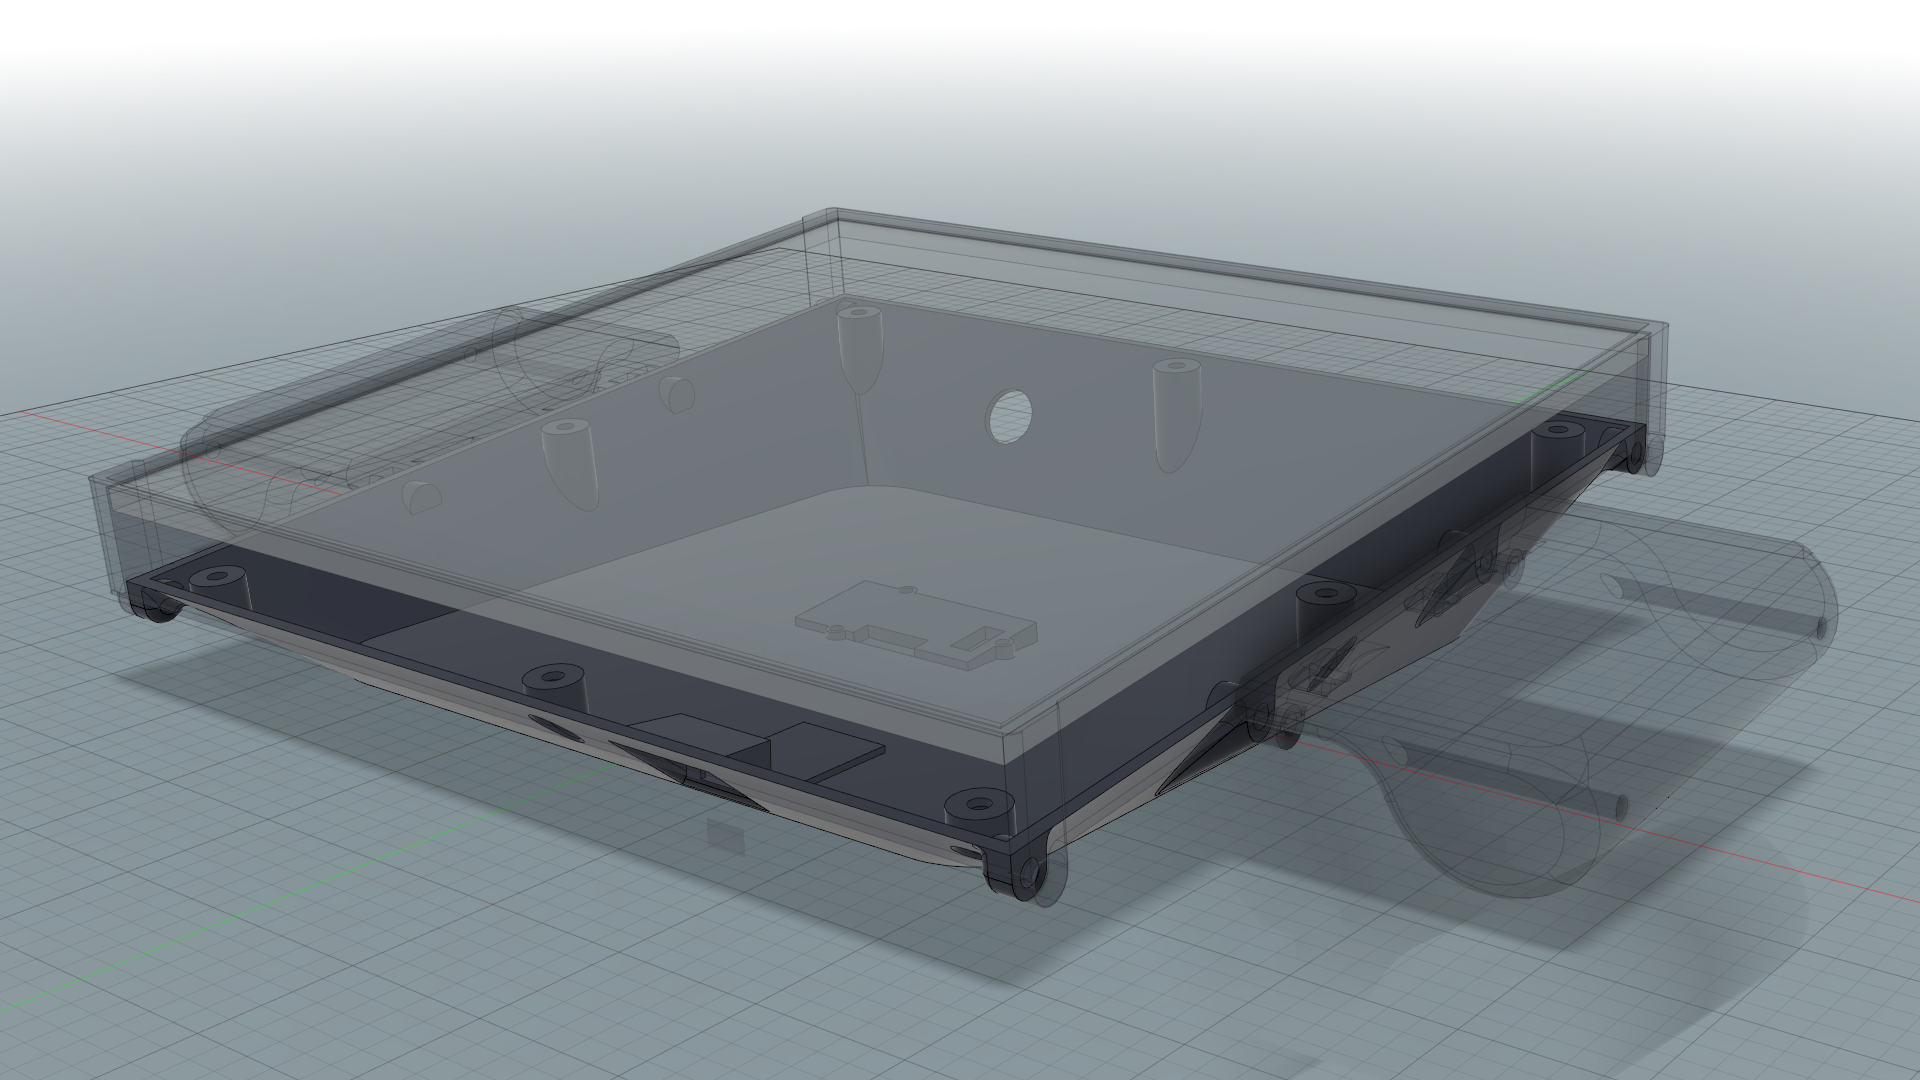
This is the main part of enclosure structure which contains all the electronics. The LED matrix module gets directly mounted to this part, and so does the front part and the handles.
Due to some of the electronics having a bit of height on one side, we chose to angle the back of the device a bit such that the total volume gets smaller. When you place the device on a horizontal surface the screen will be tilted a bit forward. To represent this angle offset we tilted the accelerometer in an equal angle.
We also have a simple USB port for charging and hole for the power switch towards the back.
The Front
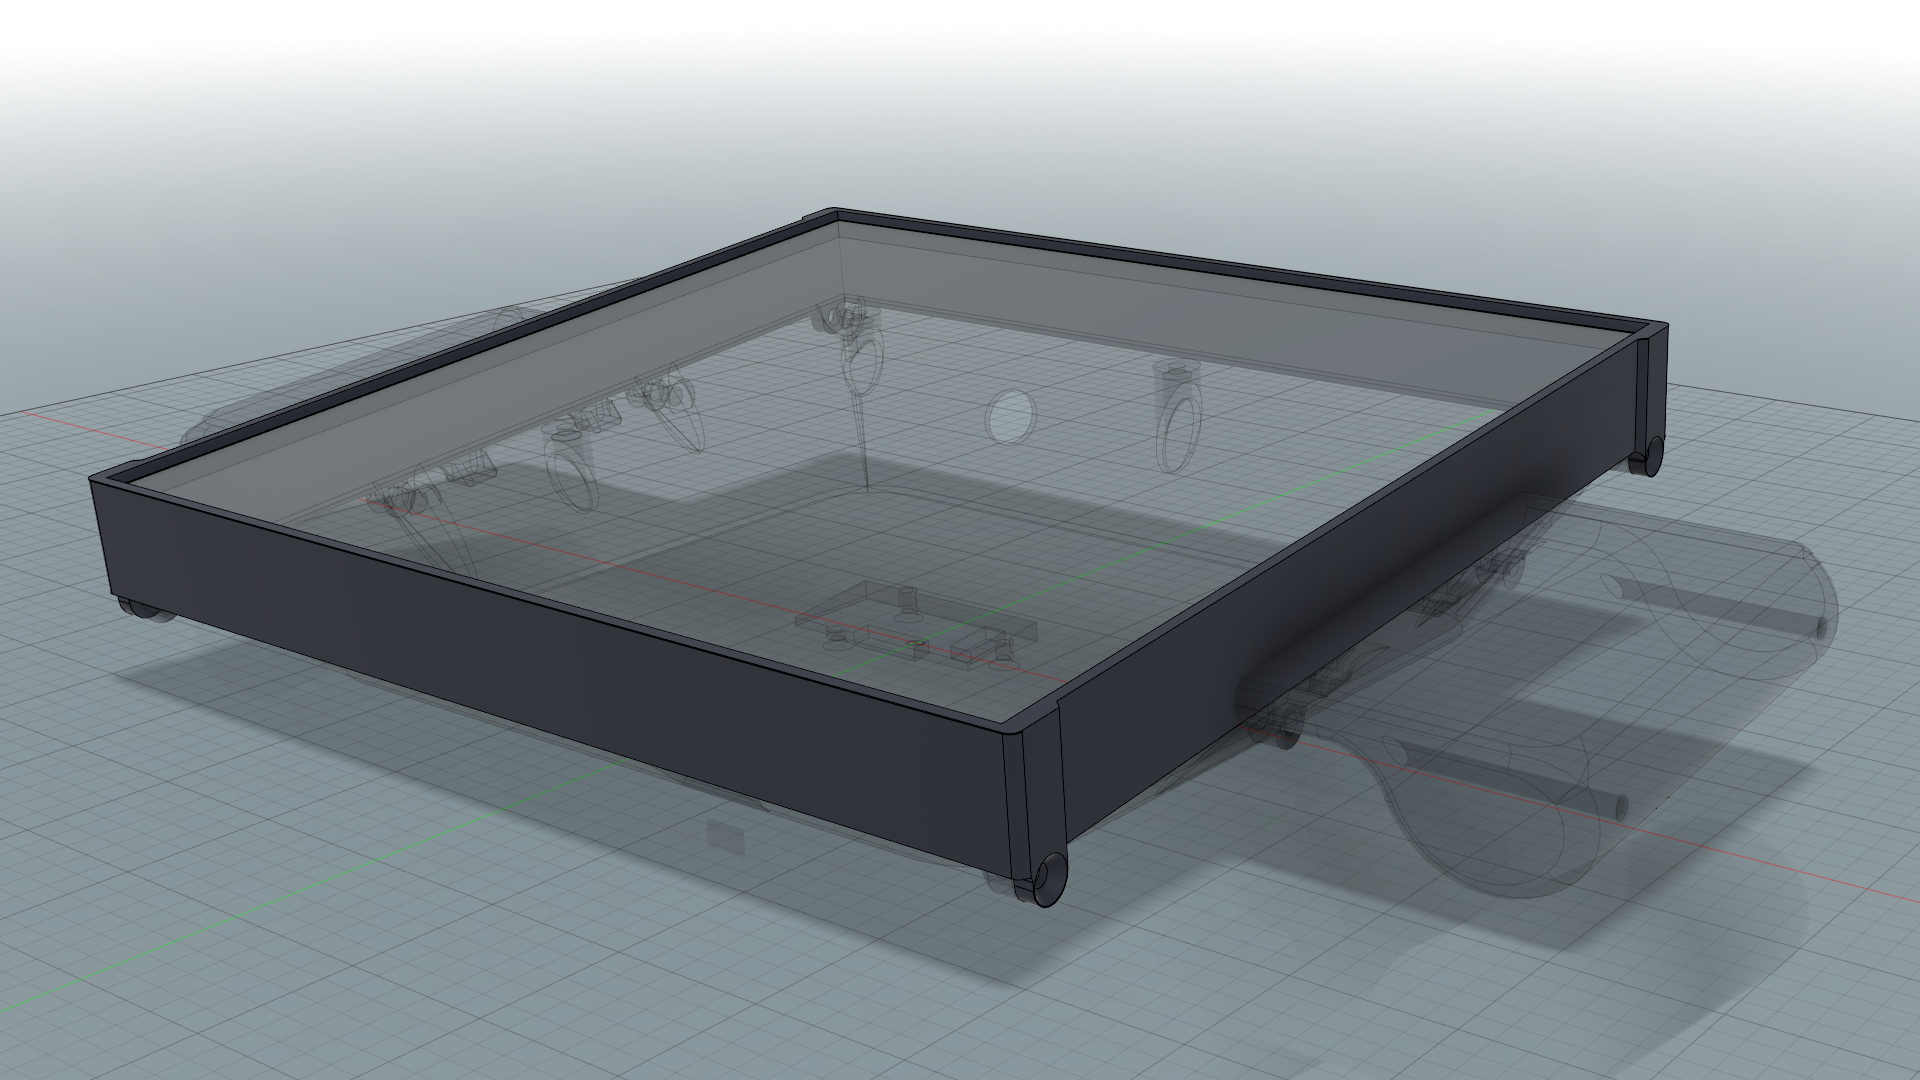
Most of this part is actually on the sides of the device, but we’ll call it the front since it’s that as well. Its only purpose is to keep the acrylic LED diffusor sheet in place, in a frame-like fashion.
The LED Diffusor
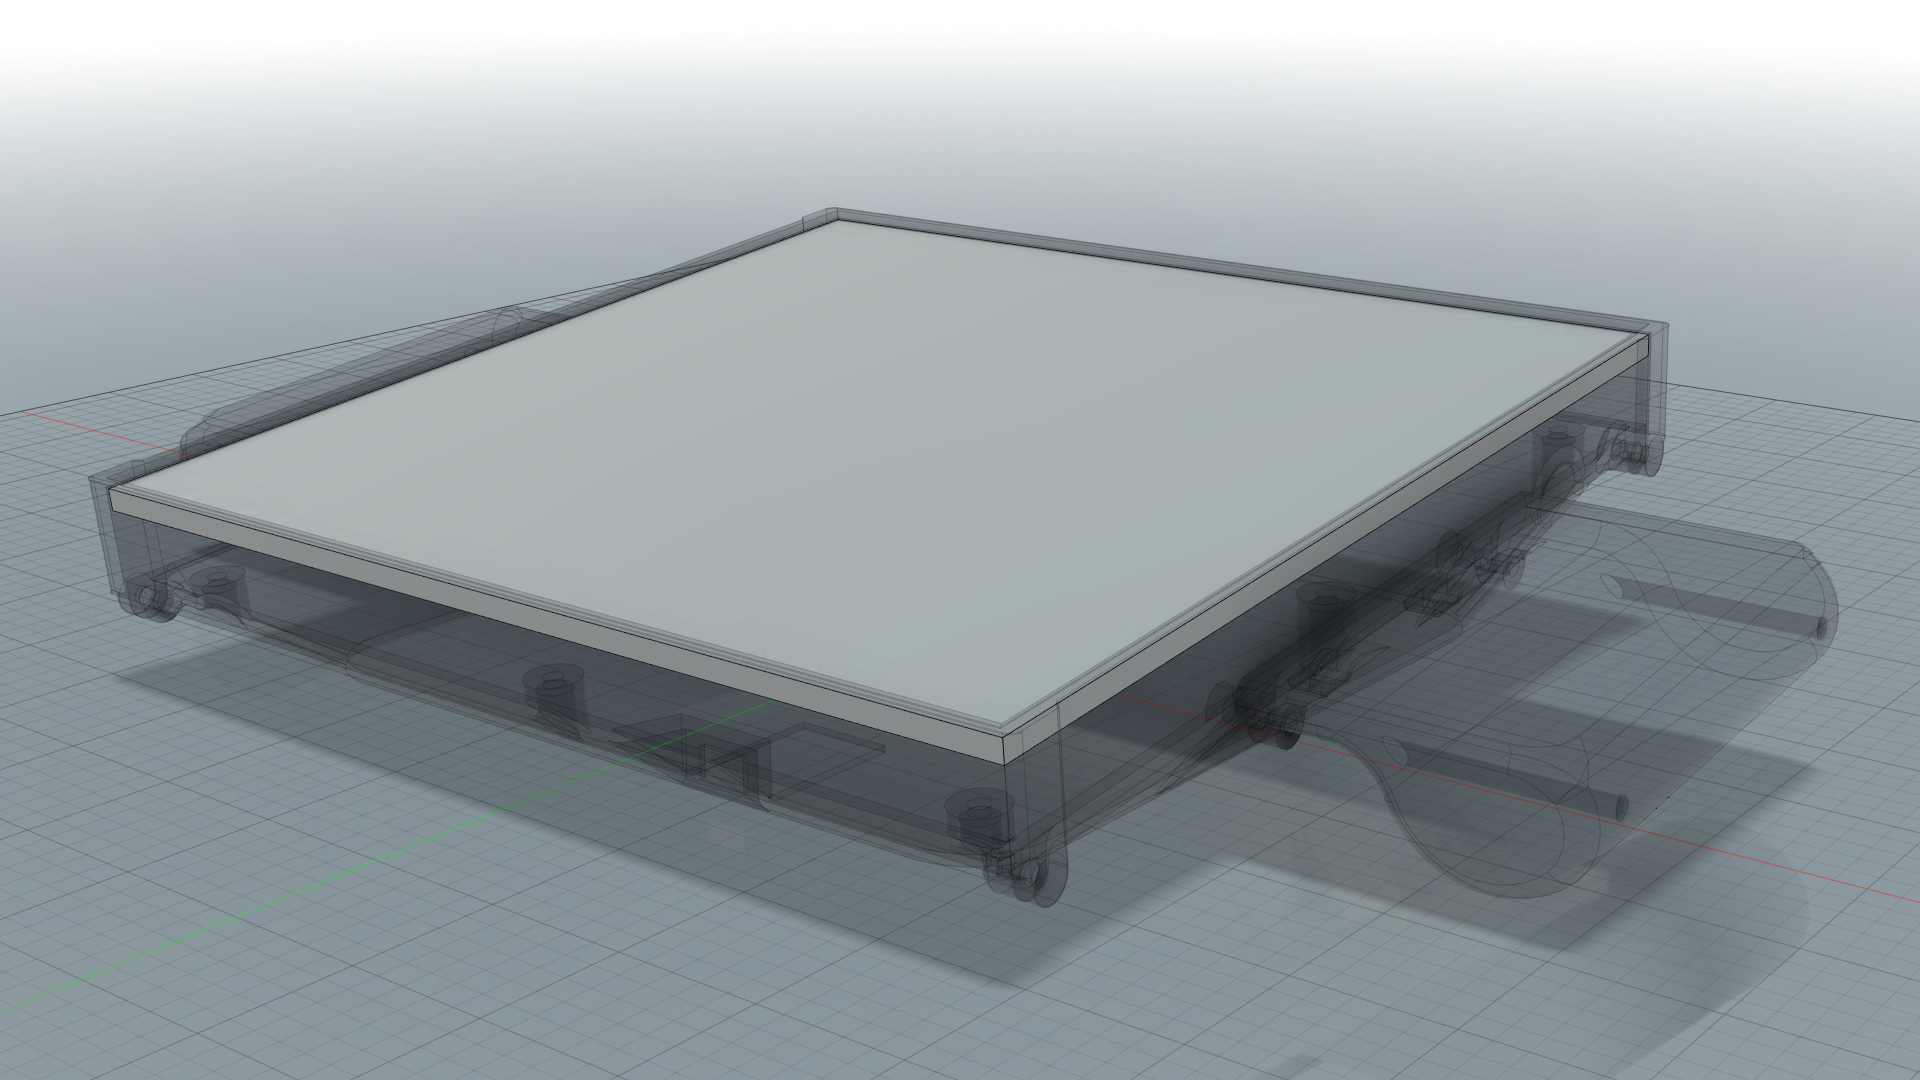
To soften up the LED lights we chose to use a 4 mm translucent acrylic plate. We cut this part such that it barely fitted into the front part. That way we didn’t need to fasten it in any way except sandwiching it between the front piece and the LED matrix module.
The Handles
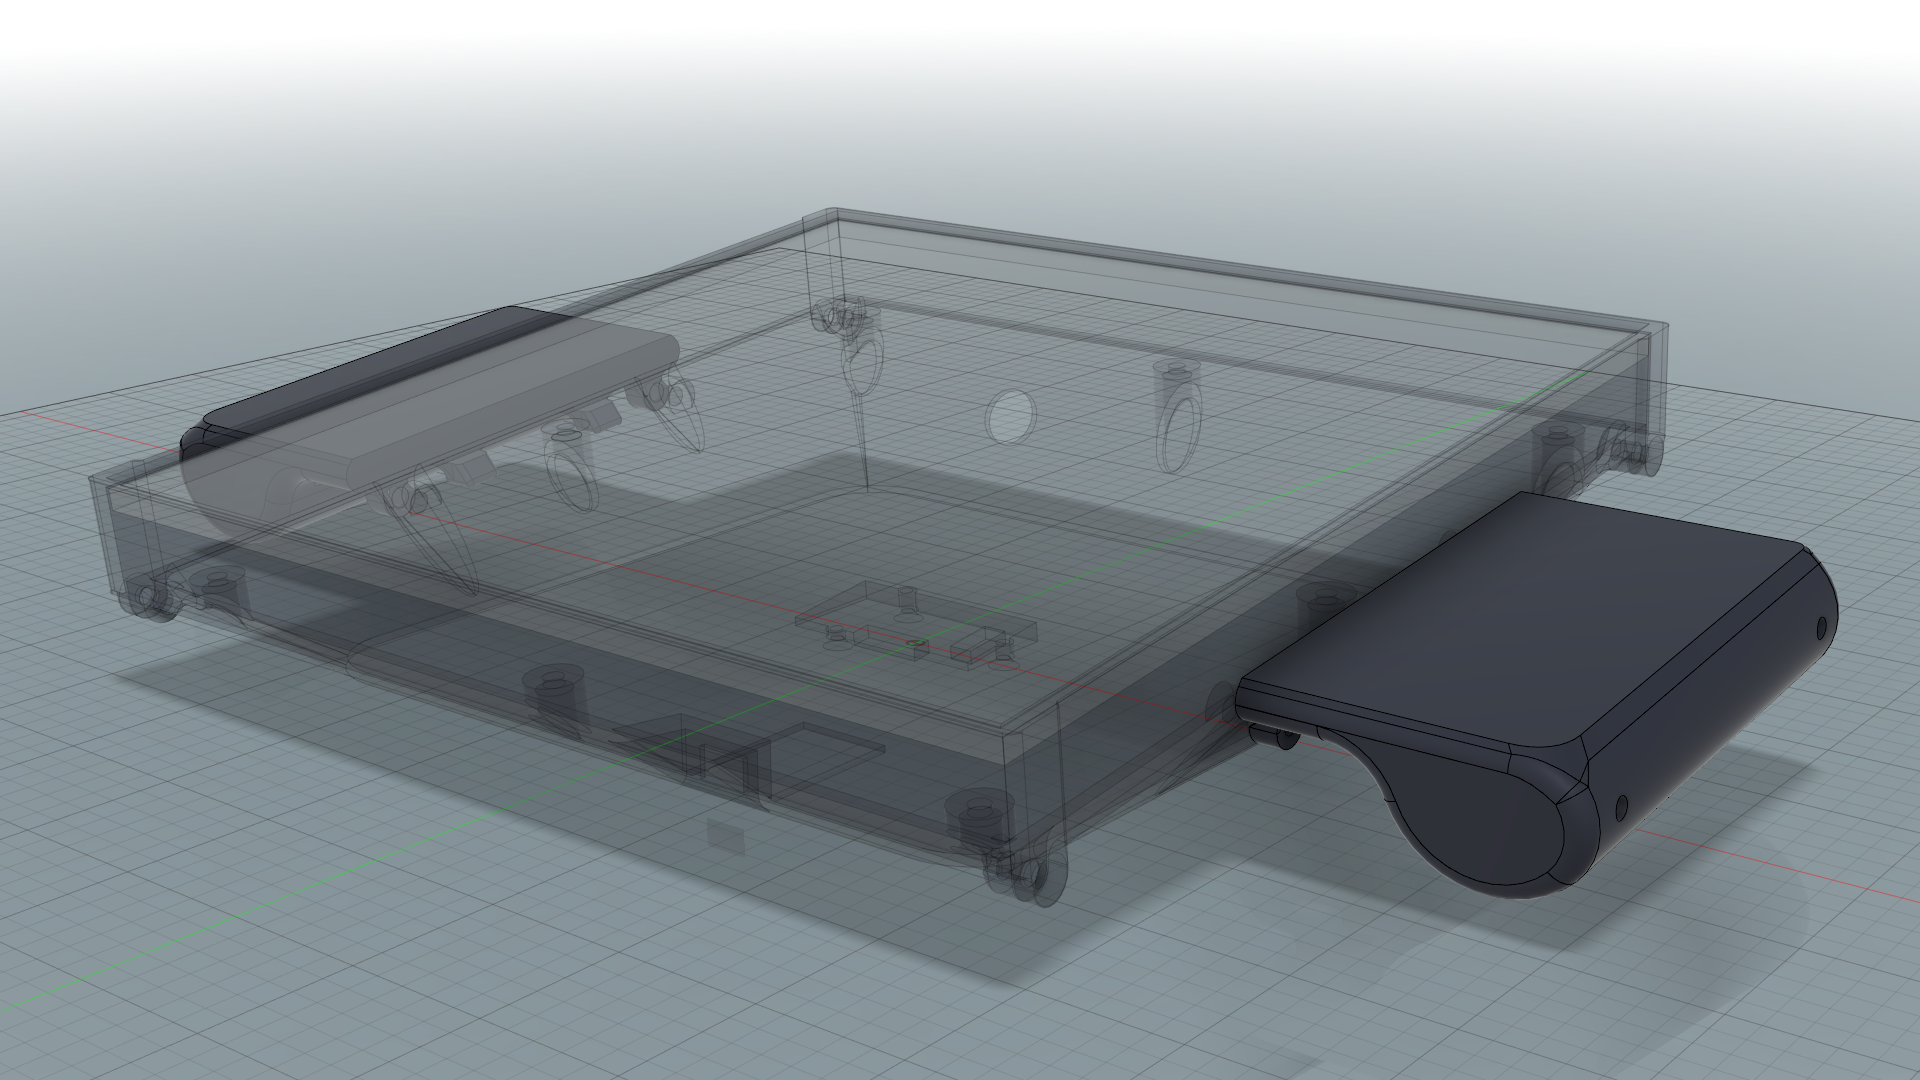
To easily be able to hold and use the device, we made two handles on the sides. These have two holes through them for tool accessibility during mounting.
Continuation
In the next blog post about this device we’ll look closer at the electronics and firmware. We’ll also show how it looks when the power is turned on!


