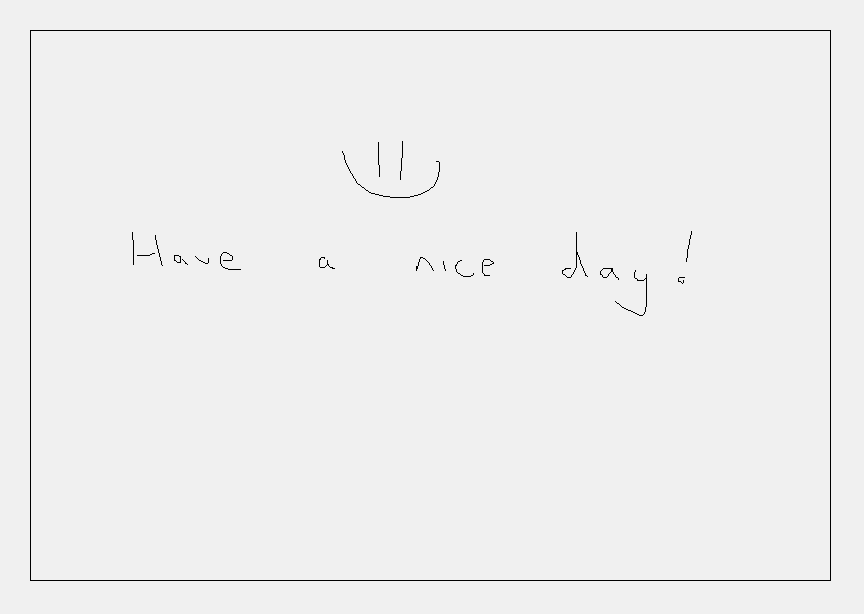
Getting an image to the machine from somewhere else might at first seem like the most challenging aspect of a drawing machine like this. However, as soon as you get a grasp of some basic fundamentals, the road from some jpeg from the internet (or a smiley on a drawing pad) to a nice little drawing on a sheet of paper gets dramatically shorter.
In our case, one of these fundamentals is the use of G-code. This is a standardized set of instructions mainly used for automated machine control and is widely utilized in the world of CNC mills and 3D printers. The advantage with G-code is that everything is vector-based (i.e. path-based, just like any sane person would normally use a pencil) and not pixel/bitmap-based as the old dot matrix printers or indeed our very first laser engraver. We wanted the plotter to behave like a human drawing on a sheet of paper and not like a printer, so a vector-based foundation was desired.
We basically needed software to do two things:
- Create G-code.
- Interpret the G-code and translate it to machine movement.
In this post we will go through how these two steps are done in our plotter.
G-code Generation
As mentioned several times earlier in this blog series, the plotter has two main modes:
- Realtime drawing
- Pre-generated G-code
The only difference between these two modes is in reality how the G-code is generated.
Realtime Drawing – The Python Drawing Program
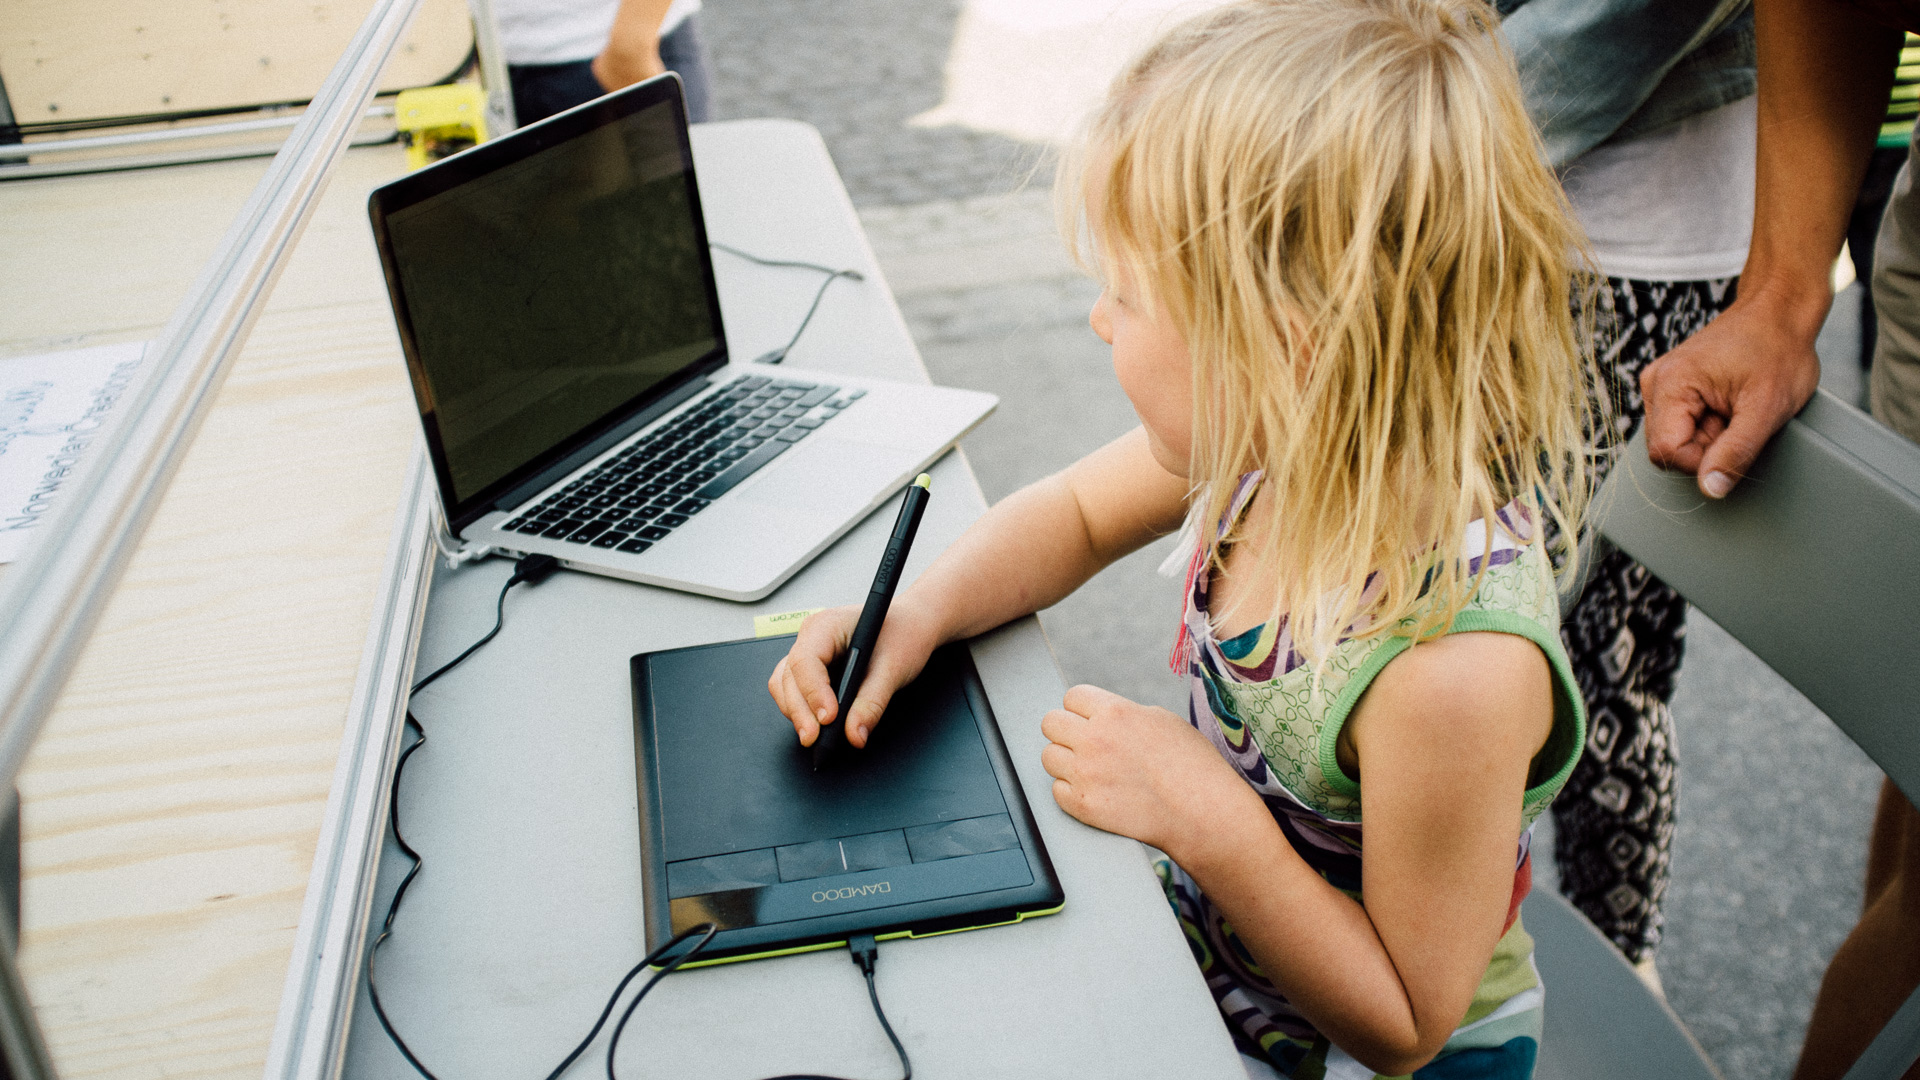
Realtime drawing is the mode we use for input from a drawing pad or a PC mouse in “realtime”. The plotter will then draw the same as you do, although with a delay proportional your personal drawing speed (hence the quotation marks) since the plotter moves at a constant speed. To make this mode as user-friendly as possible, we made a custom GUI program in Python which can run on most platforms.
This program has four tasks:
- Able the user to choose the correct sheet/drawing area
- Visualize the drawing in realtime in the GUI
- Generate G-code
- Send G-code to the plotter (and manage the queue)
Before going to Trondheim Maker Faire, we wanted the program to be able to only draw inside the paper edges and not directly on the backplate (for obvious reasons). We chose to create a 2×3 virtual and physical grid consisting of 6 A3 sheets. When starting a new drawing, the user can choose which one of these six sheets he/she wants to draw on by punching in a number between 1 and 6. The machine will then move to the lower left corner of the corresponding sheet and then be ready for action.
The most obvious task to the user is that it shows a digital visual representation of your drawing together with a border that represents the edge of the paper. Without this visual representation of your artwork, you’d have to look at the machine to see what you had drawn (which would’ve cumbersome due to the delay) and you’d have no way of knowing where you were about to draw before you actually did. The machine doesn’t chase the mouse cursor around the canvas. Instead, it only moves when it’s about to draw something (we tried both, and trust me, this was the optimal way to solve that particular dilemma).
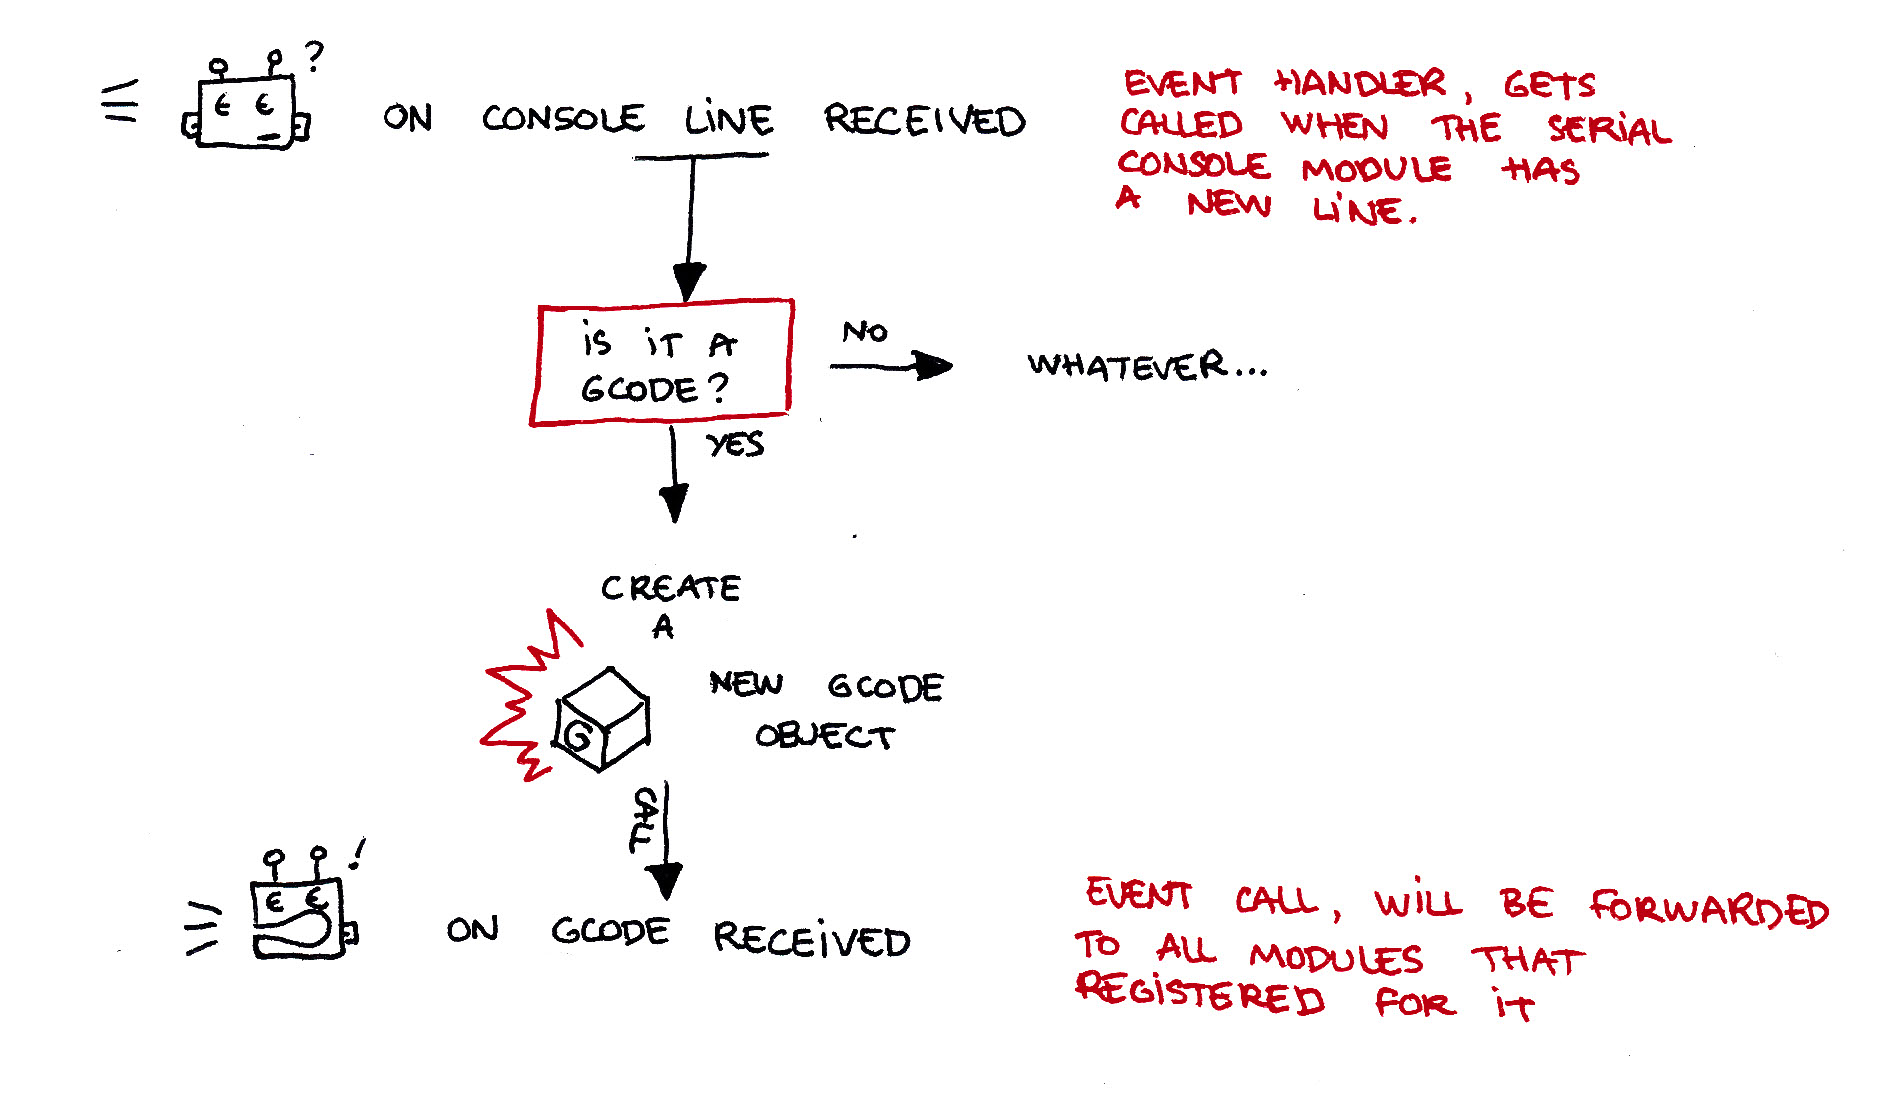
To simplify basically everything, the program only creates straight line segments and not curves. It would probably be able to generate curved segments as well, but the implementation would be much more complex. Every time the OS gives the program a mouse cursor position, a G-code move command is made from the previous position to the current position. When you press the mouse button or come in contact with the drawing pad with the pen, a line of G-code is generated which is interpreted by the machine such that the servo moves the marker down on the paper (and similarly for moving the pen up).
string = "G1 X%d Y%d" % (G_CODE_X, G_CODE_Y) #create a G1 straight line G-code
GCODE_BUFFER.appendleft(GCODE(string)) #append the G-code to the buffer
No matter what type of G-code is generated, that one line of G-code is then put in the queue ready to be sent to the machine when the time is right. The reason the program don’t send the G-code lines at will is that the buffer on the machine is quite limited and would then quickly overflow. Typical buffer size is 32 lines.
GCODE_BUFFER = collections.deque()

#### from another place ####

class GCODE:
	def __init__( self, code ):
		self.time = time.time()
		self.code = code

	def get_code(self):
		return self.code

	def get_time(self):
		return self.time

#### from another place ####

def serial_function(self):
	global GCODE_SENT_WAITING, GCODE_BUFFER, serBuffer, ser

	while True: # check incoming serial
		c = ser.read() # attempt to read a character from Serial
		if len(c) == 0:
			break

		if c == '\n':
			if serBuffer[0] == 'o': #do we have an OK?
				GCODE_SENT_WAITING -= 1
				if GCODE_SENT_WAITING < 0:
					GCODE_SENT_WAITING = 0
			else:
				serBuffer = ""
		else:
			serBuffer += c

	#peek at buffer
	if(len(GCODE_BUFFER)>0):
		tmp_code = GCODE_BUFFER[-1]
		timediff = time.time()-tmp_code.get_time()

	if(GCODE_SENT_WAITING < GCODE_BUFFER_SIZE and \
	len(GCODE_BUFFER) > 0 and timediff > GCODE_timedelay):

		#get a code from the buffer
		tmp_code = GCODE_BUFFER.pop()

		#format the string
		string = tmp_code.get_code()
		string = string + "\r\n"
		ser.write(string)
		GCODE_SENT_WAITING += 1

	self.after(10, self.serial_function) # check serial again soon
Pre-generated G-code – “Gcodetools” Extension for Inkscape
We also wanted the plotter to be able to draw already-existing vector graphics. We need G-code for this operation as well, and to create this we use an extension for Inkscape called Gcodetools. Inkscape is a free alternative to Adobe Illustrator (just as GIMP is a free alternative to Photoshop).
Regular images found here and there are usually not vector graphics, but Inkscape has the ability to trace any bitmap so that you can create G-code from the picture. We then send the G-code file to the machine using GcodeSender, such that the plotter gets bite-sized chunks of G-code instead of getting overwhelmed.
Smoothieware
Smoothie is a free, opensource, high performance and modular G-code interpreter and CNC controller for the LPC17xx micro-controller ( ARM Cortex M3 architecture ). The motion control part is a port of the awesome grbl. The Source code is on GitHub.
Since we want the machine to be able to understand G-code, we need a system to parse the commands and move the motors. We have used GRBL on an 8-bit AVR before, but we like to try different approaches to the same challenge, and this was rather fun to test out since it was coded for a more powerful micro (100-120 MHz, 32 bit). In Smoothie we are able to easily change all kinds of parameters to make the plotter behave just as we want it to.
Making it All Work Together
So with a machine that supports G-code, it’s rather straight forward to draw something. As we did here, both “real time” and finished images can easily be prepared and sent to the plotter, and Smoothieware makes the motor control so much easier than if we were to code something ourselves (it would basically just be us reiventing the wheel).
You can find the overview post here.
Click here to read the final post!
Further reading:
Part 2: Mechanical
Part 3: Electrical


