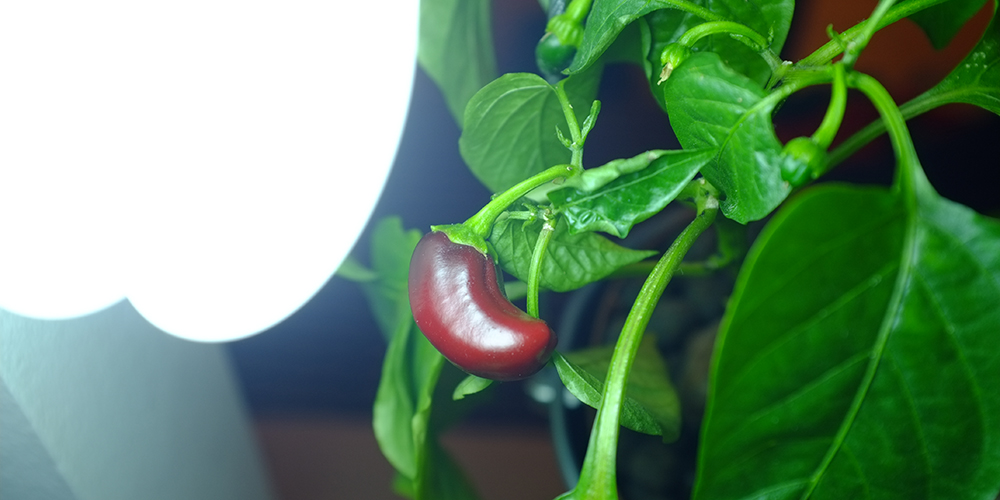
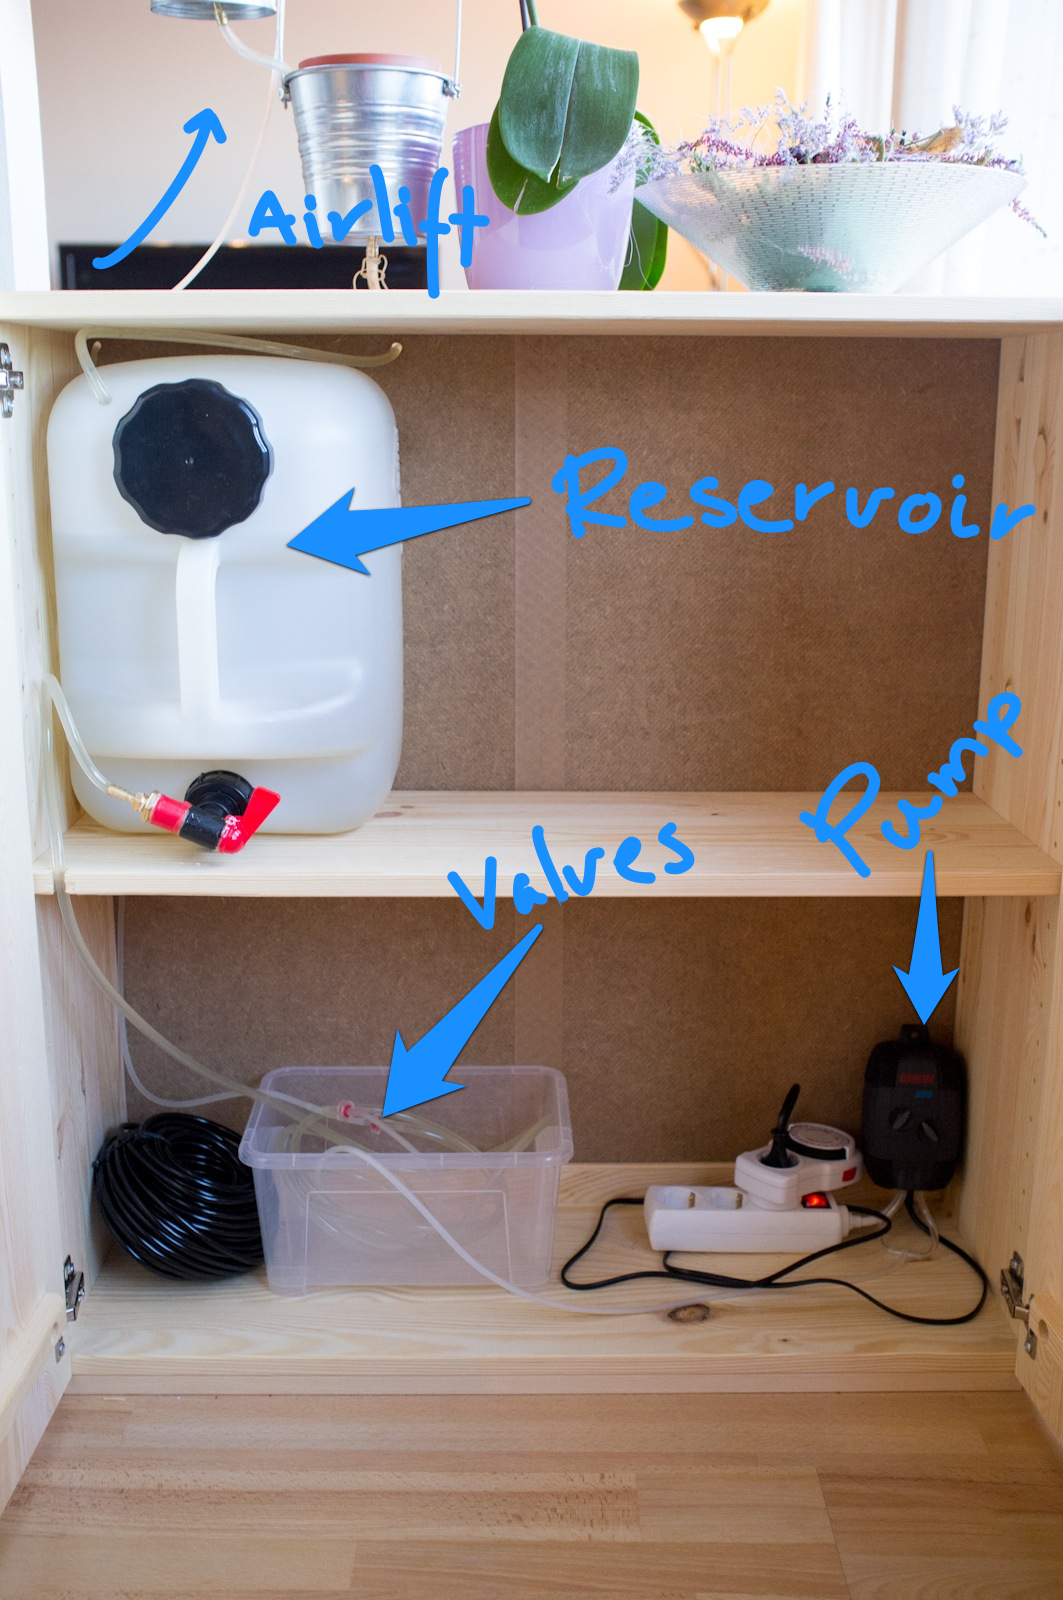
I want to drip a nutrient solution onto the top plant. And to accomplish that I’m going to use an air lift.
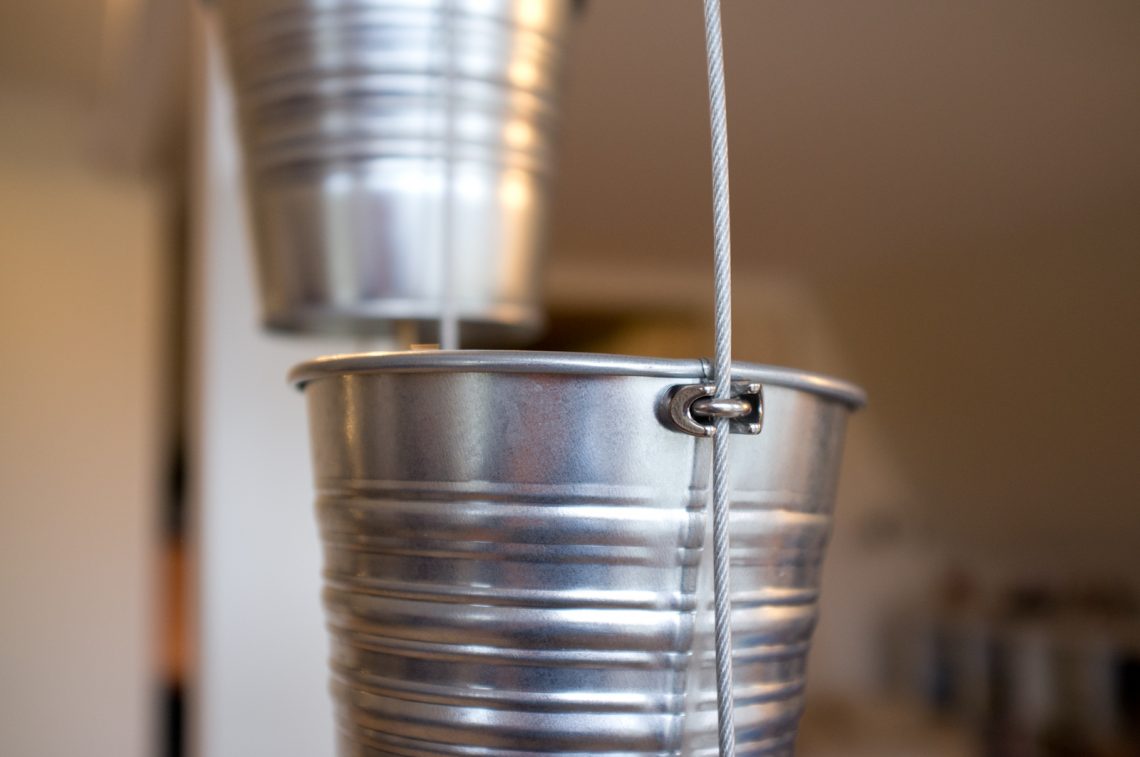
Water in the pipe is displaced with air, making the total weight within the pipe less than the weight outside the pipe. Since water seeks its own level by virtue of its weight (and its fluid nature), it will get pushed up an airlift pipe because the weight is less there (lower pressure).
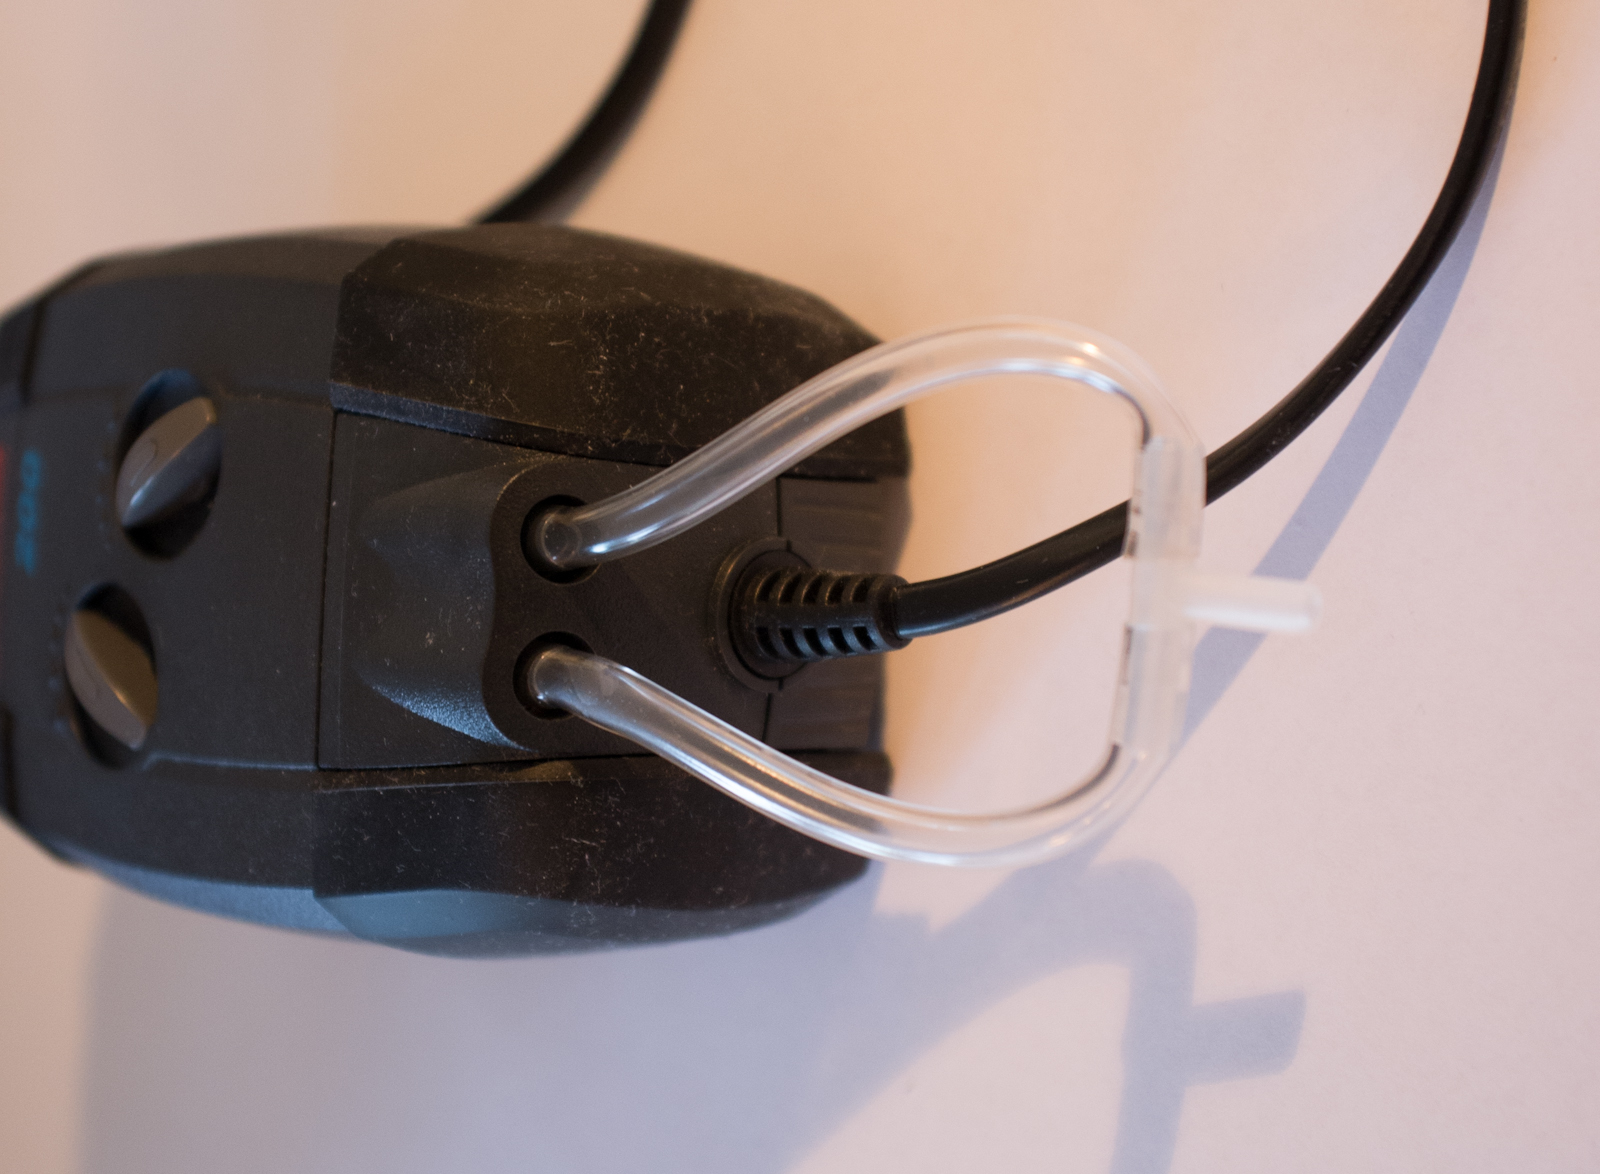
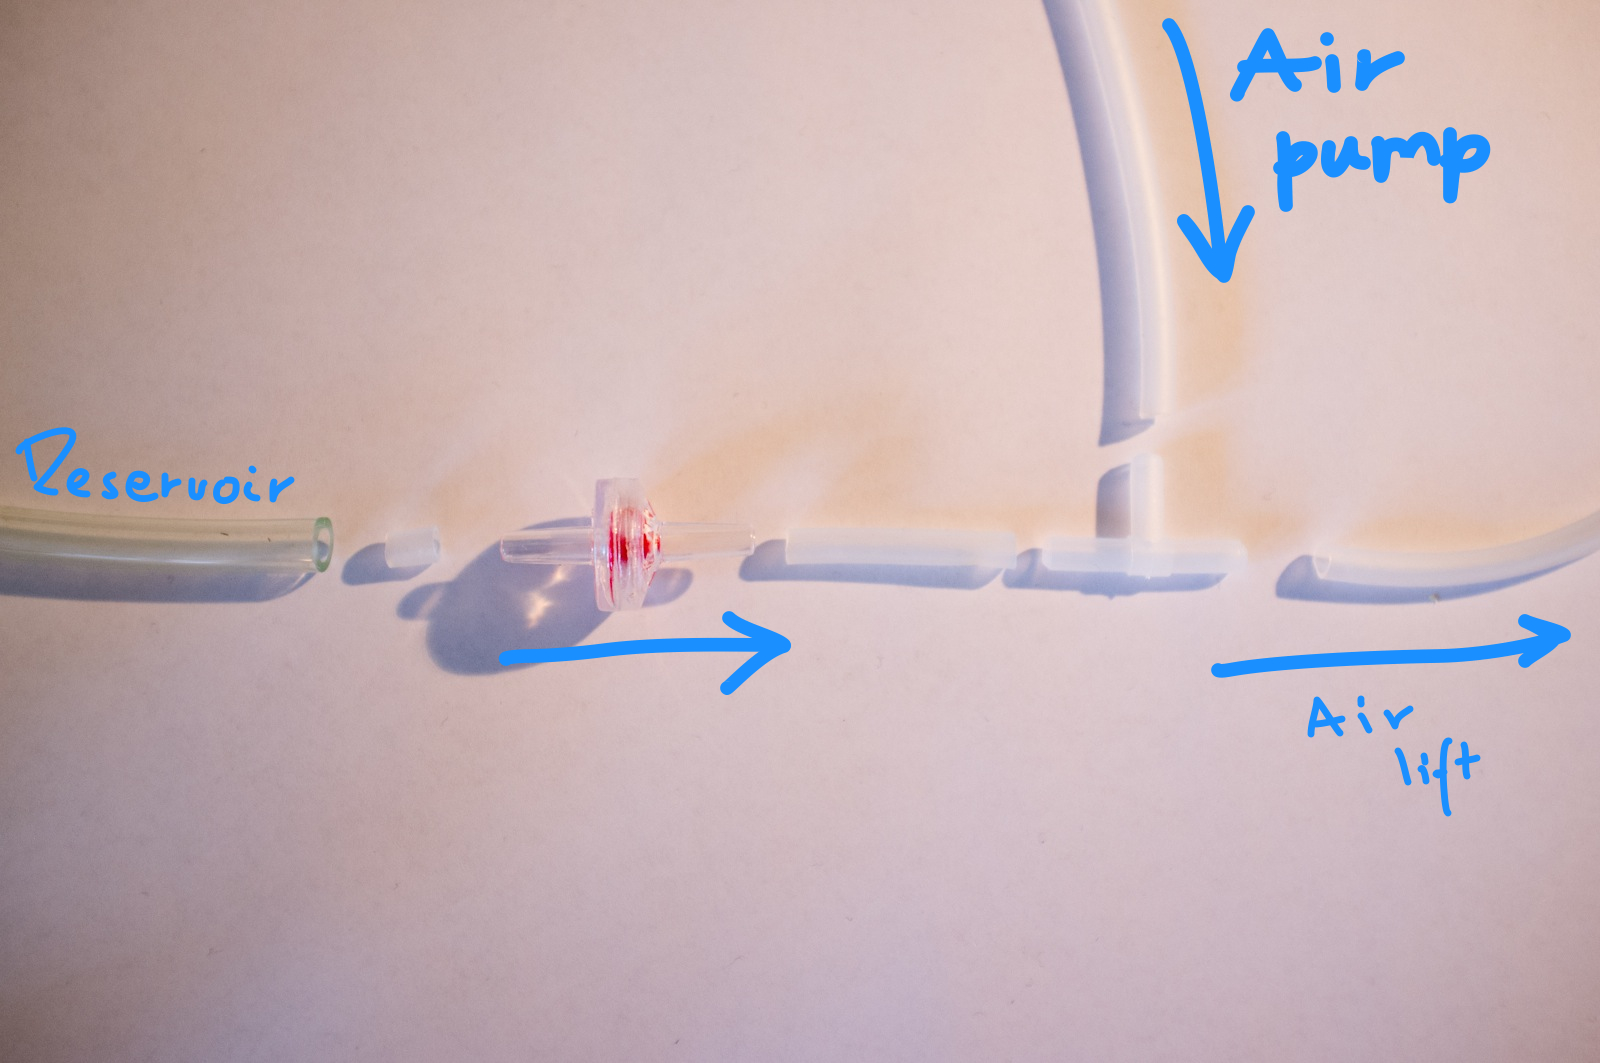
The check valve towards the reservoir is not strictly necessary, but it can help if you have problems with air going the wrong direction. When the air is entering the t-junction it cannot go into the reservoir. When it flows up the air lift, a suction is created on the left side in the t-junction and water from the reservoir is sucked into the air lift. The hoses has 4mm and 6mm inner diameter.
Note that this junction must be placed lower than the reservoir, and higher than the lowest water level (the lowest point on the reservoir hose). The last point can be dropped if a check valve towards the reservoir is used.
I did also placed a check valve on the pump side of the t-junction. This is needed if the pump is going to be located lower than the reservoir.
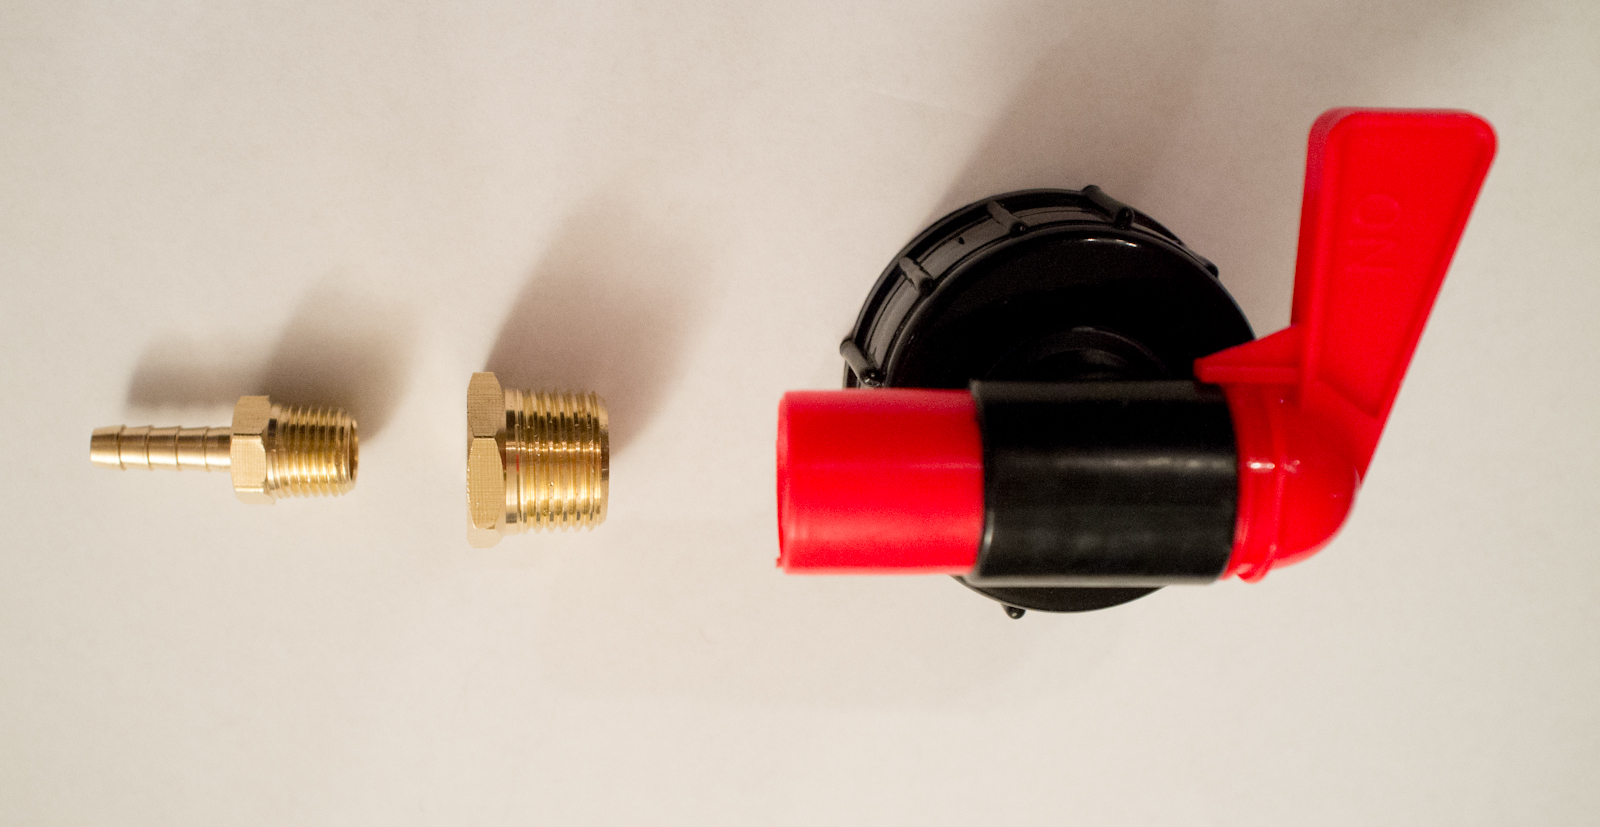
A convenient way to change the nutrient water solution is necessary. I modified a standard watering can to accommodate easy hose attachment.
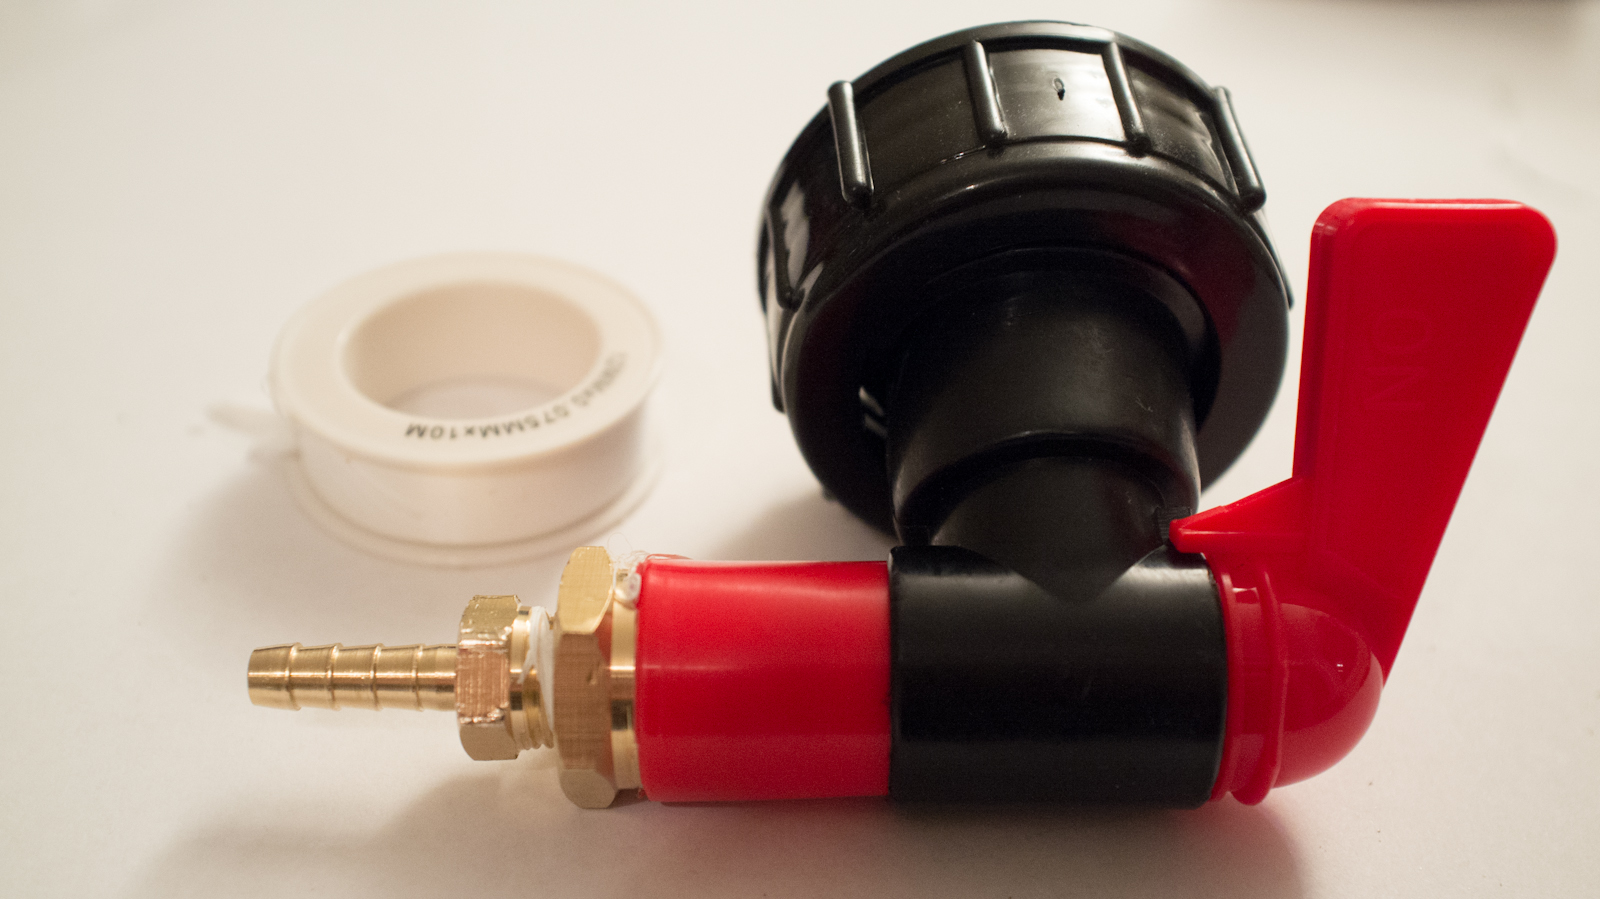
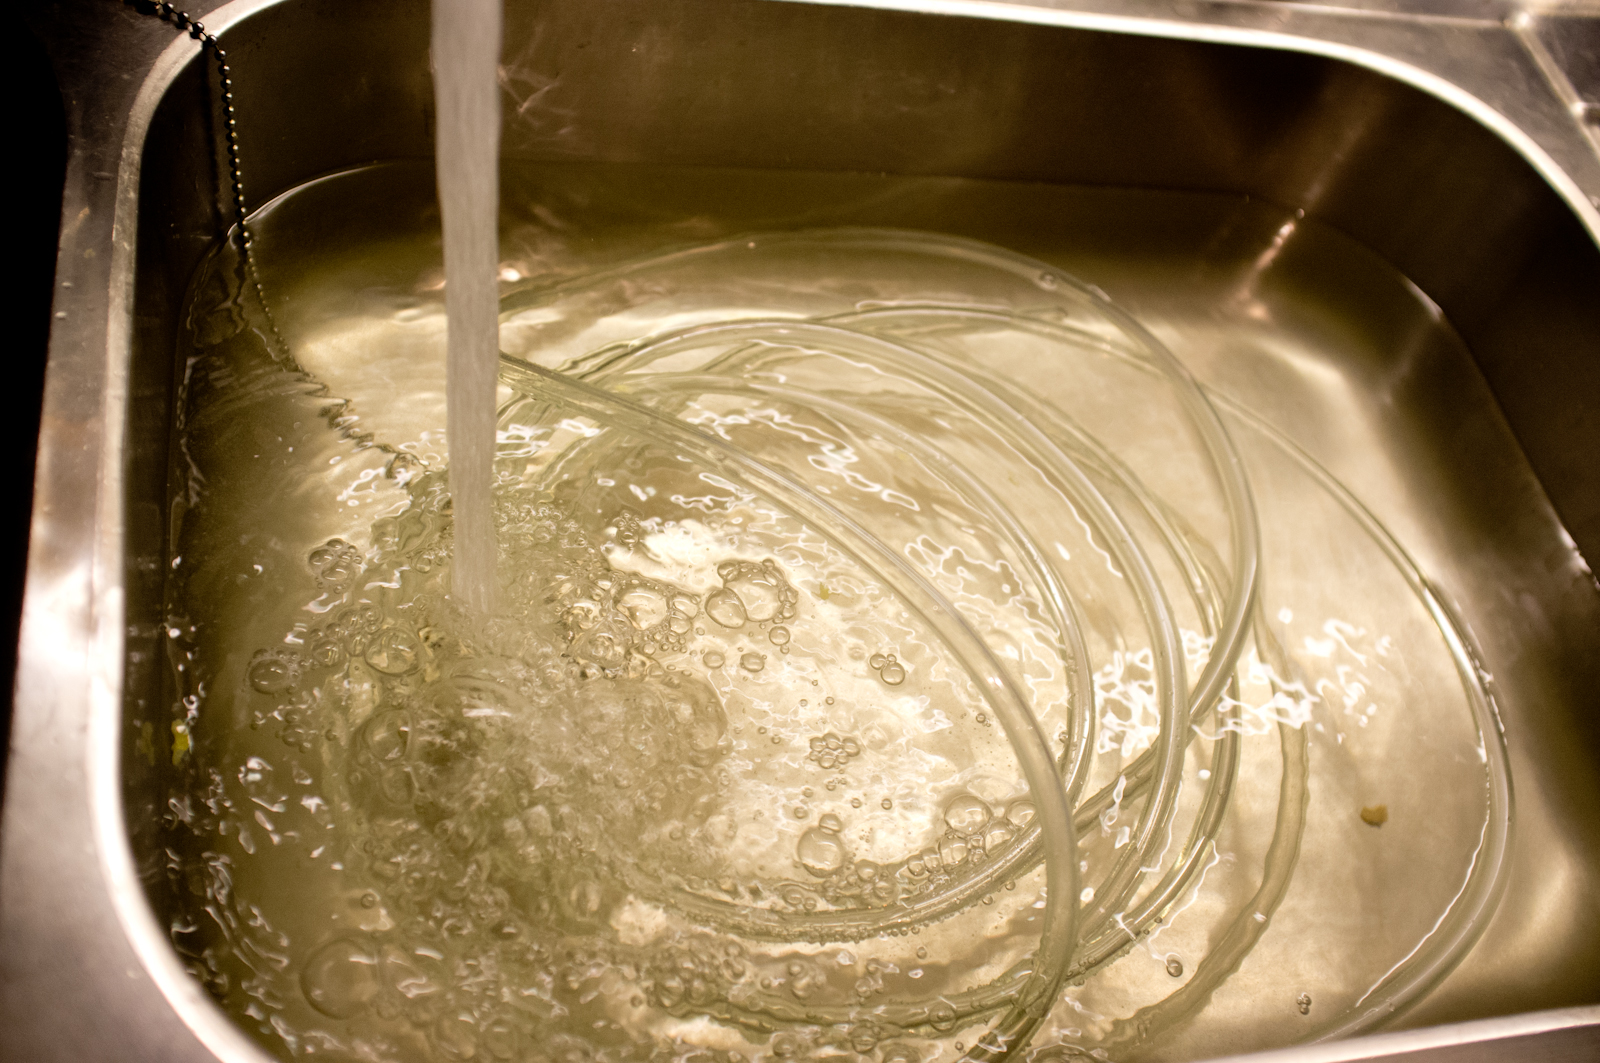
By heating the hose with hot water it becomes a lot easier to work with.

Transparent hoses should be avoided because they are prone to algae growth on the inside. I’m going to change them as soon as possible ![]()
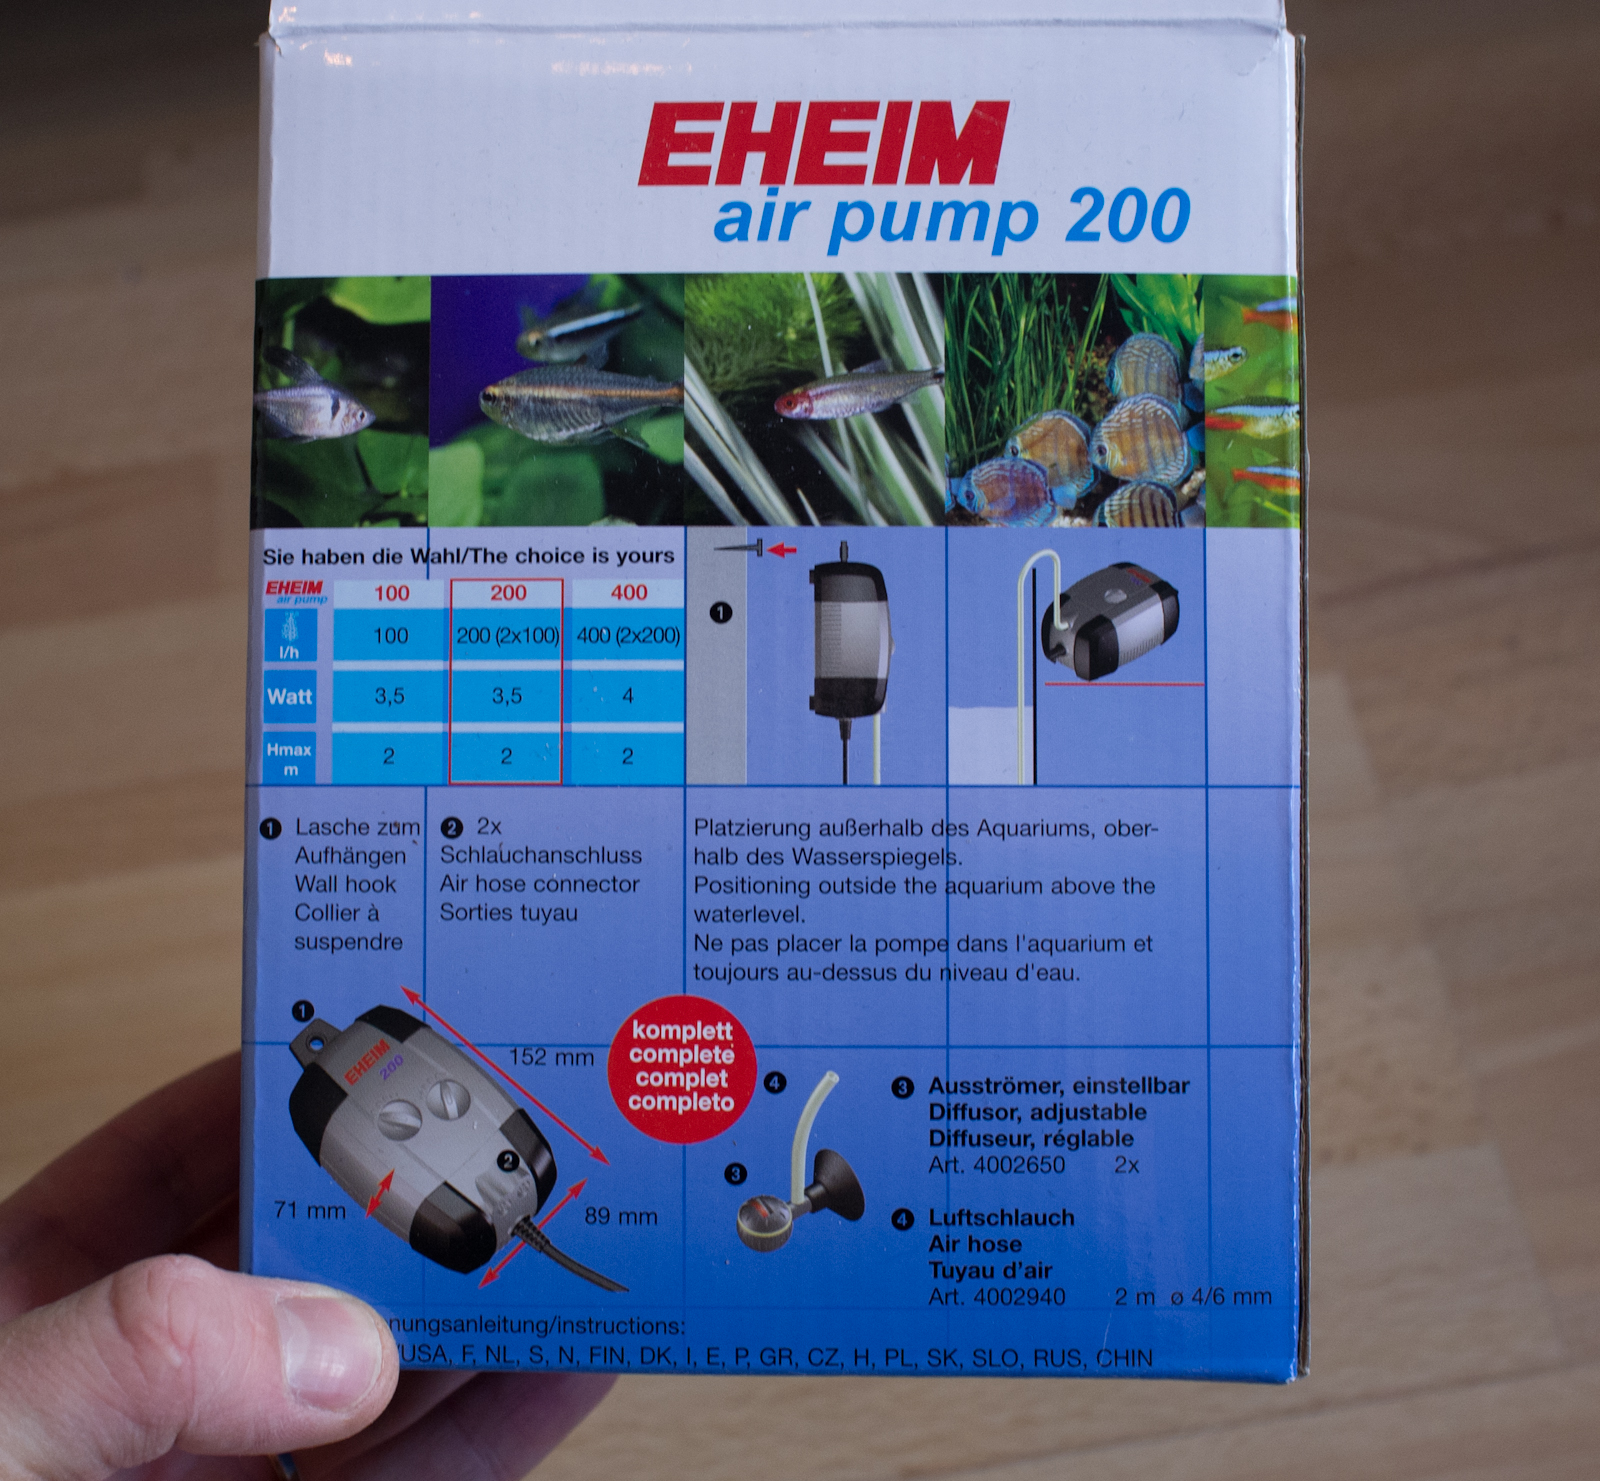
The pump is controlled by a mechanical timer with 15 min intervals. At the moment it is running 15 min every other hour from 08:00 to 22:00.
How much the pump should be running, and what kinds of nutrition I start this hydroponic experiment with will be explained in the next post!