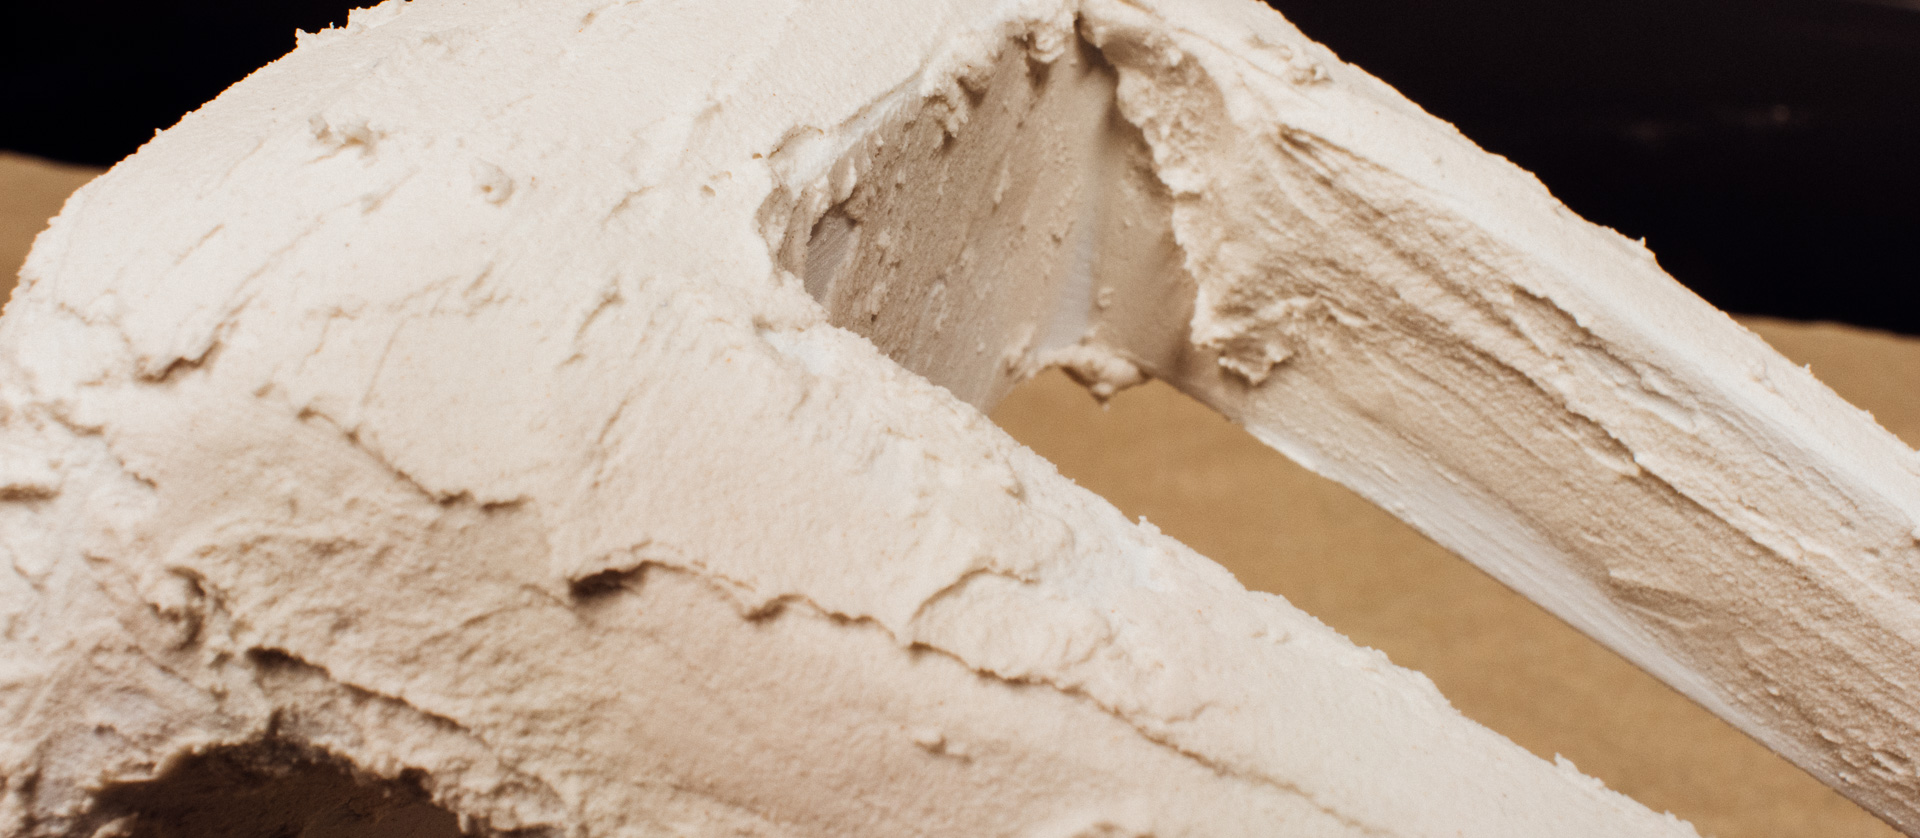
When 3D-printing, you typically get visible layers. These irregularities is often desirable to hide.
In this post will show you a method you can use to conceal them and finish the part.
The Subject and the Plan
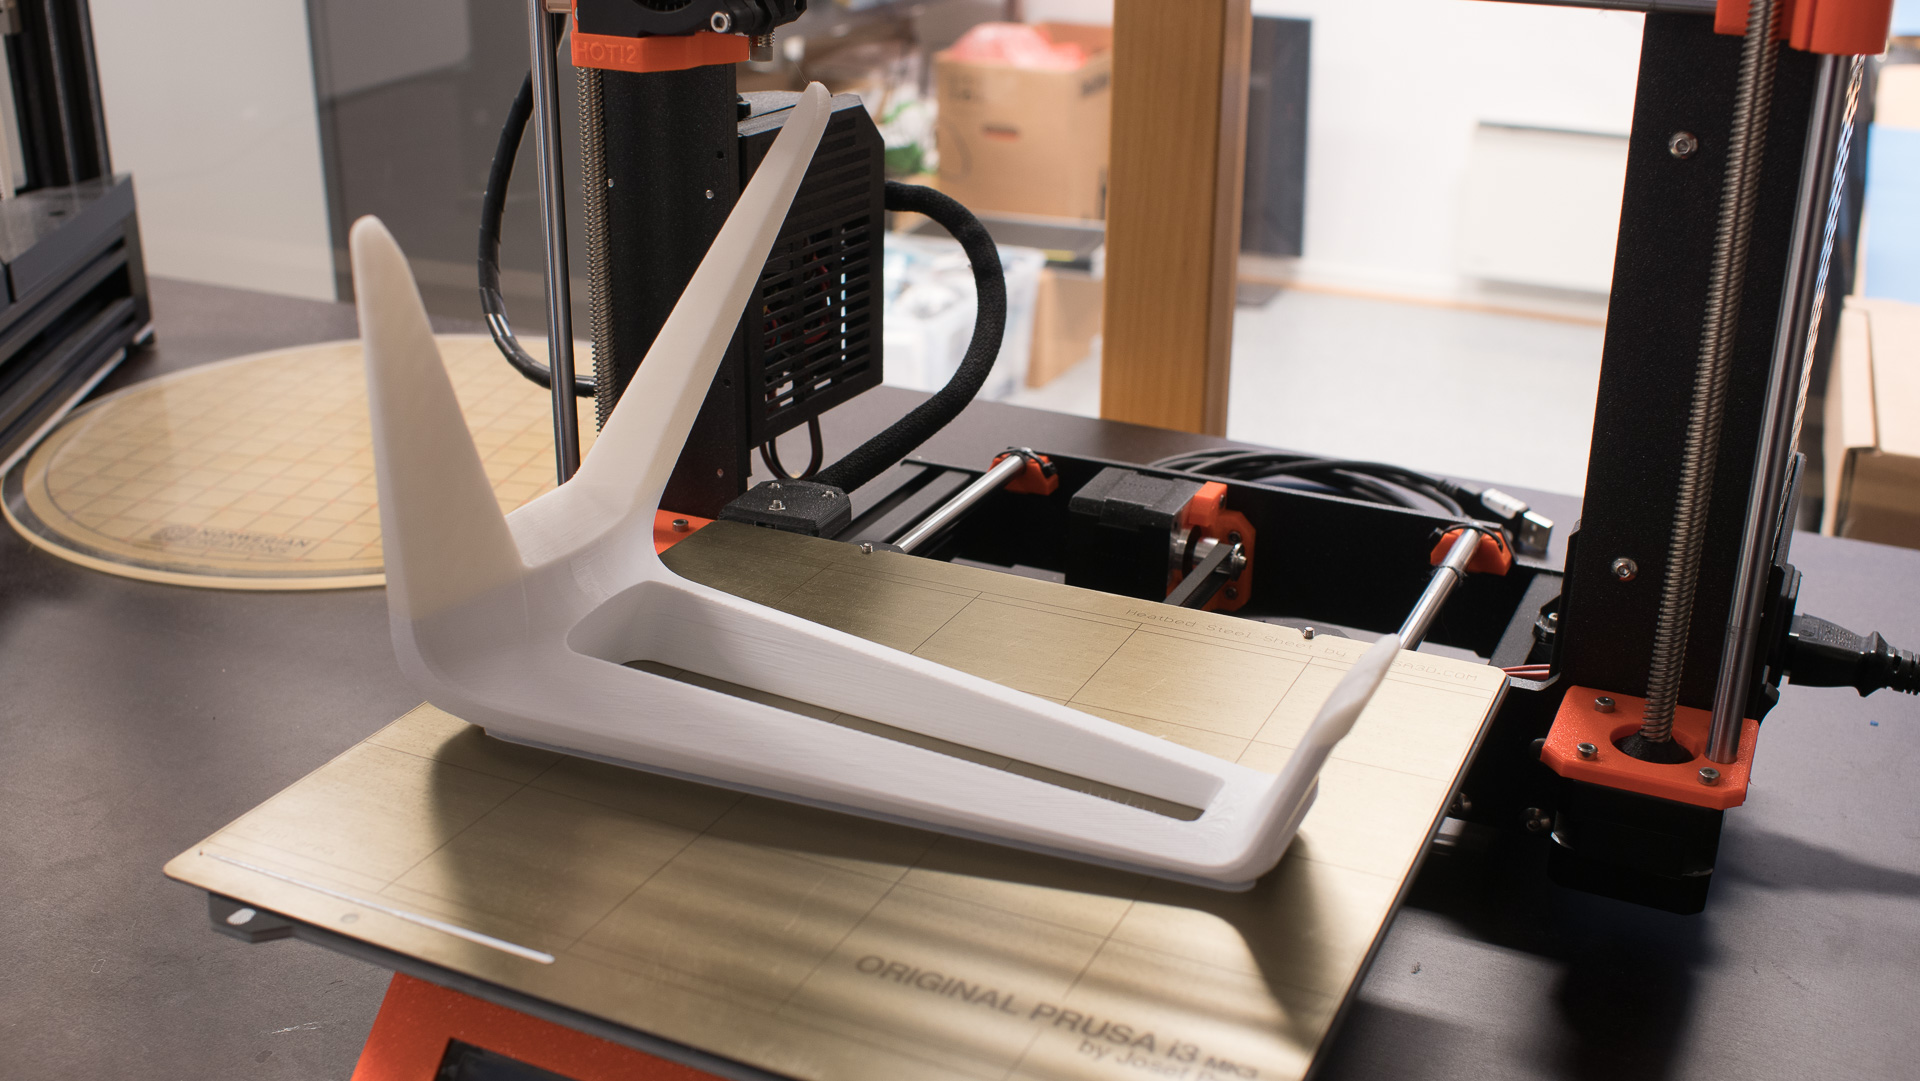
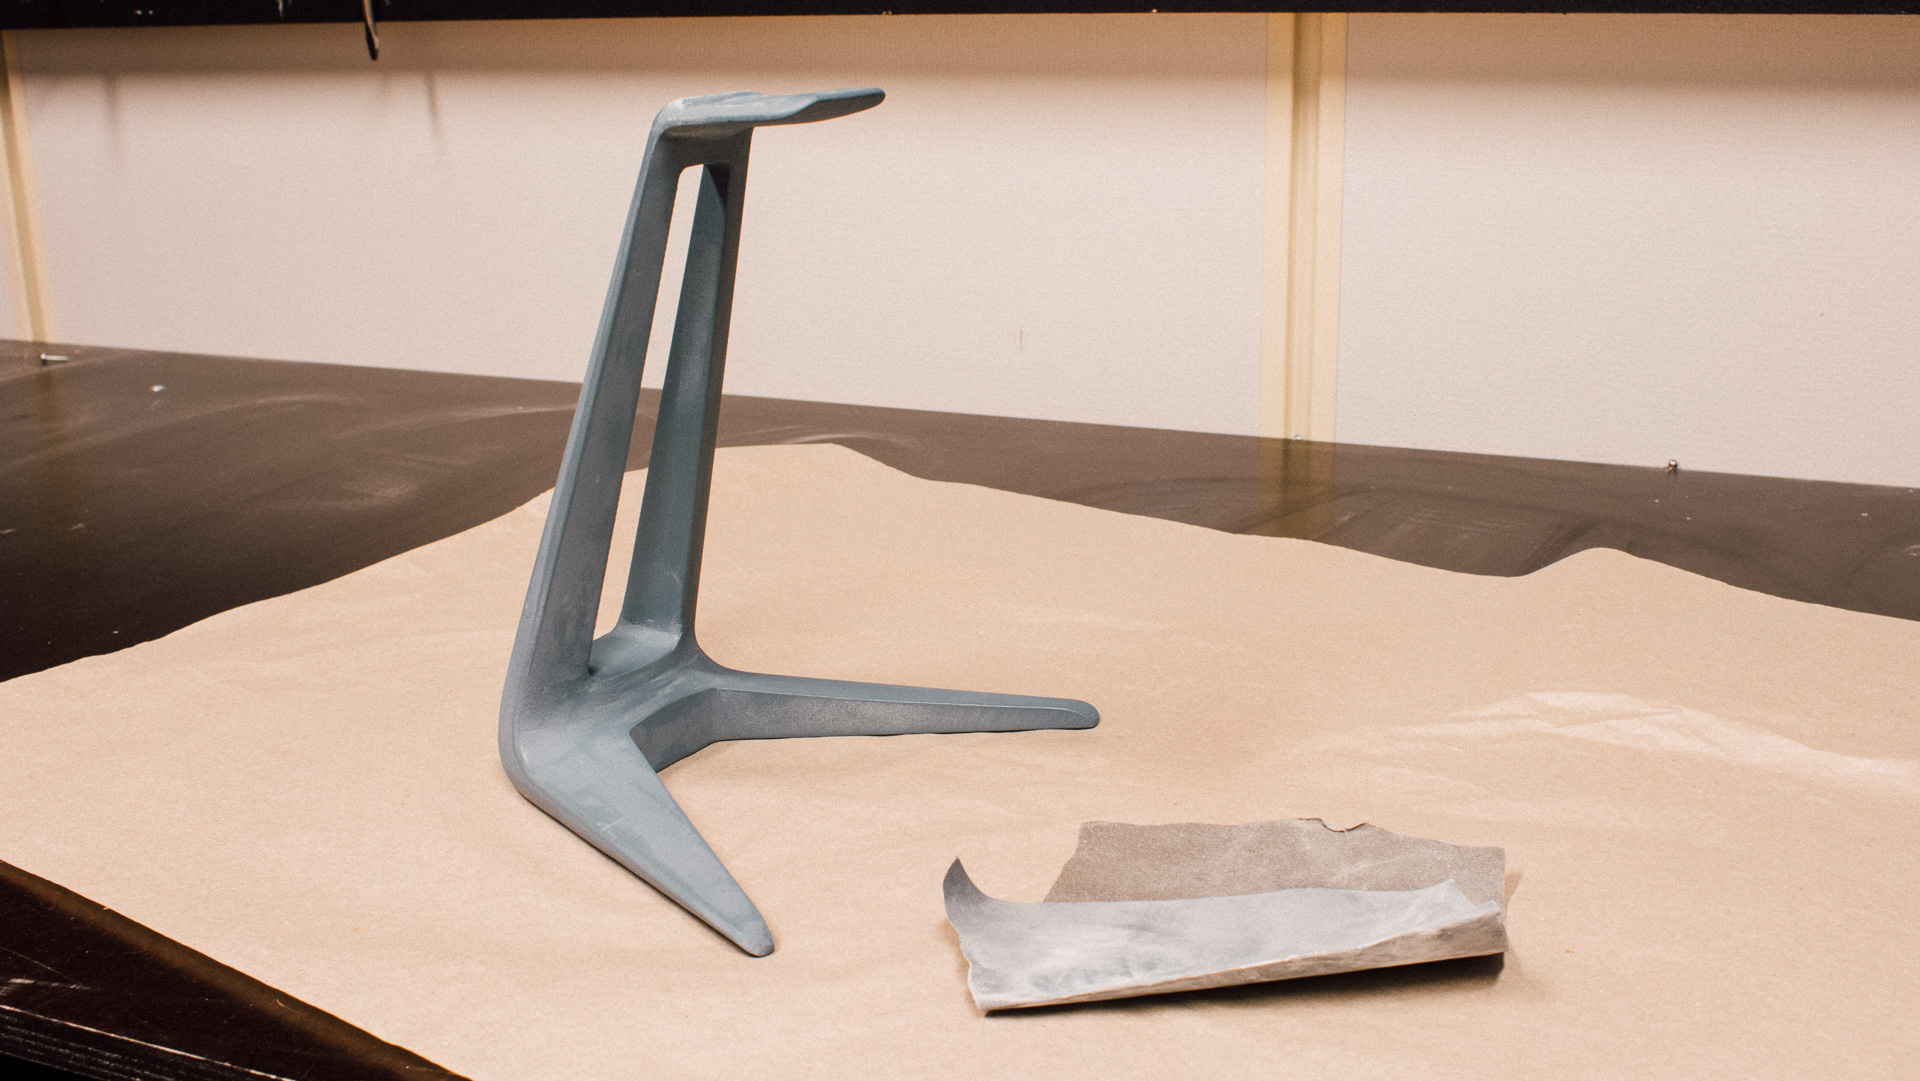
The model used here was a headphone stand grabbed from Thingiverse. It was printed with PLA, with high speed and pretty thick layers. The infill was 20%.
The plan for making it more smooth (and hopefully increase the WAF) was as following:
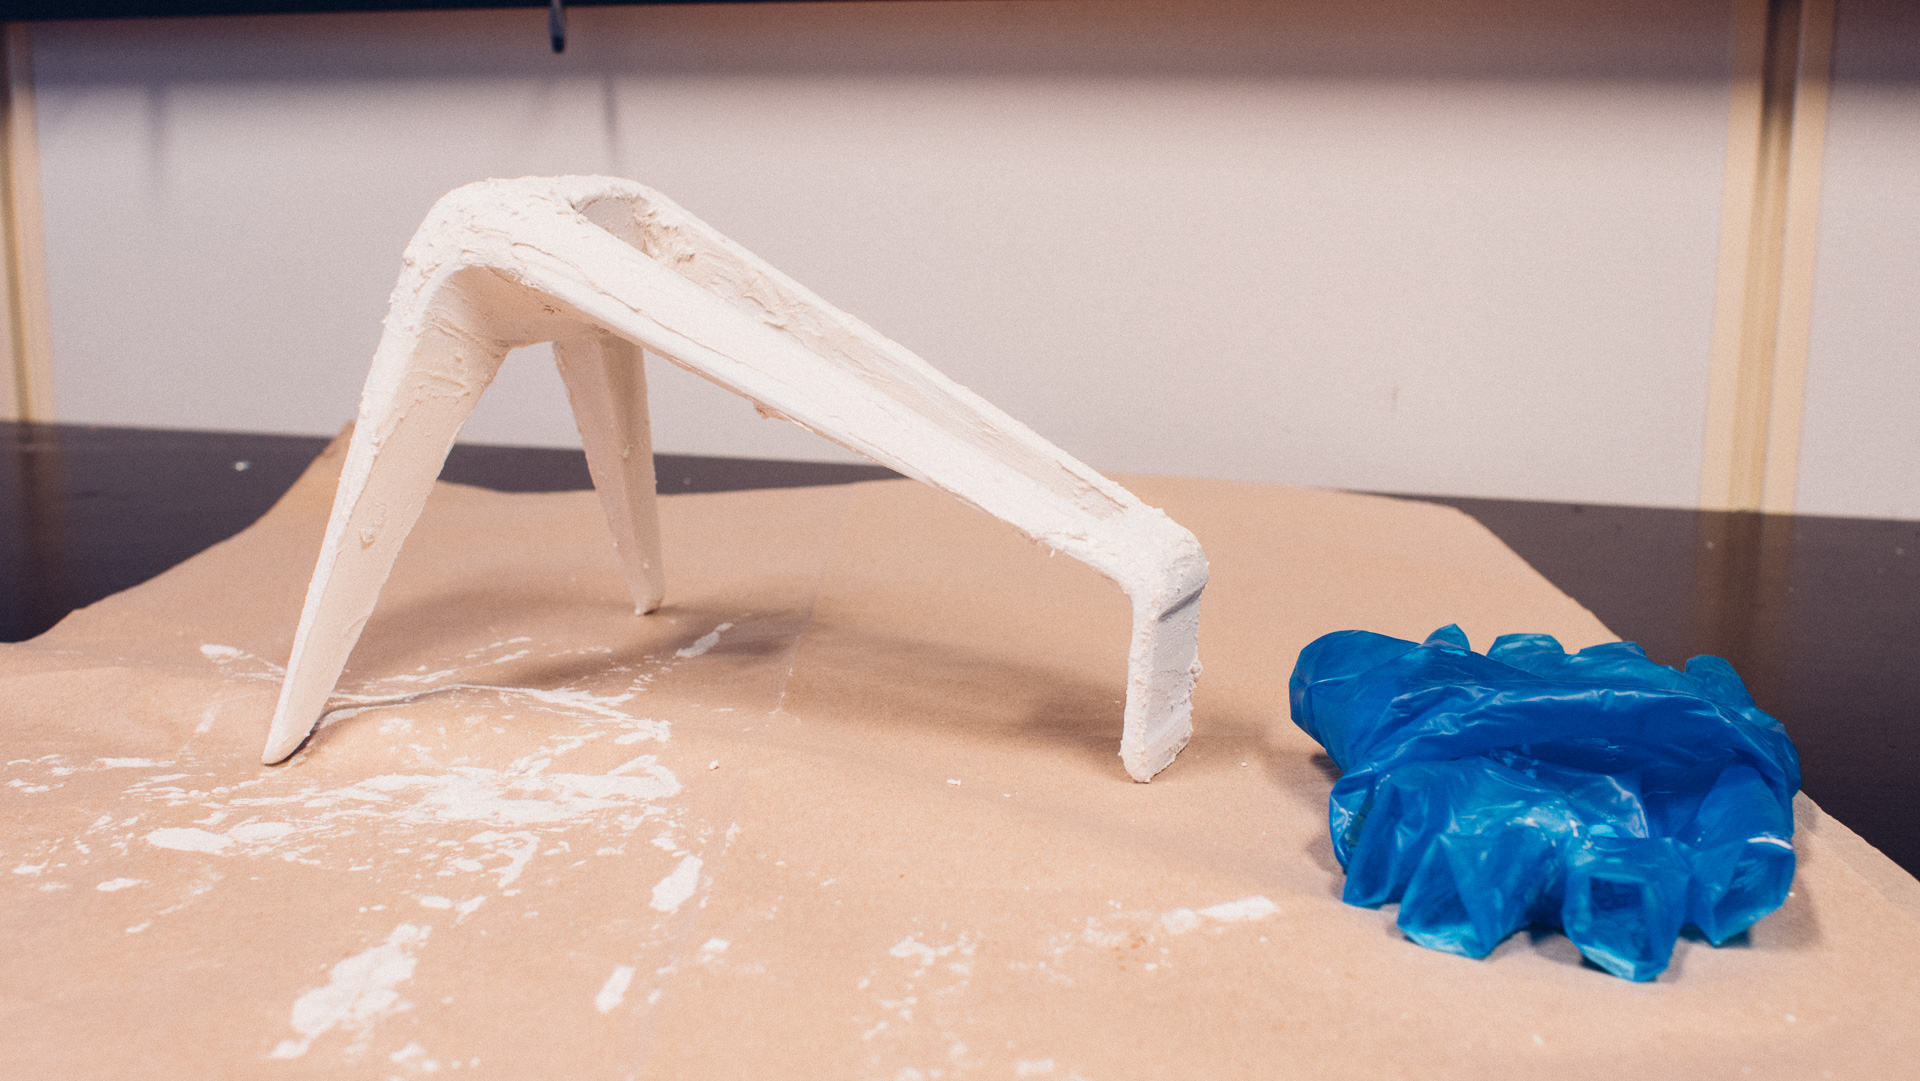
3D-print it.- Apply filler and let it dry.
- Rough-sand the filler down using a sanding-sponge.
- Apply more filler and let it dry.
- Fine-sand the filler by hand using 1200 sand paper.
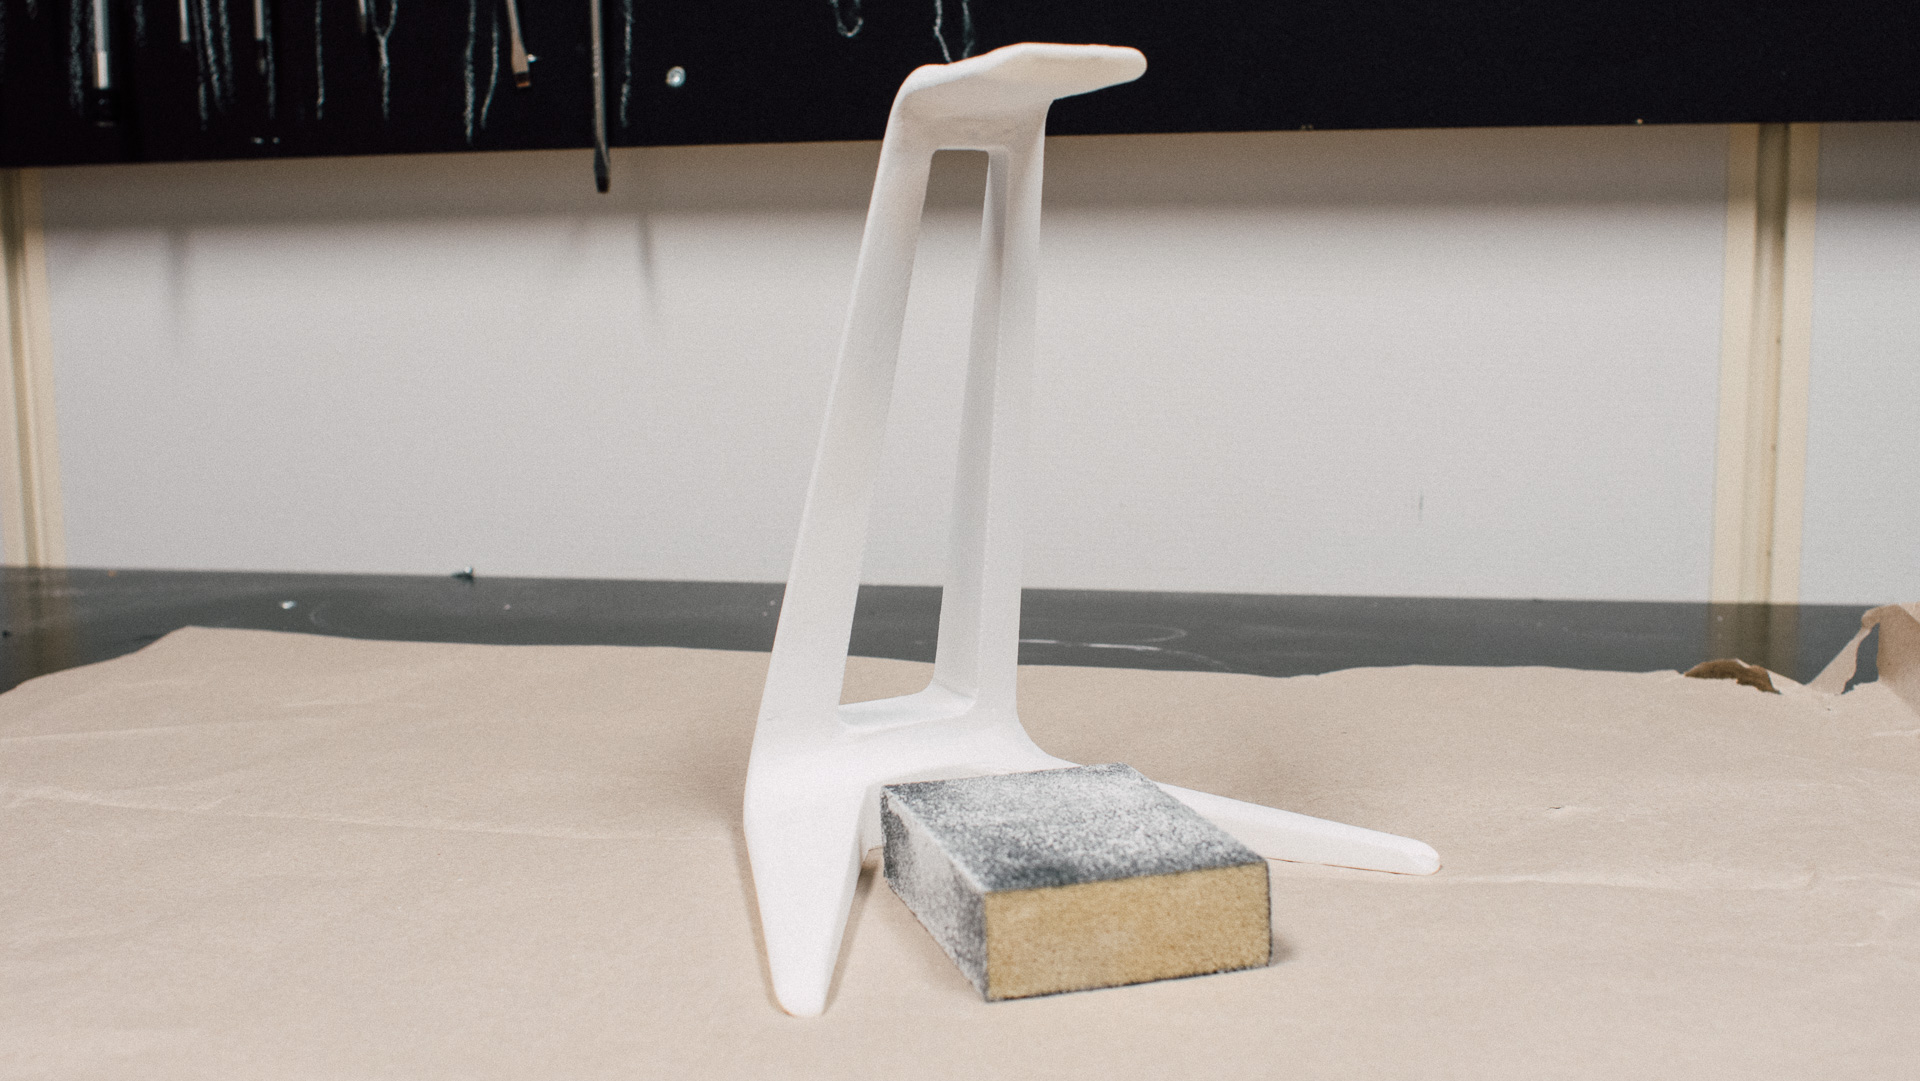
- Apply spray primer and let it dry.
- Fine-sand it lightly.
- Apply some coats with spray paint.
Some of the steps can be read more about here as well.
Applying Filler and Sanding
After printing you can of course lightly sand the model, but we didn’t do that here. We just applied the filler. We used something called a “fine filler”.
Painting
After a couple of laps called “filler -> sanding” it was time to paint the model.
First we applied spray-primer and when it had dried we sanded it lightly. Thereafter, we added another coat of primer and repeated the sanding process.
After that we applied a couple of coats with a colour spray paint.
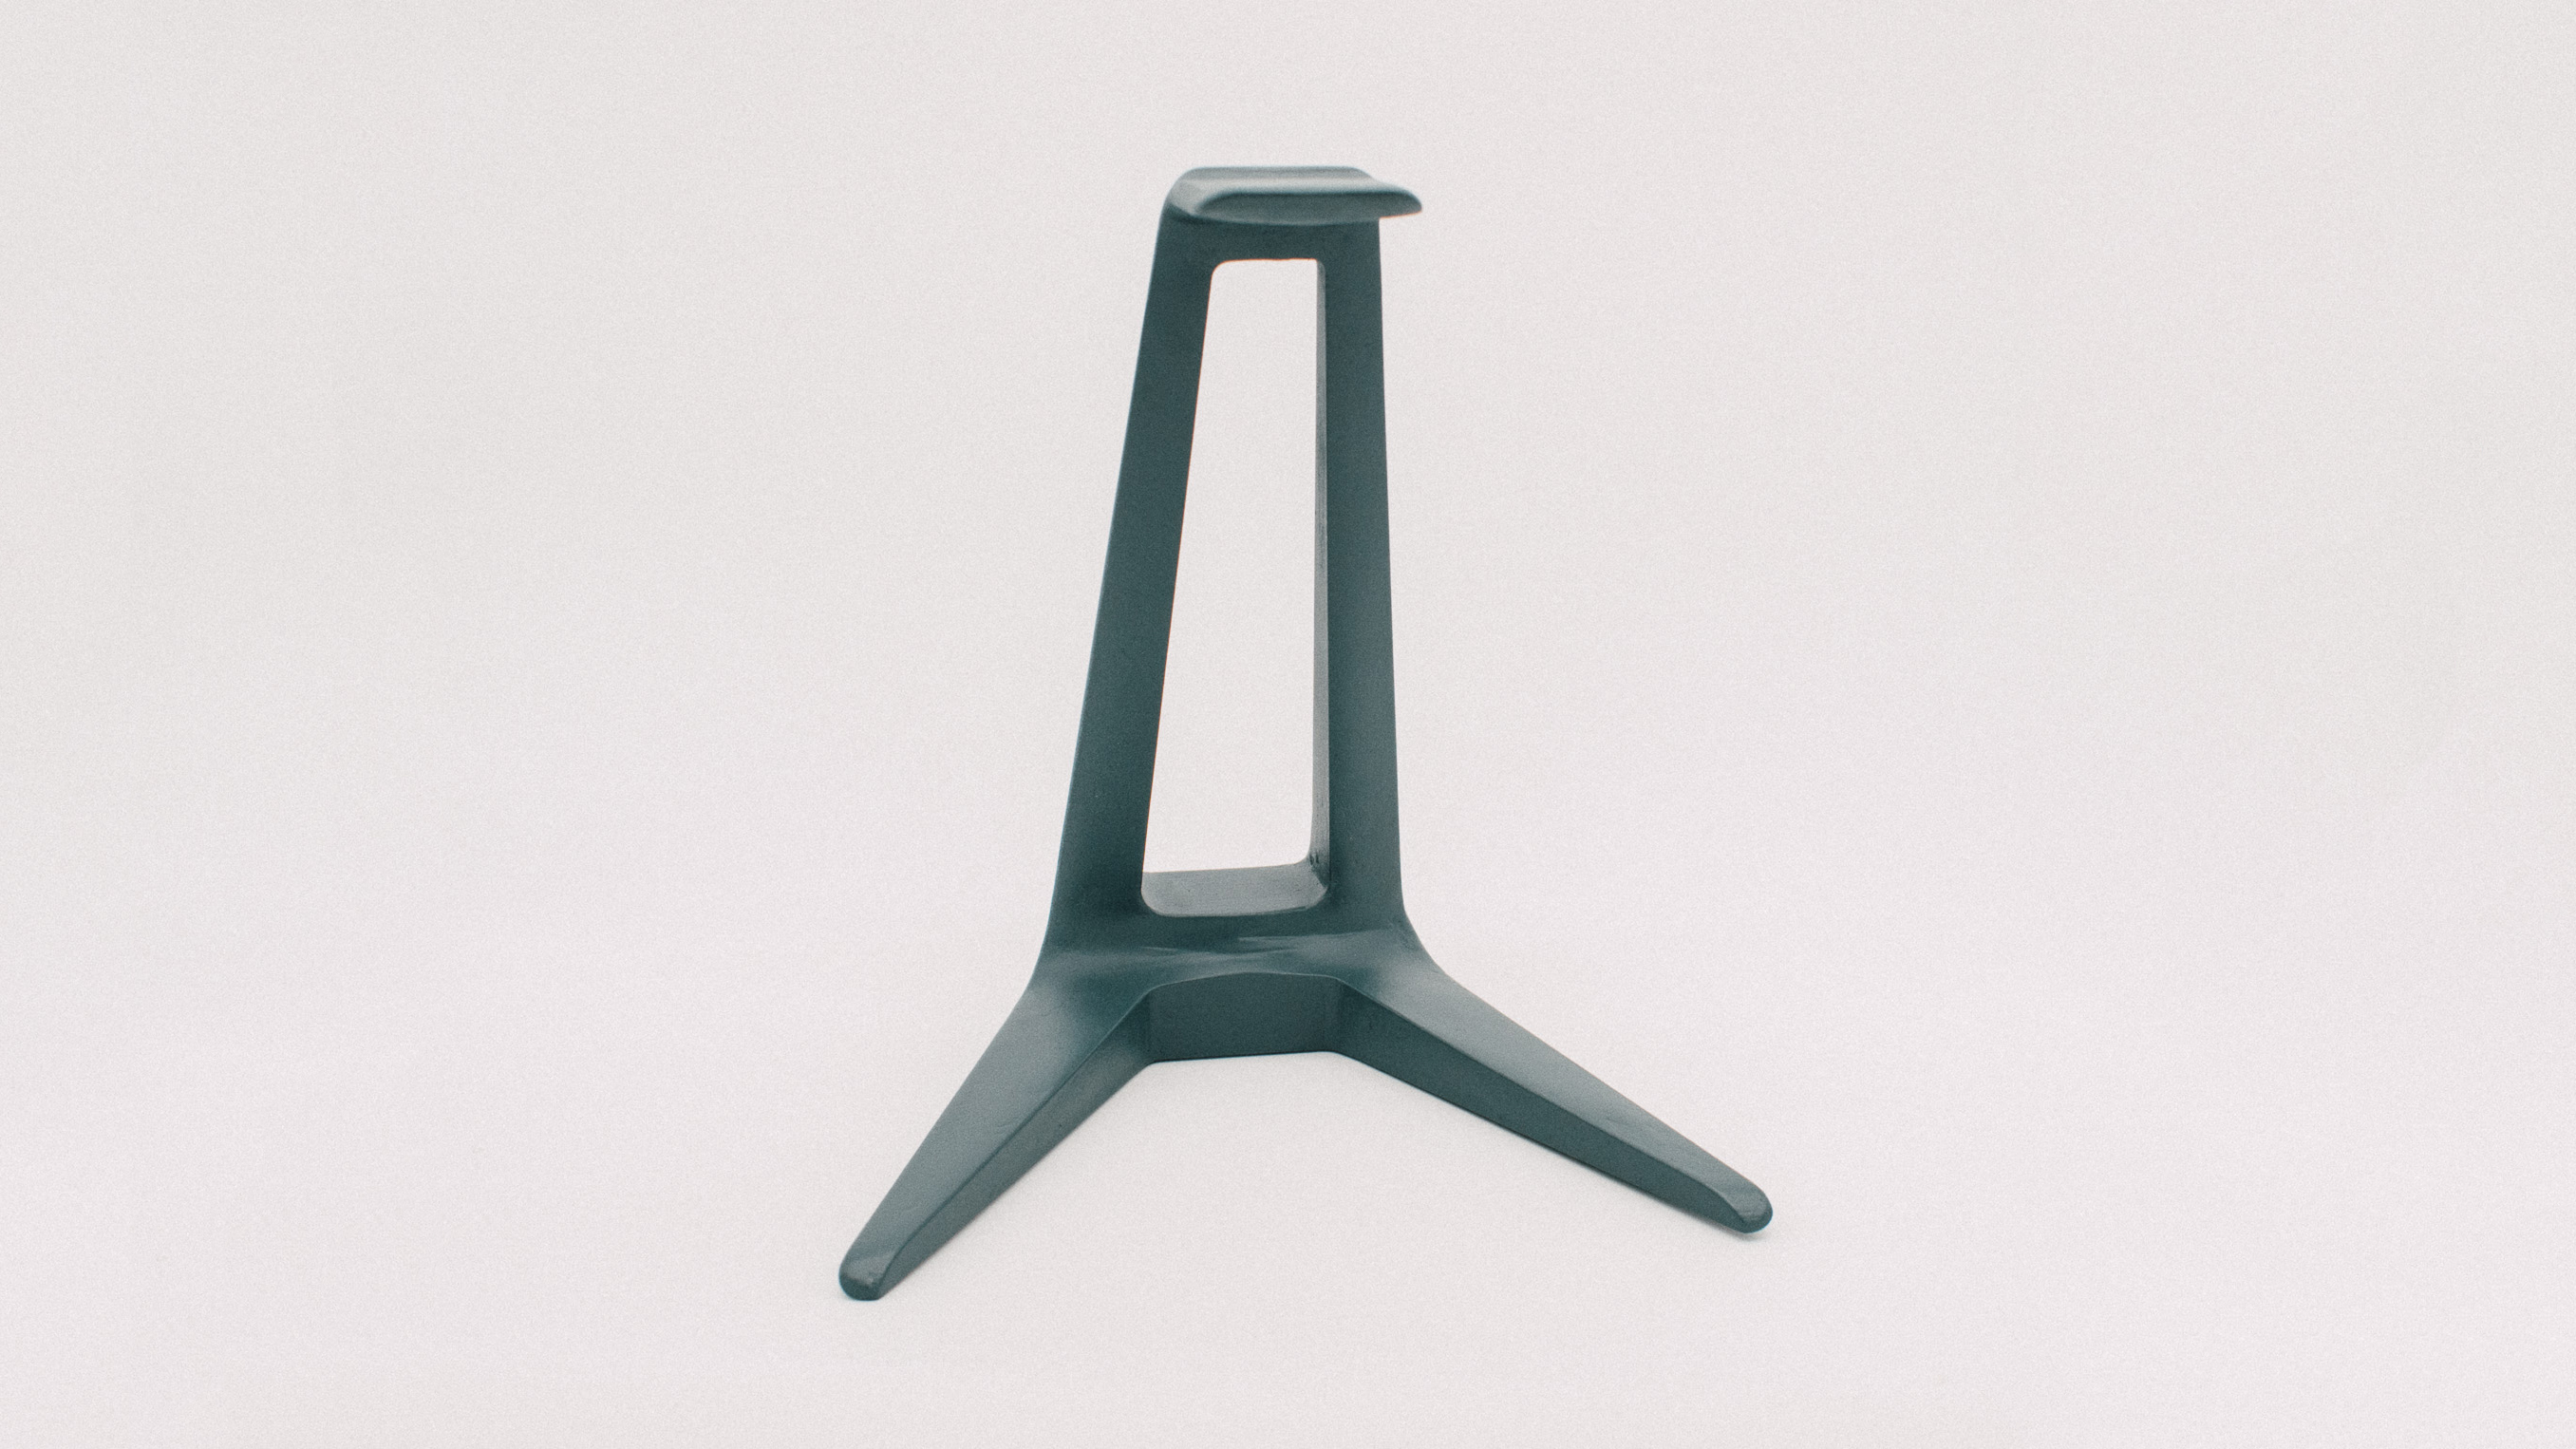
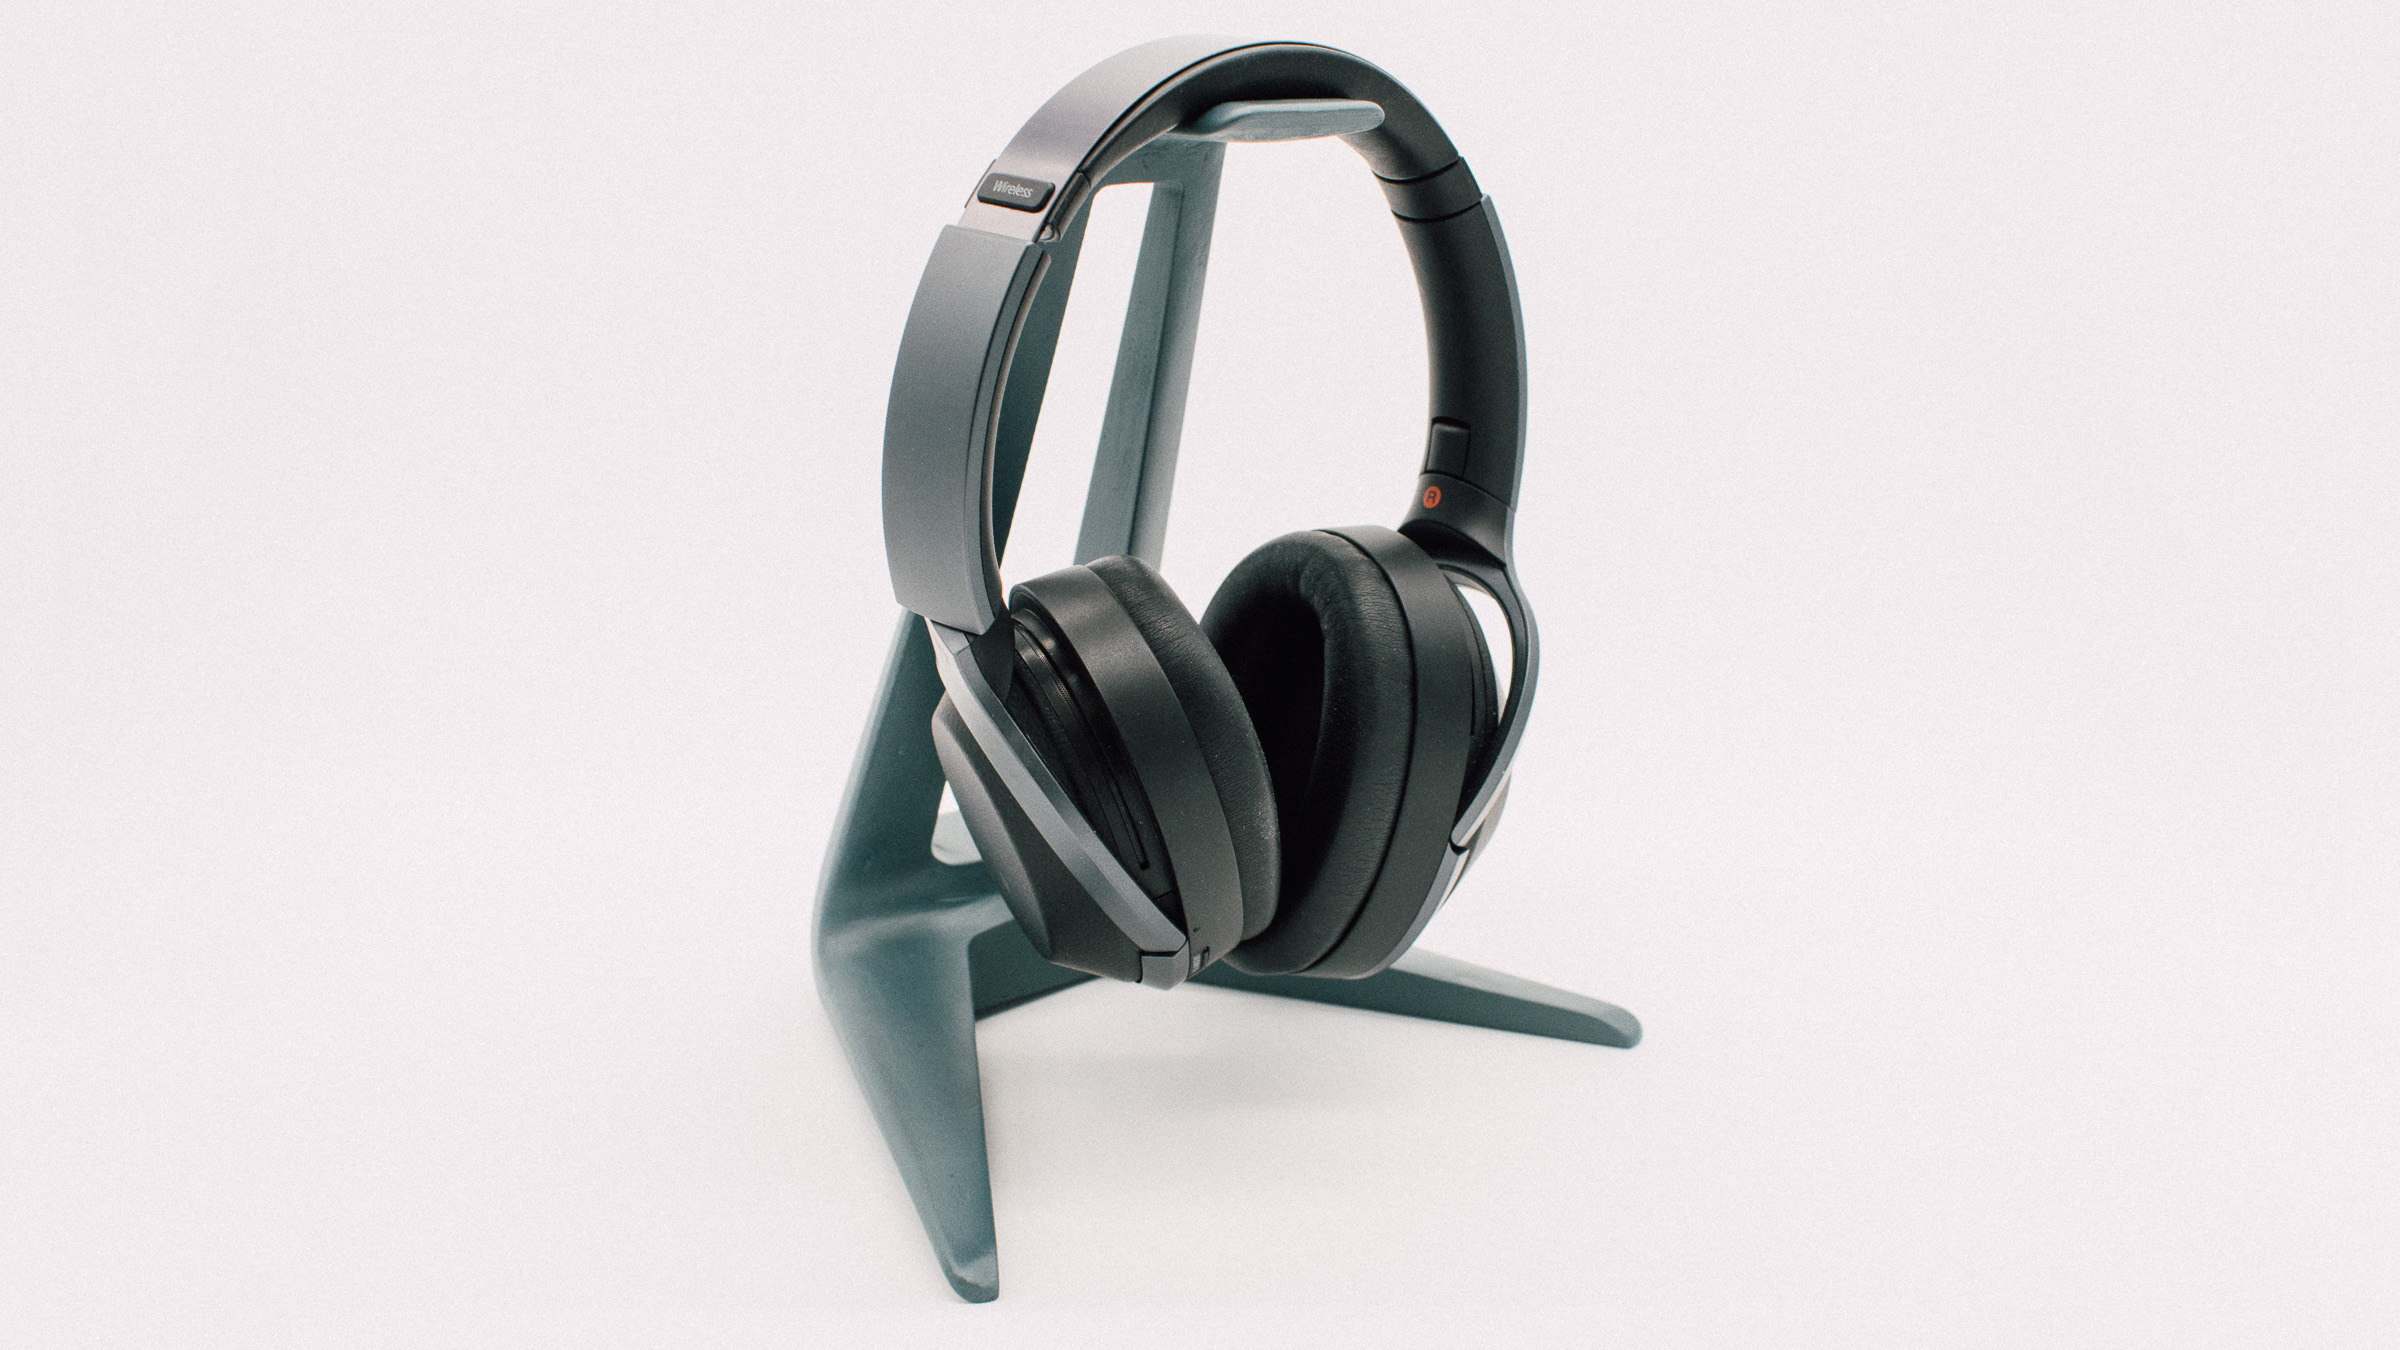
The Finished Model
We are quite pleased with the finished result. Though remember that a process like this takes time. Not actual working-time, but “waiting on paint/filler to dry”-time.
If you are going to finish a 3D-printed part: Good Luck and don’t hesitate to share your experiences and/or pictures in the comment section below.
Happy making!


