A few months ago we were approached by NRK (Norwegian Broadcasting Corporation) with a request to create some cool stunts for the annually televised radio show called P3aksjonen.
We started brainstorming around several ideas together with NRK. With a short deadline and restrictive budget we had to use the hardware we already had laying around. We ended up with a solution to visualize the winner of a poll. The way this would be done was via helmets with remotely controlled LEDs. These had to be remotely controlled by one of the producers of the show.
What Is P3aksjonen?
P3aksjonen is arranged by the national radio channel NRK P3 and raises funds the same charity as TV-aksjonen. The show is broadcast live on the radio channel NRK P3, the TV channel NRK3 and on NRK’s websites where several radio hosts lead the show around the clock for several days. The money is primarily raised by viewers and listeners sending in text messages to the show, bidding on web auctions and transfer money directly. The first time P3aksjonen was arranged was in 2009.
How Did We Make It?
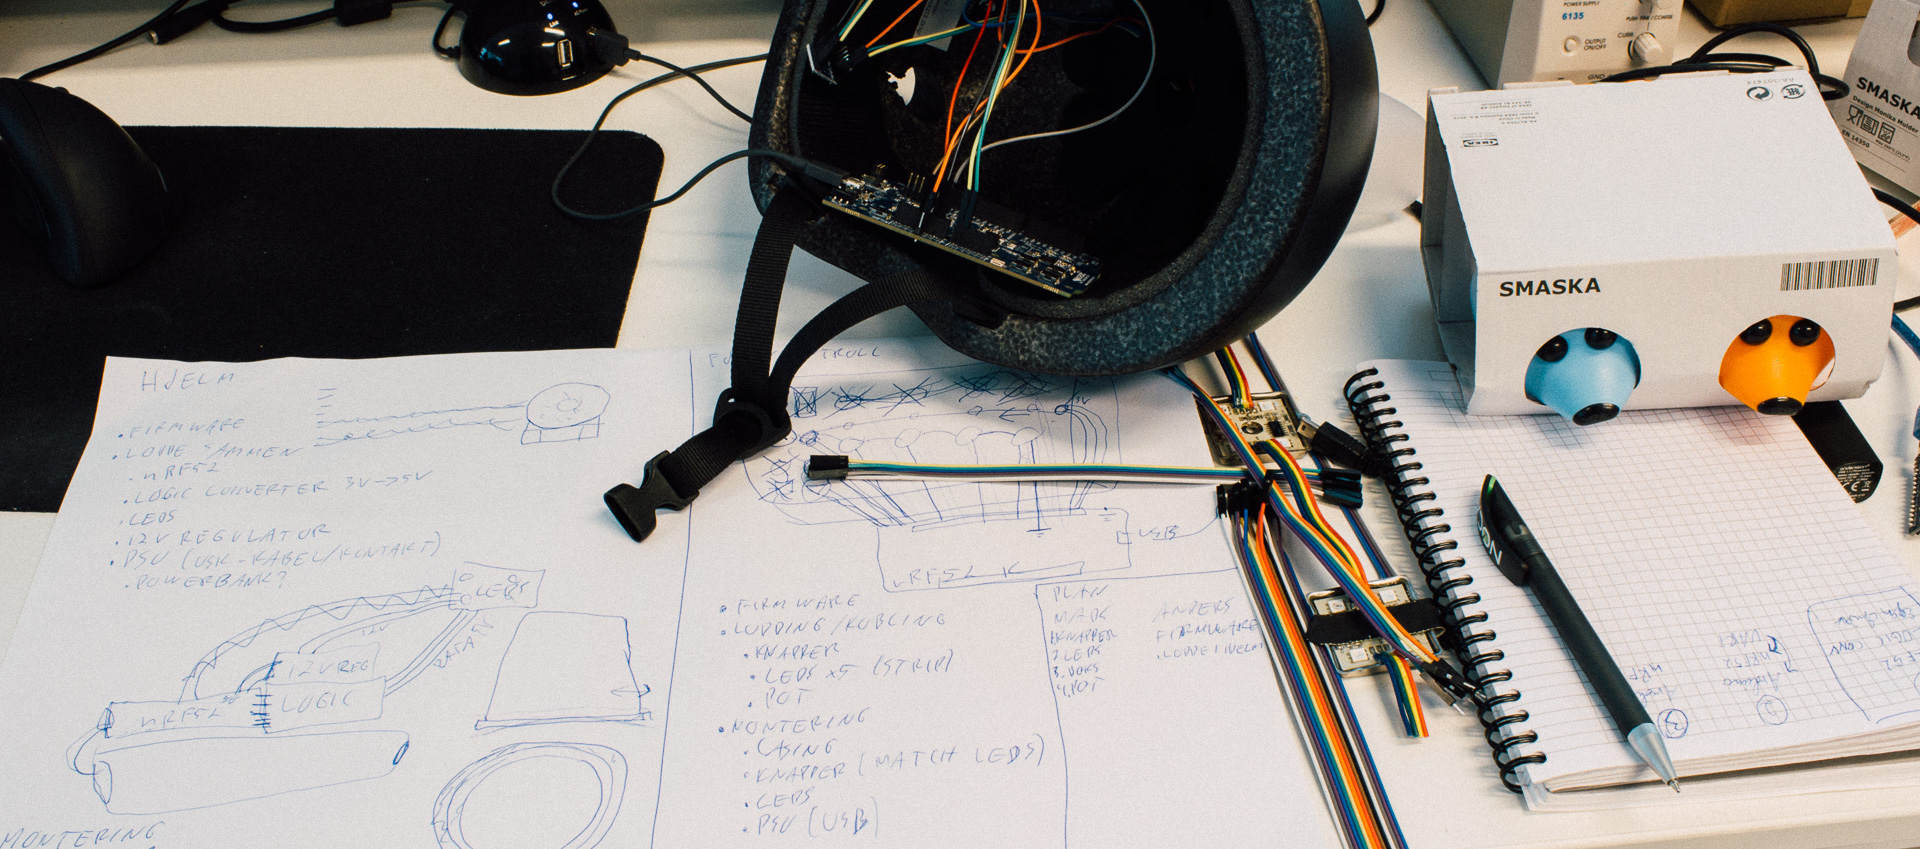
As previously mentioned we needed to use the what we already had in storage HW-wise. There was no time to custom design PCBs or other time consuming tasks.
To easily give you an overview of complete system, here’s a very quick system sketch:
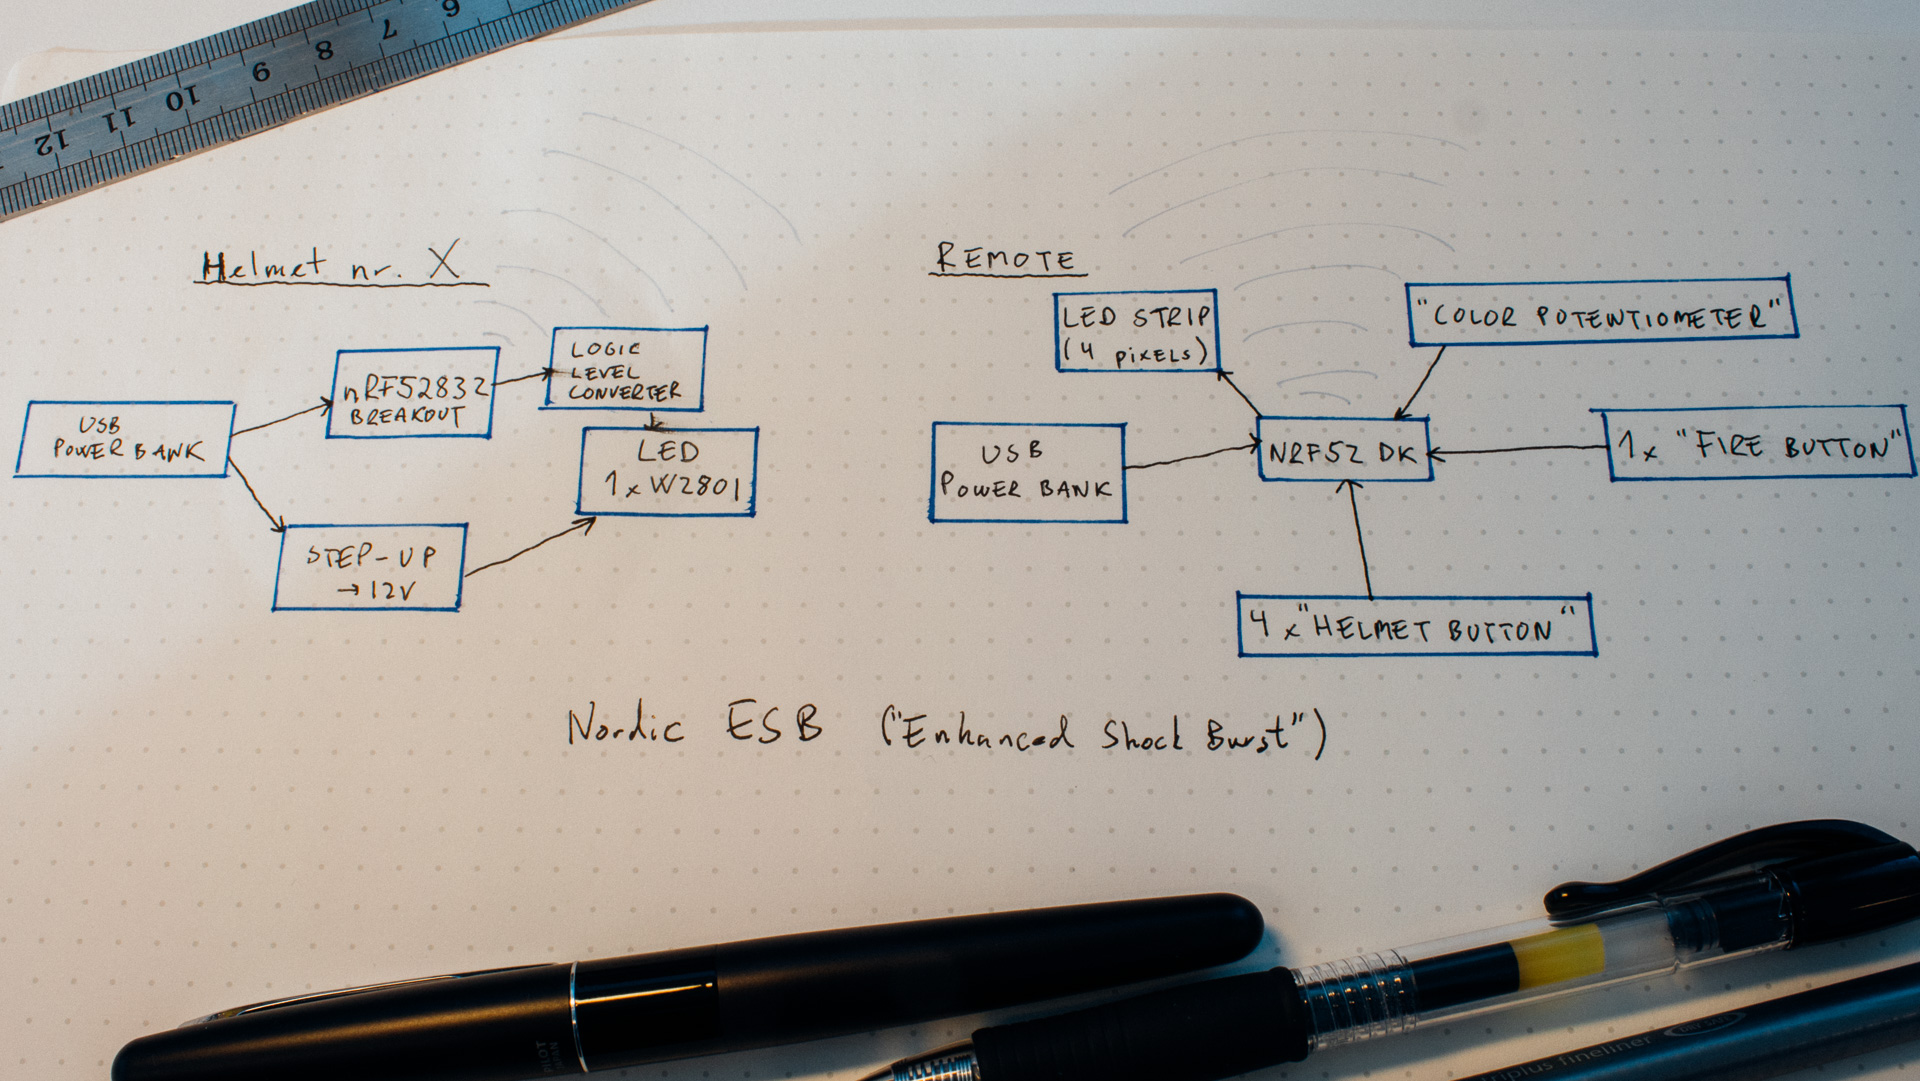
The NRF52832 breakouts used in the helmets are possible to get from places such as Sparkfun or Digi-Key.
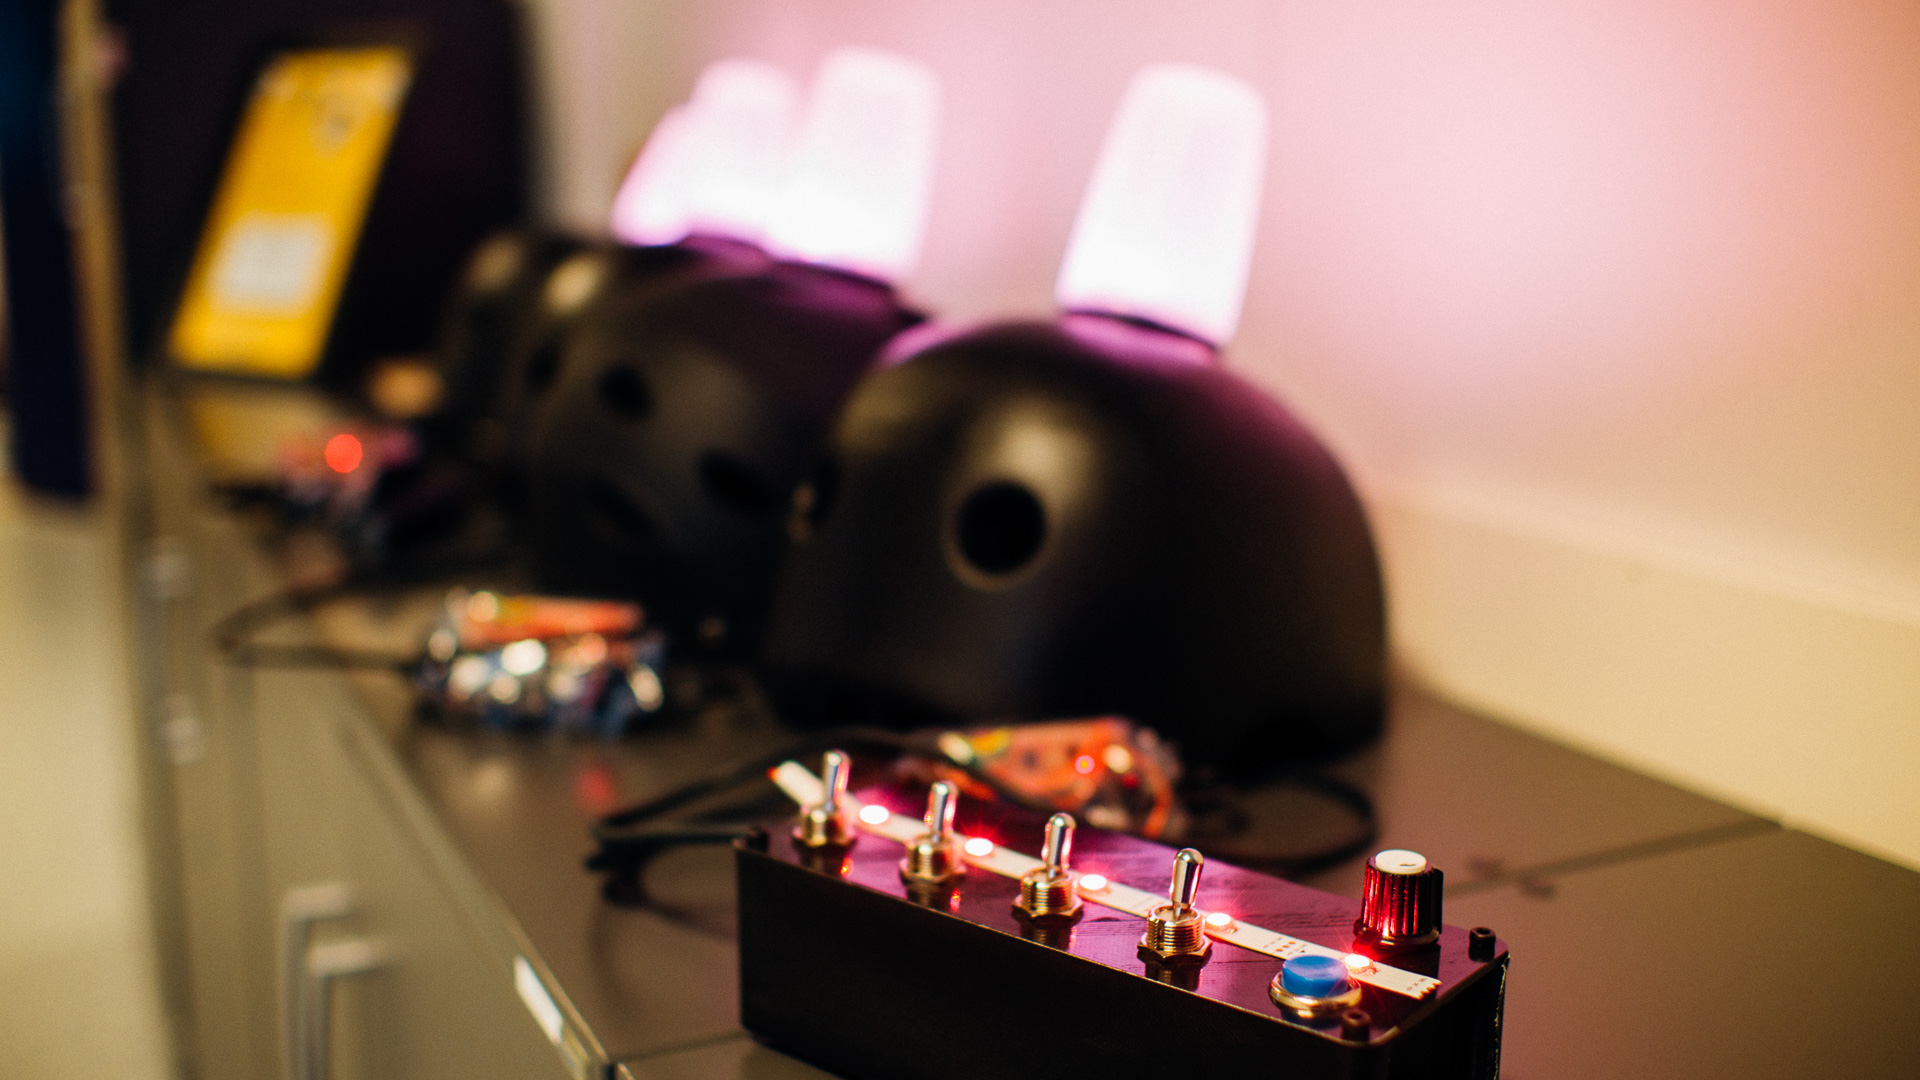
The Helmets
We managed to get a hold of four almost identical helmets which we attached LEDs on top of. Over the LEDs we attached baby cups from IKEA for LED diffusion with the help from some simple 3D printed parts.
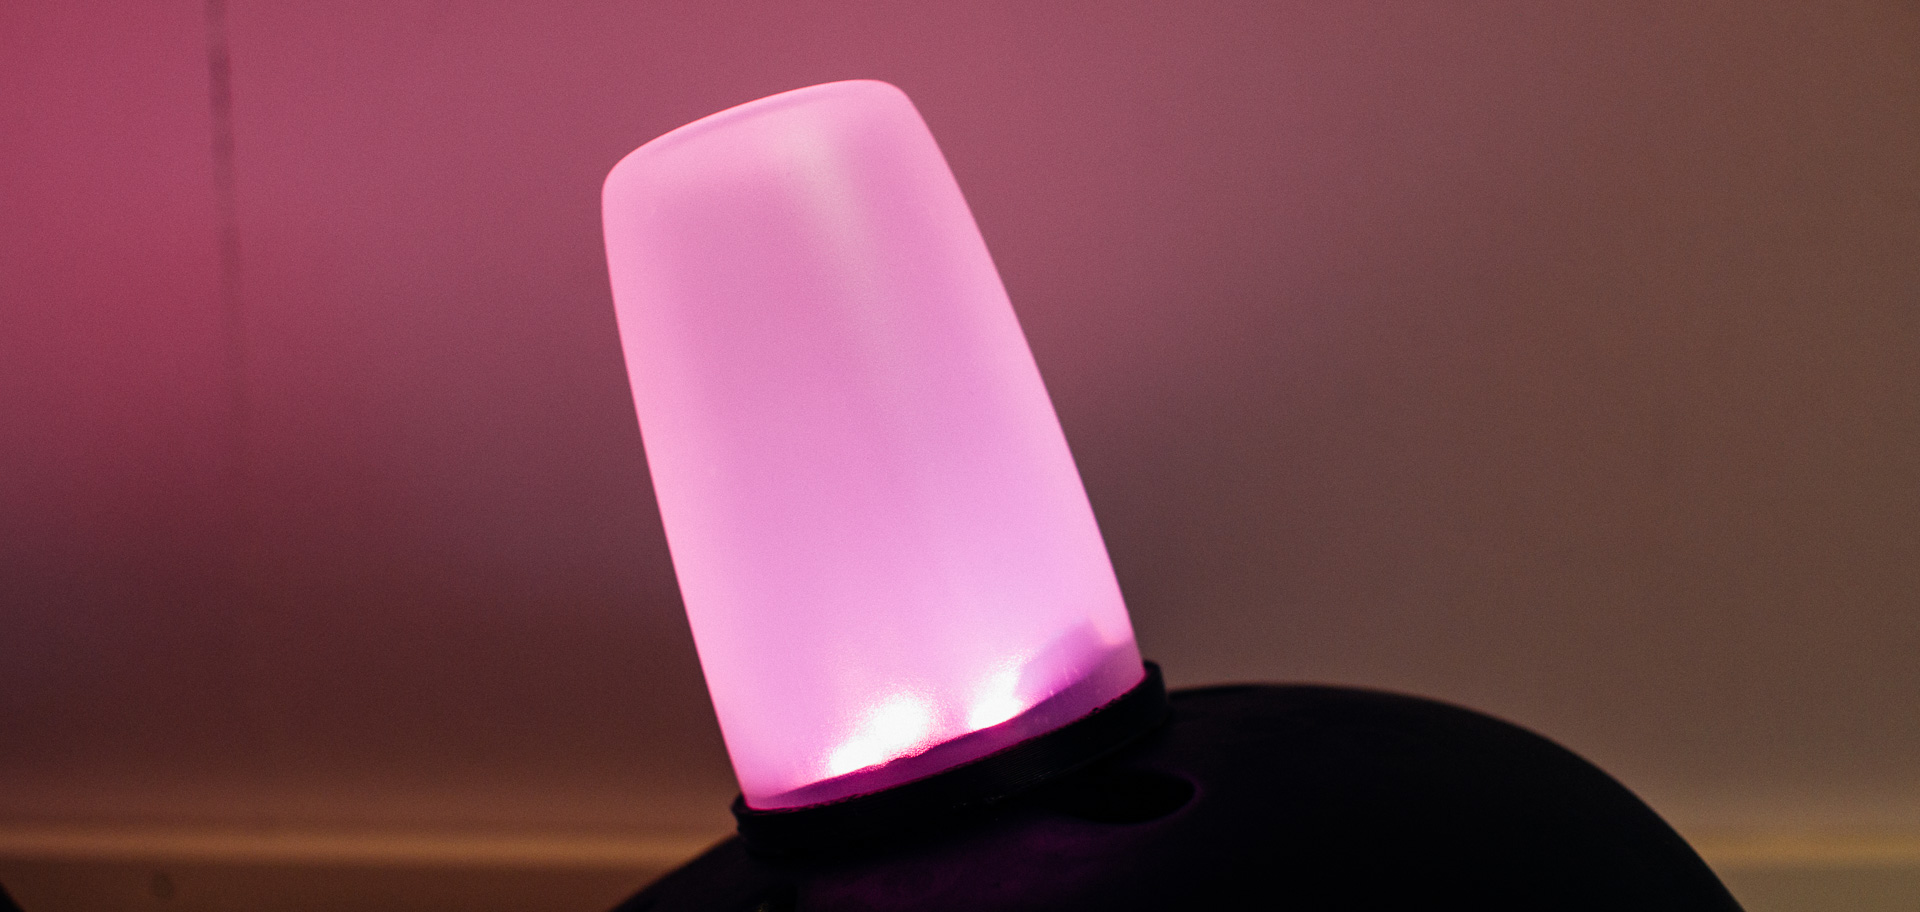
The electronics for each helmet were glued to a thin 3D printed plate and heat shrunk to create a quick and dirty protective enclosure. Power banks were attached to the electronics via velcro.

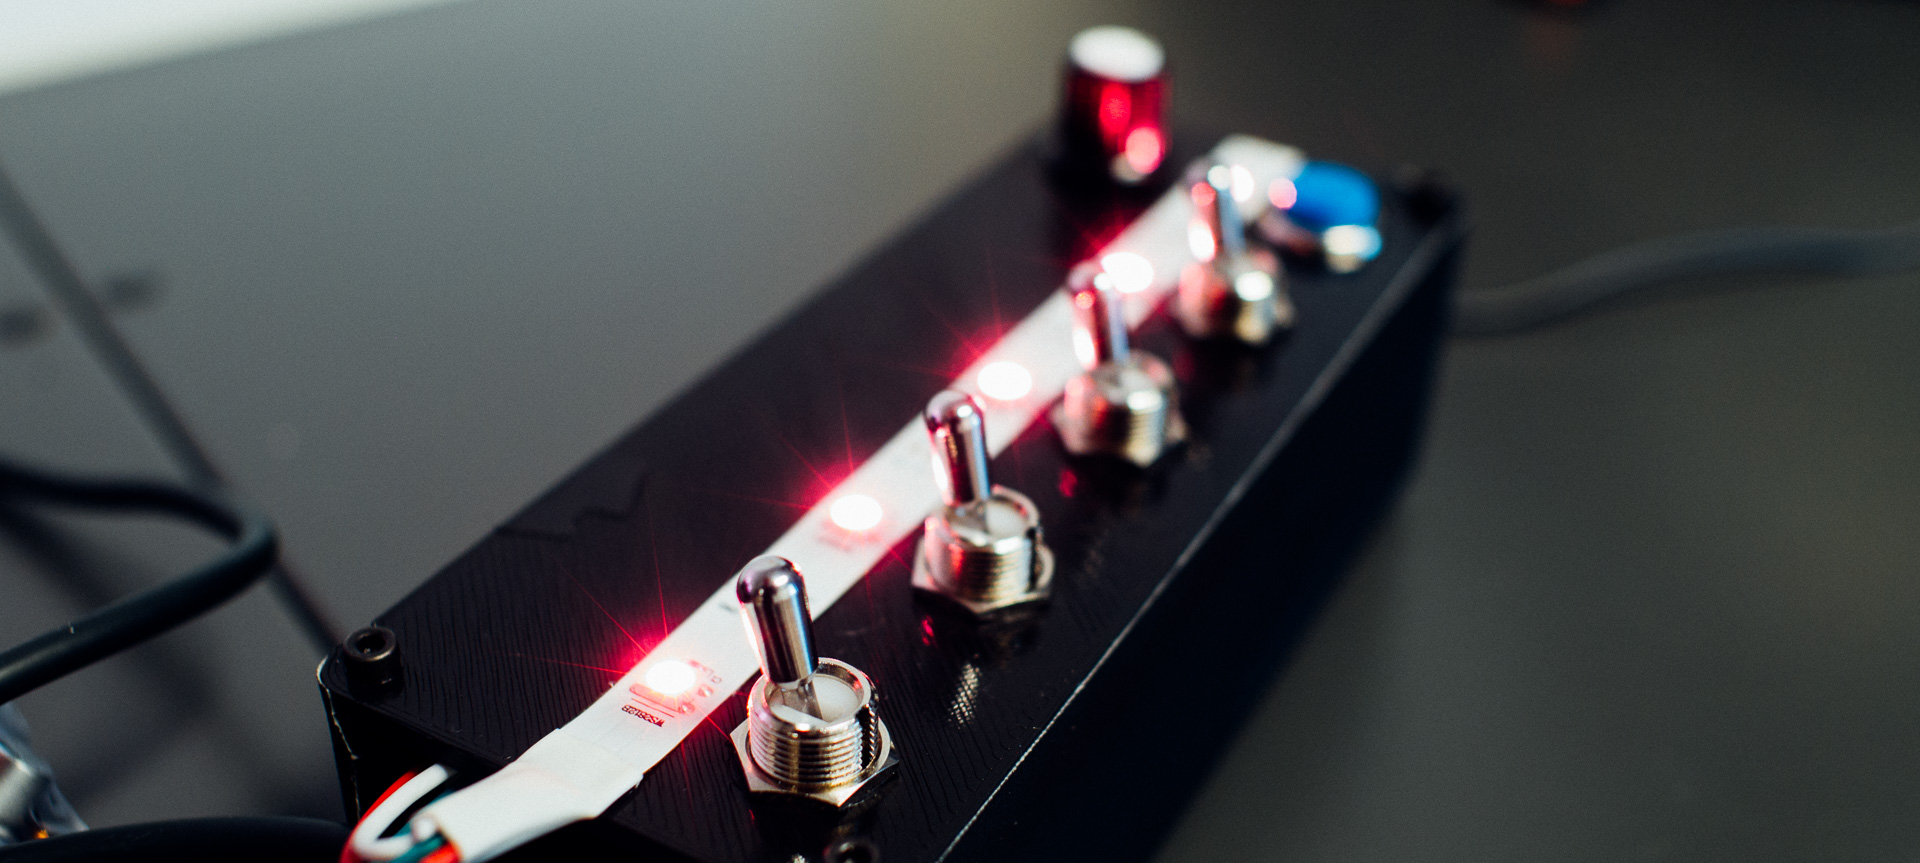
The Remote Control
We 3D printed the simple structure of the control box. Structurally speaking it consists of two parallel plates with four spacers in between.
User interface-wise the remote control constists of
- 4 toggle switches which control each LED manually.
- a push button which triggers a cyclic animation which overrides the manual setting.
- a pot meter which controls the LED color.
- a LED strip which mirrors the LEDs on the helmets.
Here you can see the system in action (language: Norwegian):
The most exciting parts is from 0:39, when the LED helments starts shuffling.


