A few weeks ago we wrote an intro to CAD for makers. We mentioned that Sketchup and Autodesk Fusion 360 are two good alternatives to the bigger and more expensive CAD beasts out there.
However, if you find those programs a bit too heavy as well, you might want to check out Autodesk Tinkercad.
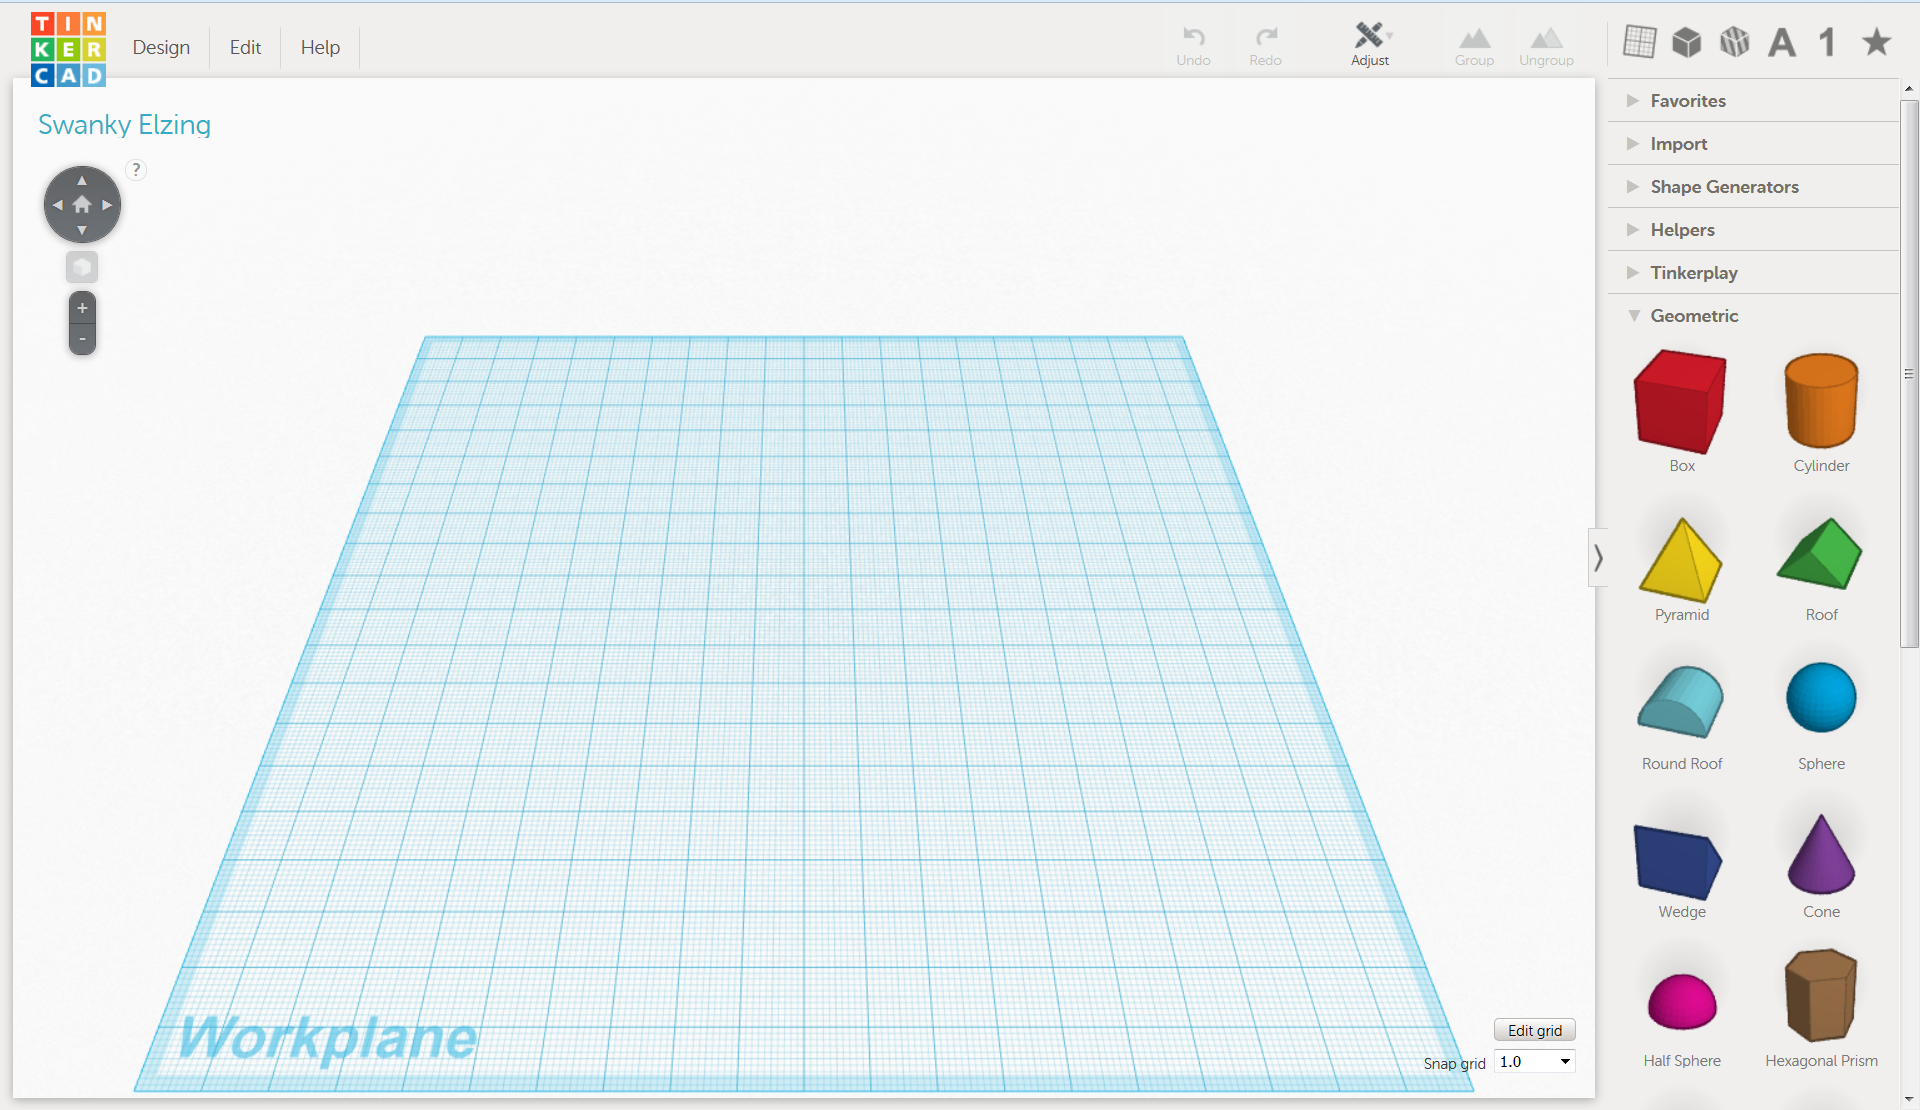
Autodesk Tinkercad is a free browser-based CAD program at its simplest, which we recently stumbled upon. Tinkercad is made with makers (and as the name implies: tinkers) in mind, supporting file export for 3D-printing and laser cutting. Therefore we’re going to take a closer look at it and its features.
Features
Camera Controls
The camera controls are intuitive and easy to use. Rotate with right mouse button, pan with middle mouse button and zoom with the mouse wheel. There are also keyboard shortcuts to make your life easier if you’re on a laptop without a mouse. There’s also a home button to return to default view and a fit view to selection button.
One thing that’s missing from the camera part of Tinkercad is orthographical projection, especially from the standard top, side and bottom views. The camera is only in standard perspective mode, moving freely around the place. This often makes it hard to place objects exactly where you want them.
Snap
The snap functionality is important in this kind of software. You’re able to select between 6 different snap presets (0.1mm to 5mm or 1/64″ to 1/2″) or turn it off, and the setting is easily accessible.
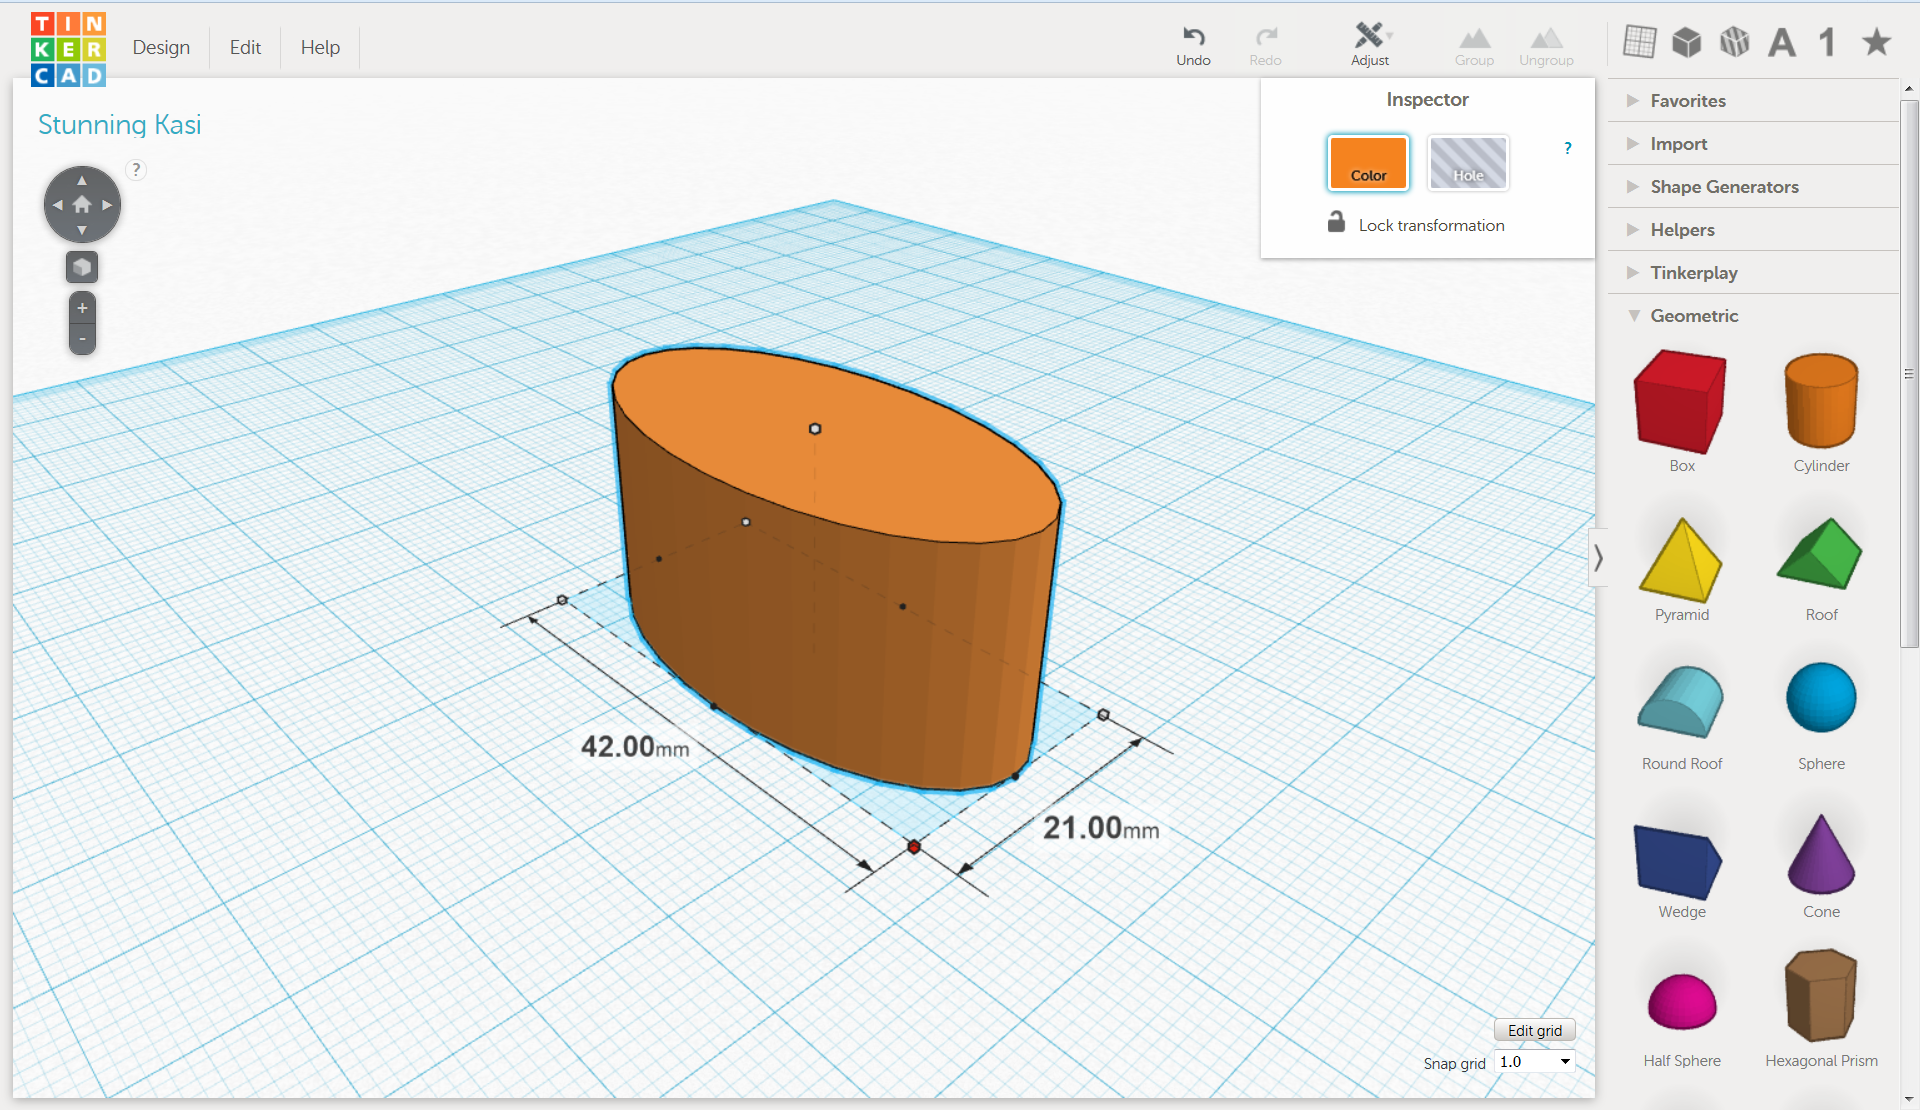
Transformation
The way you move, scale and rotate objects in Tinkercad is really intuitive and nice. All is done from a gizmo-like interface when you select an object. When performing transformation, the value (moving distance, scaling size or rotation degrees) will pop up so you have full control over every transformation-related business.
Workplane
This is one of the more original features in Tinkercad. When you add a shape to the design it automatically snaps to the current workplane. If you press W you can select a surface that will be the new workplane. If the surface is ramped, for instance a side of a pyramid, the coordinate system will temporarily change, making in easy to move an object relative to a side of the pyramid, change the axes for rotation and so on.
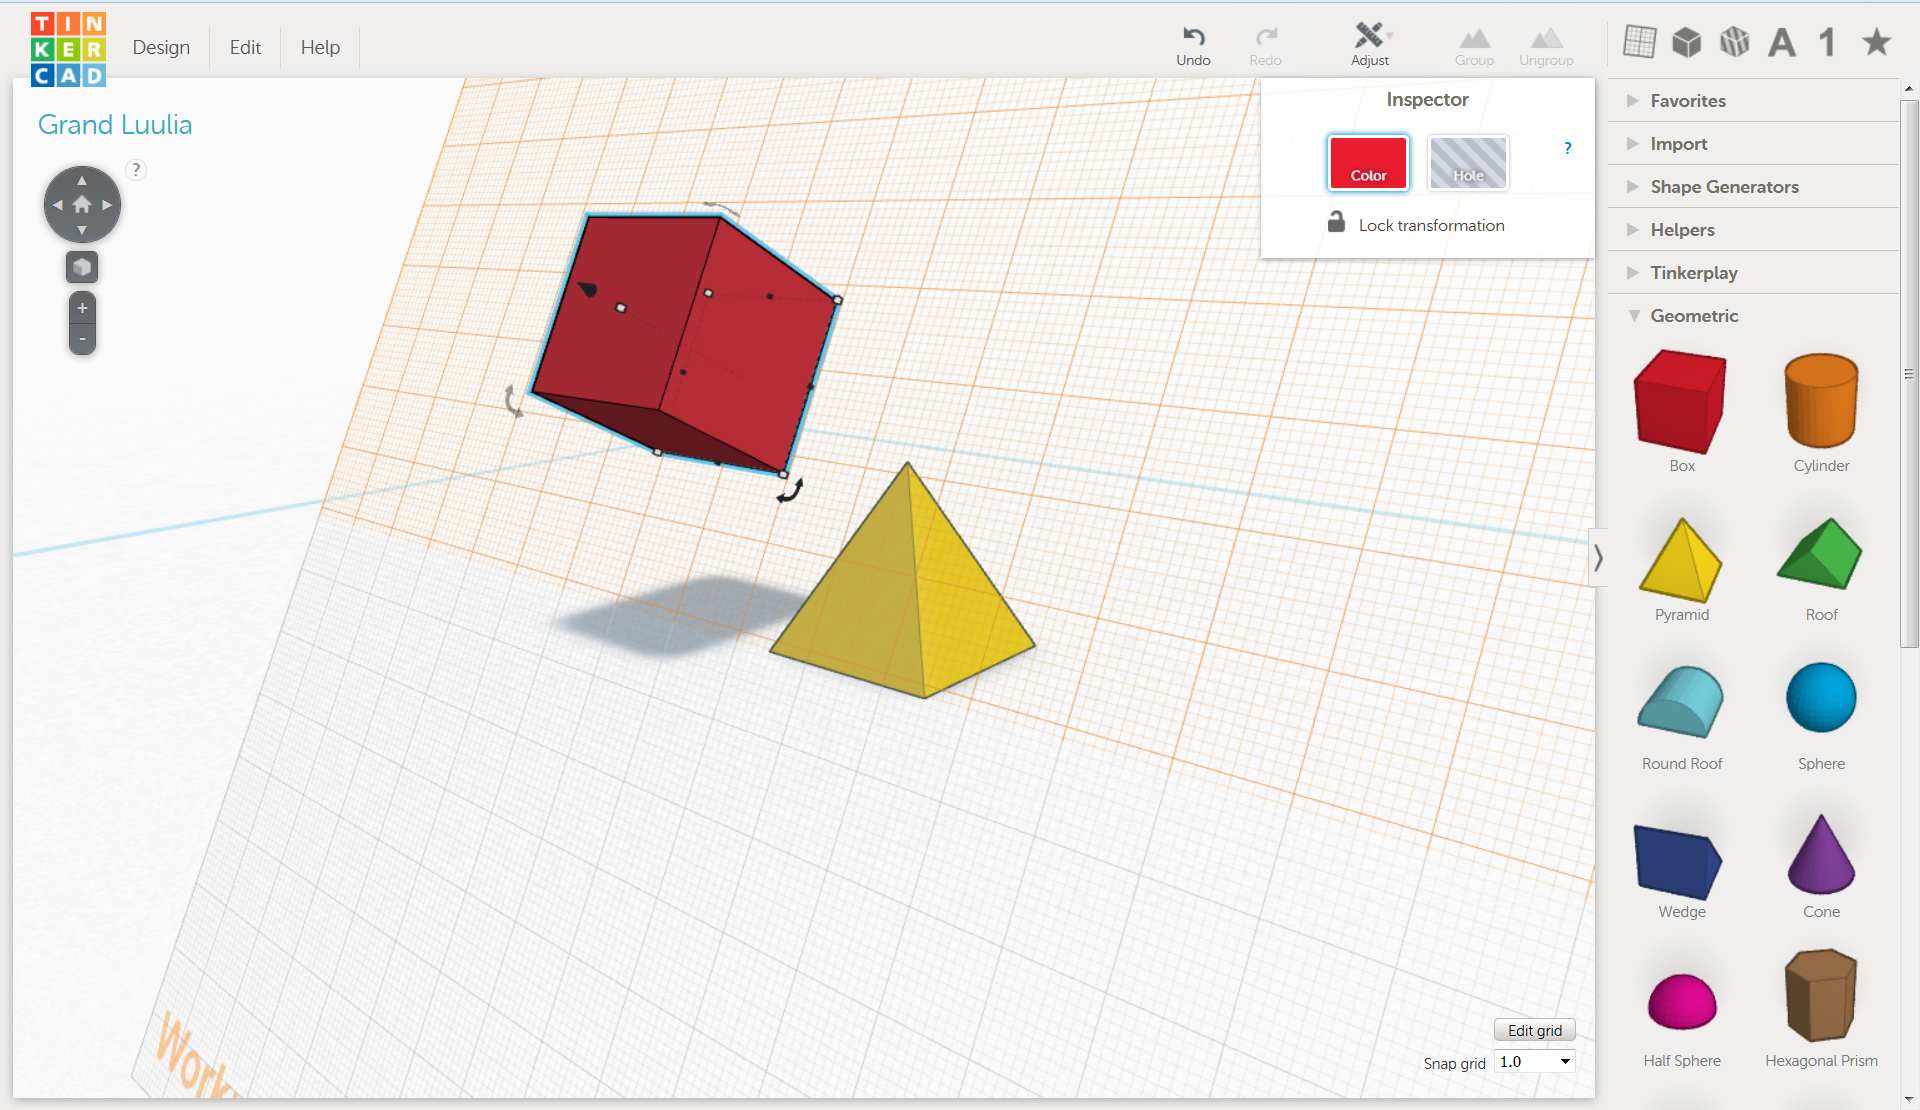
Shapes and Object Modification
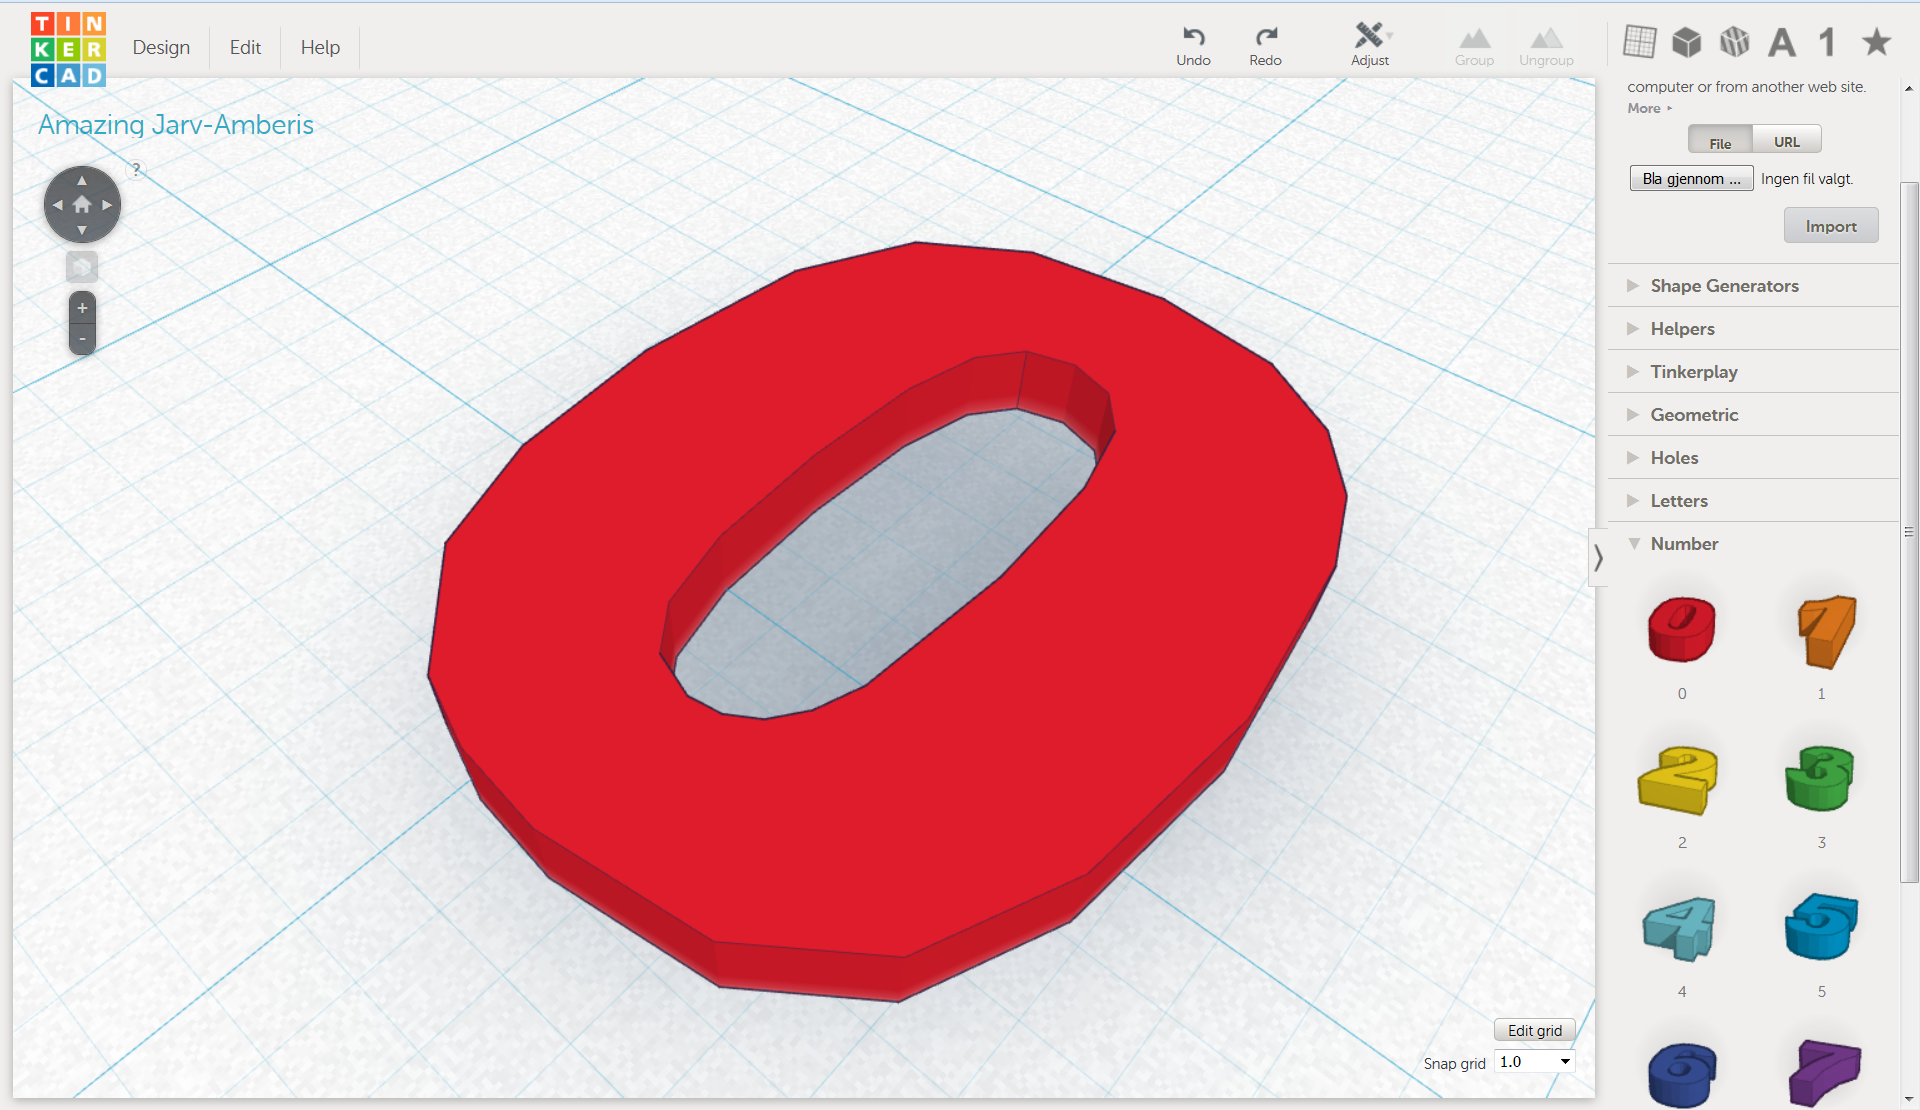
This is where Tinkercad really lacks tools you find in most other CAD software. Here you only add primitive shapes into your design like boxes, cylinders, spheres, plus some less common ones. You have a total of 17 different default shapes you can insert into your design in addition to a bunch of community-made shapes made using a JavaScript-based shape generator. In addition to these there are shapes of every letter and digit to easily be able to add text.
A major drawback with the shapes is that they have a pretty low constant polygon count. And it’s not just in the software render, but also in the .stl export. So if you’re going to 3D-print curved objects, expect an angular final result.
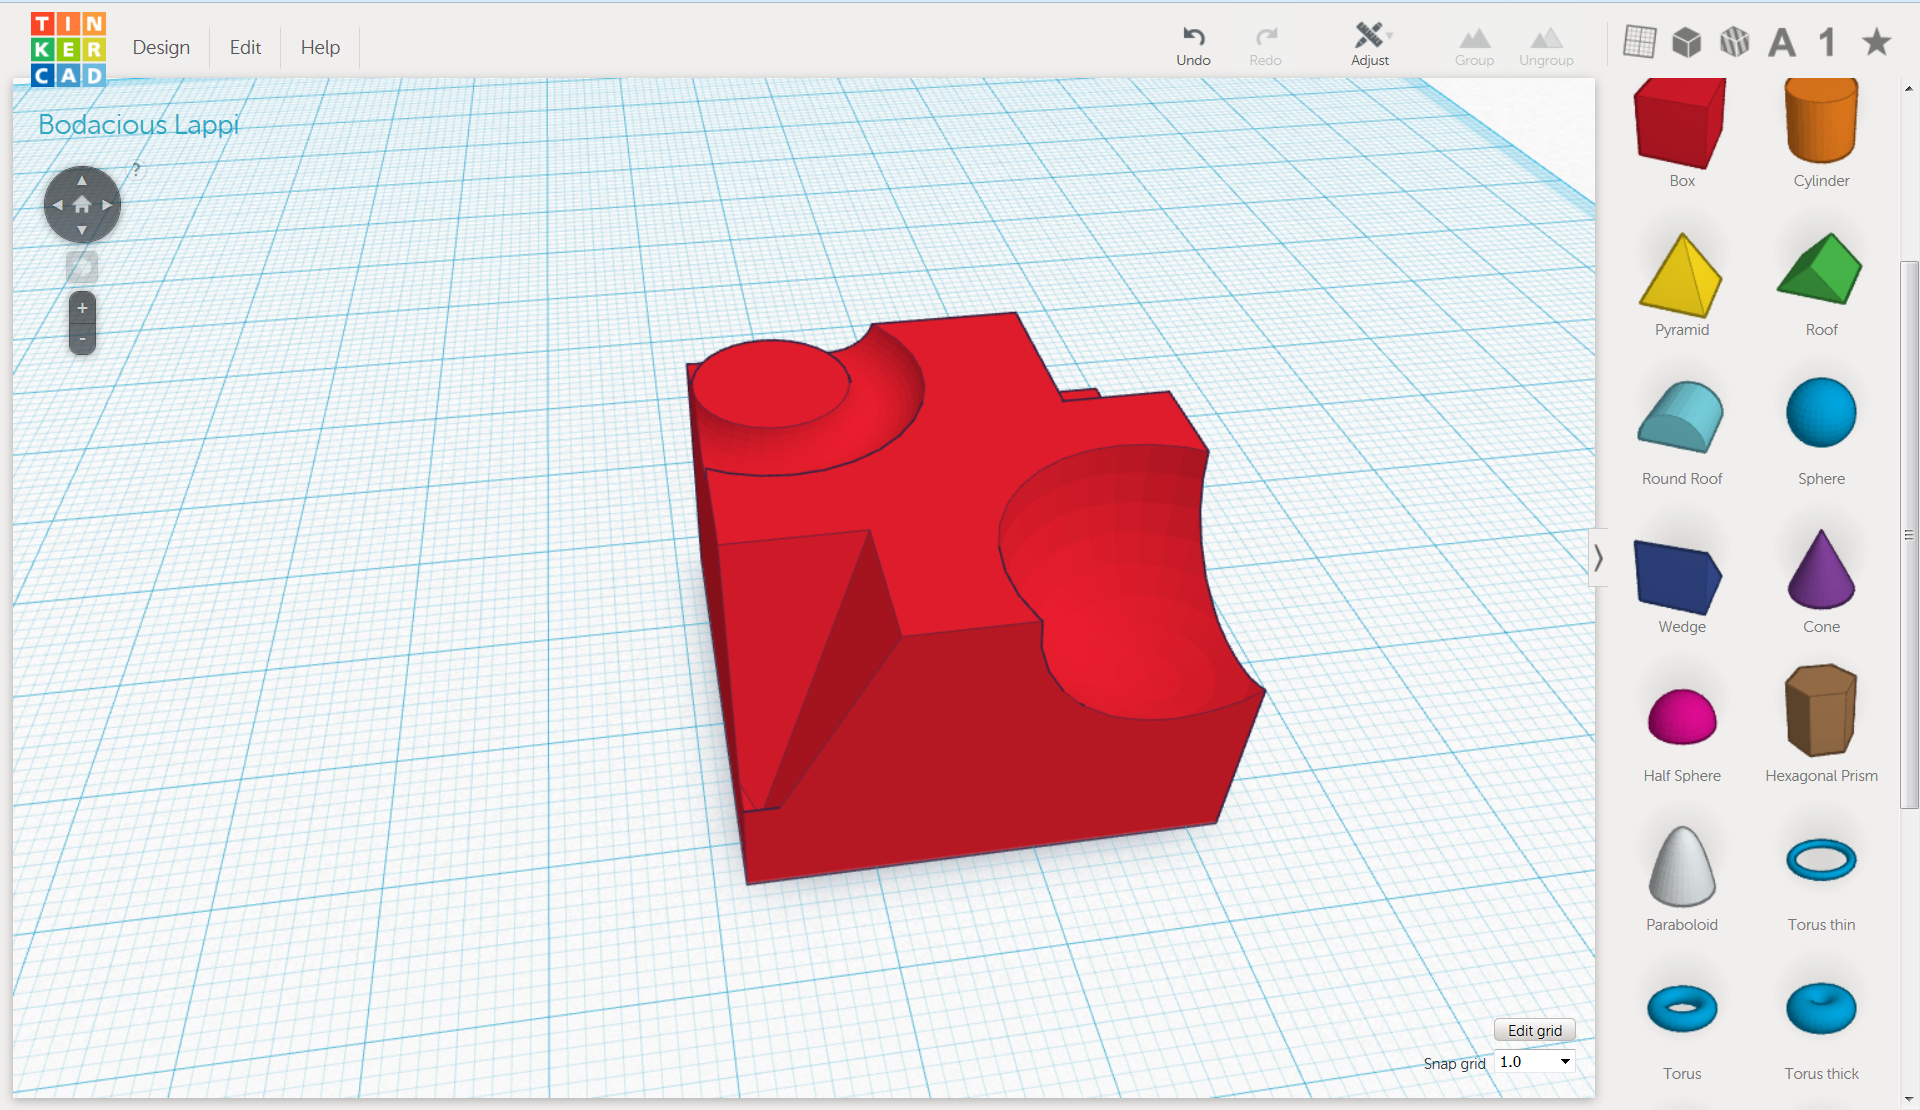
Except for the actions mentioned in the Transformation chapter, the only thing you can do with an object is add or subtract. Subtracting essentially means carving out a piece from an object (somtimes called cut or difference), making one object a hole and group it with the object you want to carve in. Adding (sometimes called join or union) is done by simply grouping two or more objects together. You are not able to do modifications such as chamfer, fillet or extrude, move vertices or edges or delete faces, although you are able to mirror objects.
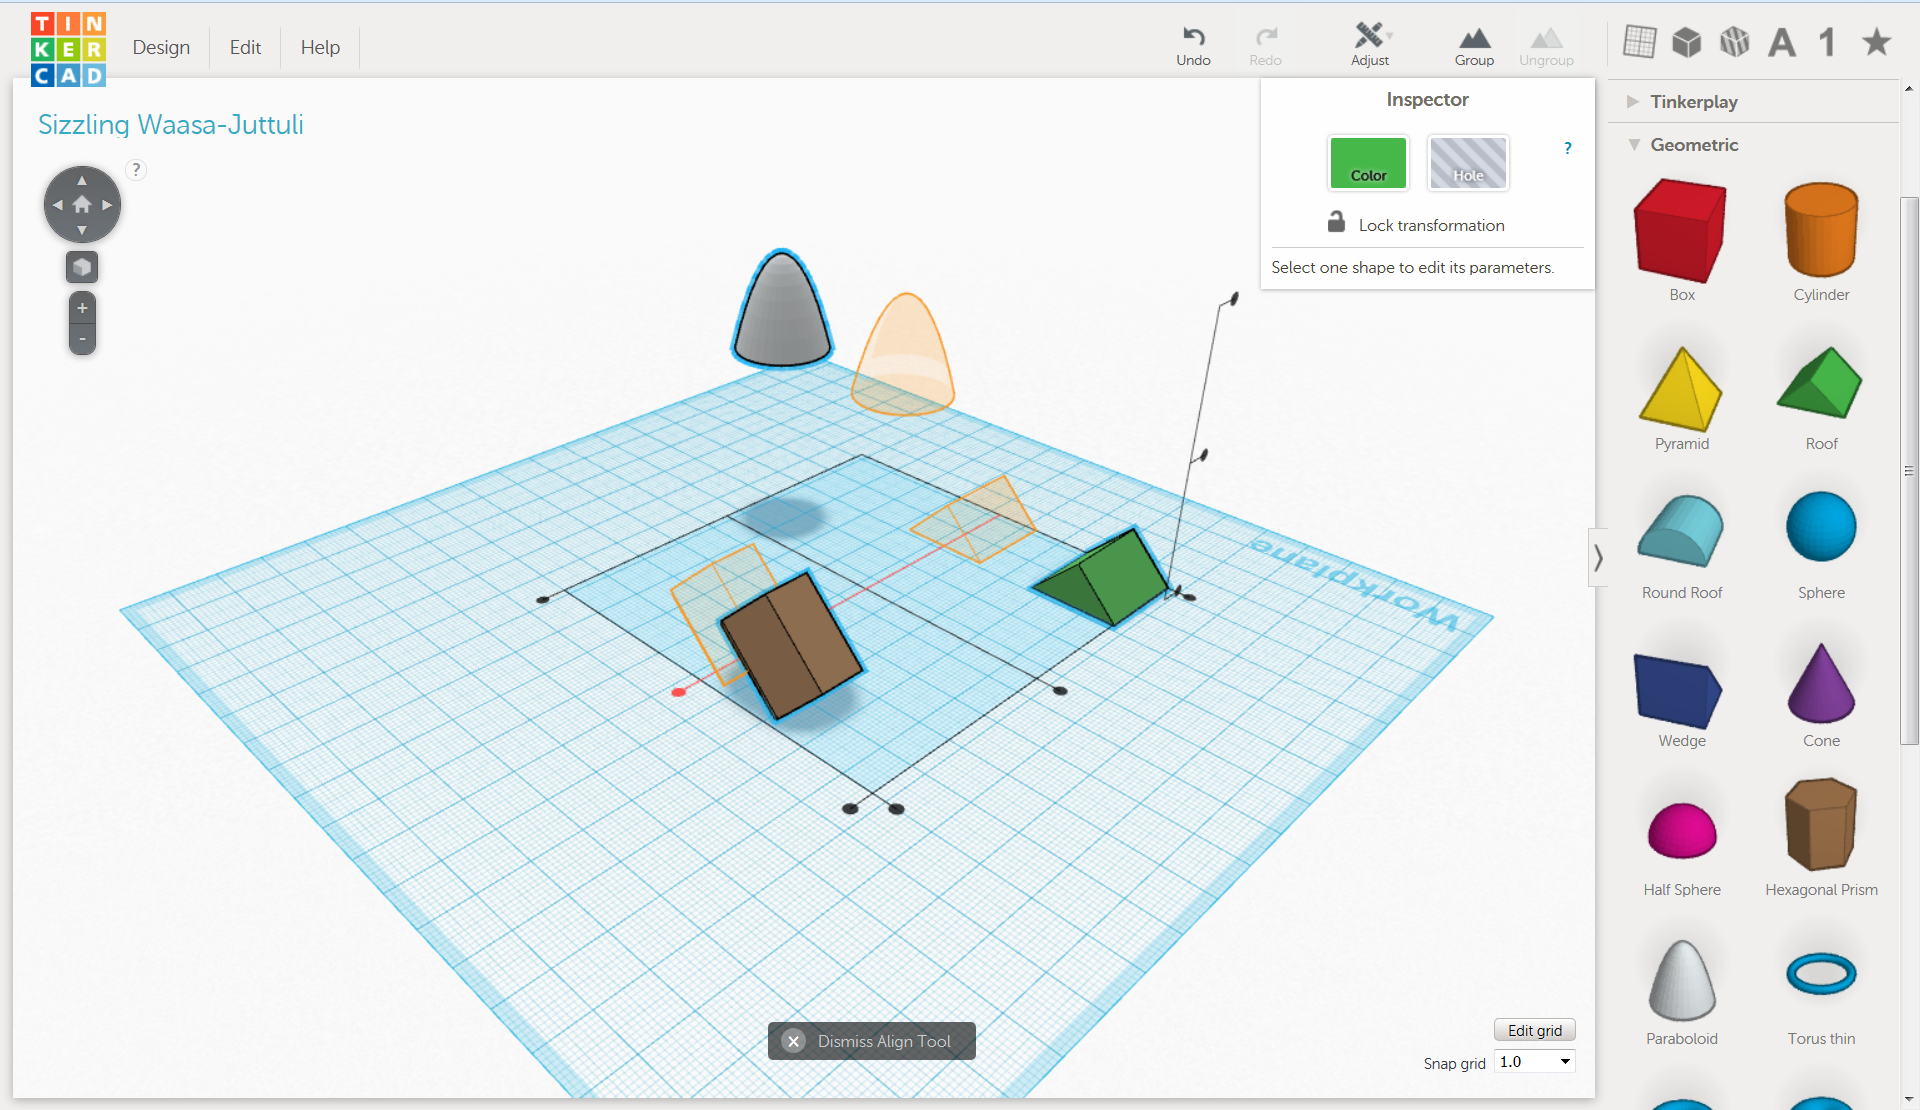
Align
The align tool is pretty bare bones, although a lot better than nothing. You always align two or more objects and it often results in both the parts moving. You have three choices per axis when aligning, low edge, center and high edge of the selection box encompassing the objects selected. The nice thing is that you get a preview of what’s going to happen when you hover over one of the nine align options.
Smart Duplicate
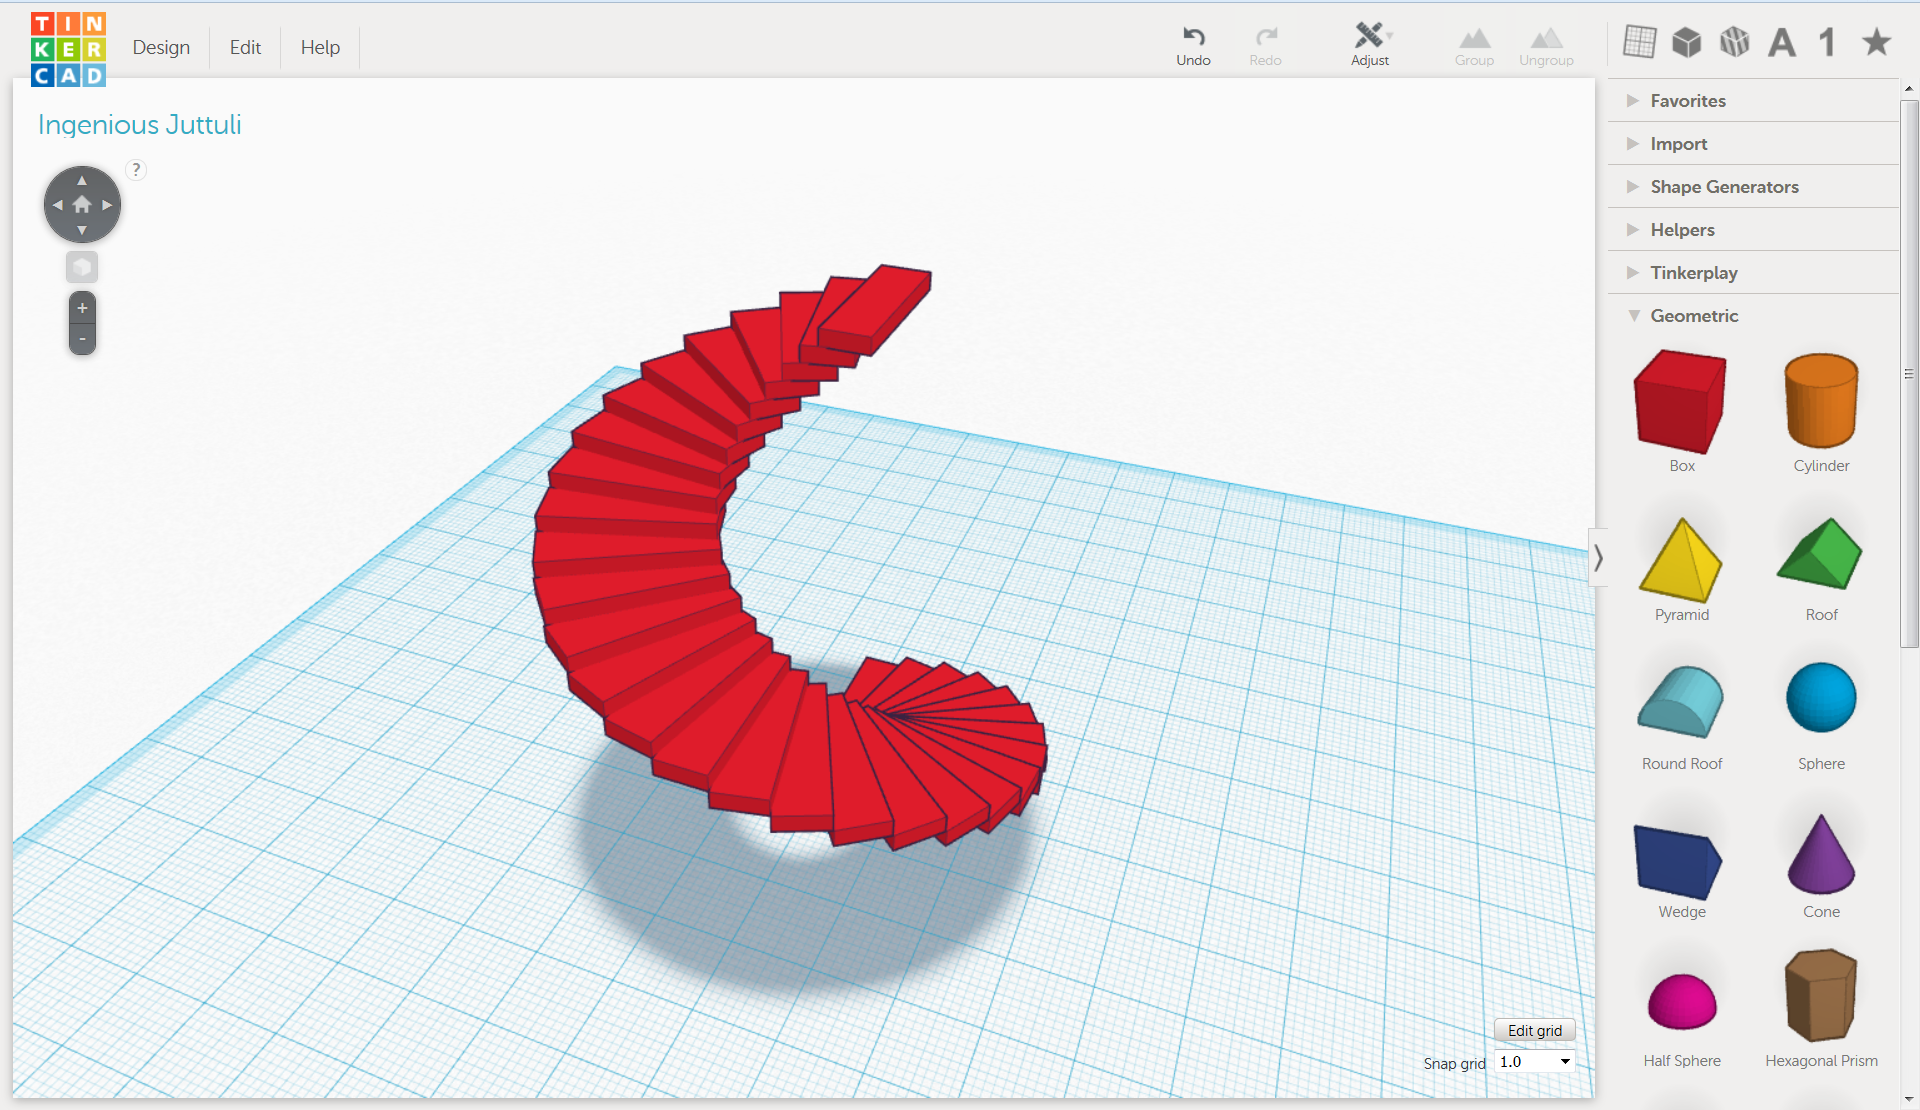
A neat trick to create more advanced obects is the smart duplicate function. If you select an object, press ctrl+d and move, rotate and/or scale it and then press ctrl+d multiple times afterwards, it will continue creating new duplicates with the same interval from the last one made as between the original and the first duplicate. A bit hard to explain, so you should just try it out for yourself! 🙂
ctrl+z
The undo feature is so important in CAD that it deserves an own little chapter, and luckily Tinkercad fully supports the standard ctrl+z keyboard shortcut as well as a redo shortcut with ctrl+shift+z.
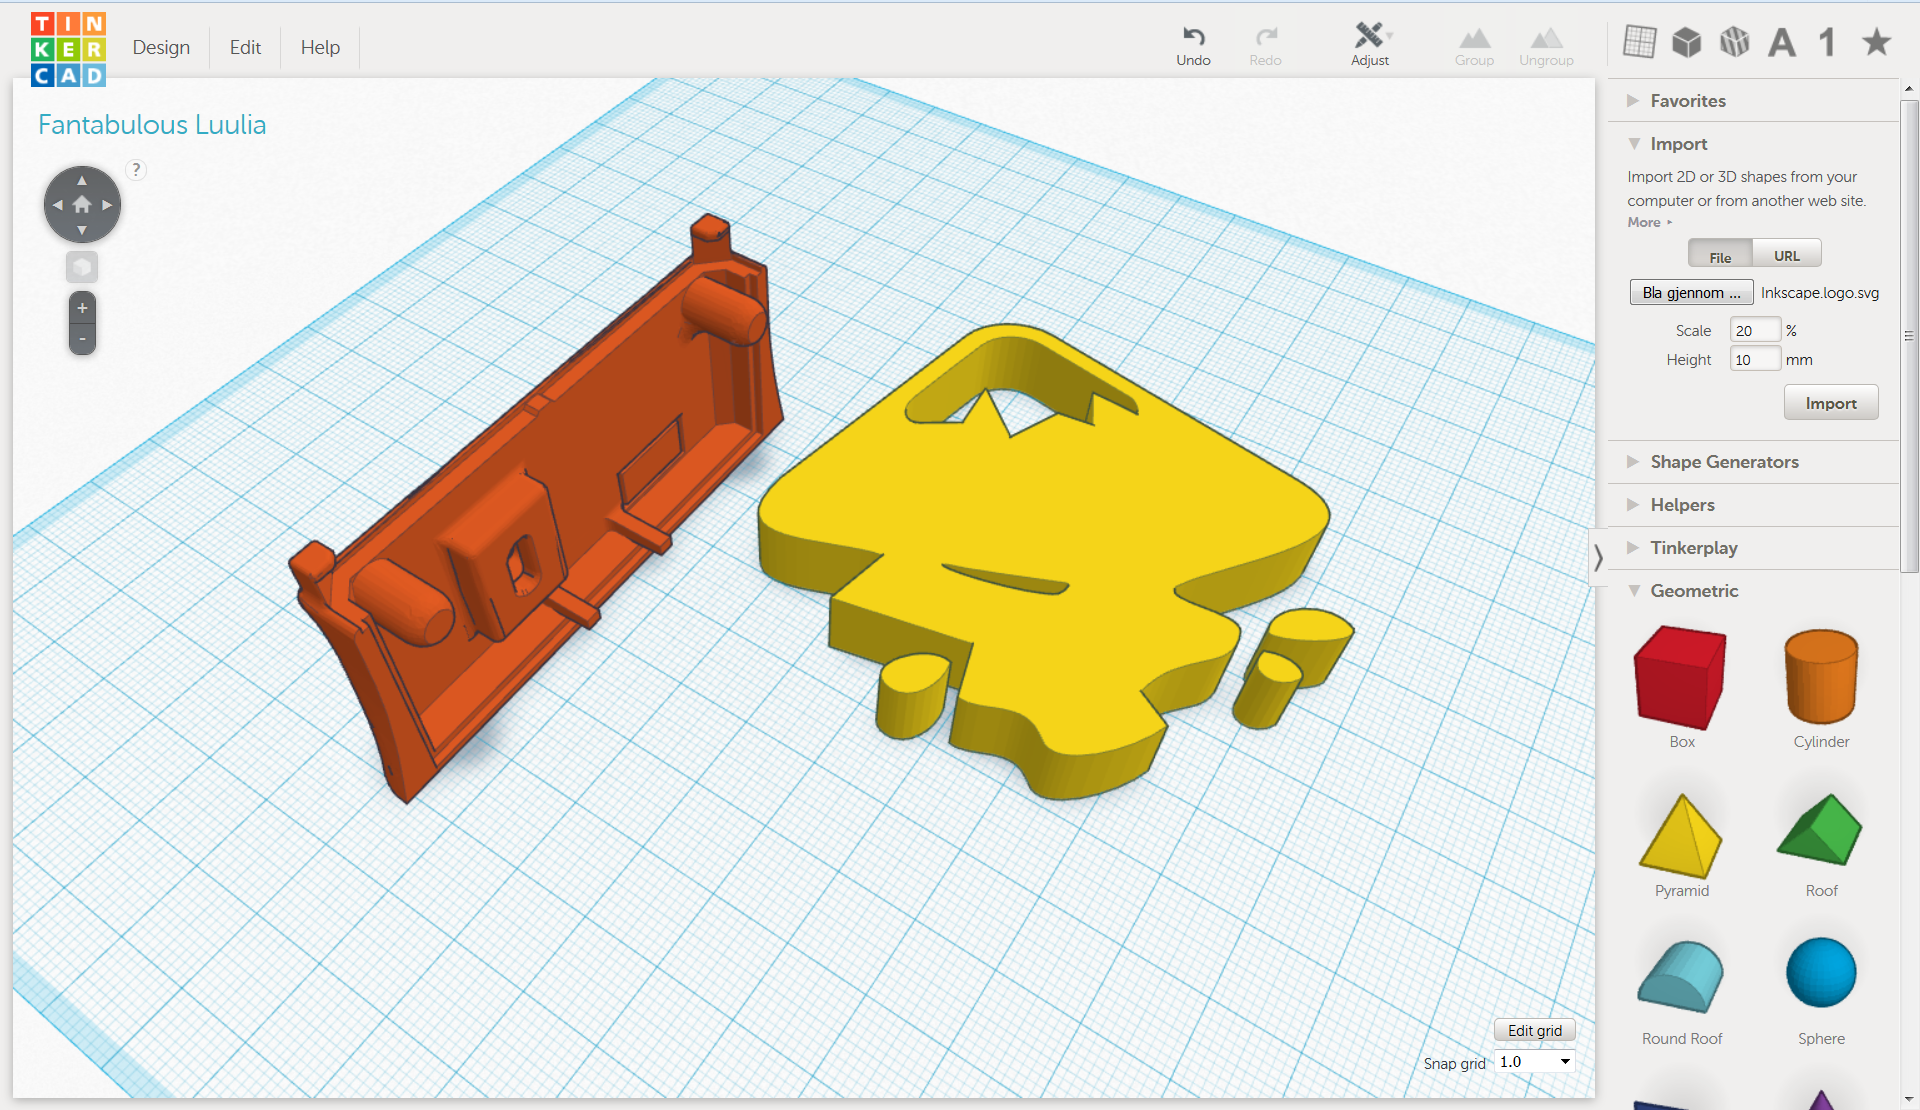
2D and 3D Import
You are able to import two file formats: .svg and .stl. Being a 2D vector format, .svg files will be extruded to a preset height at import. These import features make it a lot easier to create more advanced models with higher poly-count.
Export
The following 3D file formats are supported for export: .stl, .obj, .x3d and .vrml. You’re also able to export 2D (.svg) files. When exporting .svg, only the cross section of the design on the default workplane is included.
You can even export your design to Minecraft by defining how many millimeters one Minecraft block is.
Tutorial
There’s not much to learn in Tinkercad. However, what you need to learn is covered well in the so called lessons, which are quite fun to go through.
Cunclusion
Autodesk Tinkercad is great if you’re competely new to CAD and don’t want to learn more advanced programs. Being free is a great plus, and Tinkercad is arguably better suited for 3D-printing, milling and laser cutting than the other obvious free CAD alternative: Sketchup.
Creating simple models are super easy. However, be prepared to put in a large effort if you plan to to raise the complexity and fidelity of your model a few notches.